
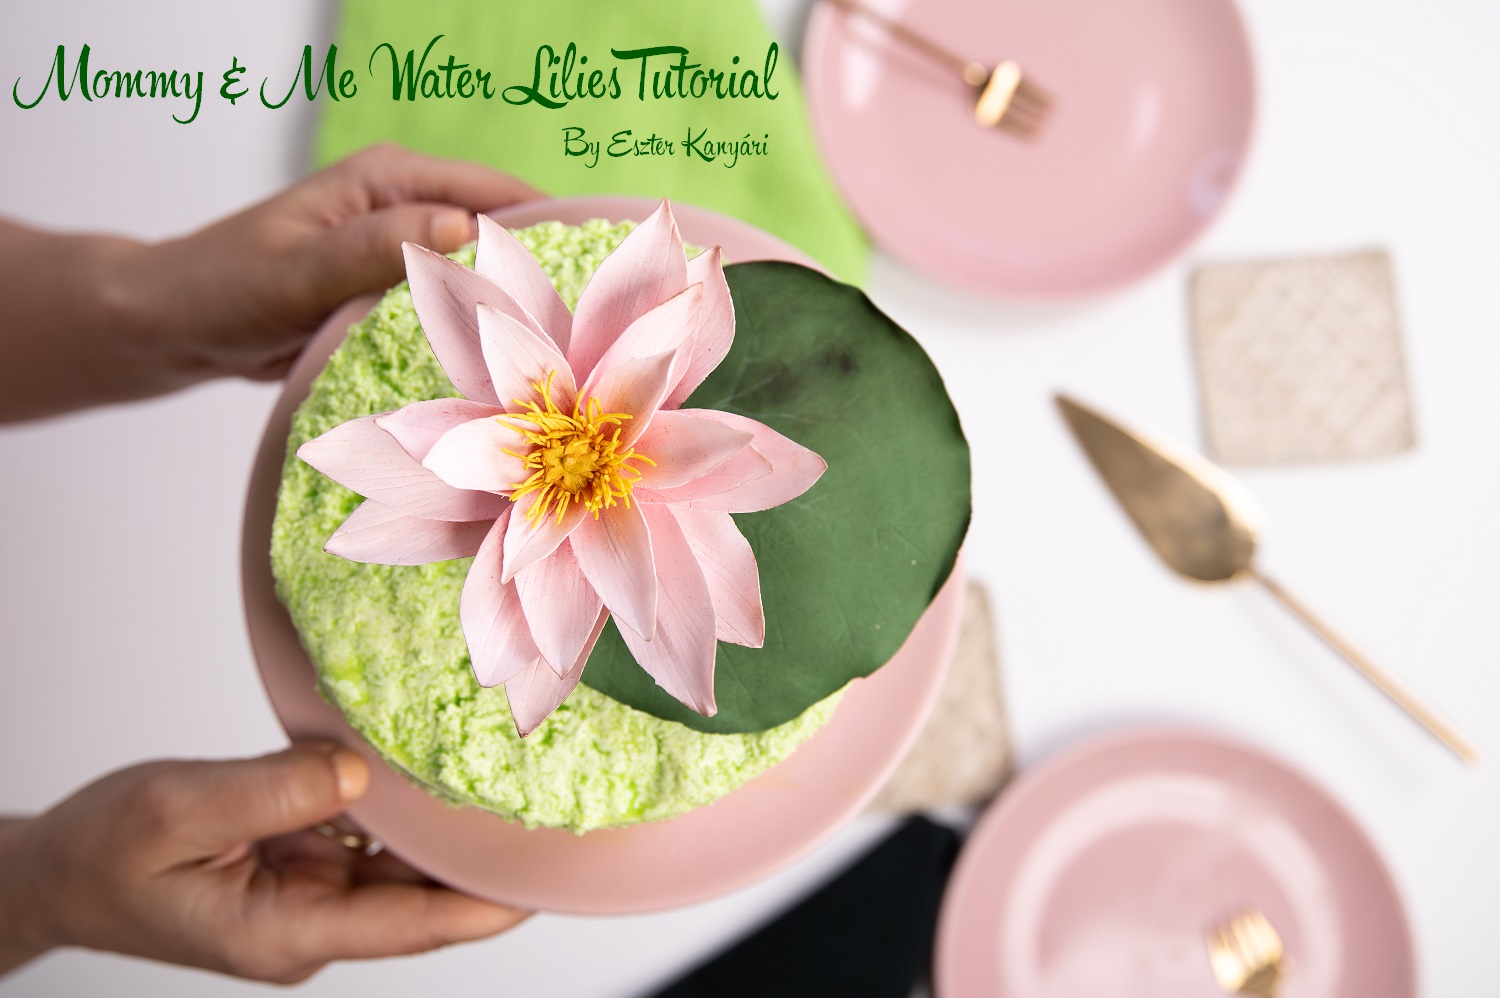
Our Let It Snow issue features an incredible tutorial by Sara Lewis for a gravity-defying stacked present cake. The cake features a wonderfully innovative technique for a printed fondant. This easy fondant technique is so adaptable, we could envision so many different applications for the techniques. Get the steps below!
Printed Fondant Tutorial
By Sara Lewis
Components
- Fondant in the following colors: Red, White, Green, Gray, Black
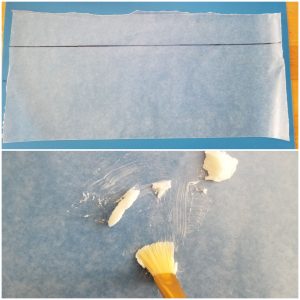
- Parchment paper (wax coated paper works too)
- Sharp Knife
- Extruder
- Ruler or measuring tape
- Vegetable shortening
- Pastry brush
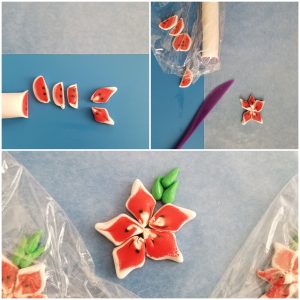
The first step is to make the red poinsettia flowers featured in the print. Extrude some black fondant into long thin ropes and set aside. Roll some red fondant into a rope measuring a 1 inch diameter and 3″ long, although remember that the size will depend on the size you want your petals to be. Make two cuts not too deep but deep enough to place the black extruded fondant inside as shown in the picture. Roll a thin strip of the white fondant and cover the red with it. This technique is the same as is used with polymer clay items. Slice the rope into “petals” and gently pinch the ends with your fingers to shape the petals.

Measure the height and diameter of your cake and make a mark on the back side of some parchment paper, trim the paper to size. lubricate the paper with some vegetable shortening, this will keep the pieces in place on the parchment. Start placing the petals on the paper forming the flowers where you want them to be, the little black marks should stay towards the center of the flower.
Mold the leaves from some green fondant and add to the sheet.
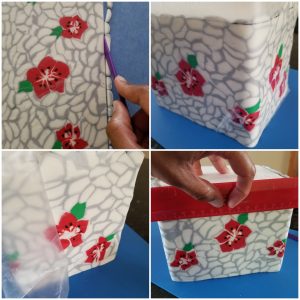
To fill in all the gaps around the flowers, make some long white ropes about 1/2″ in diameter, and cover with a thin layer of light gray fondant, slice it and place it around the flowers and leaves until all the empty spaces are all filled.

After all is completed place a piece of parchment over the top of the design and using a roller pin, roll the entire piece very gently but with pressure. When you are happy with the result, trim the excess making sure it will fit the height of the cake. I made this in two parts to be easier to place it into the lateral of my cake. remove the top layer of parchment and gently attach to the side of the cake. Smooth the fondant to the cake and then gently remove the outer piece of parchment. Trim away the excess fondant and smooth the seams.

