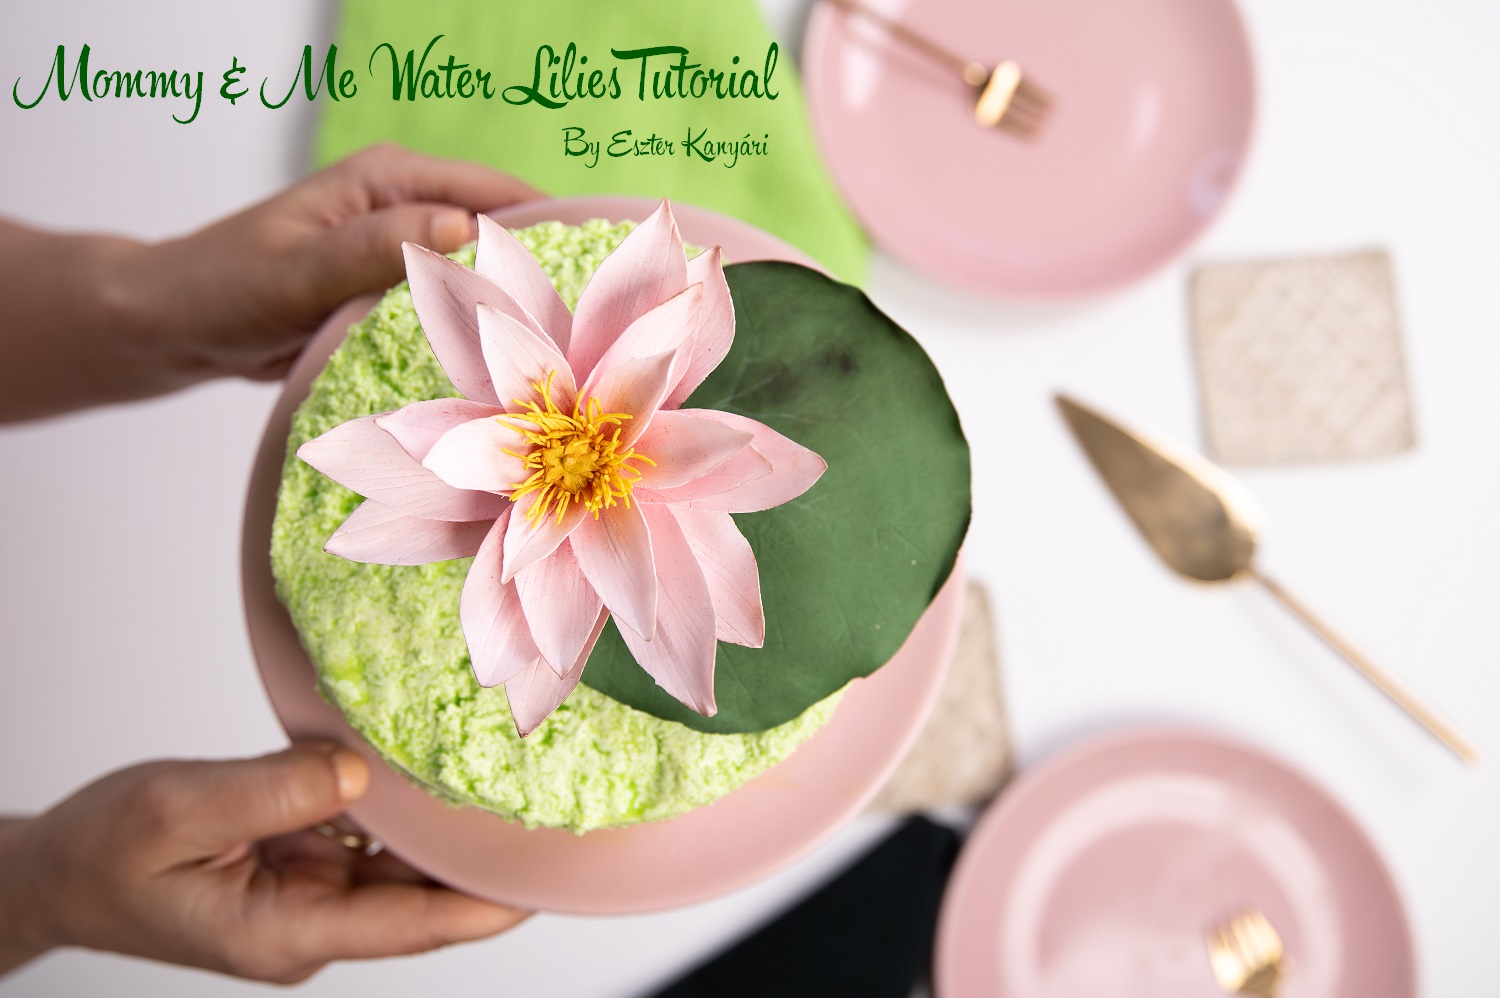
Mommy & Me Water Lilies
By Eszter Kanyári
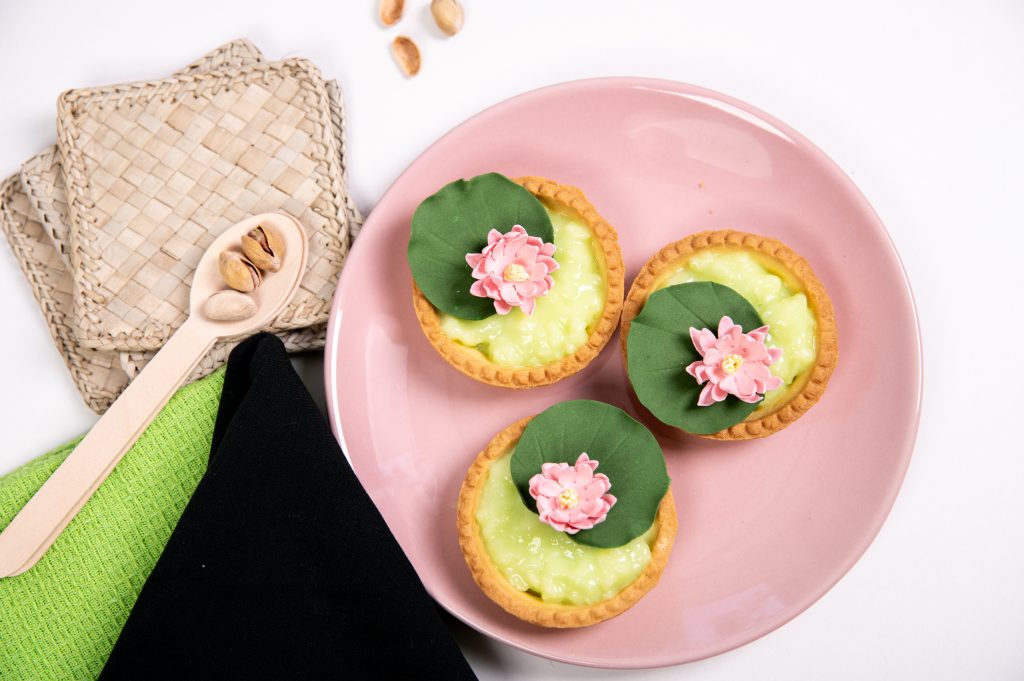
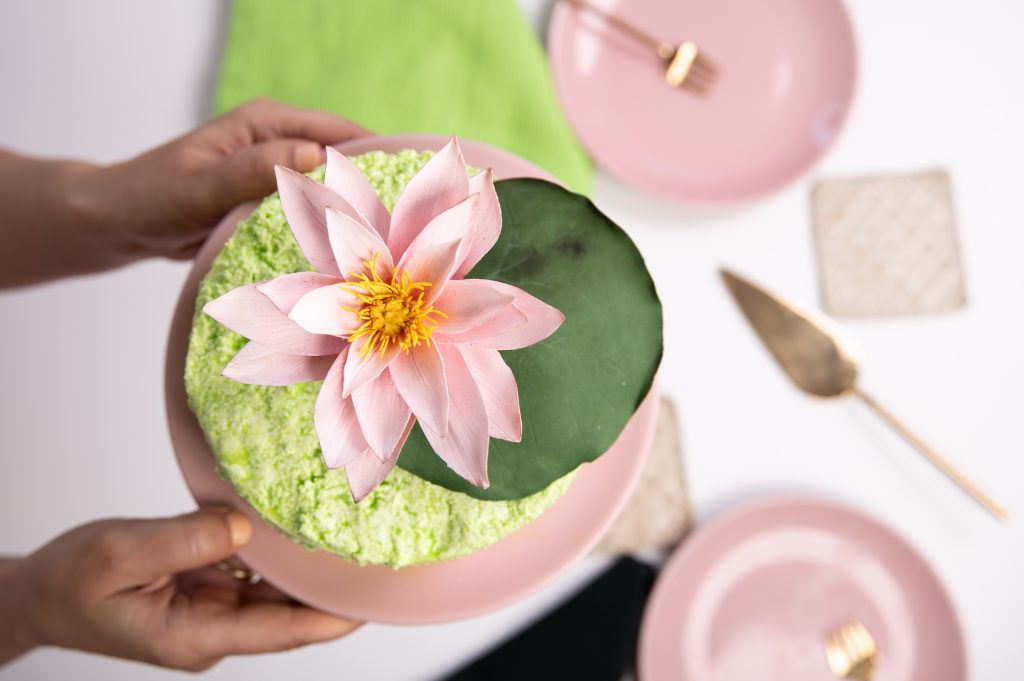
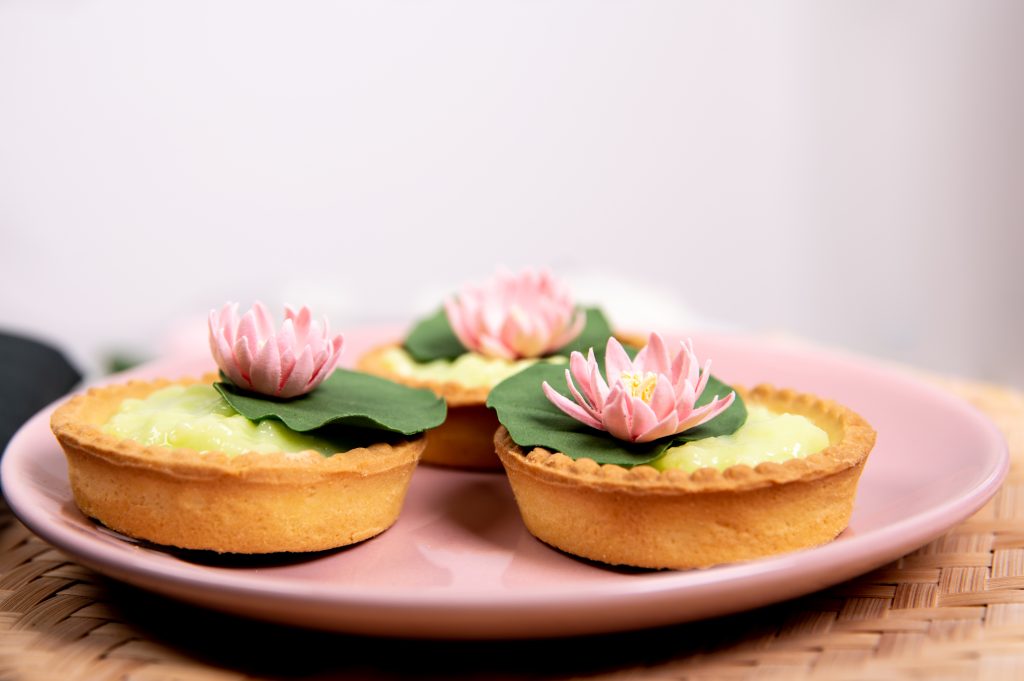
A great project for little and big hands alike, this water lily tutorial gives both beginner and more advanced instructions. So no matter the decorator’s age or experience level, there is something for everyone to try. Decorate cakes or, even better yet, a pistachio tart and complement the naturally green hue!
Beginner Version

Edibles:
Fondant: pink, yellow, and dark green
Water or edible glue
Petal dust: pink and yellow (optional)
Equipment:
Rolling pin
Daisy cutter
Mini ball tool
Foam pad
Small scissors
Paintbrushes
Circle cutter
Modeling tool
Form the Beginner Water Lilies
- Roll out some pink fondant thinly on a nonstick surface and cut out daisy shapes with a cutter.
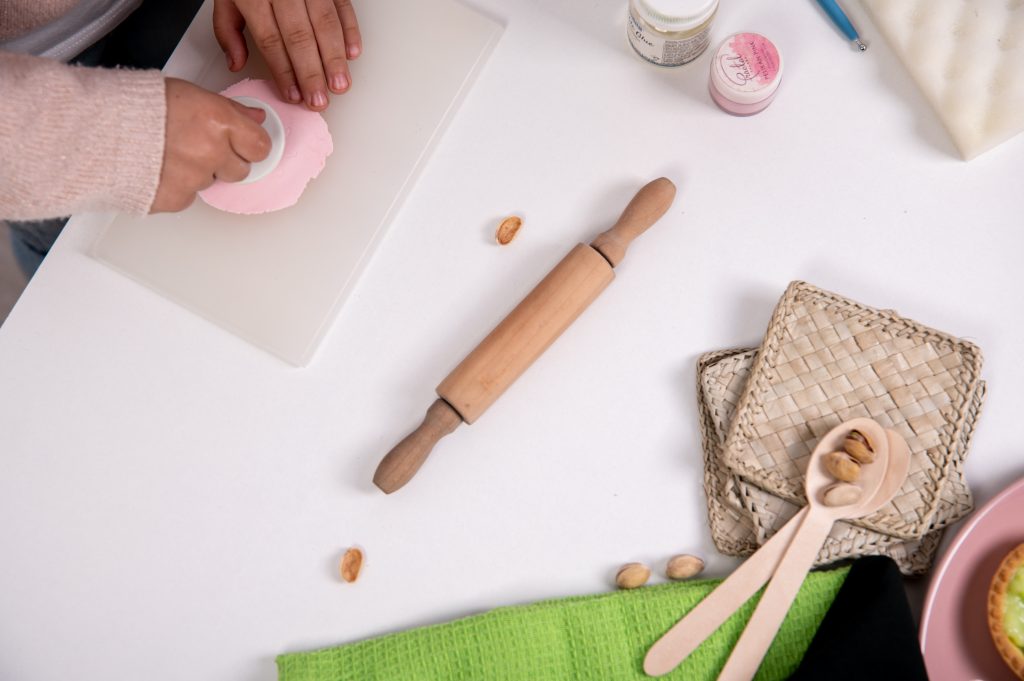
- Use the mini ball tool to press down the center of 1 petal vertically.

- Continue to roll down each petal until you have completed the whole flower.
- Put the thin rolled flowers on a foam pad and let them dry a bit.
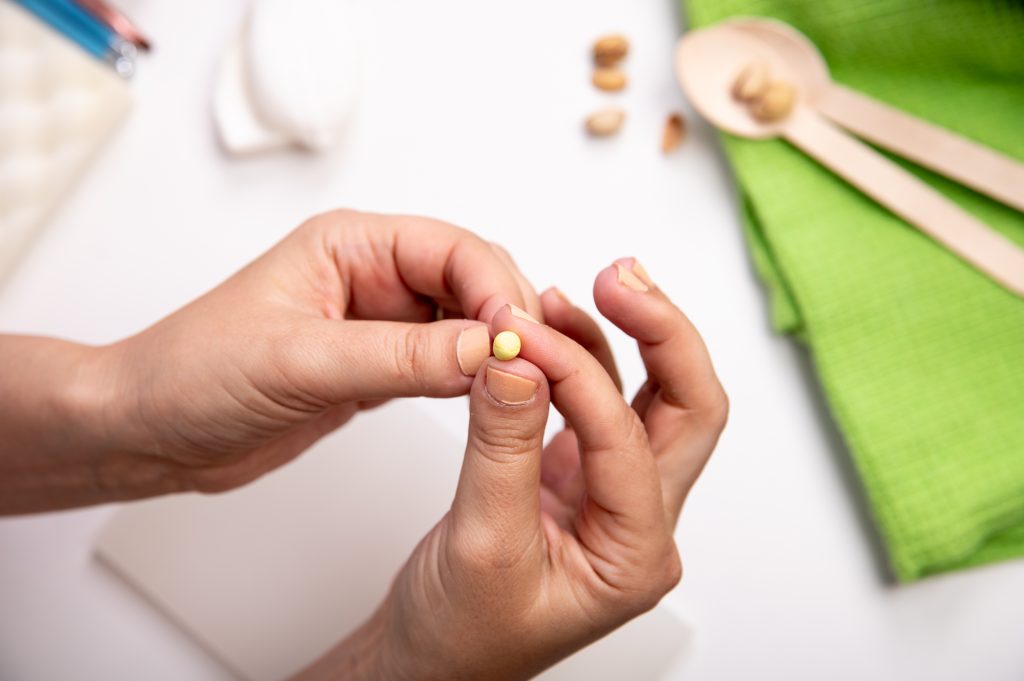
- Roll a small pea-size piece of yellow fondant and make cone shape.
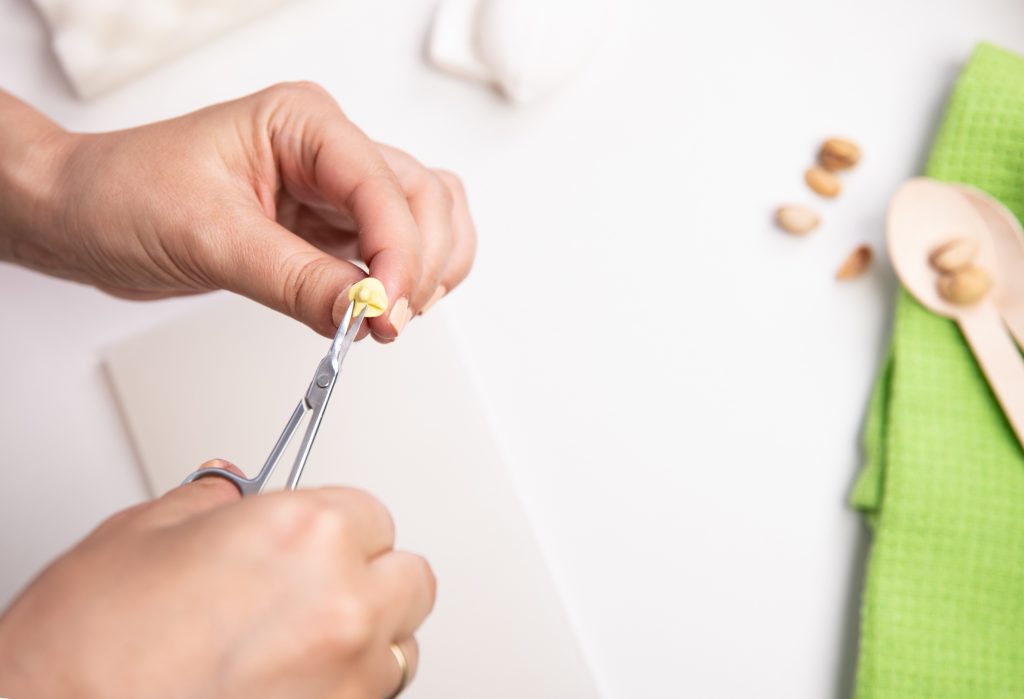
- Use small scissors to snip the surface of the cone to create the stamens.
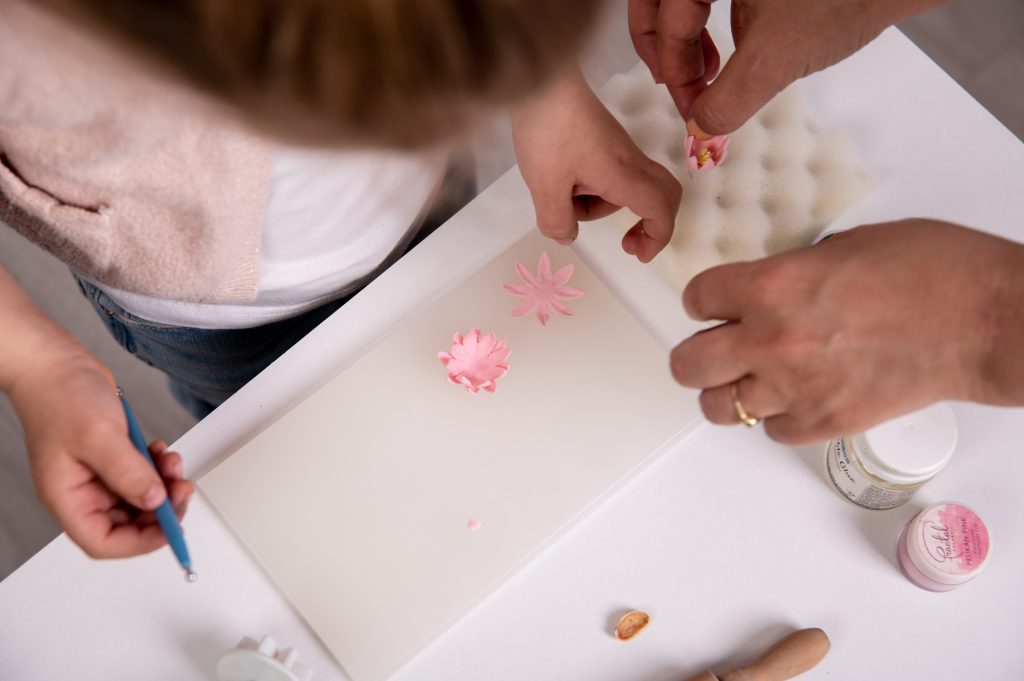
- Paint the center of the flower with a little water or glue and stick another flower on the top.
- Stick the yellow stamen in the center of the assembled flower and let them dry.
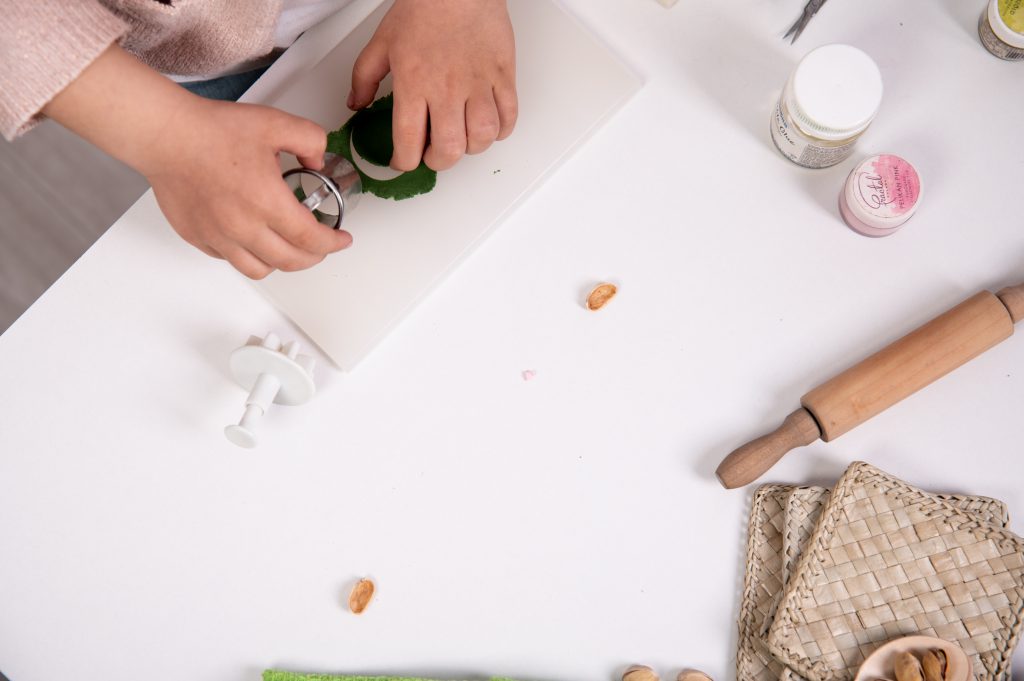
- Roll out the dark green paste thinly on a nonstick surface.
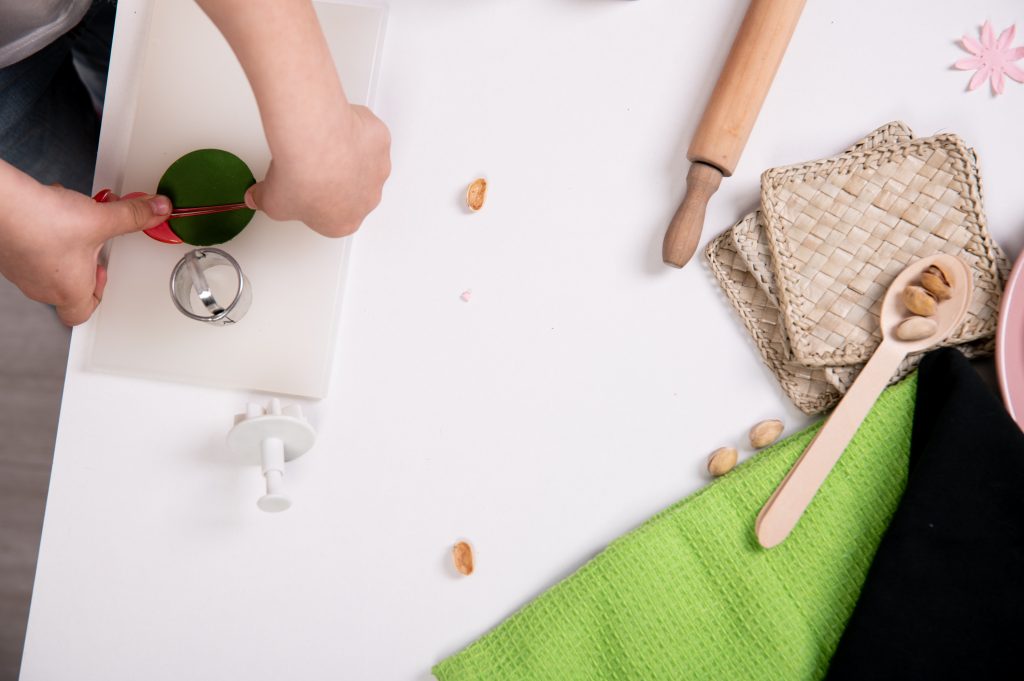
- Cut out circle shapes to form the leaves.
- Use a modeling tool to create veins, starting from the center out to the sides.
- Rub a ball tool around the edge of leaf to soften and shape.
- Glue the assembled flower onto the leaf.
- Add some pink dust to the edges of the petals and yellow on the stamens, if desired.

Advanced Version
Edibles:
Fondant: yellow, pink, and dark green
Water or edible glue
Petal dust: light green, pink, dark green, and brown
Equipment:
Floral wire: 24 and 26 gauge
Small scissors
Floral tape
Yellow peony stamens
Rolling pin
Small and large petal cutters
Foam pad
Ball tool
Veiner
Paintbrushes
Form the Advanced Water Lilies
- Roll a pea-size piece of yellow fondant and make a cone shape.
- Insert a 24-gauge wire into the yellow cone. Use your fingers to roll the paste at the base of the cone to thin it down and secure it to the wire.
- Roll the top of the bud to taper it slightly, then make little cuts to create a star pattern.
- After drying, tape the stamens and the yellow center together, making sure that the stamens around the central part are symmetric. Stamens on the outside may be pulled out a little bit longer.
- Roll out some pink paste thinly on a nonstick surface.
- Cut out 6 pieces of the small petal and 12 pieces of larger petal and insert a 26-gauge wire into each.
- Place the petals on a foam pad and soften the edges with a ball tool but do not frill.
- Use a veiner to create long vertical veining in the petals.
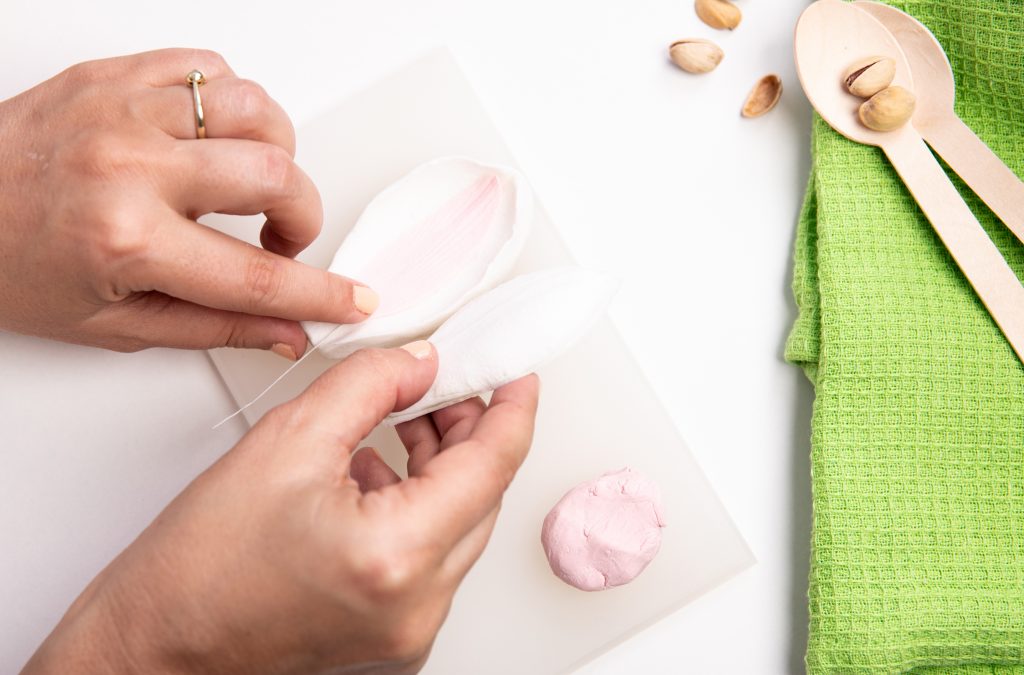
- Hollow out the length of the petals with your finger and let them dry on a foam pad.
- Color the petals on both sides, starting at the bottom with some light green petal dust and changing to pink at the outer edges.
- Tape the small petals around the yellow center and then add the large petals on the outside. Make sure that the assembled flower is symmetric.
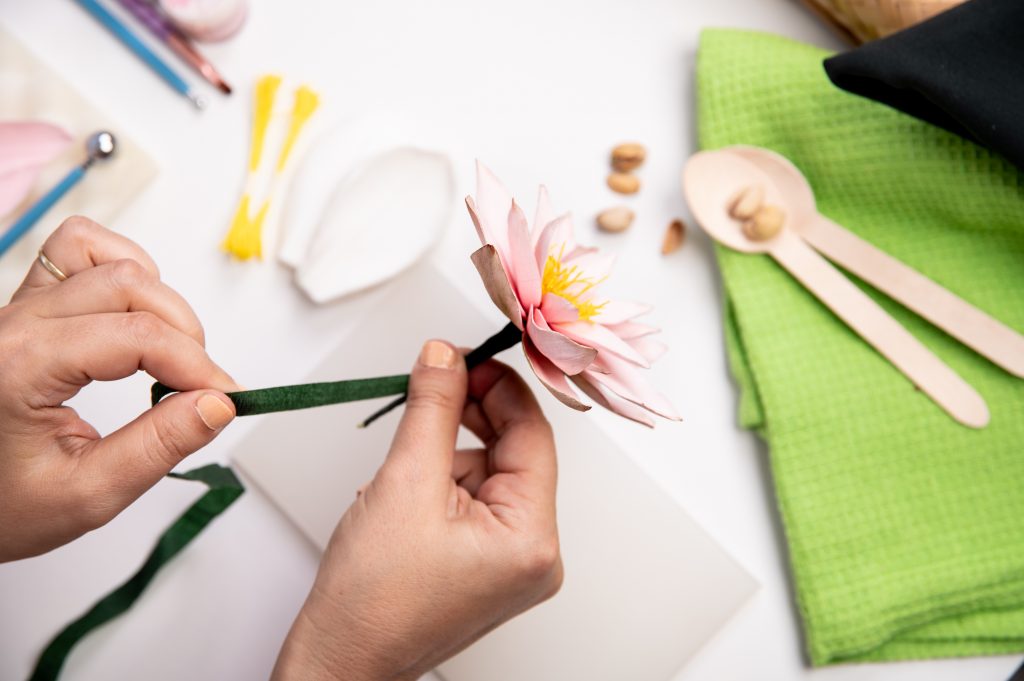
- Bottom petal layers can be dusted with dark green and brown.


