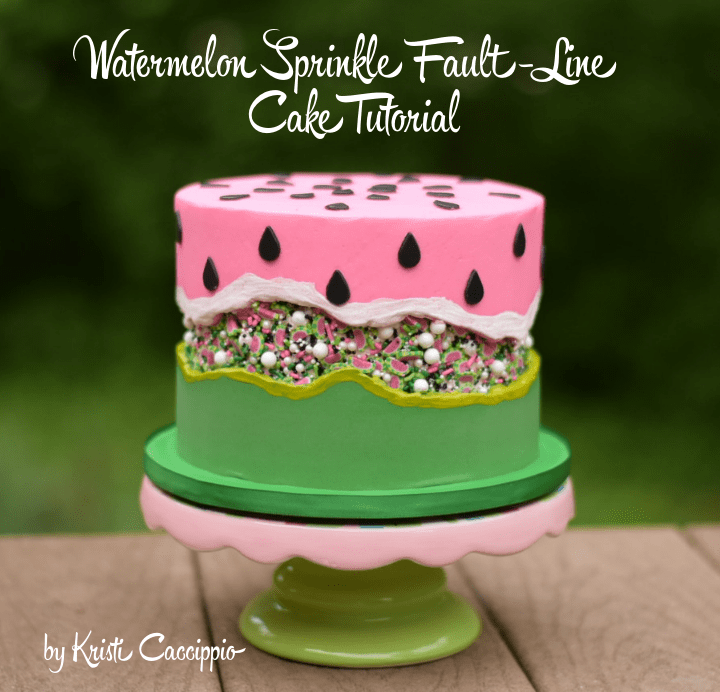
Watermelon Sprinkle Fault-Line Cake Tutorial
By:
Kristi Caccippio
Fault-line cakes are all the rage right now, so I knew I had to try one out for myself. With summer coming, I wanted to create something vibrant, super cute, and using one of my own products Cakes by Kristi Pink Watermelon Sprinkle Mix, which I sell in my Etsy shop. The cake is much easier to create than you think, so give it a try today!
Components:
6-inch (15-cm) cake, filled and crumb coated
Pink Watermelon Sprinkle Mix
Swiss meringue buttercream: pink and green
Edible paint: white, yellow, and green (Edible Art)
Fondant (sugarpaste): black and green
Offset spatula
Cake scraper
Paintbrushes
Piping bags
Small teardrop cutter
Small rolling pin
Gloves (not necessary, but recommended)
1. The first step in creating a fault-line cake is to fill and apply a thick crumb coat to your sliced and filled sponge. In this tutorial, I filled and frosted a 6-inch (15-cm) cake (4 layers of cake with 3 layers of filling, because I wanted the cake to be a bit taller than my normal cakes). Once you have finished frosting the cake, place in the fridge to firm up.
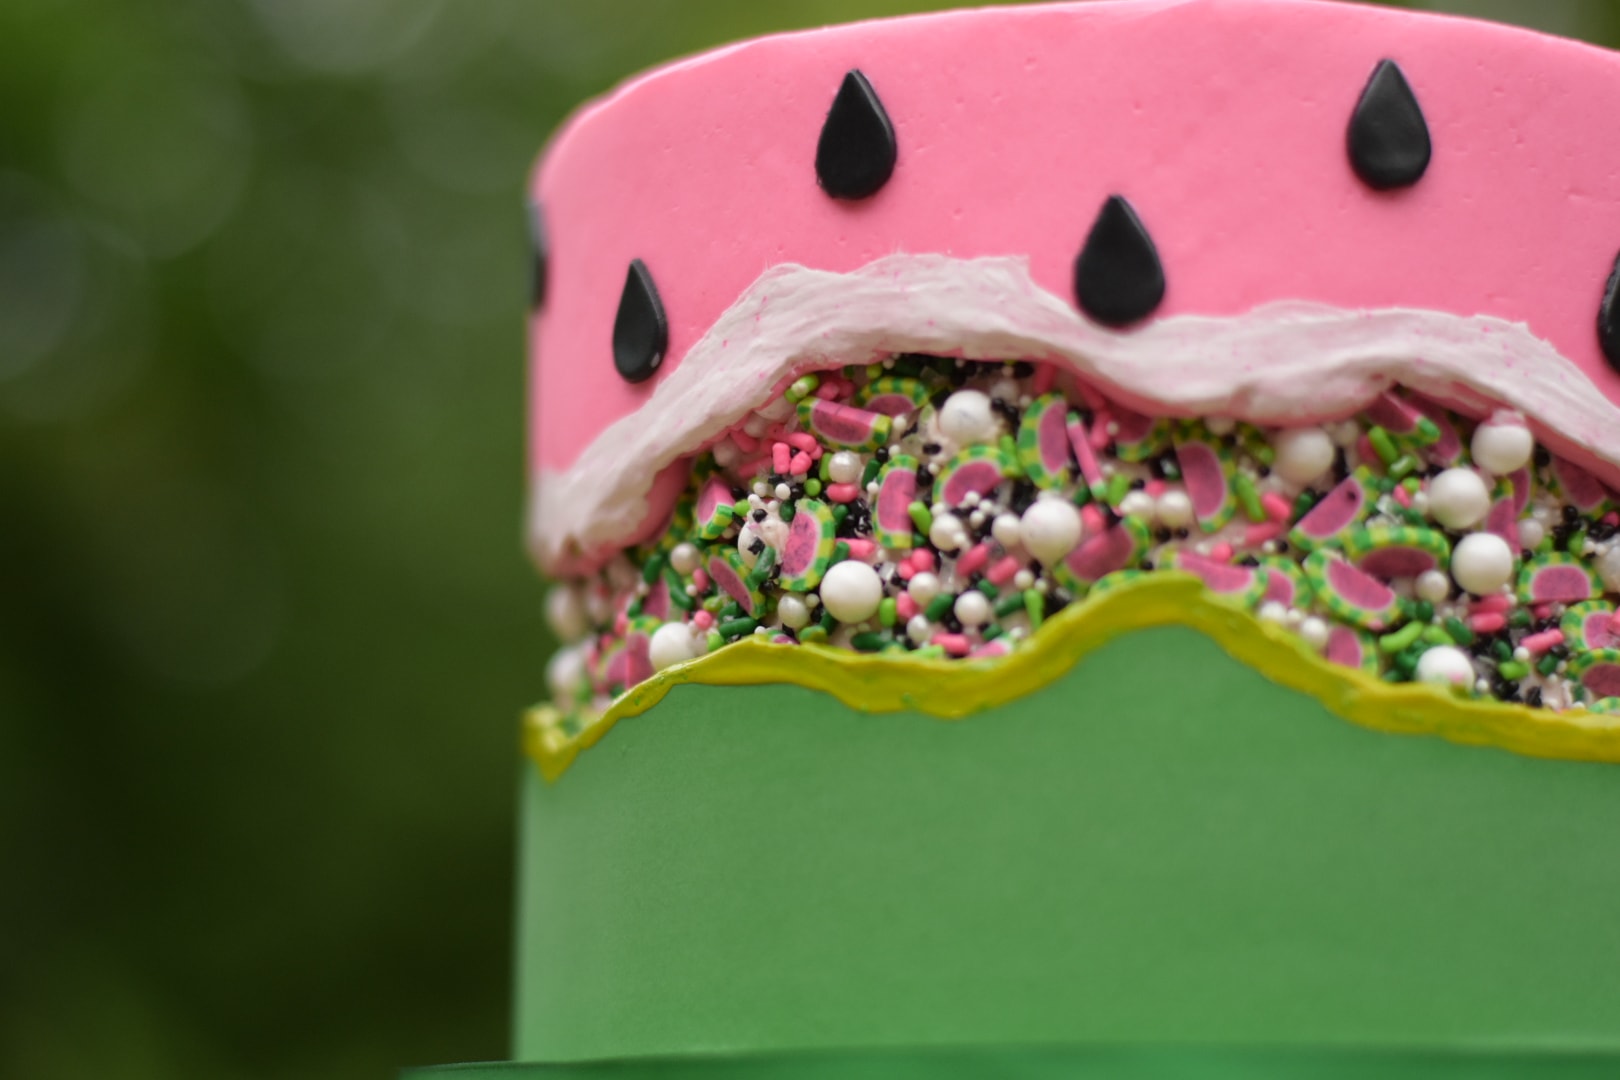
2. Next, you will need a large bowl that fits under your turntable in order to catch the sprinkles that don’t stick to your cake. Once the buttercream on your cake is very cold, take your cake out of the fridge and place on a turntable. Pour your bottle of sprinkles into the bowl, and with gloved hands, apply the sprinkles to the center of your cake. The sprinkles should cover the middle two inches of the cake. If there are any spots that do not have enough sprinkles, you can apply more individually.
3. Put your green and pink buttercream in separate piping bags. Cut the tips off the bags about a half inch (1 cm) from the tip. Pipe a thick coat of green buttercream around the bottom half of the cake, making sure that the buttercream is thicker than the sprinkles so that when you smooth the buttercream, the sprinkles do not come off. Make sure that when you pipe the last ring closest to the sprinkle line, you pipe it in a jagged pattern. This will create a more natural look after smoothing. Repeat the same process with the pink buttercream on the top half of the cake. After your cake is completely covered in buttercream, use your smoother and offset spatula to smooth the buttercream. If any sprinkles are being scraped away with your buttercream layer, your buttercream is not thick enough. After smoothing, place the cake in the fridge to firm up again.
4. While you cake is setting up in the fridge, roll out a small amount of black fondant and use a small teardrop cutter to cut out fondant seeds. Once the cake is very cold, pull it from the fridge and place your cake on your turntable. Apply the fondant seeds to the side of the cake, making sure to evenly space them out. Depending on the height of your cake, you may have room for more than 1 or 2 rows of seeds on the side. Once you are finished placing seeds on the side, apply them to the top of the cake.
5. Using white Edible Art Paint and a paintbrush, paint a white rind along the bottom half inch of the pink buttercream. You may need to apply more than one layer of paint. Next, mix a drop of green Edible Art Paint with yellow to achieve a lime color. Use that color to paint along the top edge of the green buttercream. If there are any spots that are lacking in sprinkles, apply individual sprinkles to them. Cover your board in green fondant and complete the cake with a ribbon around the board.


