
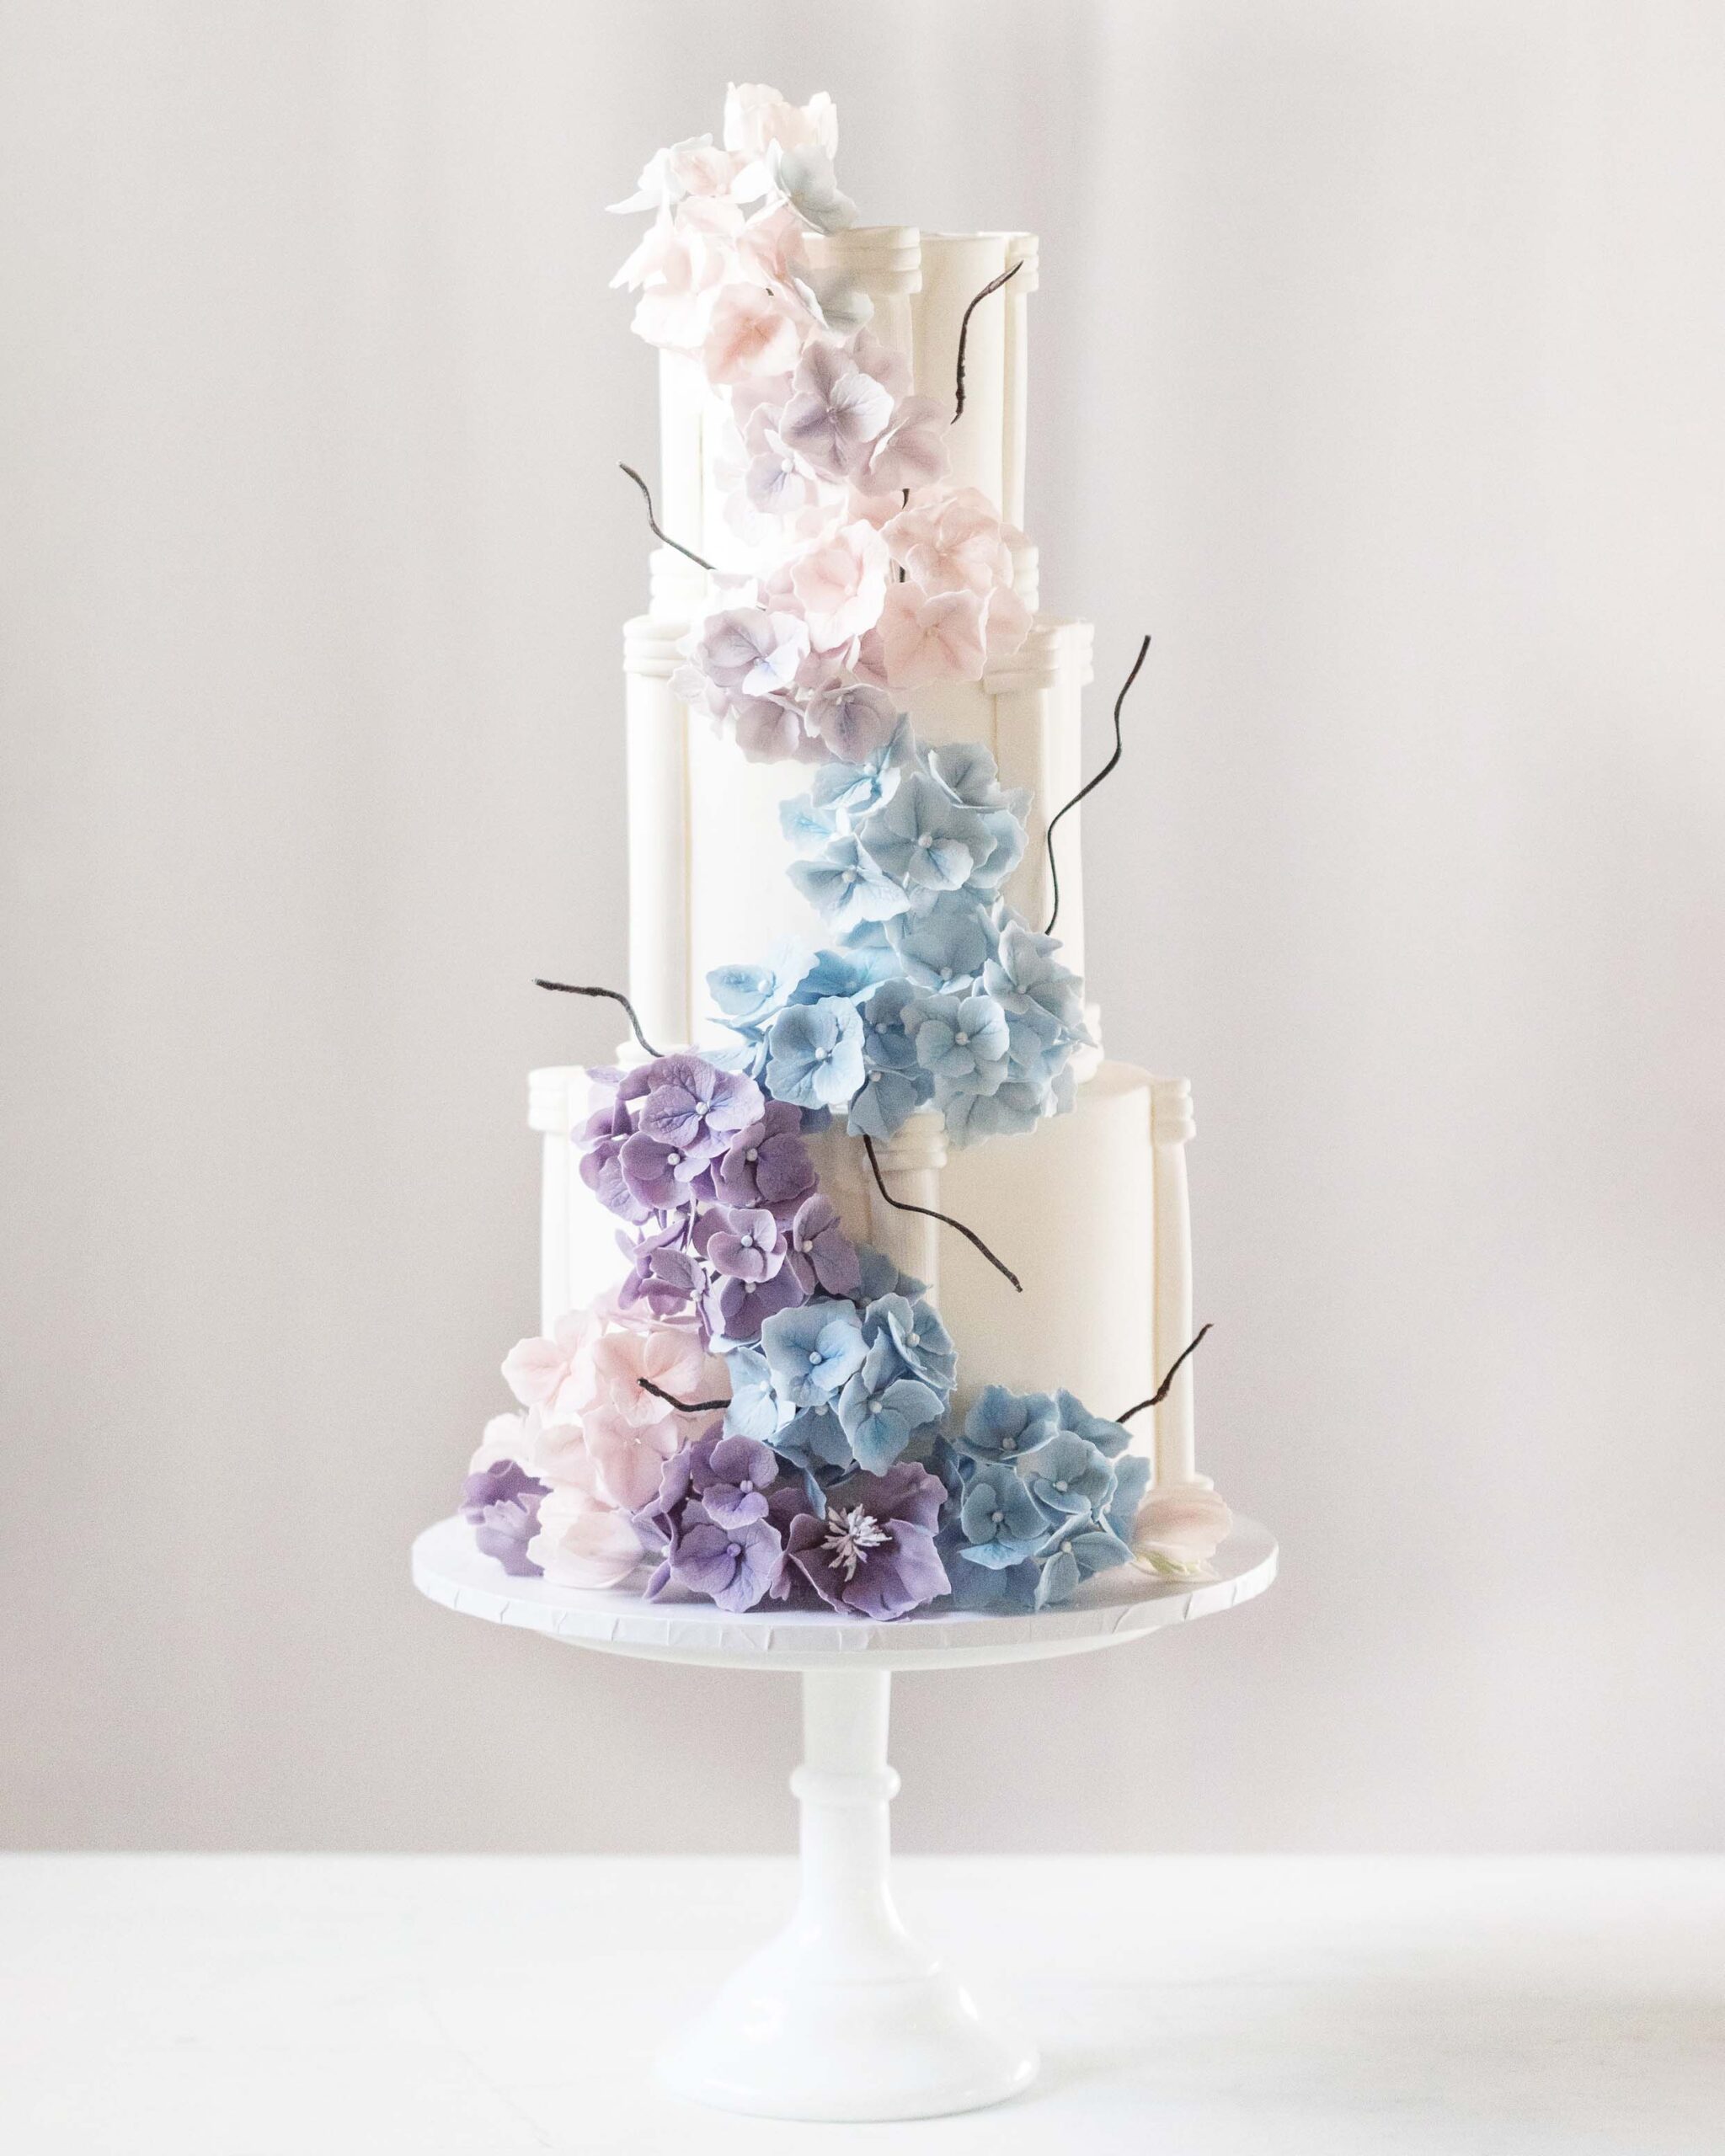
In the wedding-cake world, floral wedding cakes will simply never go out of style. Brides and grooms alike are drawn to romantic pastel shades and dimensional florals. Inspired by bridal bouquets, Nina YK creates a dreamy design that showcases delicate hydrangea posies. Learn to create these heavenly blooms with this easy step-by-step gum-paste hydrangea tutorial!
Edibles:
- Gum paste
- Edible glue
- Petal dust: fresh green, pale pink, lilac, and blue
Equipment:
- Pliers
- Floral wire: 24 and 28-gauge
- Dresden tool
- Rolling pin
- Hydrangea cutter
- Cell pen
- Hydrangea veiner
- Bumpy foam
- Floral tape
- Paintbrushes
Make the Gum-Paste Hydrangea Centers
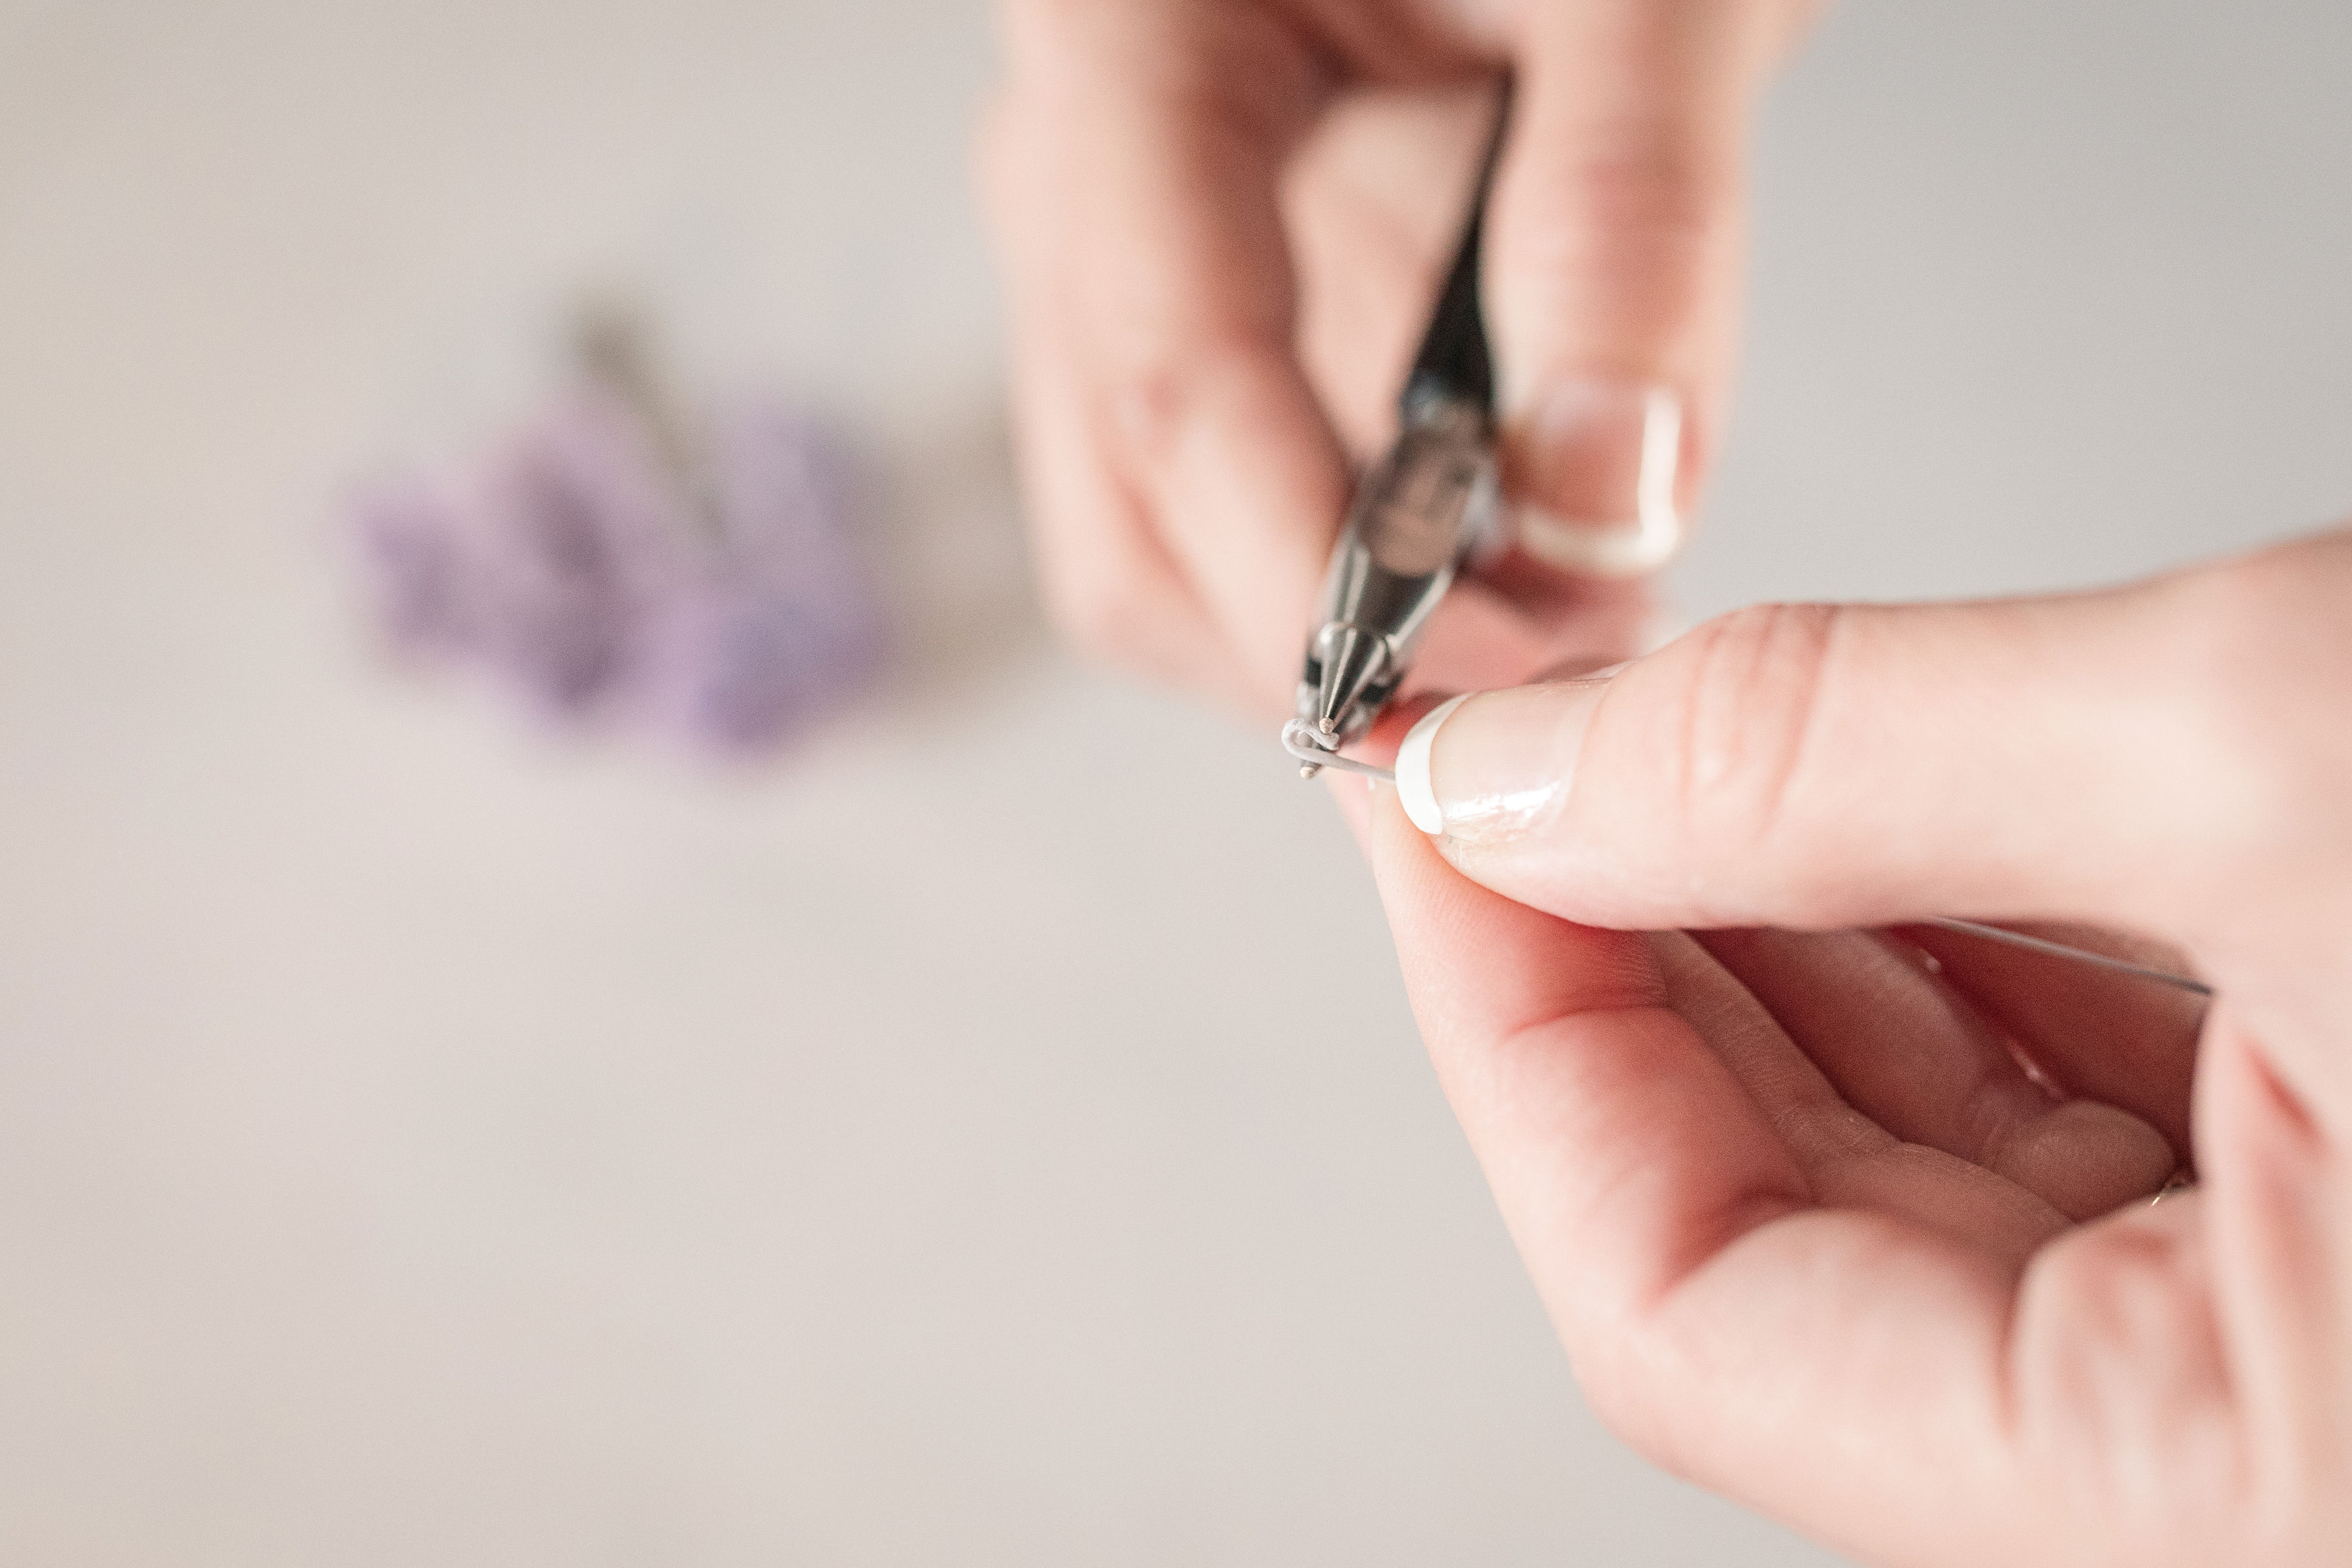
- Using a pair of pliers, make a hook at the end of a length of 24-gauge wire.
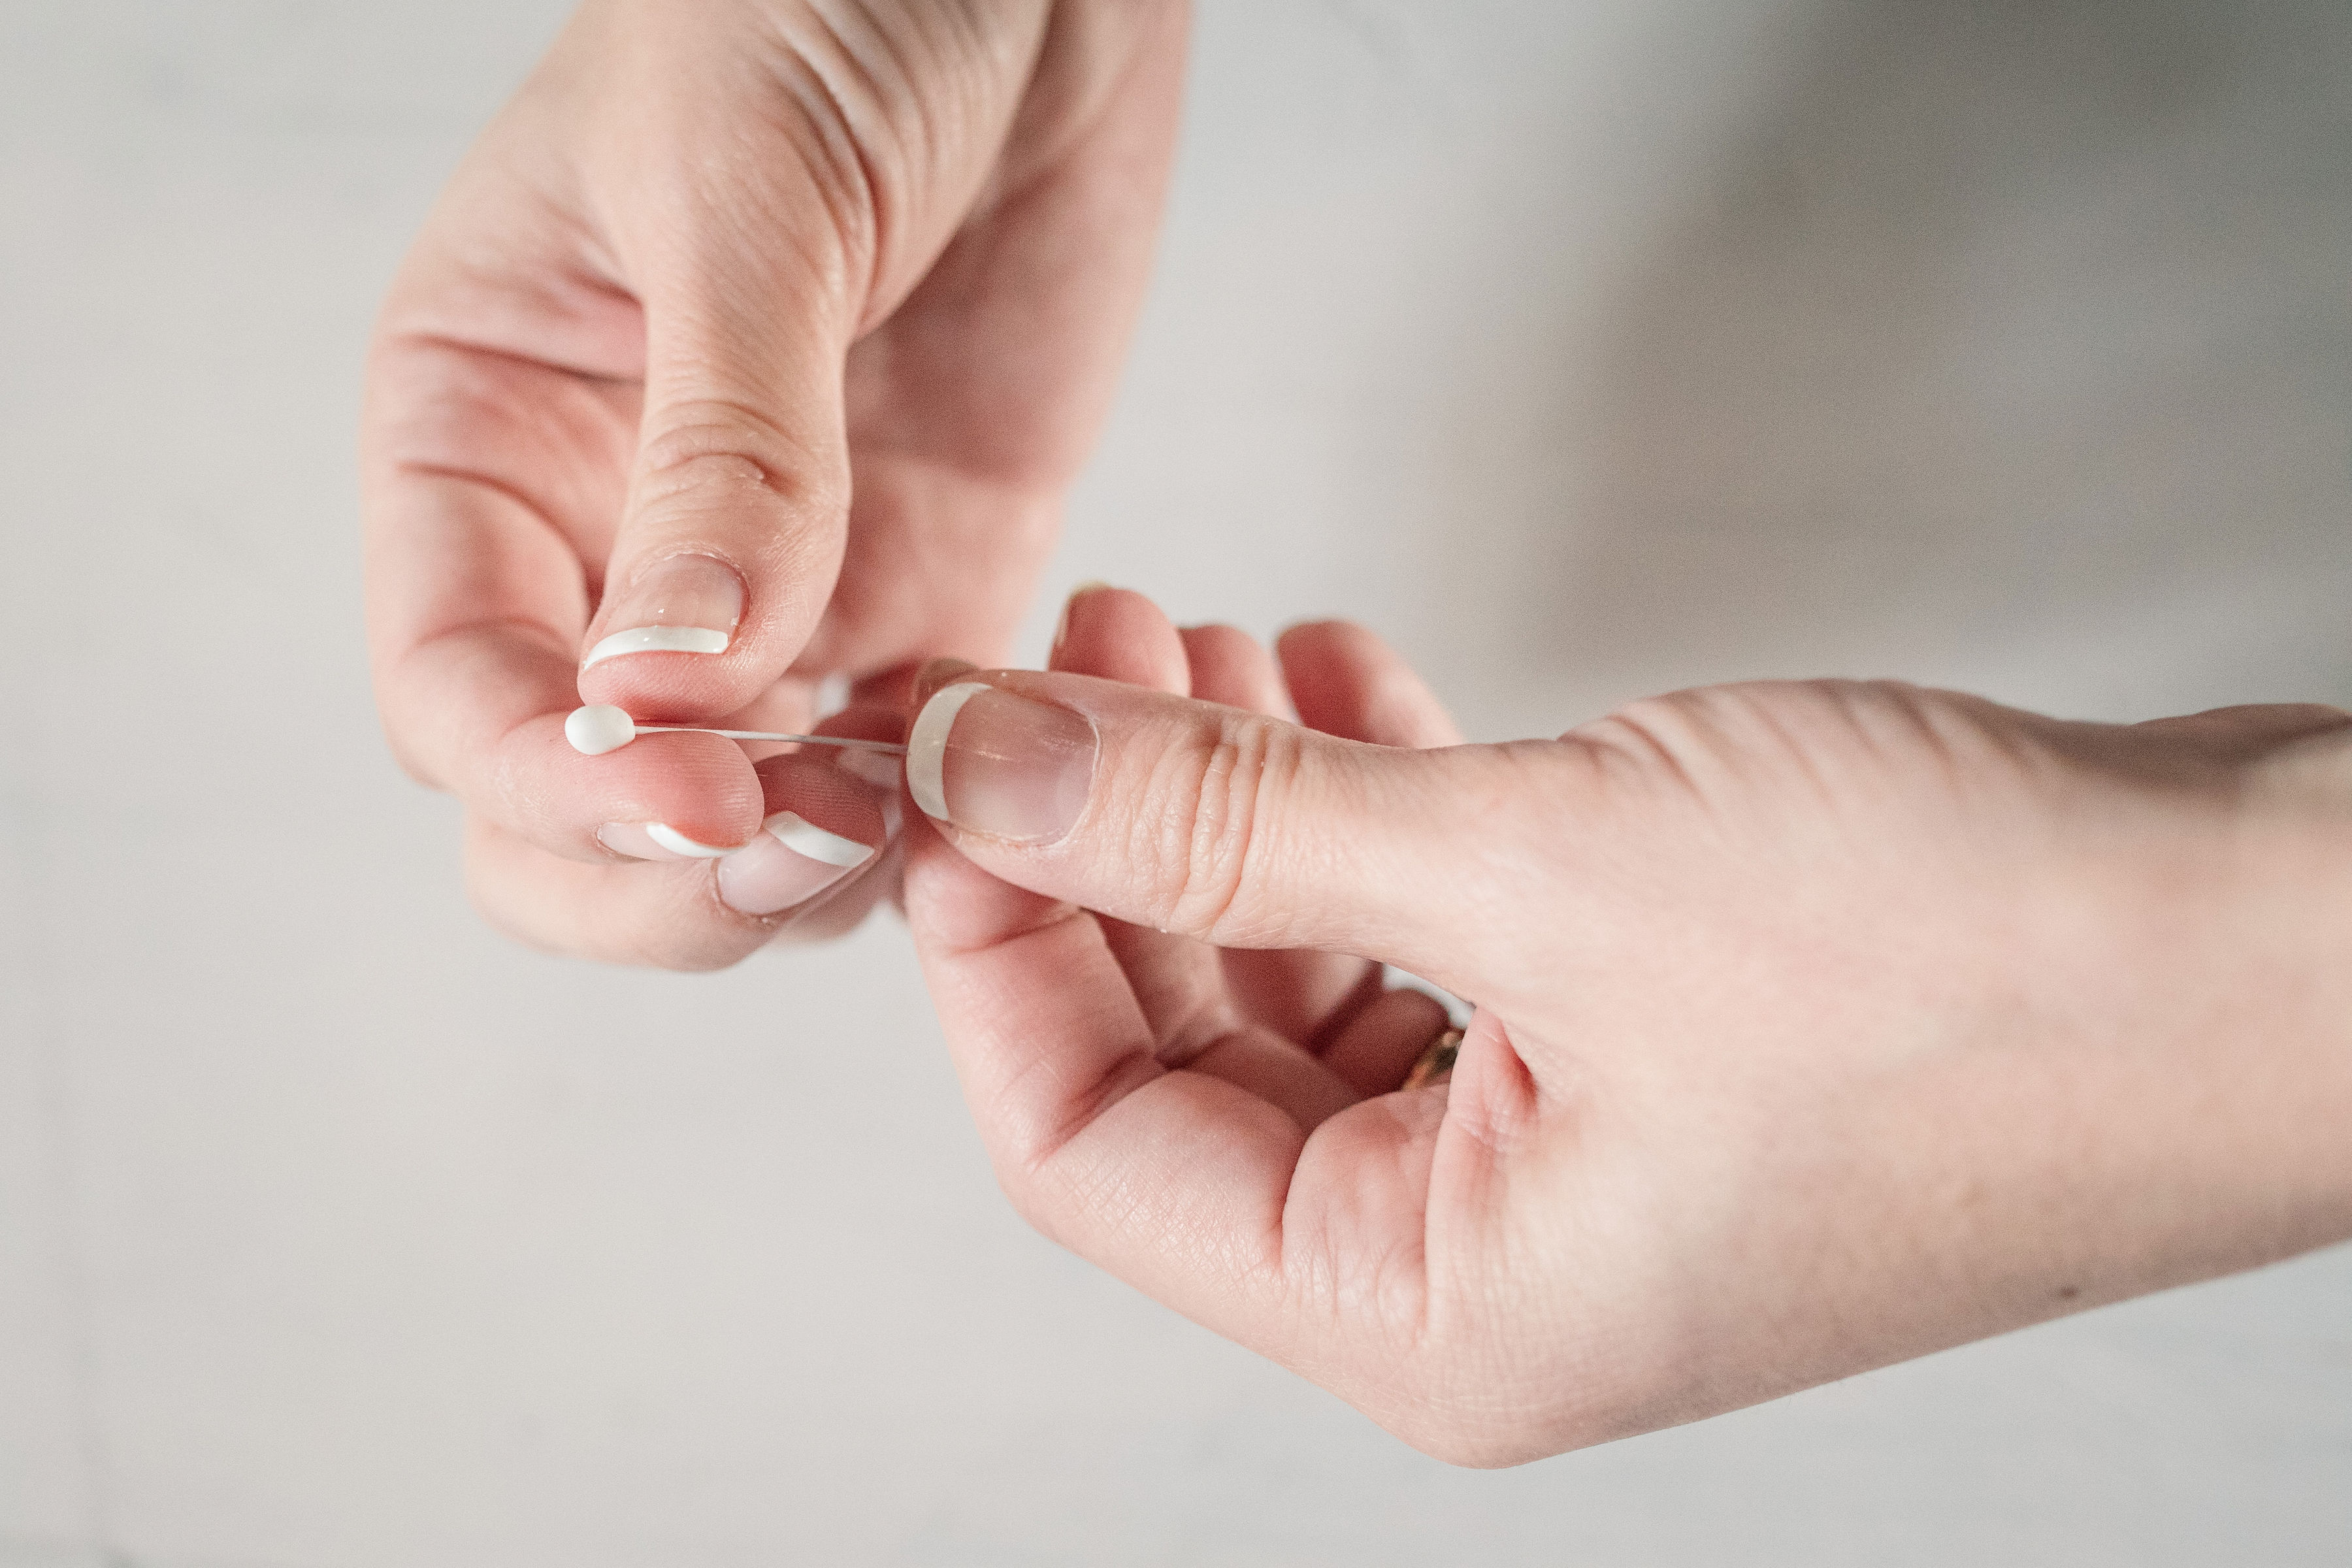
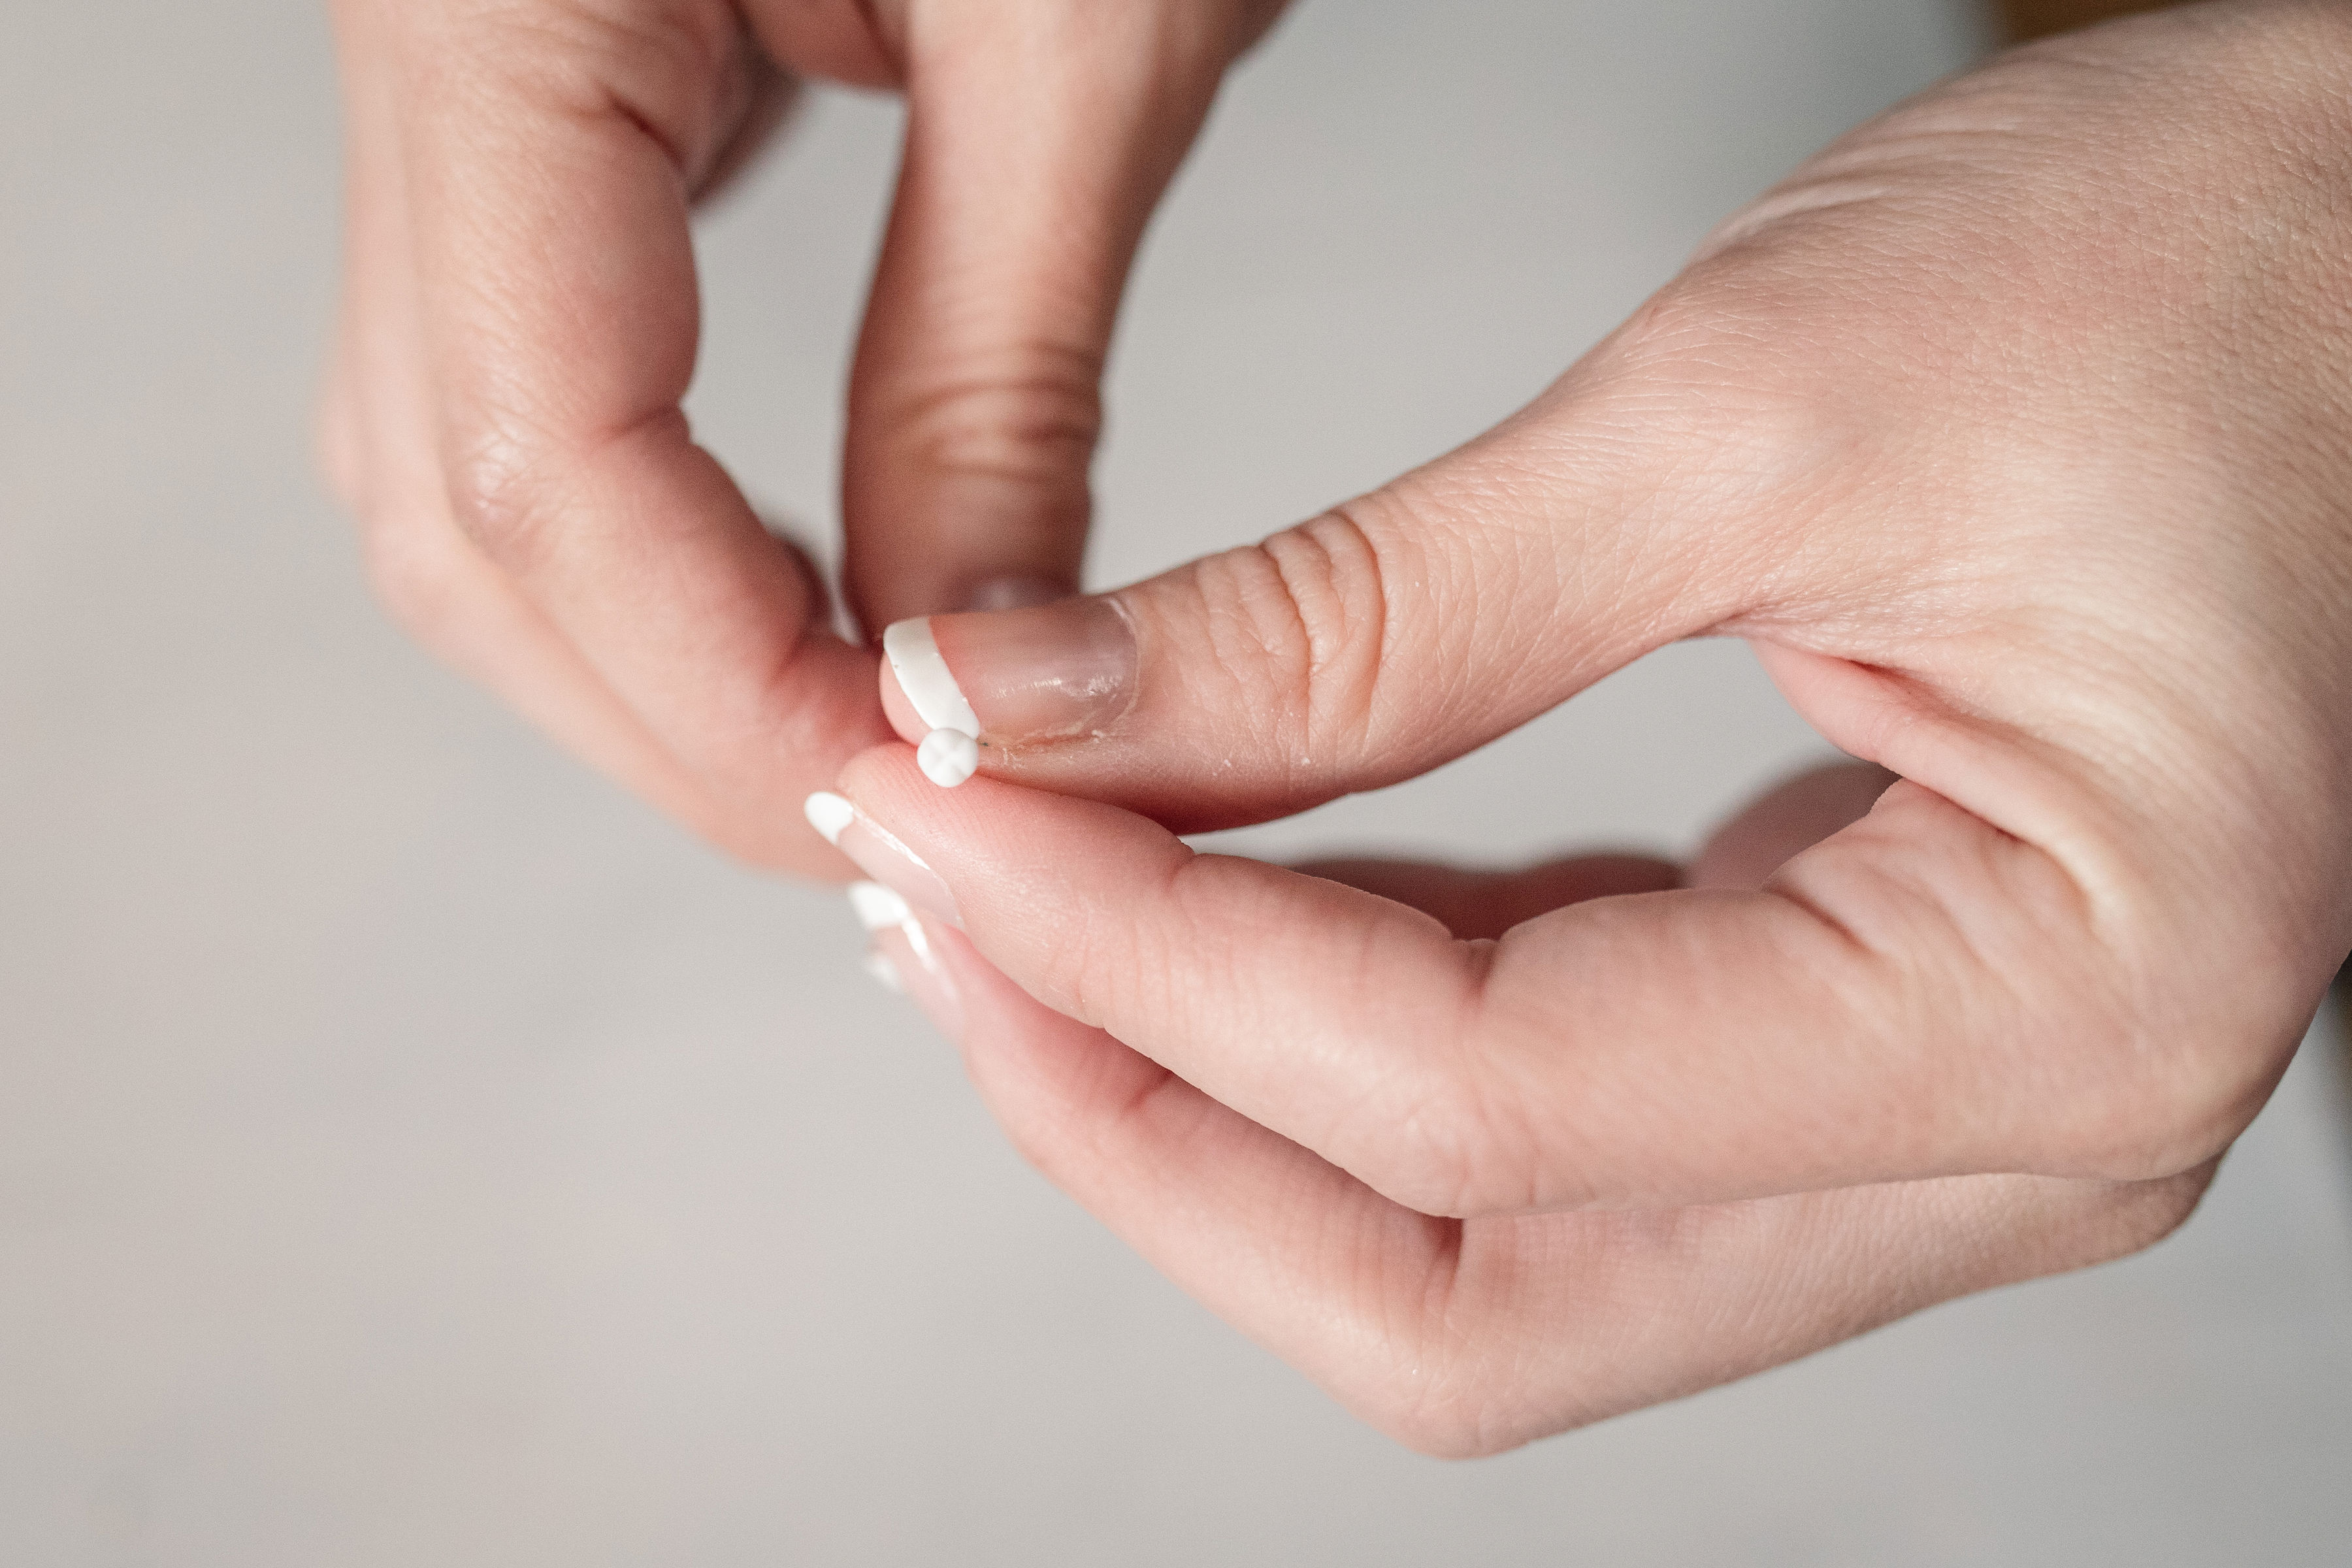
- Form a tiny ball of gum paste (the size of a pinhead) and encase the hook in it. Smooth it completely until you have a round head.
- Using the Dresden tool, make 2 lines crossing each other (cross bun shape). Repeat the process, creating multiple hydrangea centers. Leave them to dry.
Make the Gum-Paste Hydrangea Petals
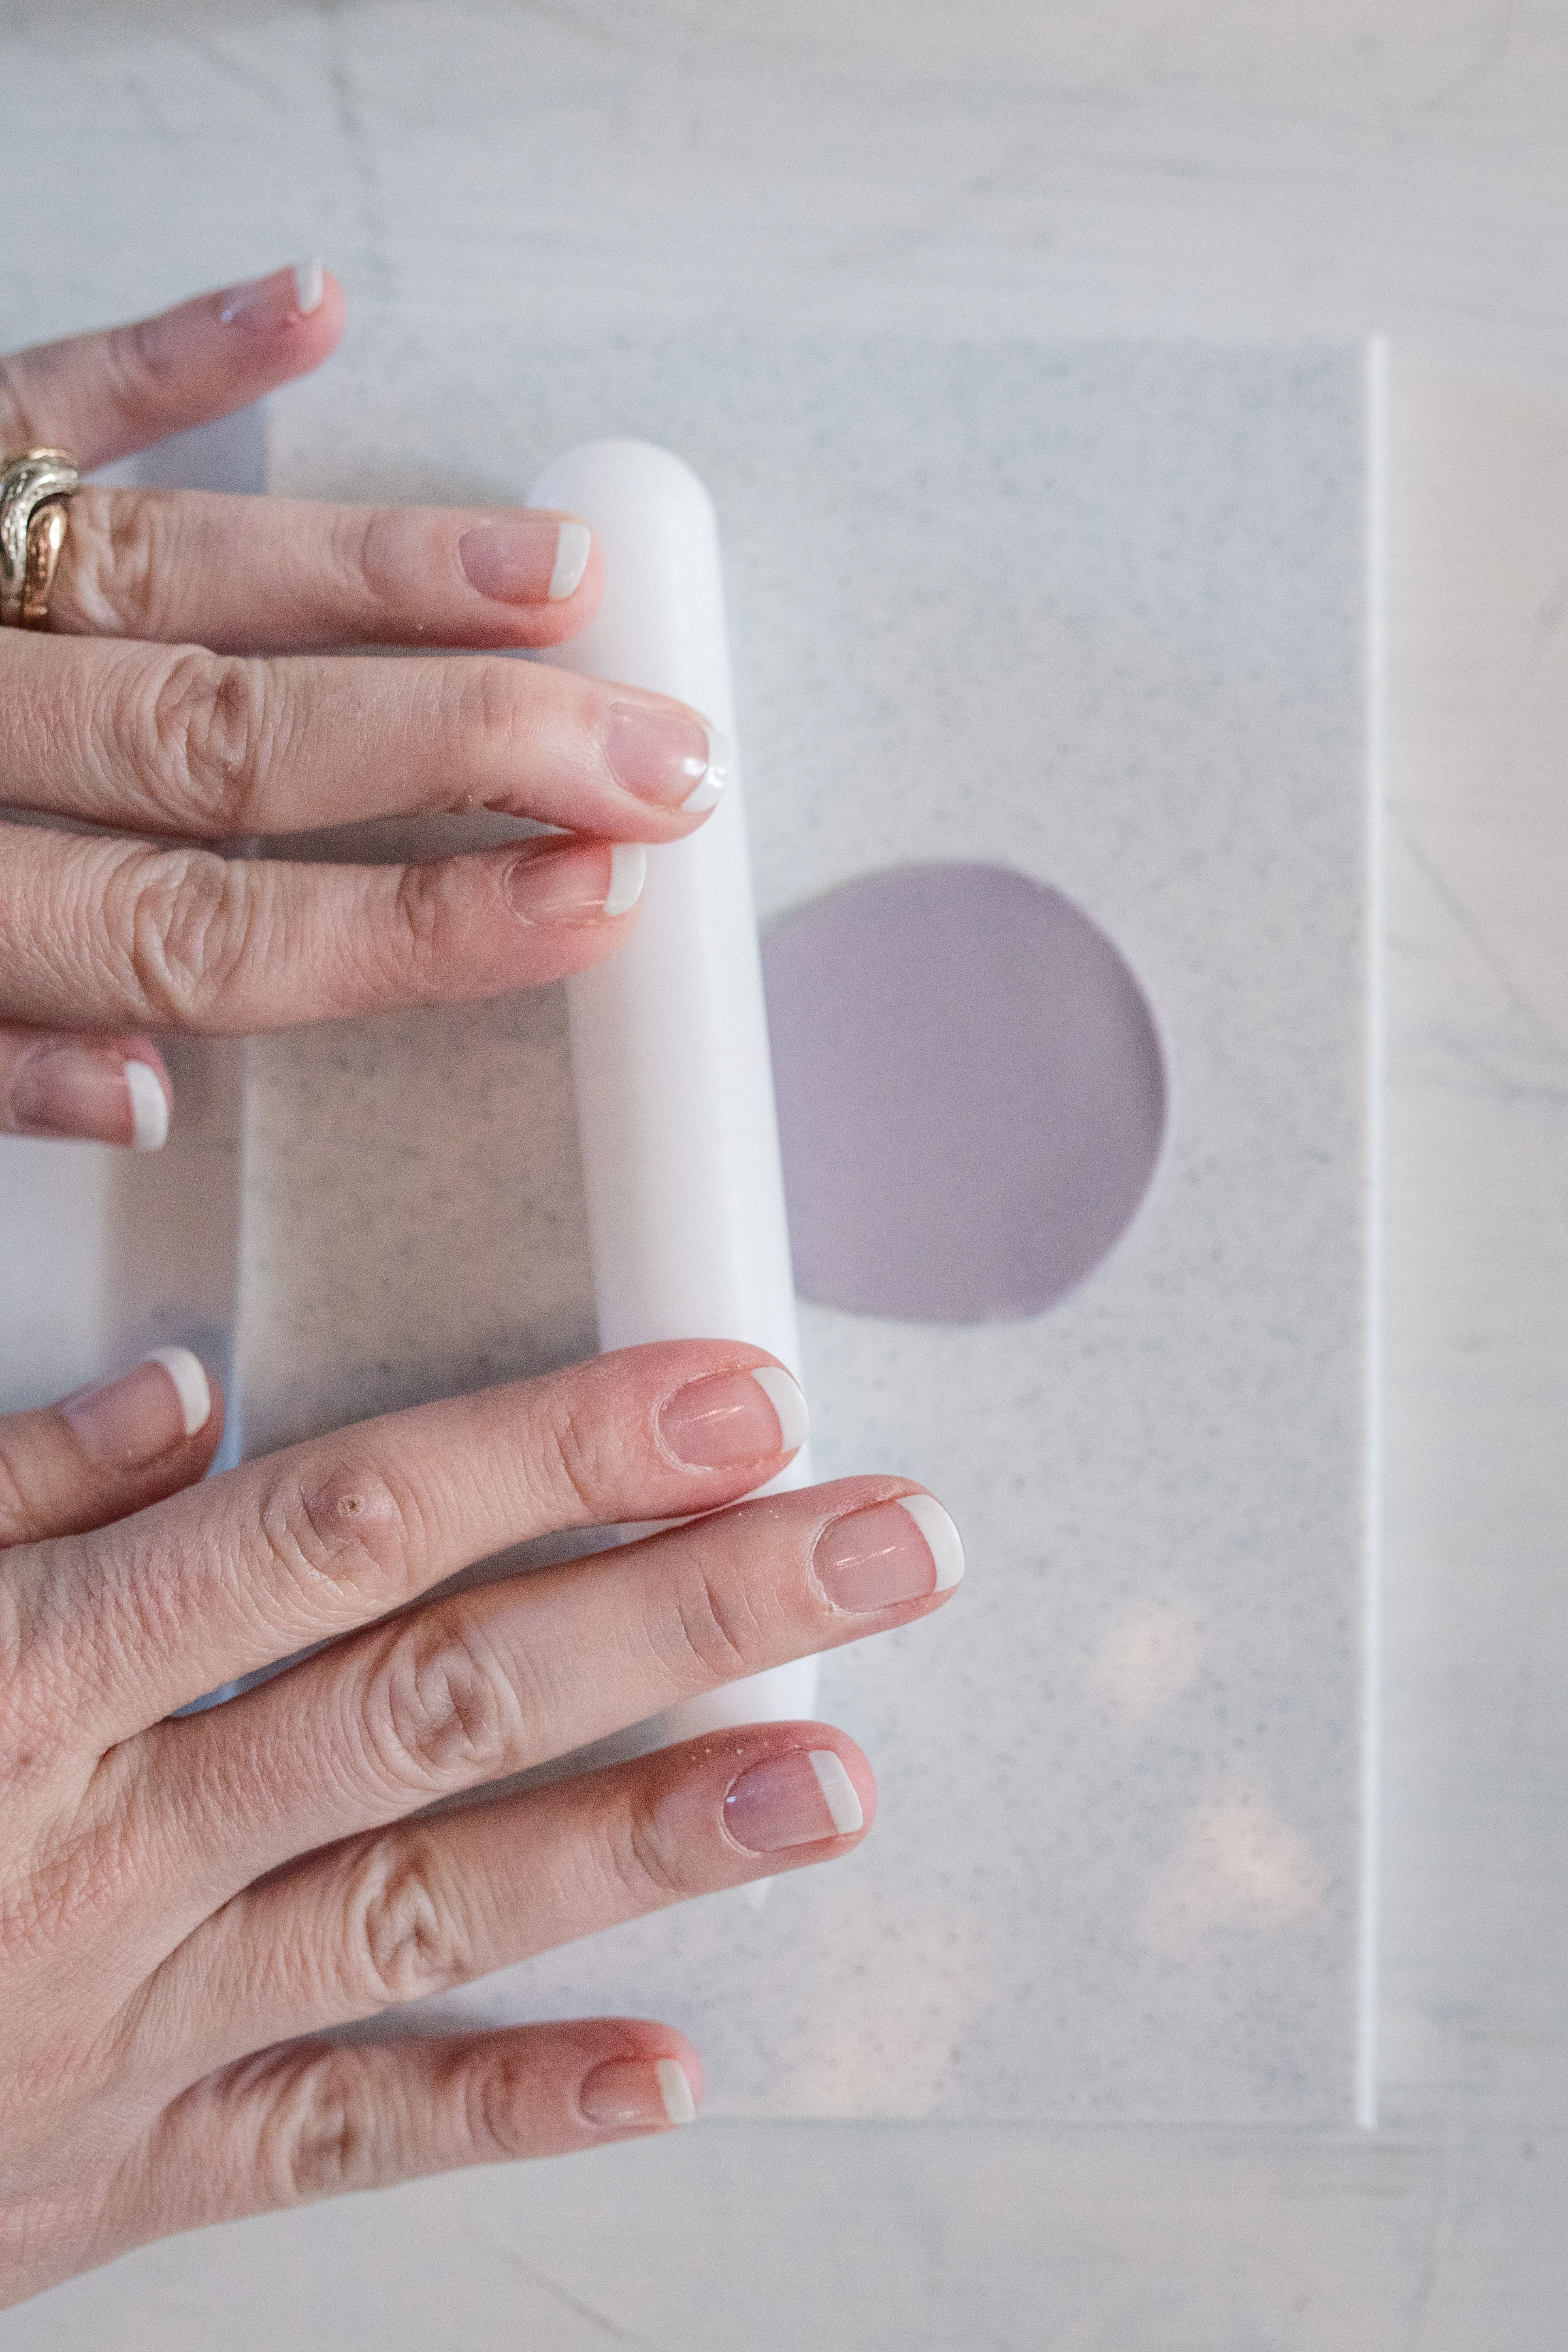
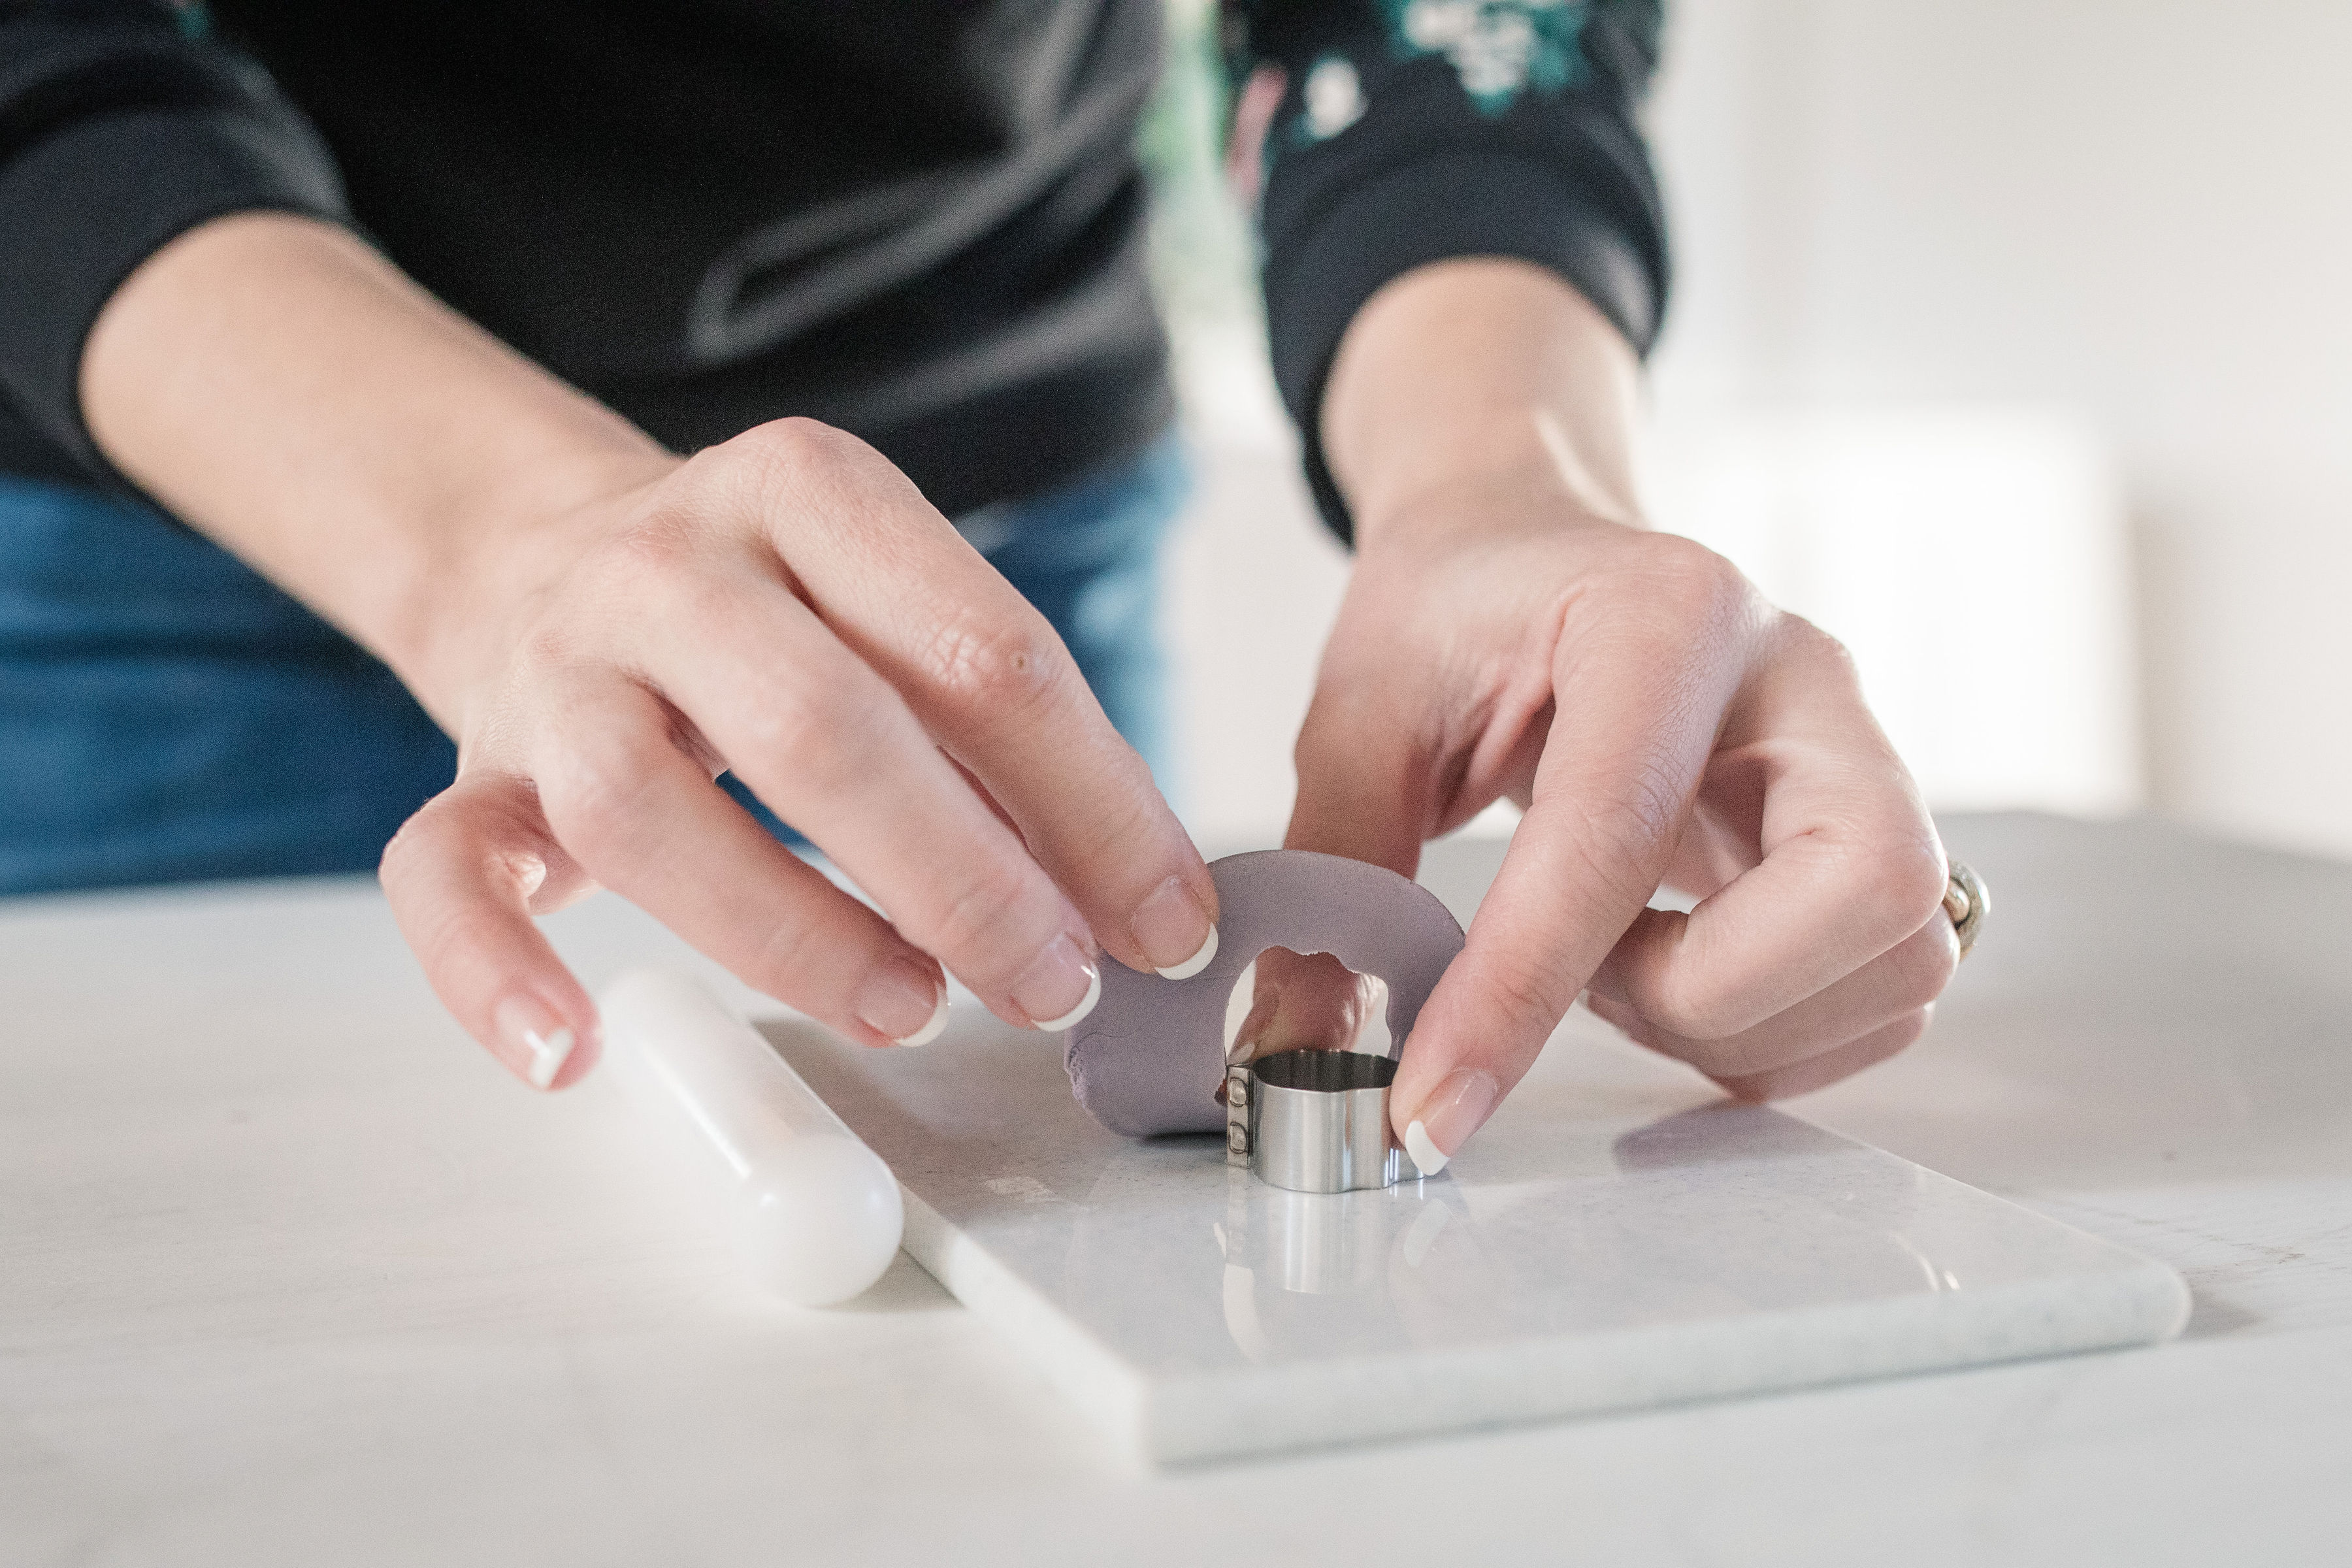
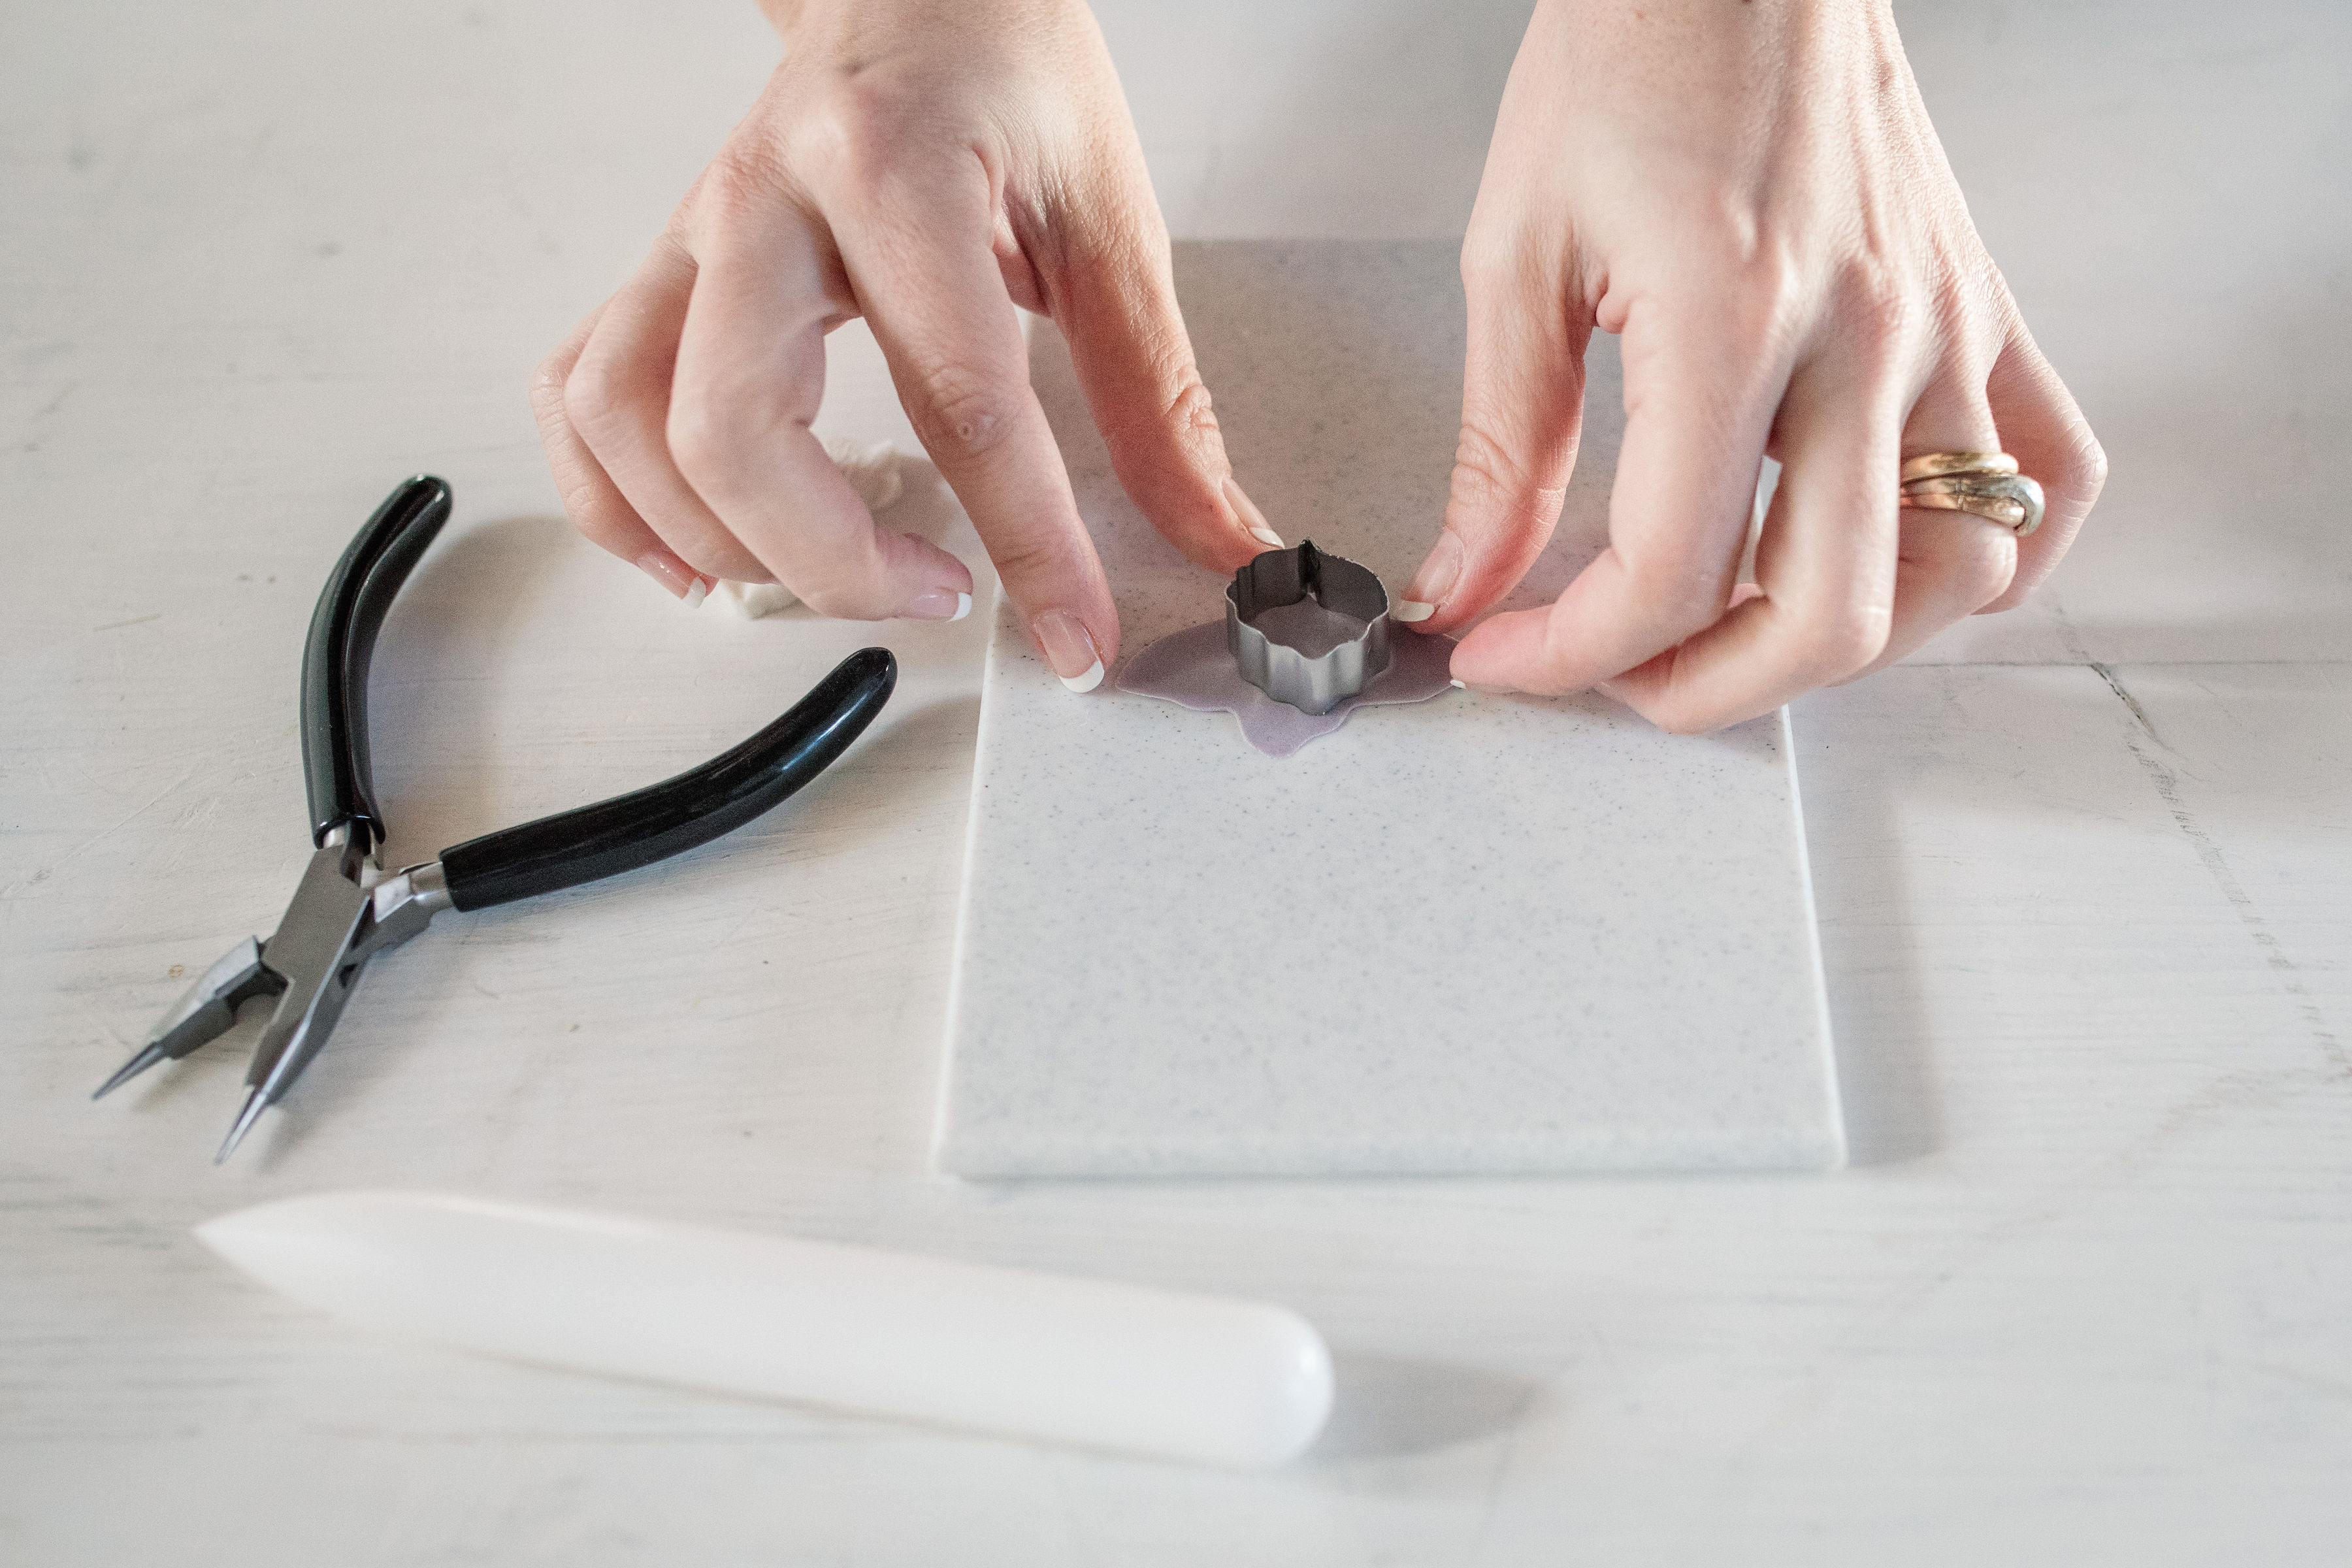
- Roll out some very thin gum paste. Using the hydrangea cutter, cut out the hydrangea petals and remove the excess paste. Alternatively, you could use a small teardrop-shaped cutter. A small rose petal cutter upside down is great for this purpose.
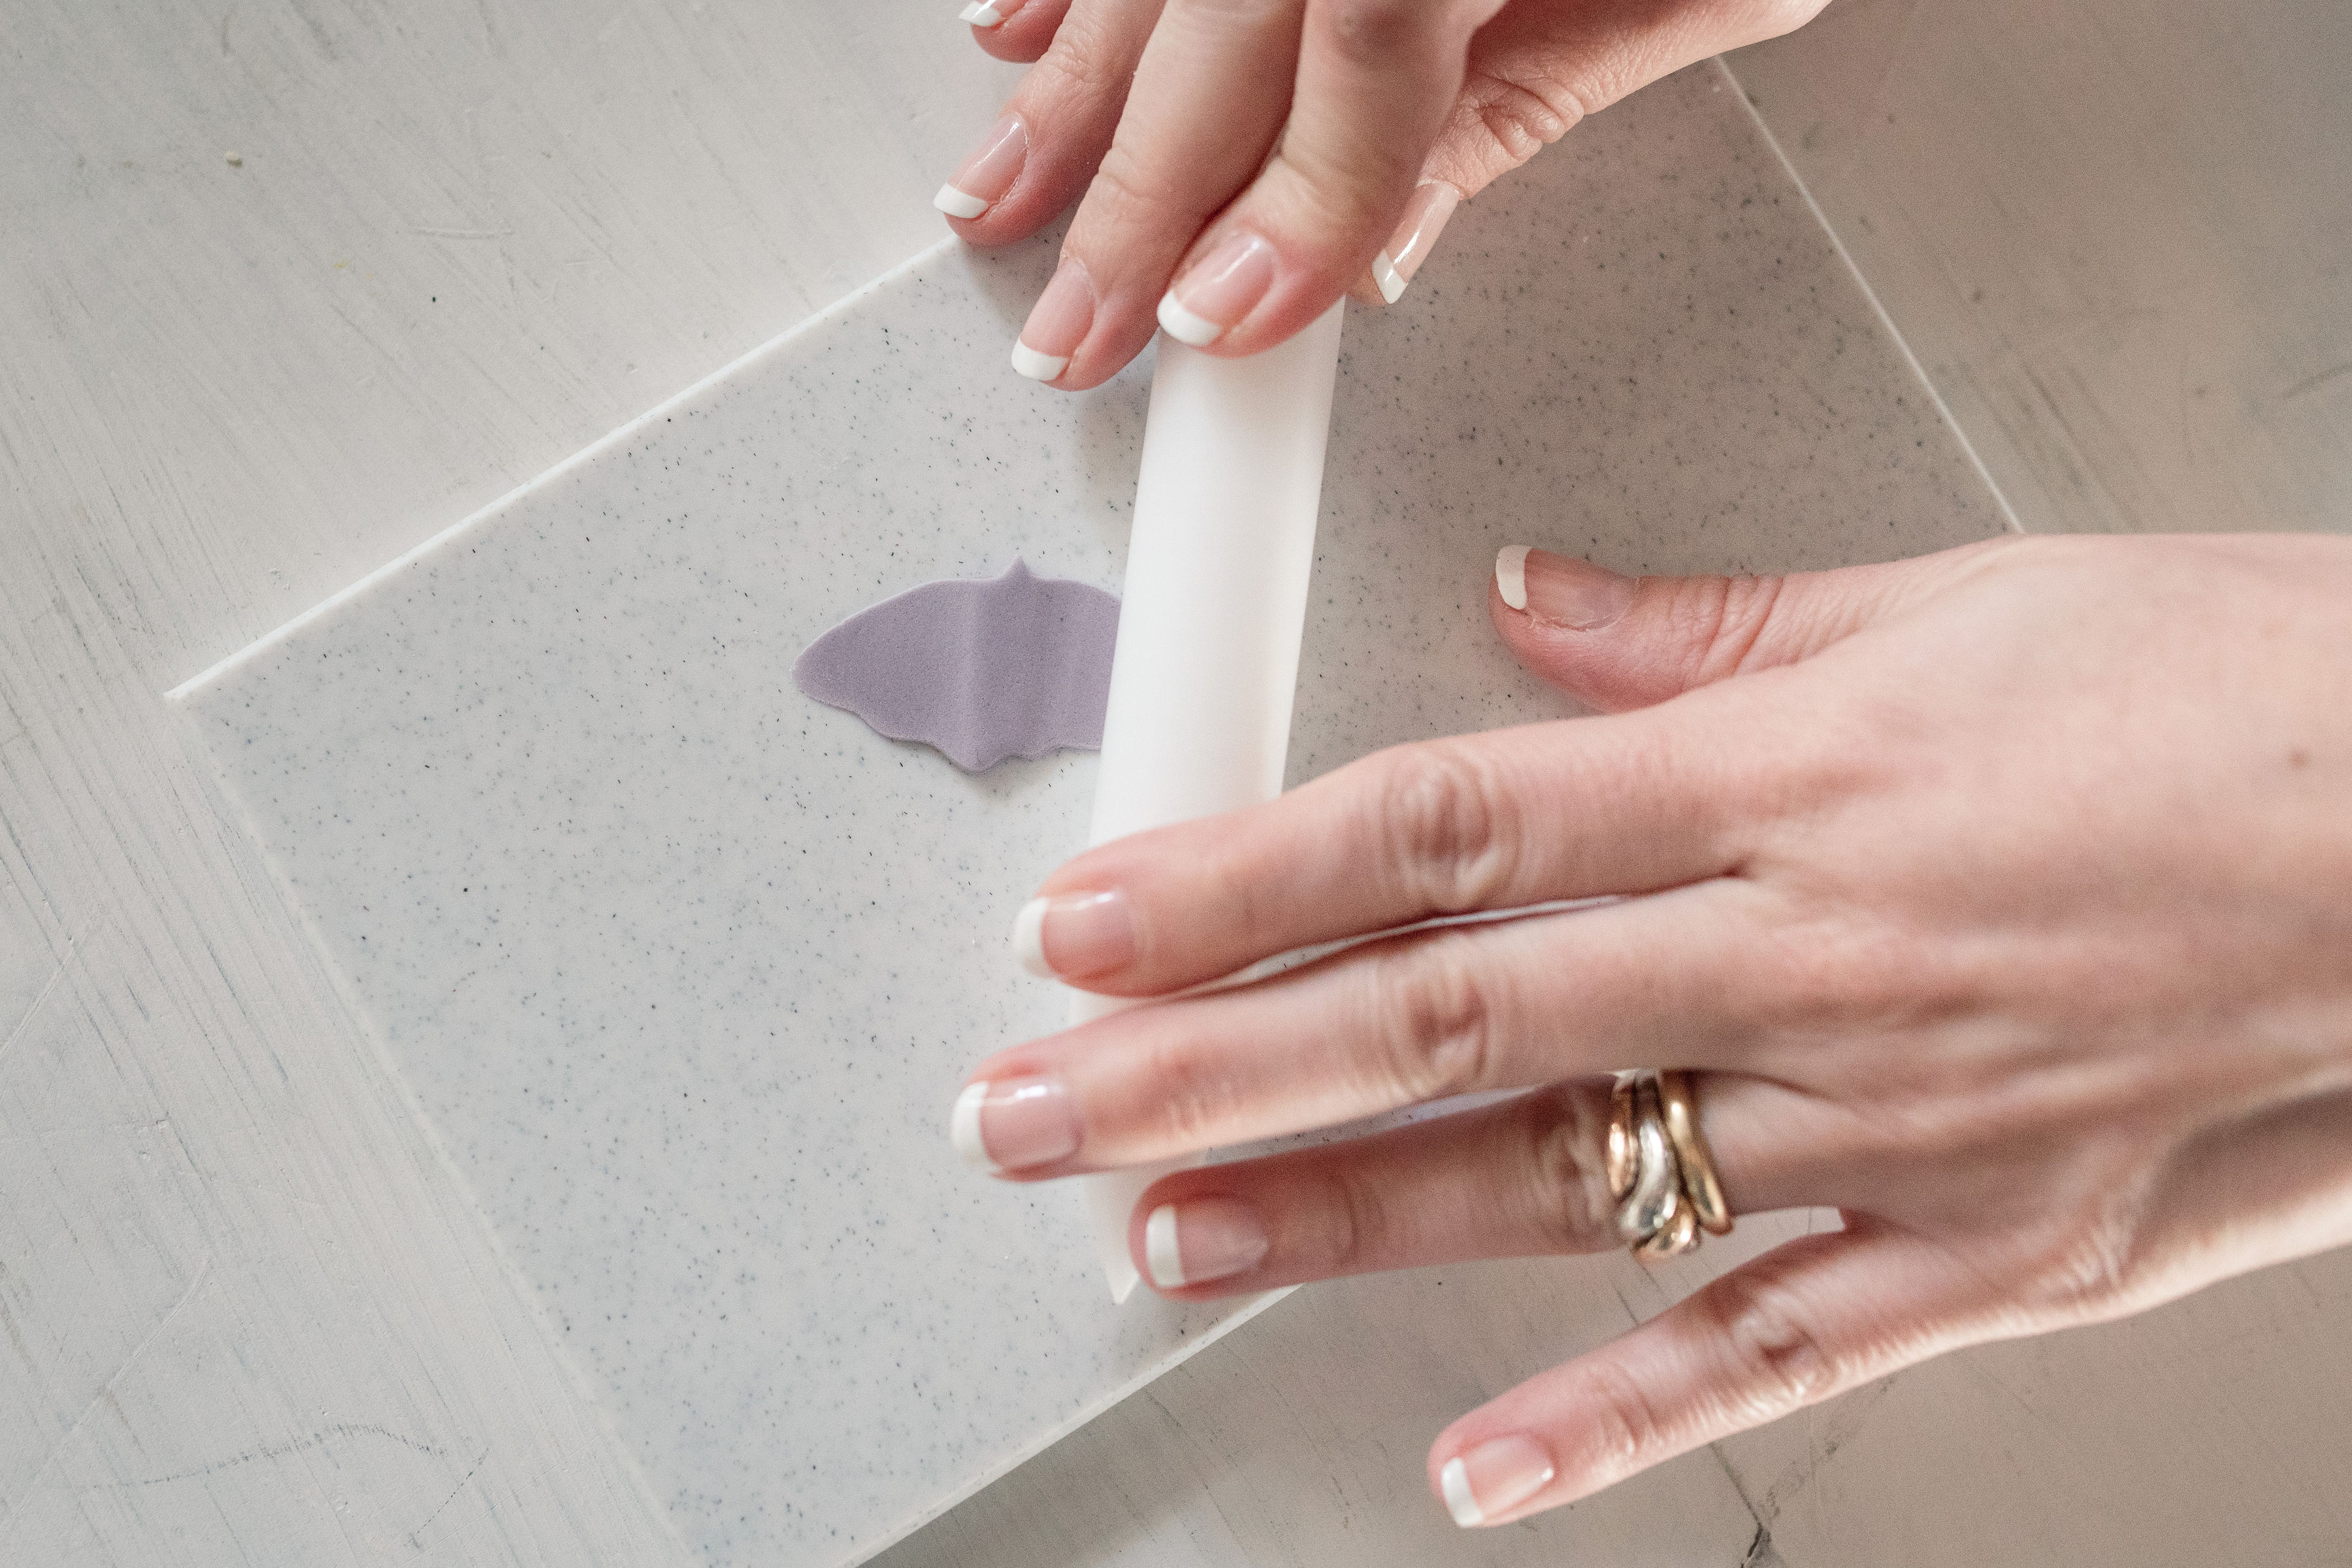
- Thin the petals to add movement using a cell pen. The outside of the shape should be a bit thinner, leaving a thick ridge in the middle in order to insert the wire.
- Using the cutter, cut the shape again, this time centering the ridge in the middle of the cutter. Smooth any frayed edges.
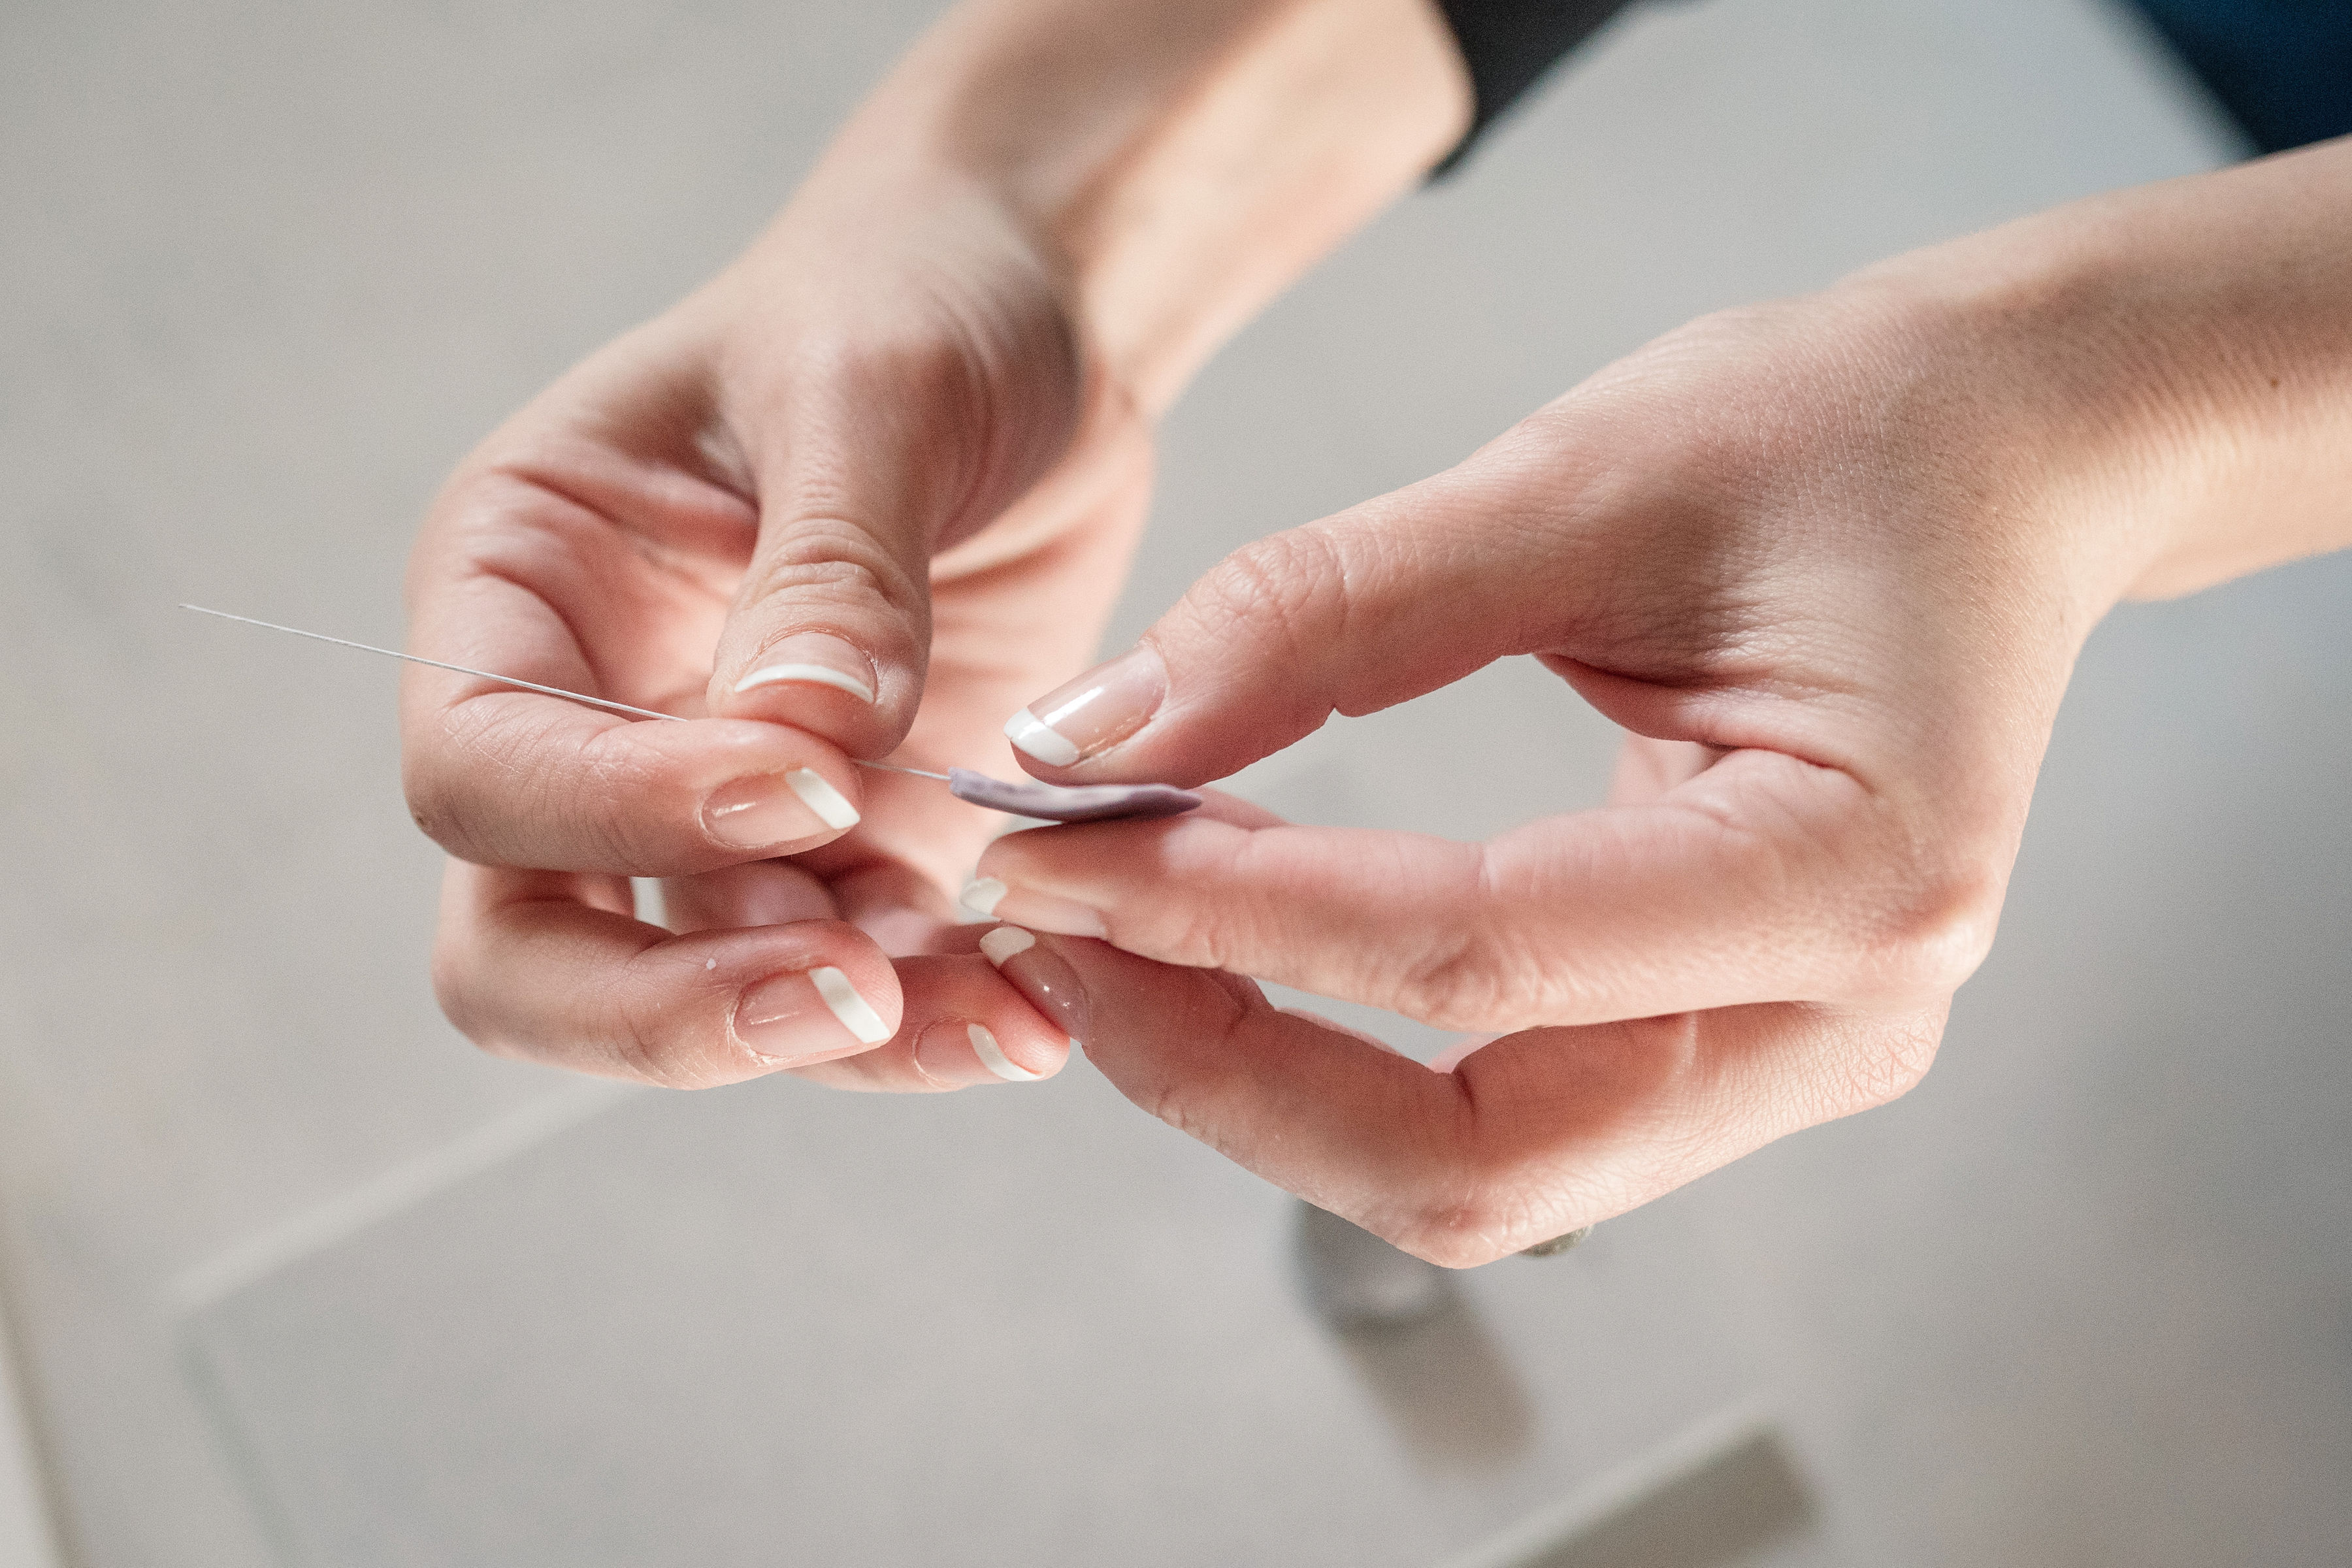
- Dip a piece of 28-gauge wire in edible glue and wipe off any excess. Hold the petal with one hand, and with one finger on top of the ridge and another underneath, ease the wire through the ridge halfway up the petal.
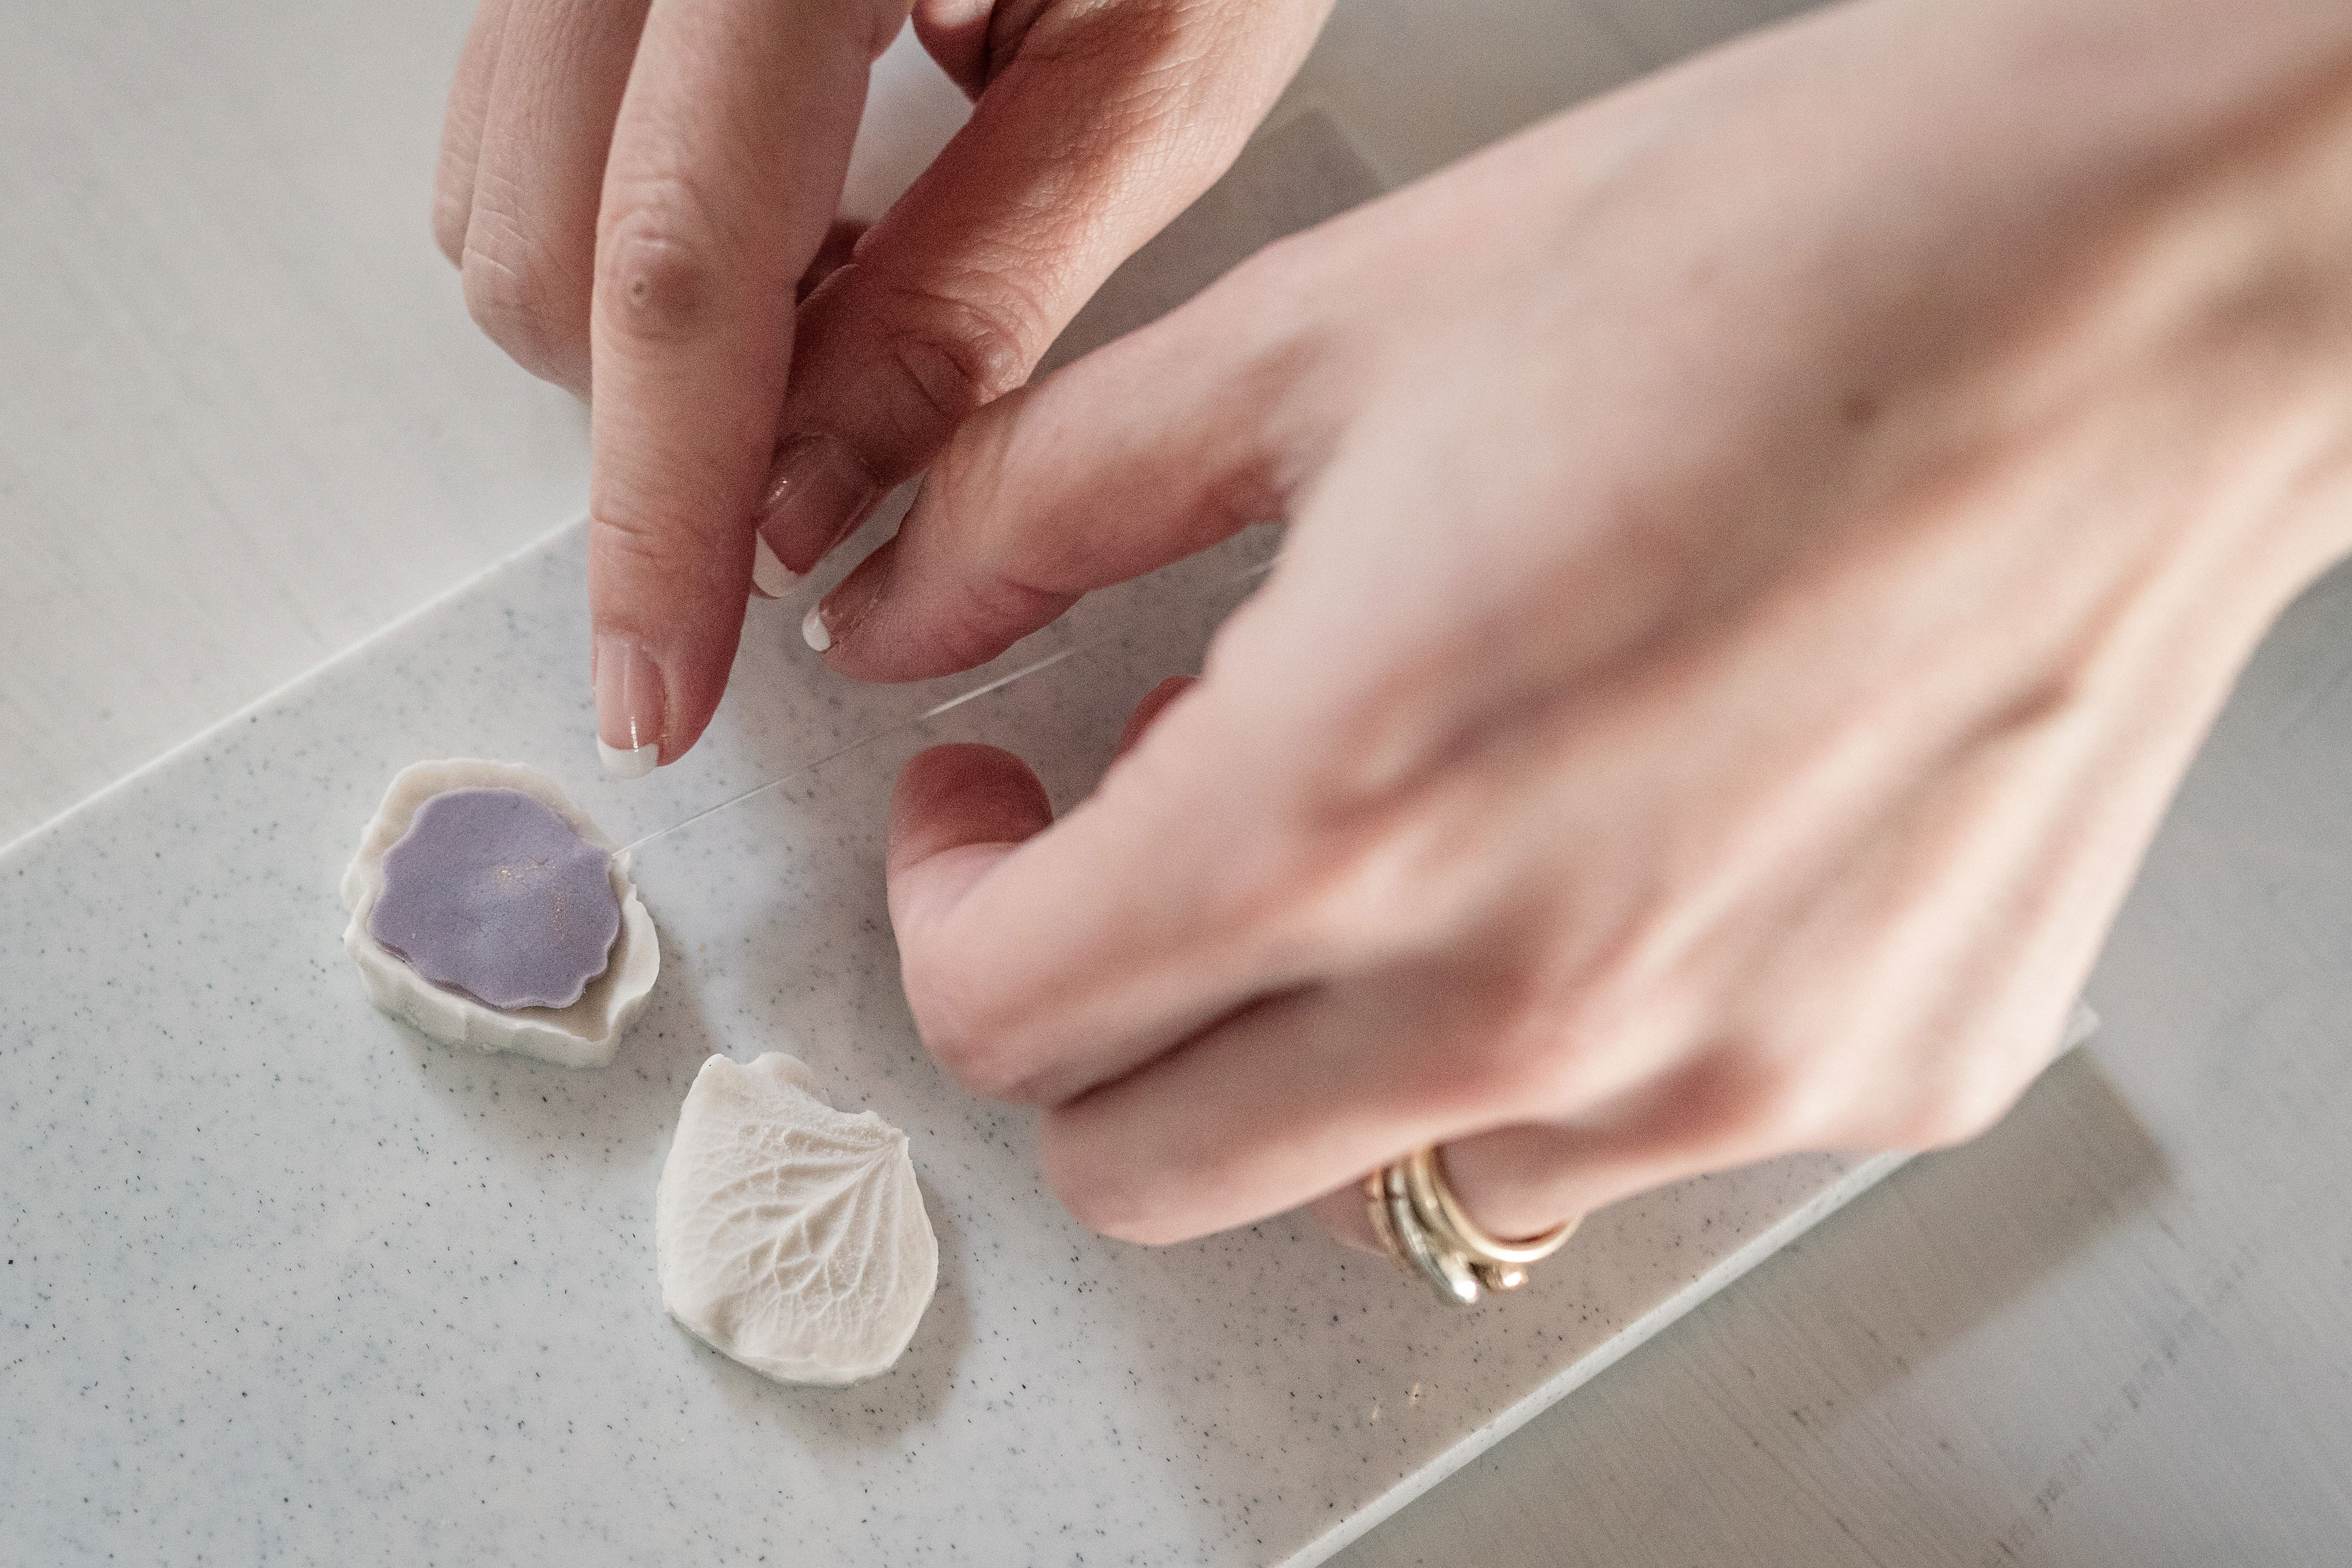
- Vein the wired petal using the veiner tool. Make sure you don’t press too hard where the wire sits so it doesn’t poke out.
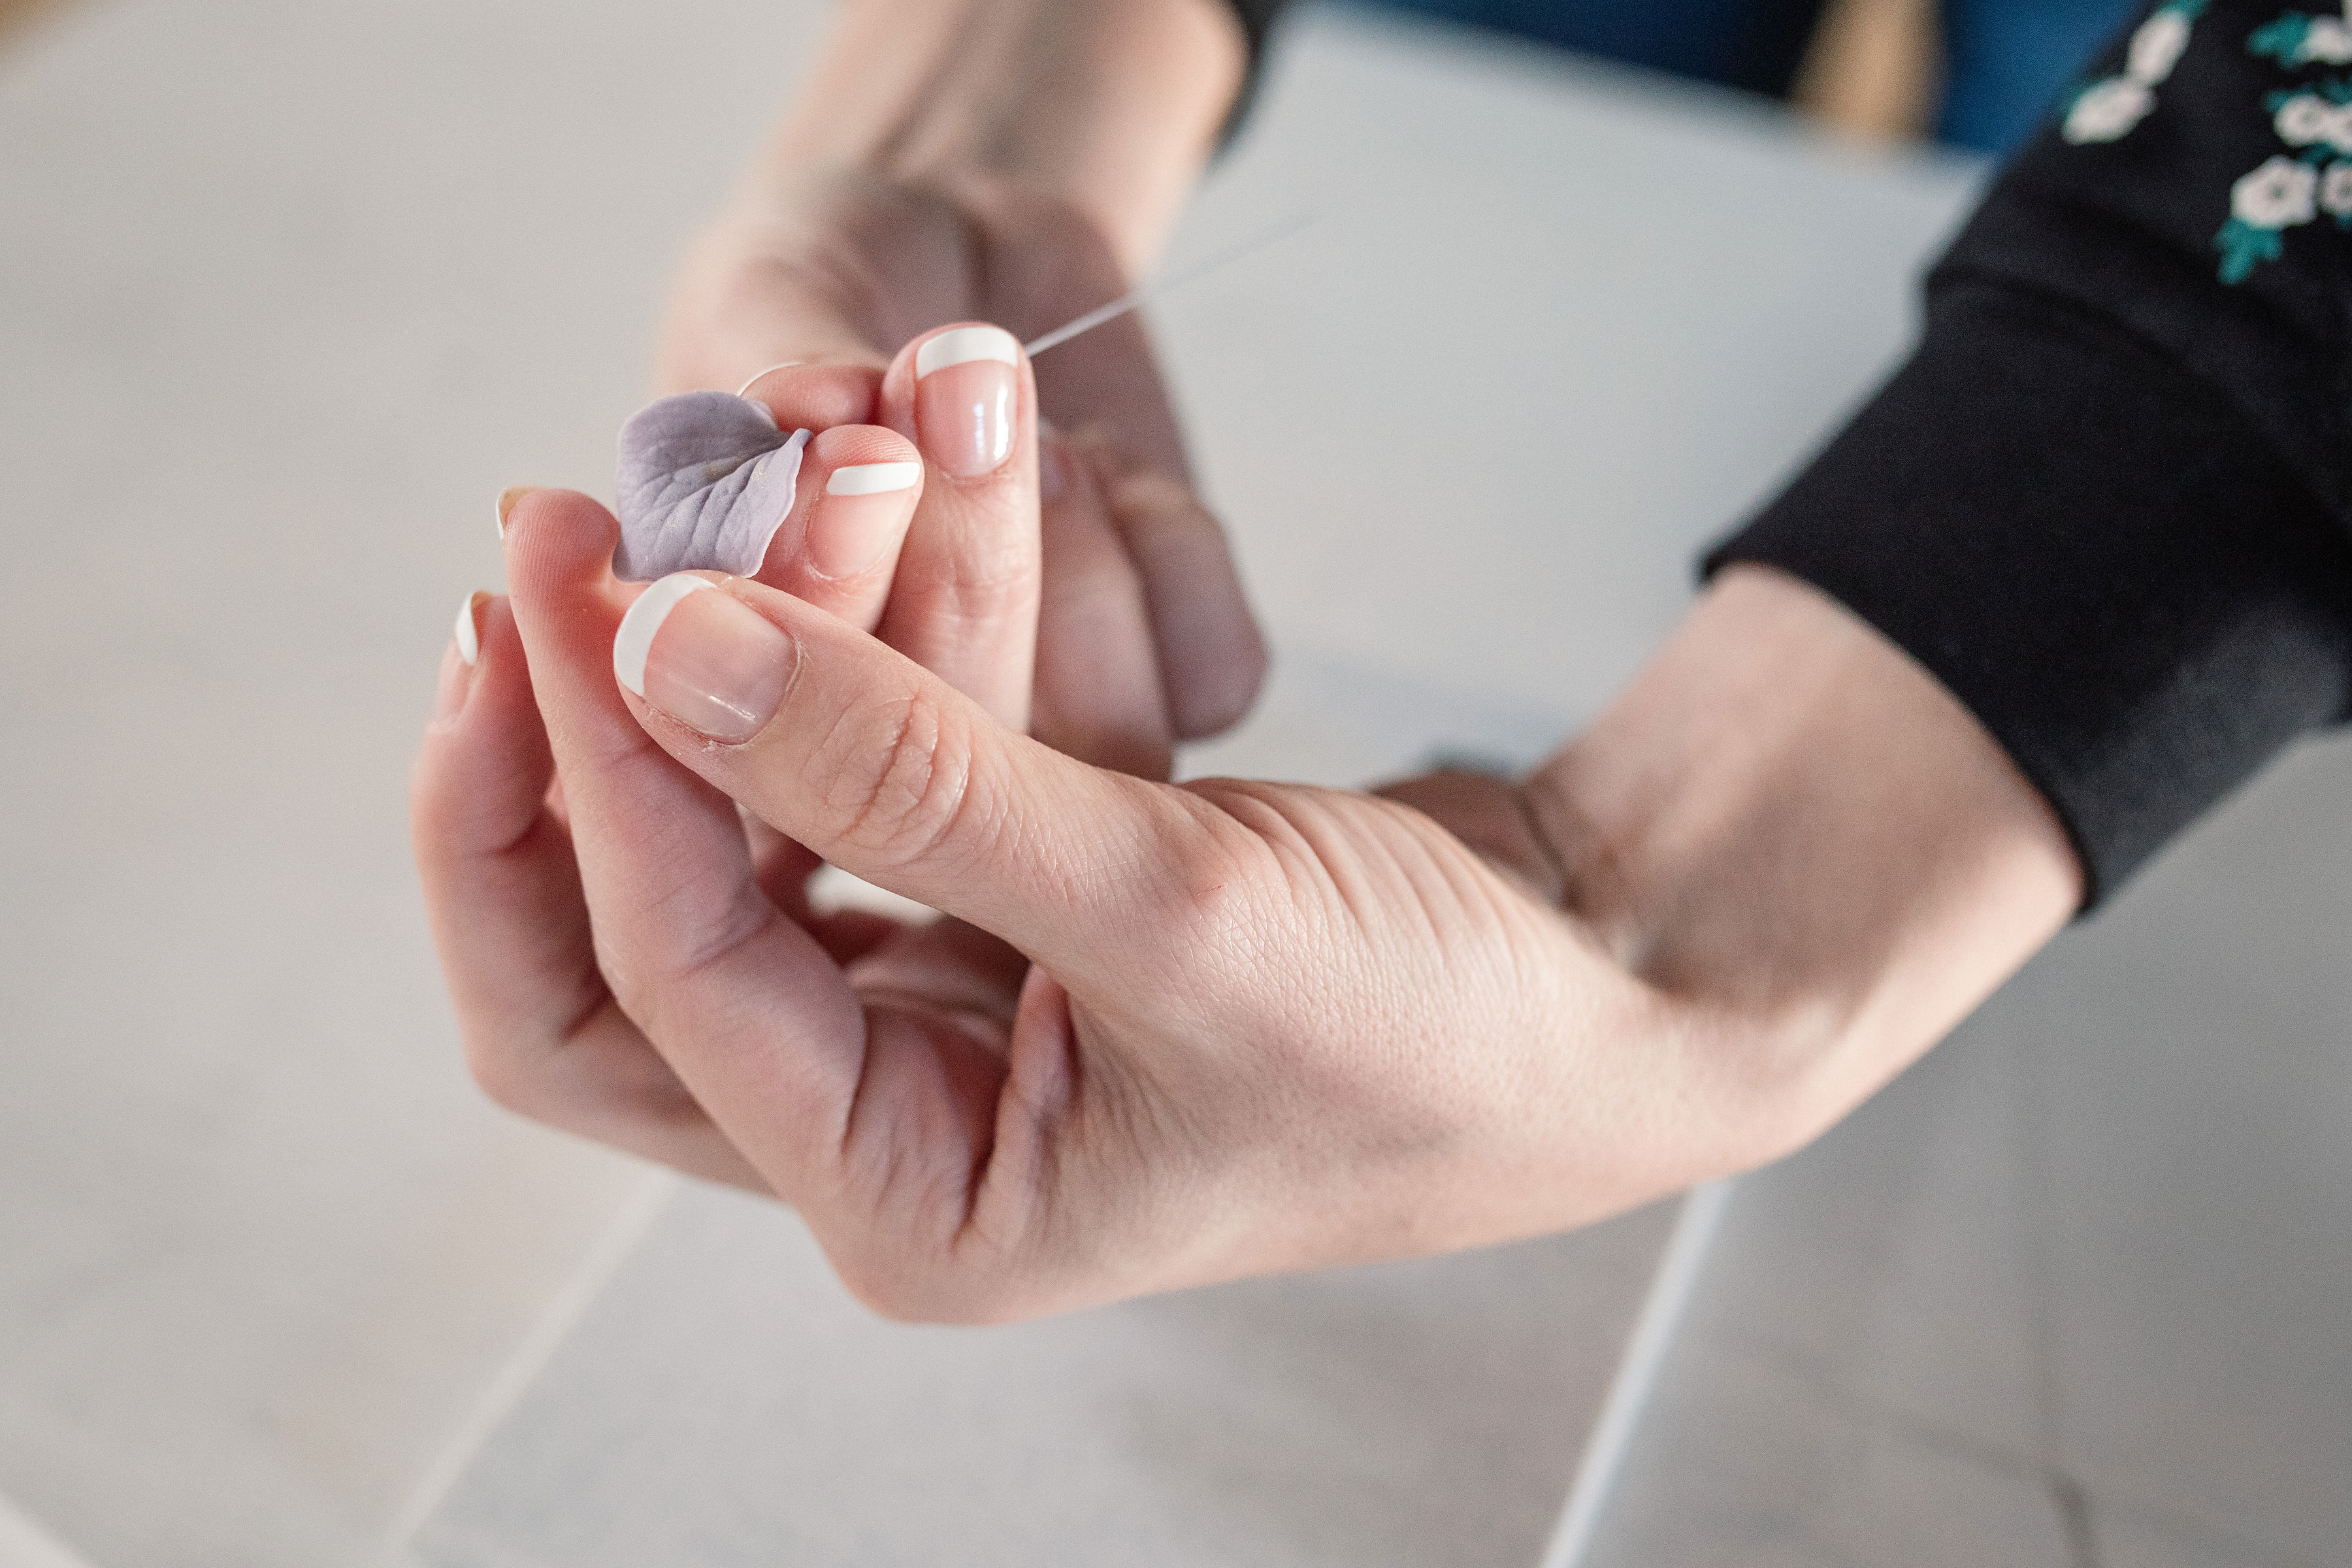
- Using your hand, pinch the base of the petal lightly to give it a natural shape.
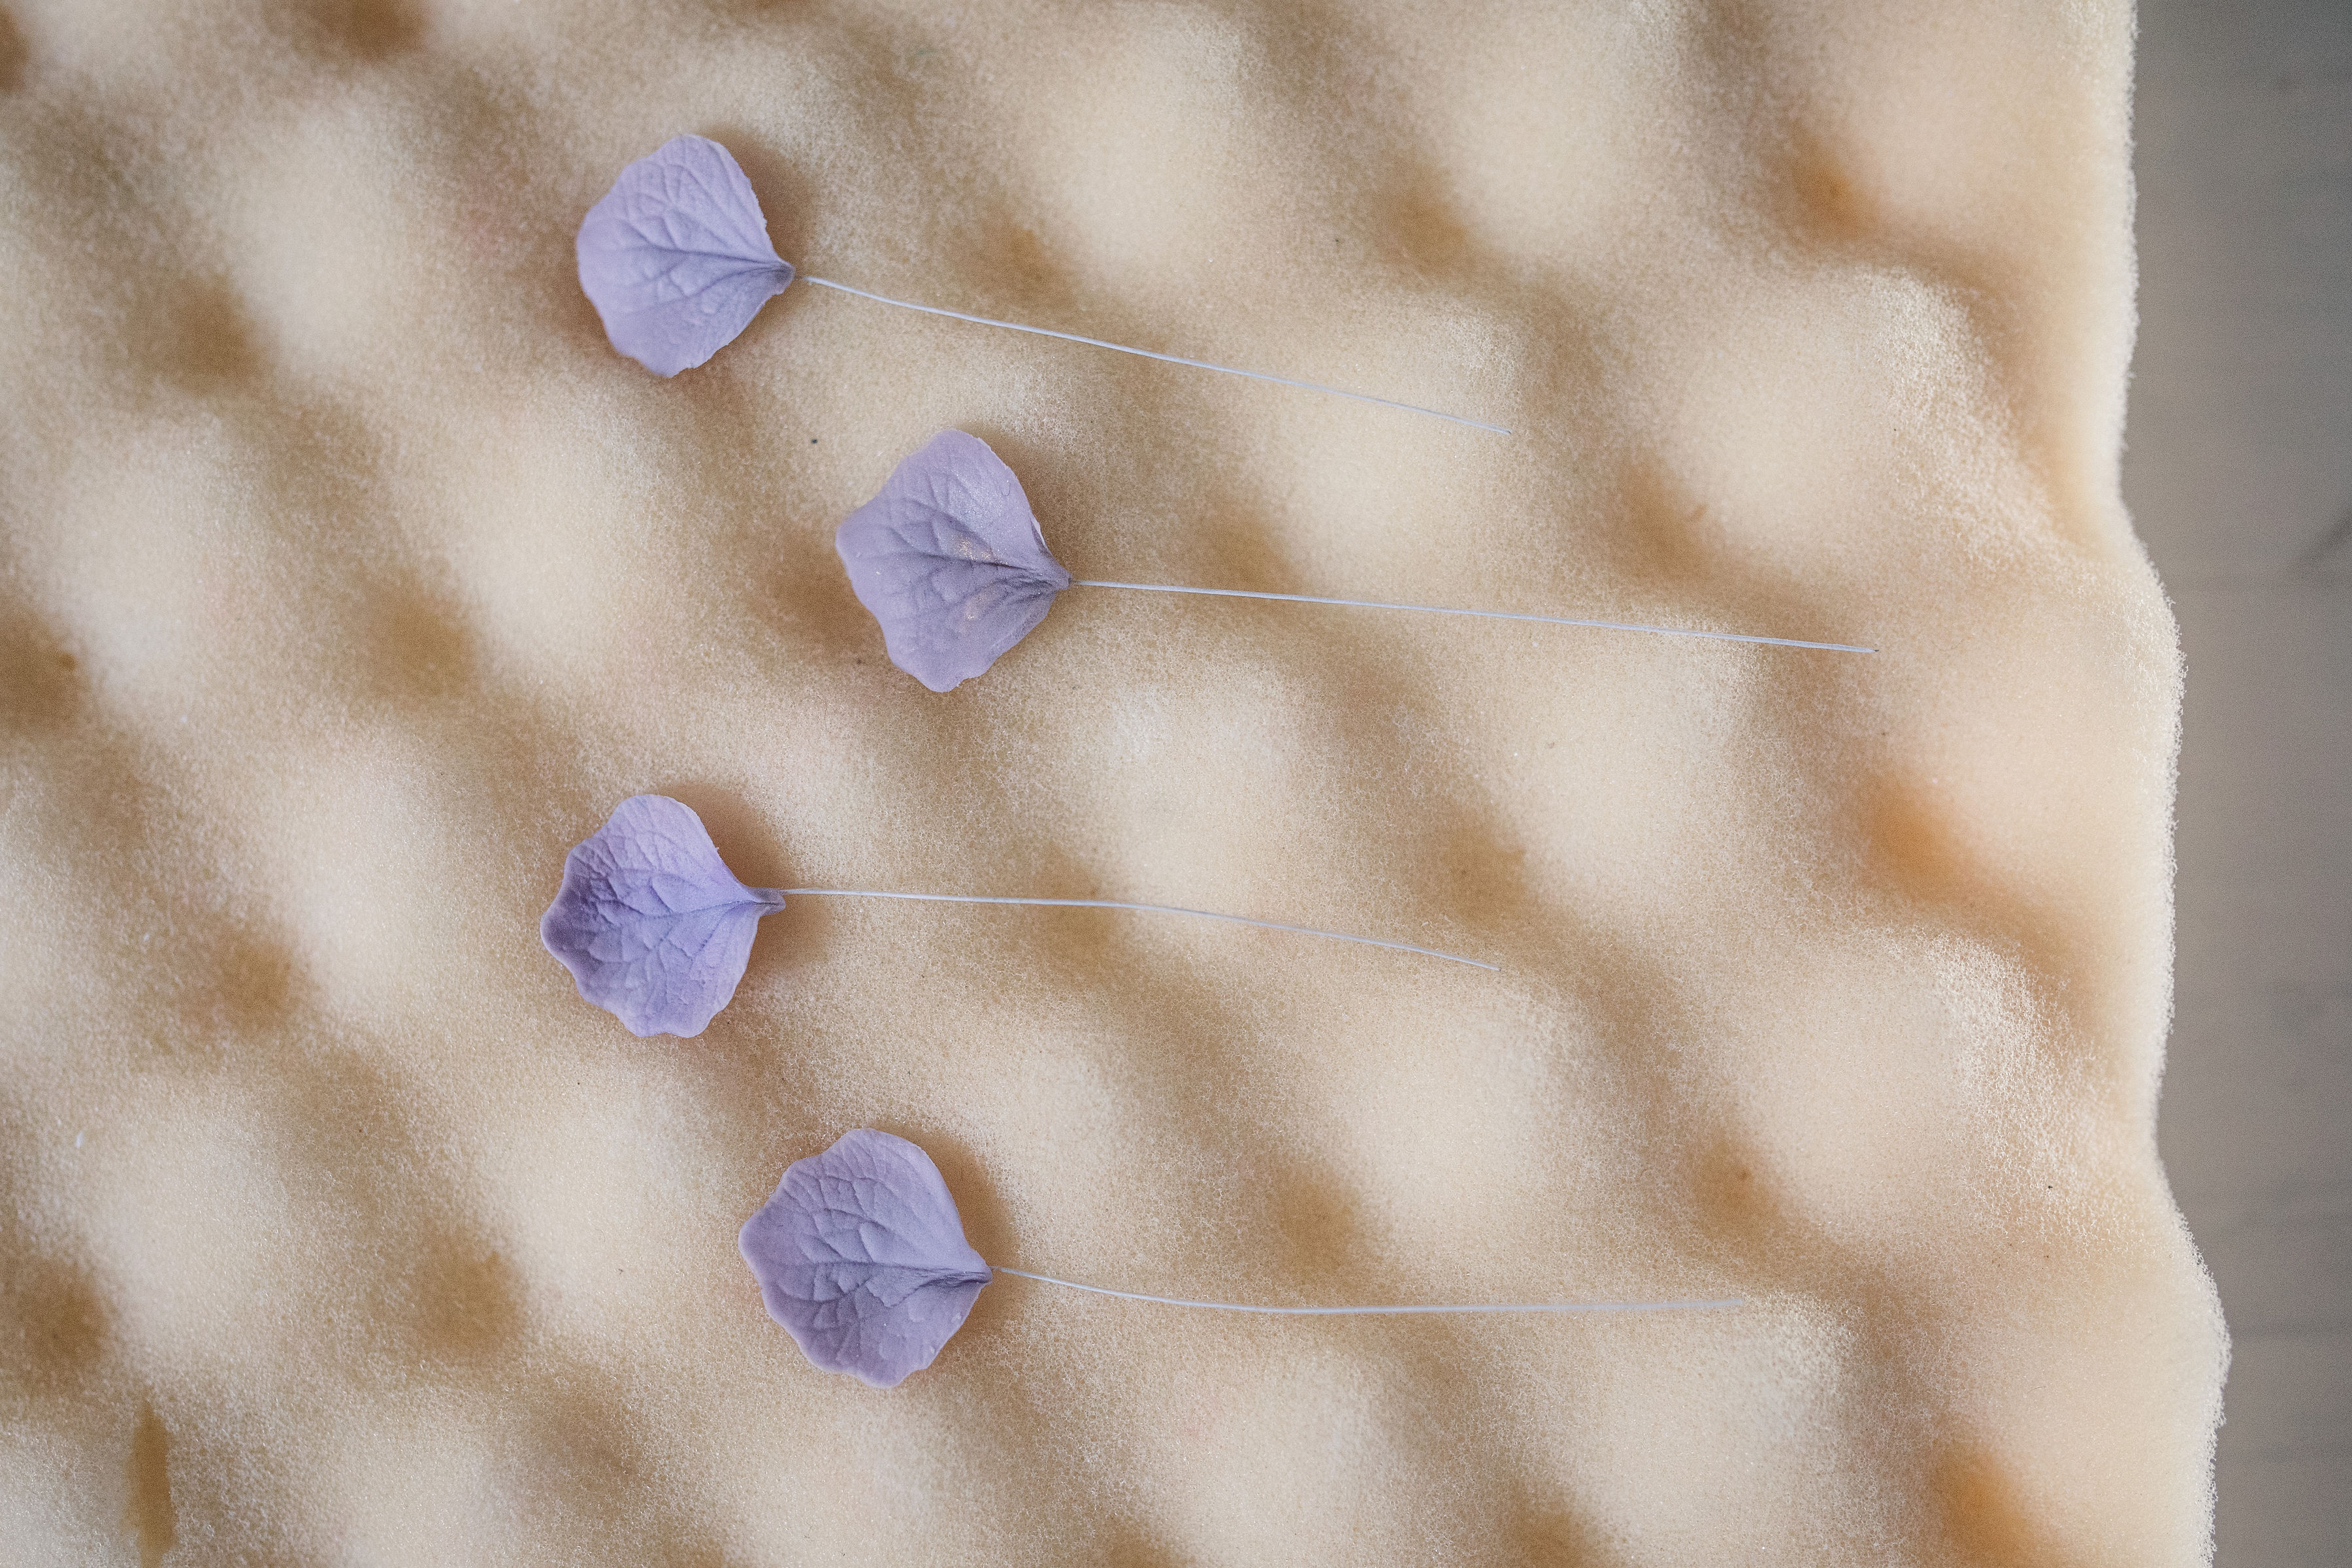
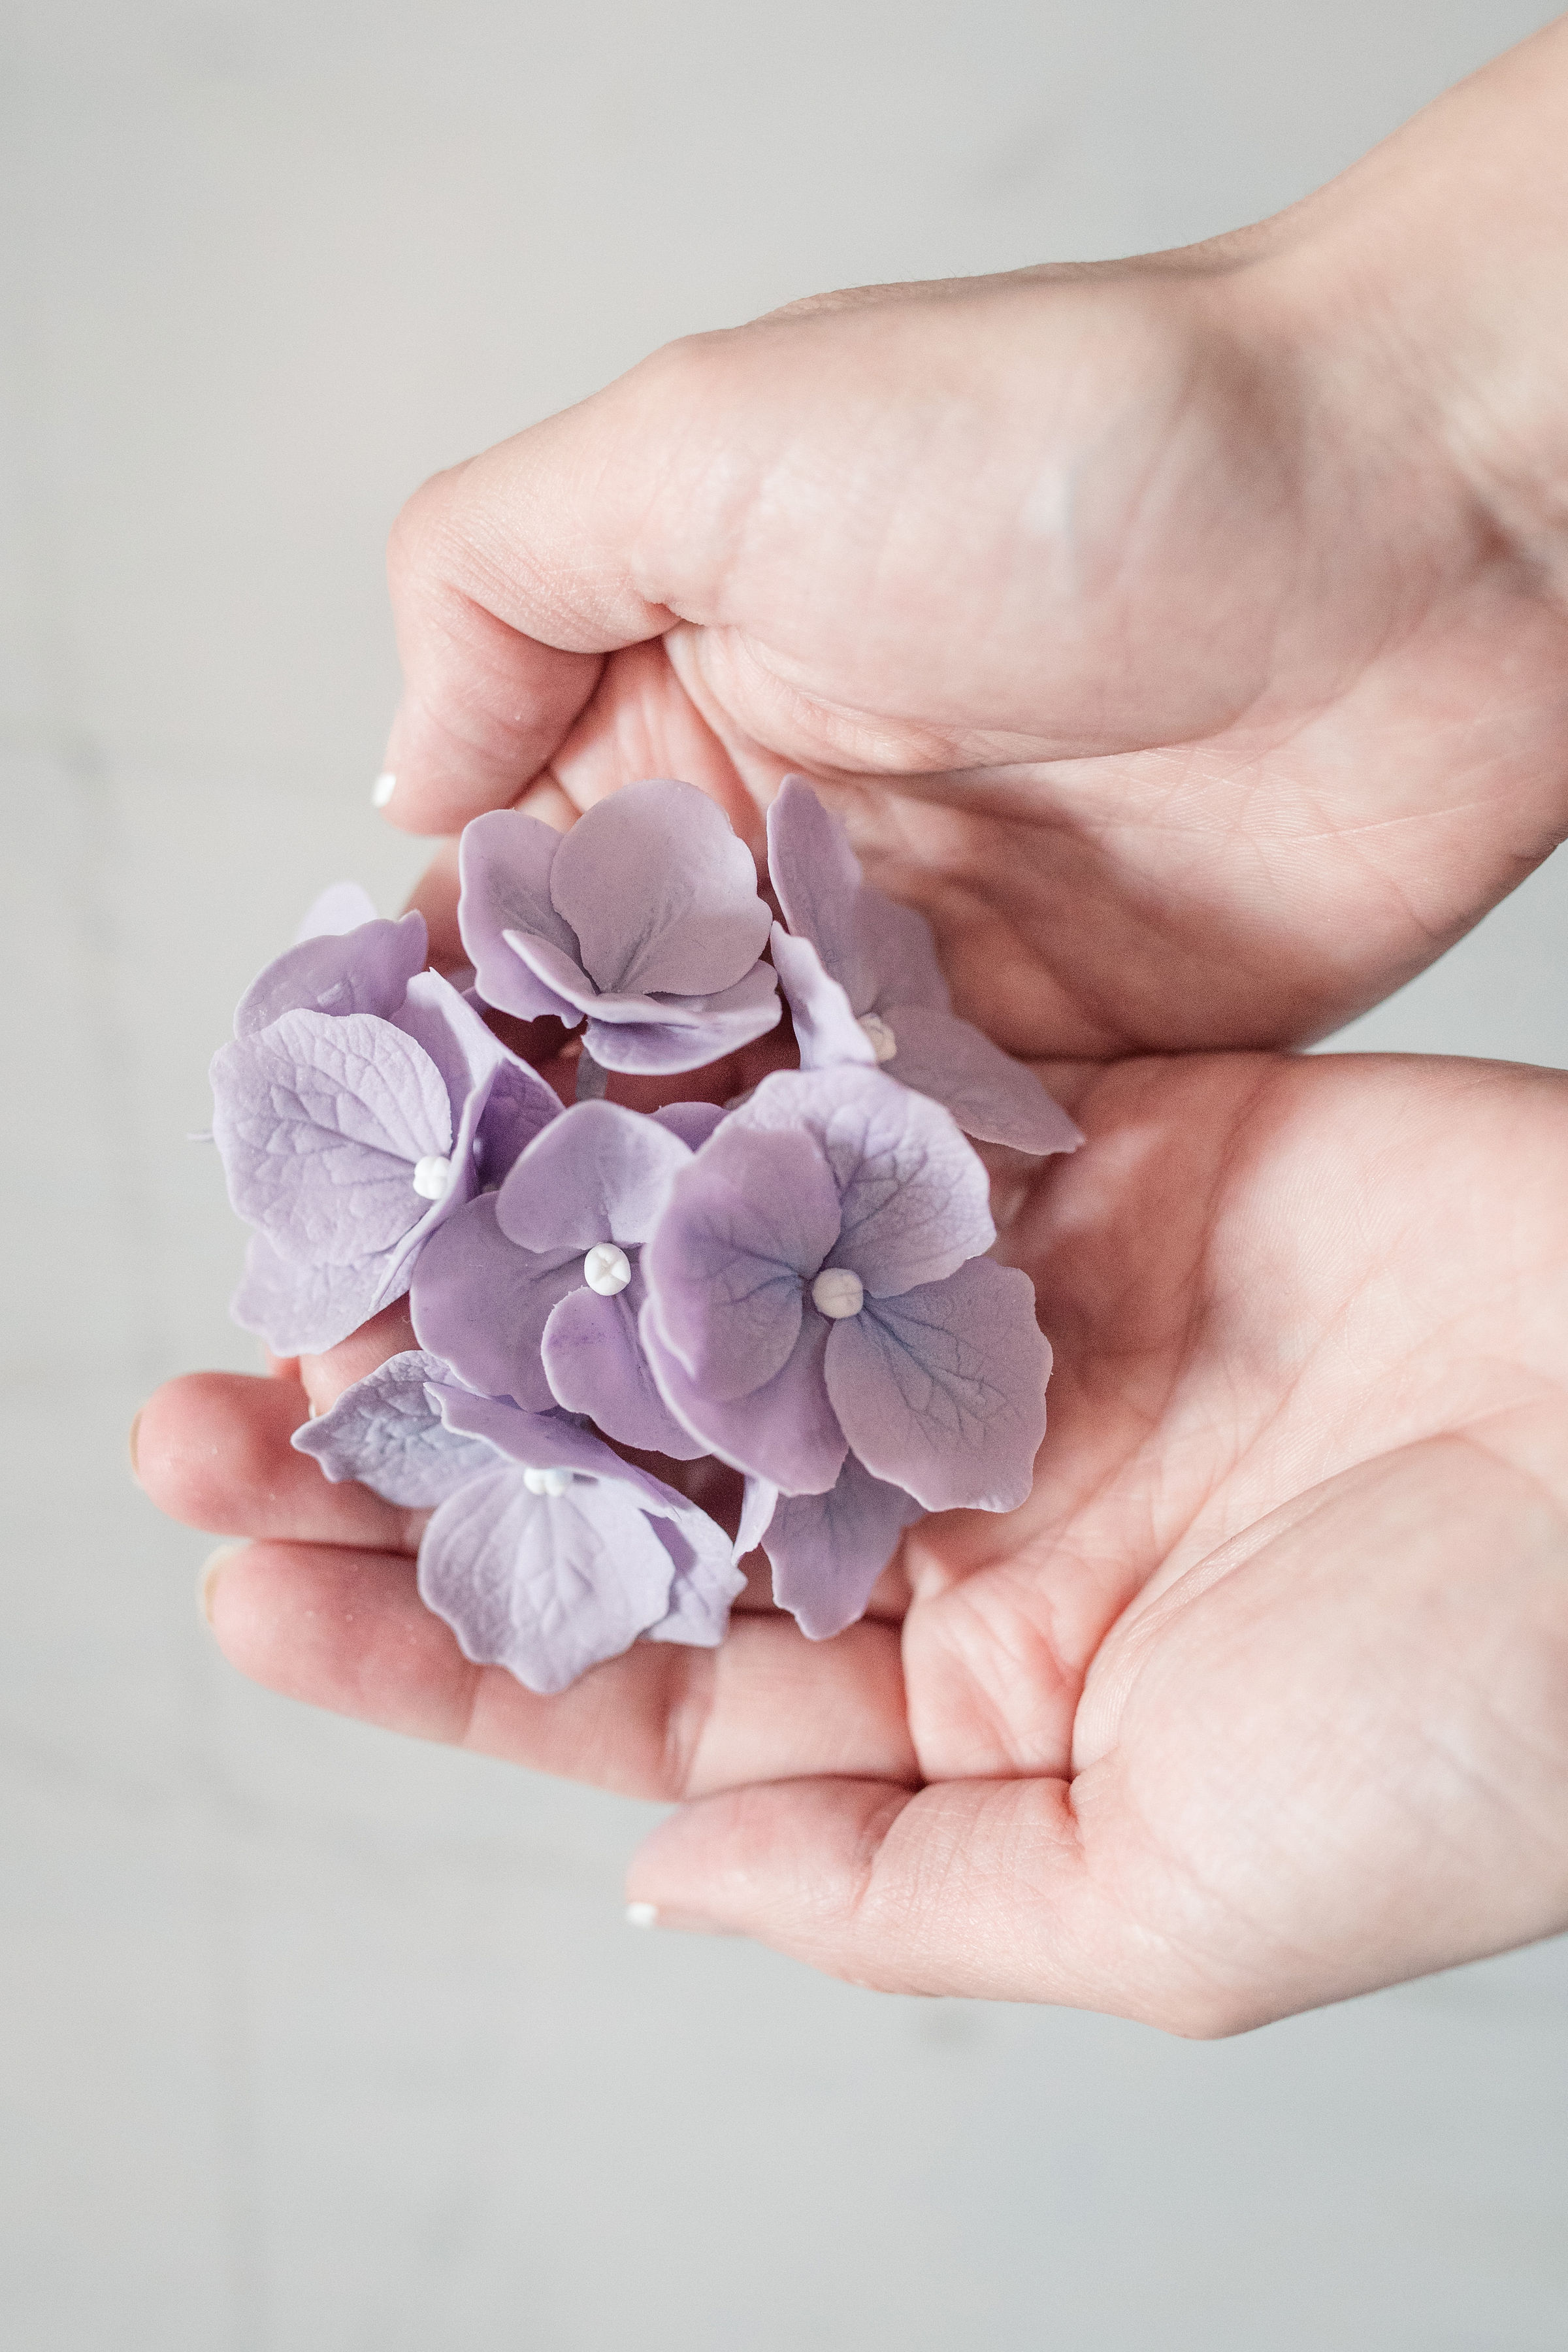
- Place the petal to dry on the bumpy foam. Repeat the same process for all the petals. 8 to 10 hydrangeas make a lovely pompom shape.
Assemble the Gum-Paste Hydrangeas
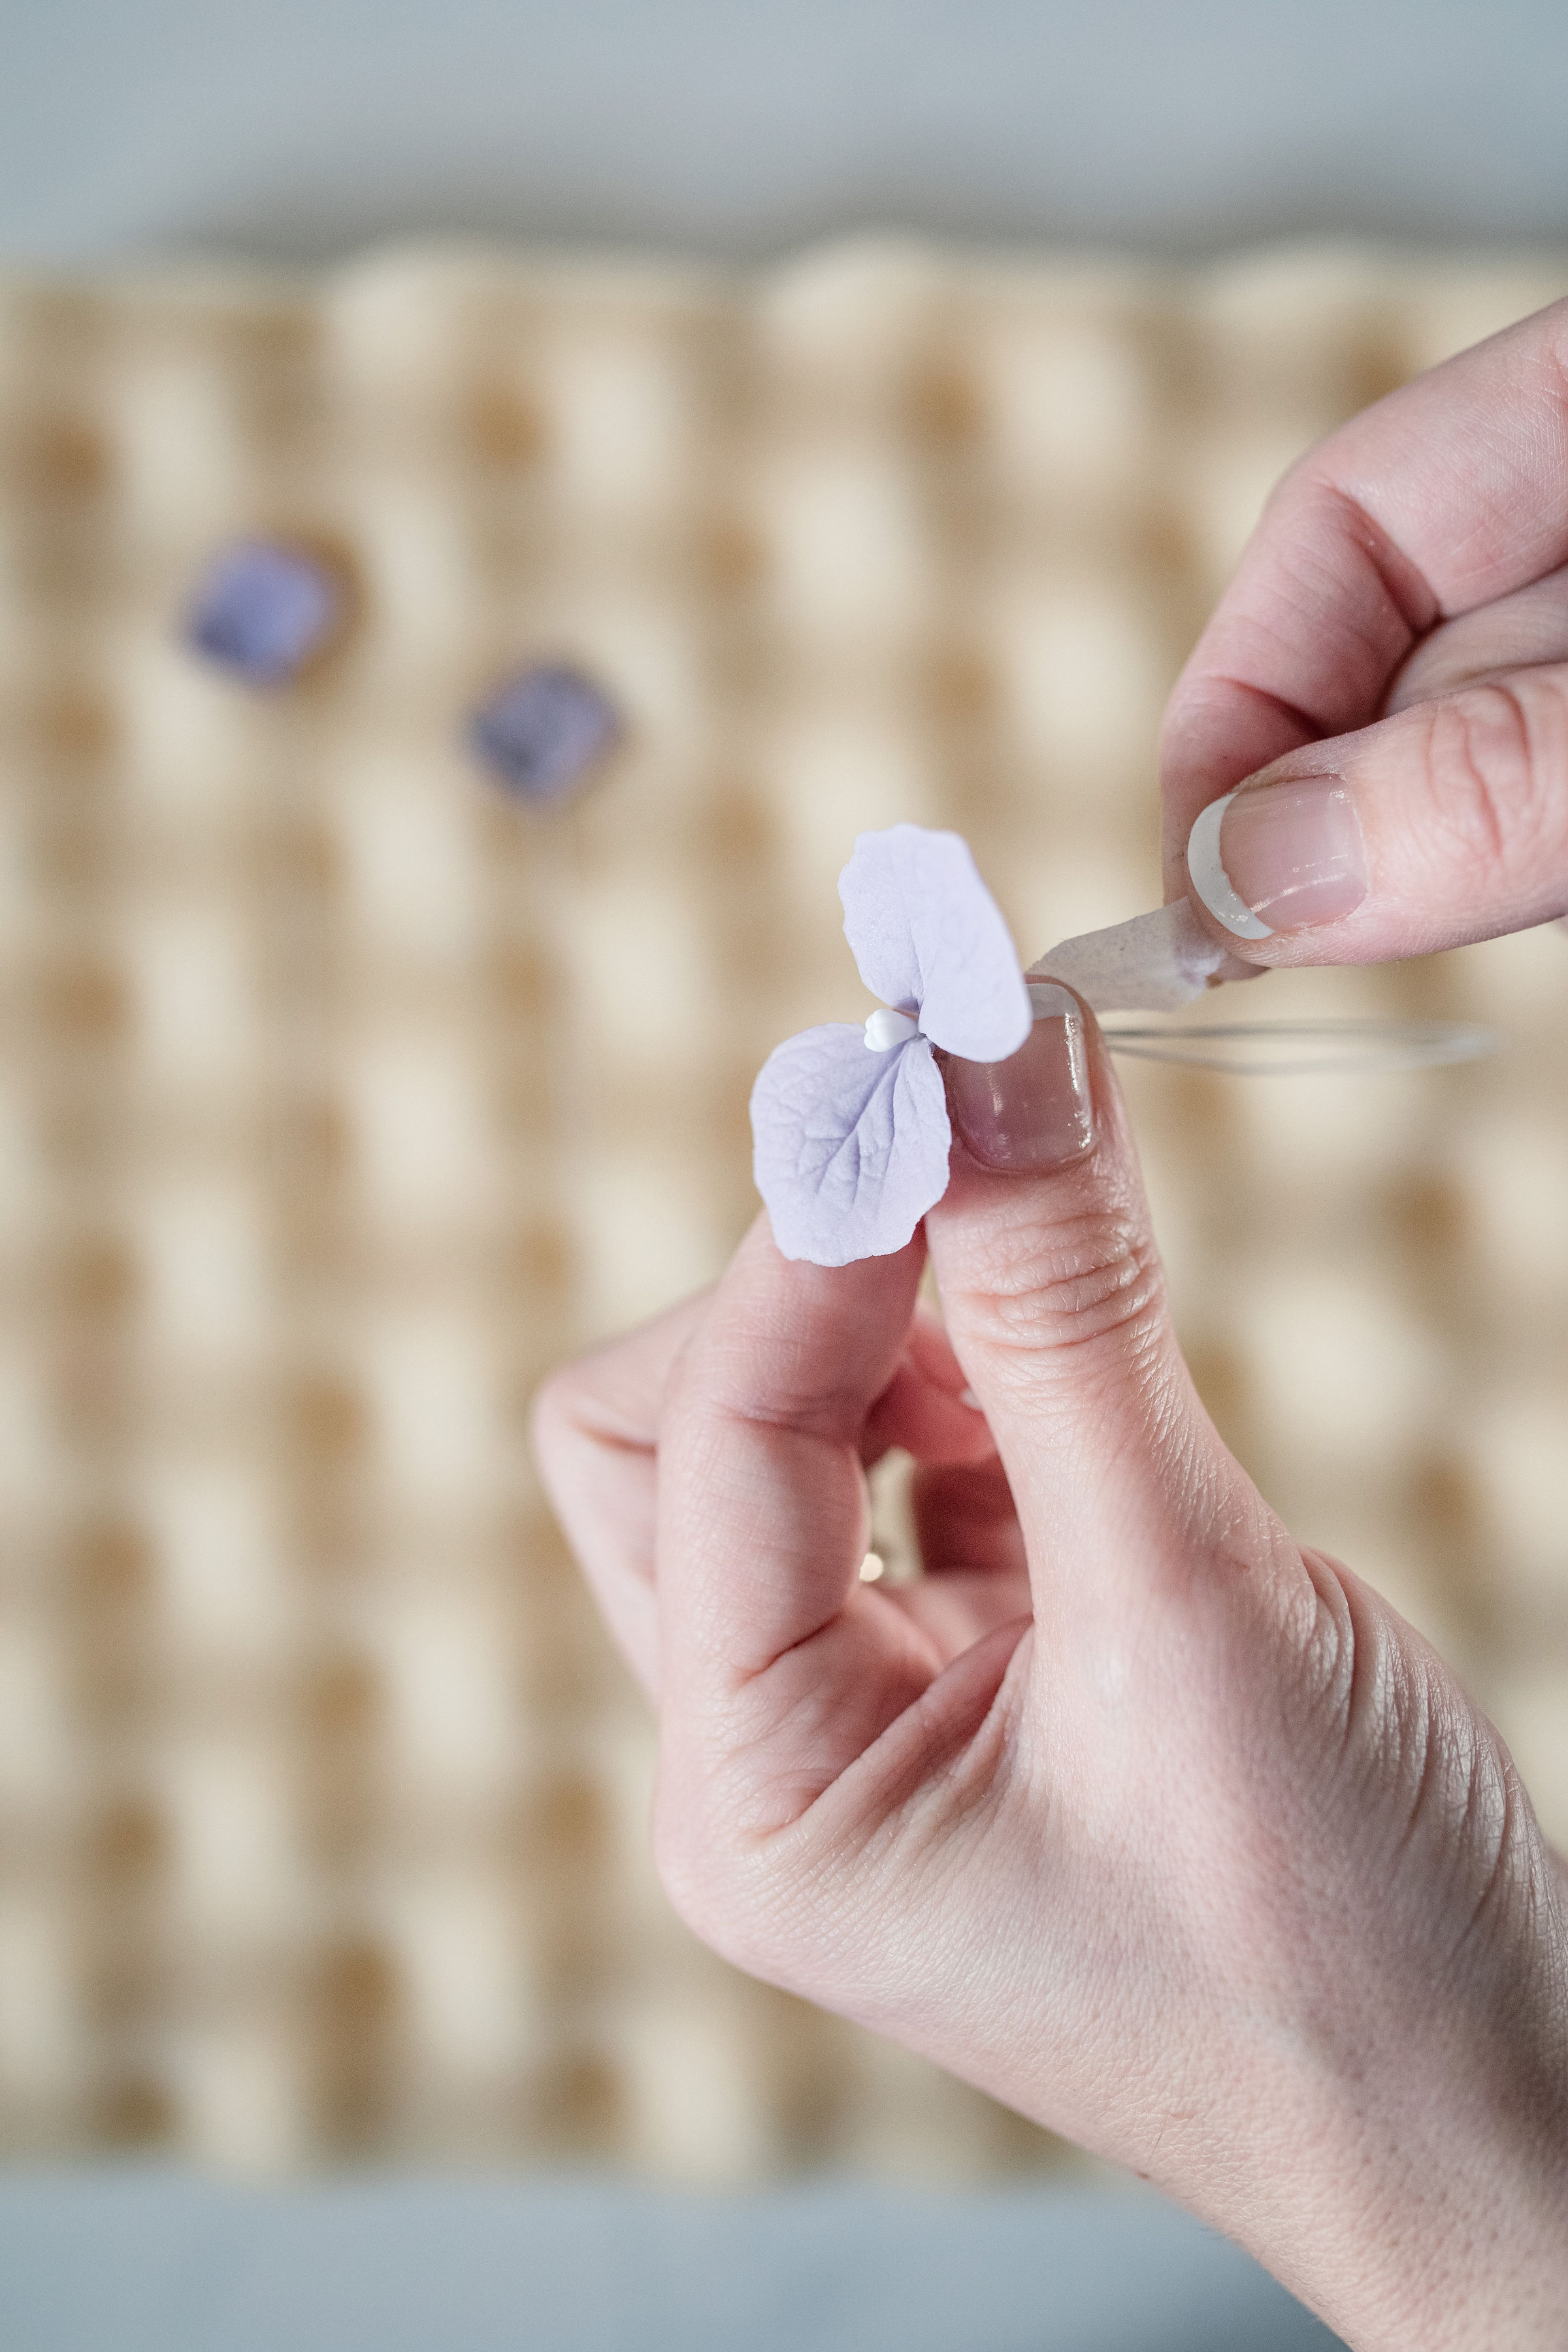
- After the petals dry, grab 2 and place them opposite each other against the center we made earlier. Tape with floral tape.
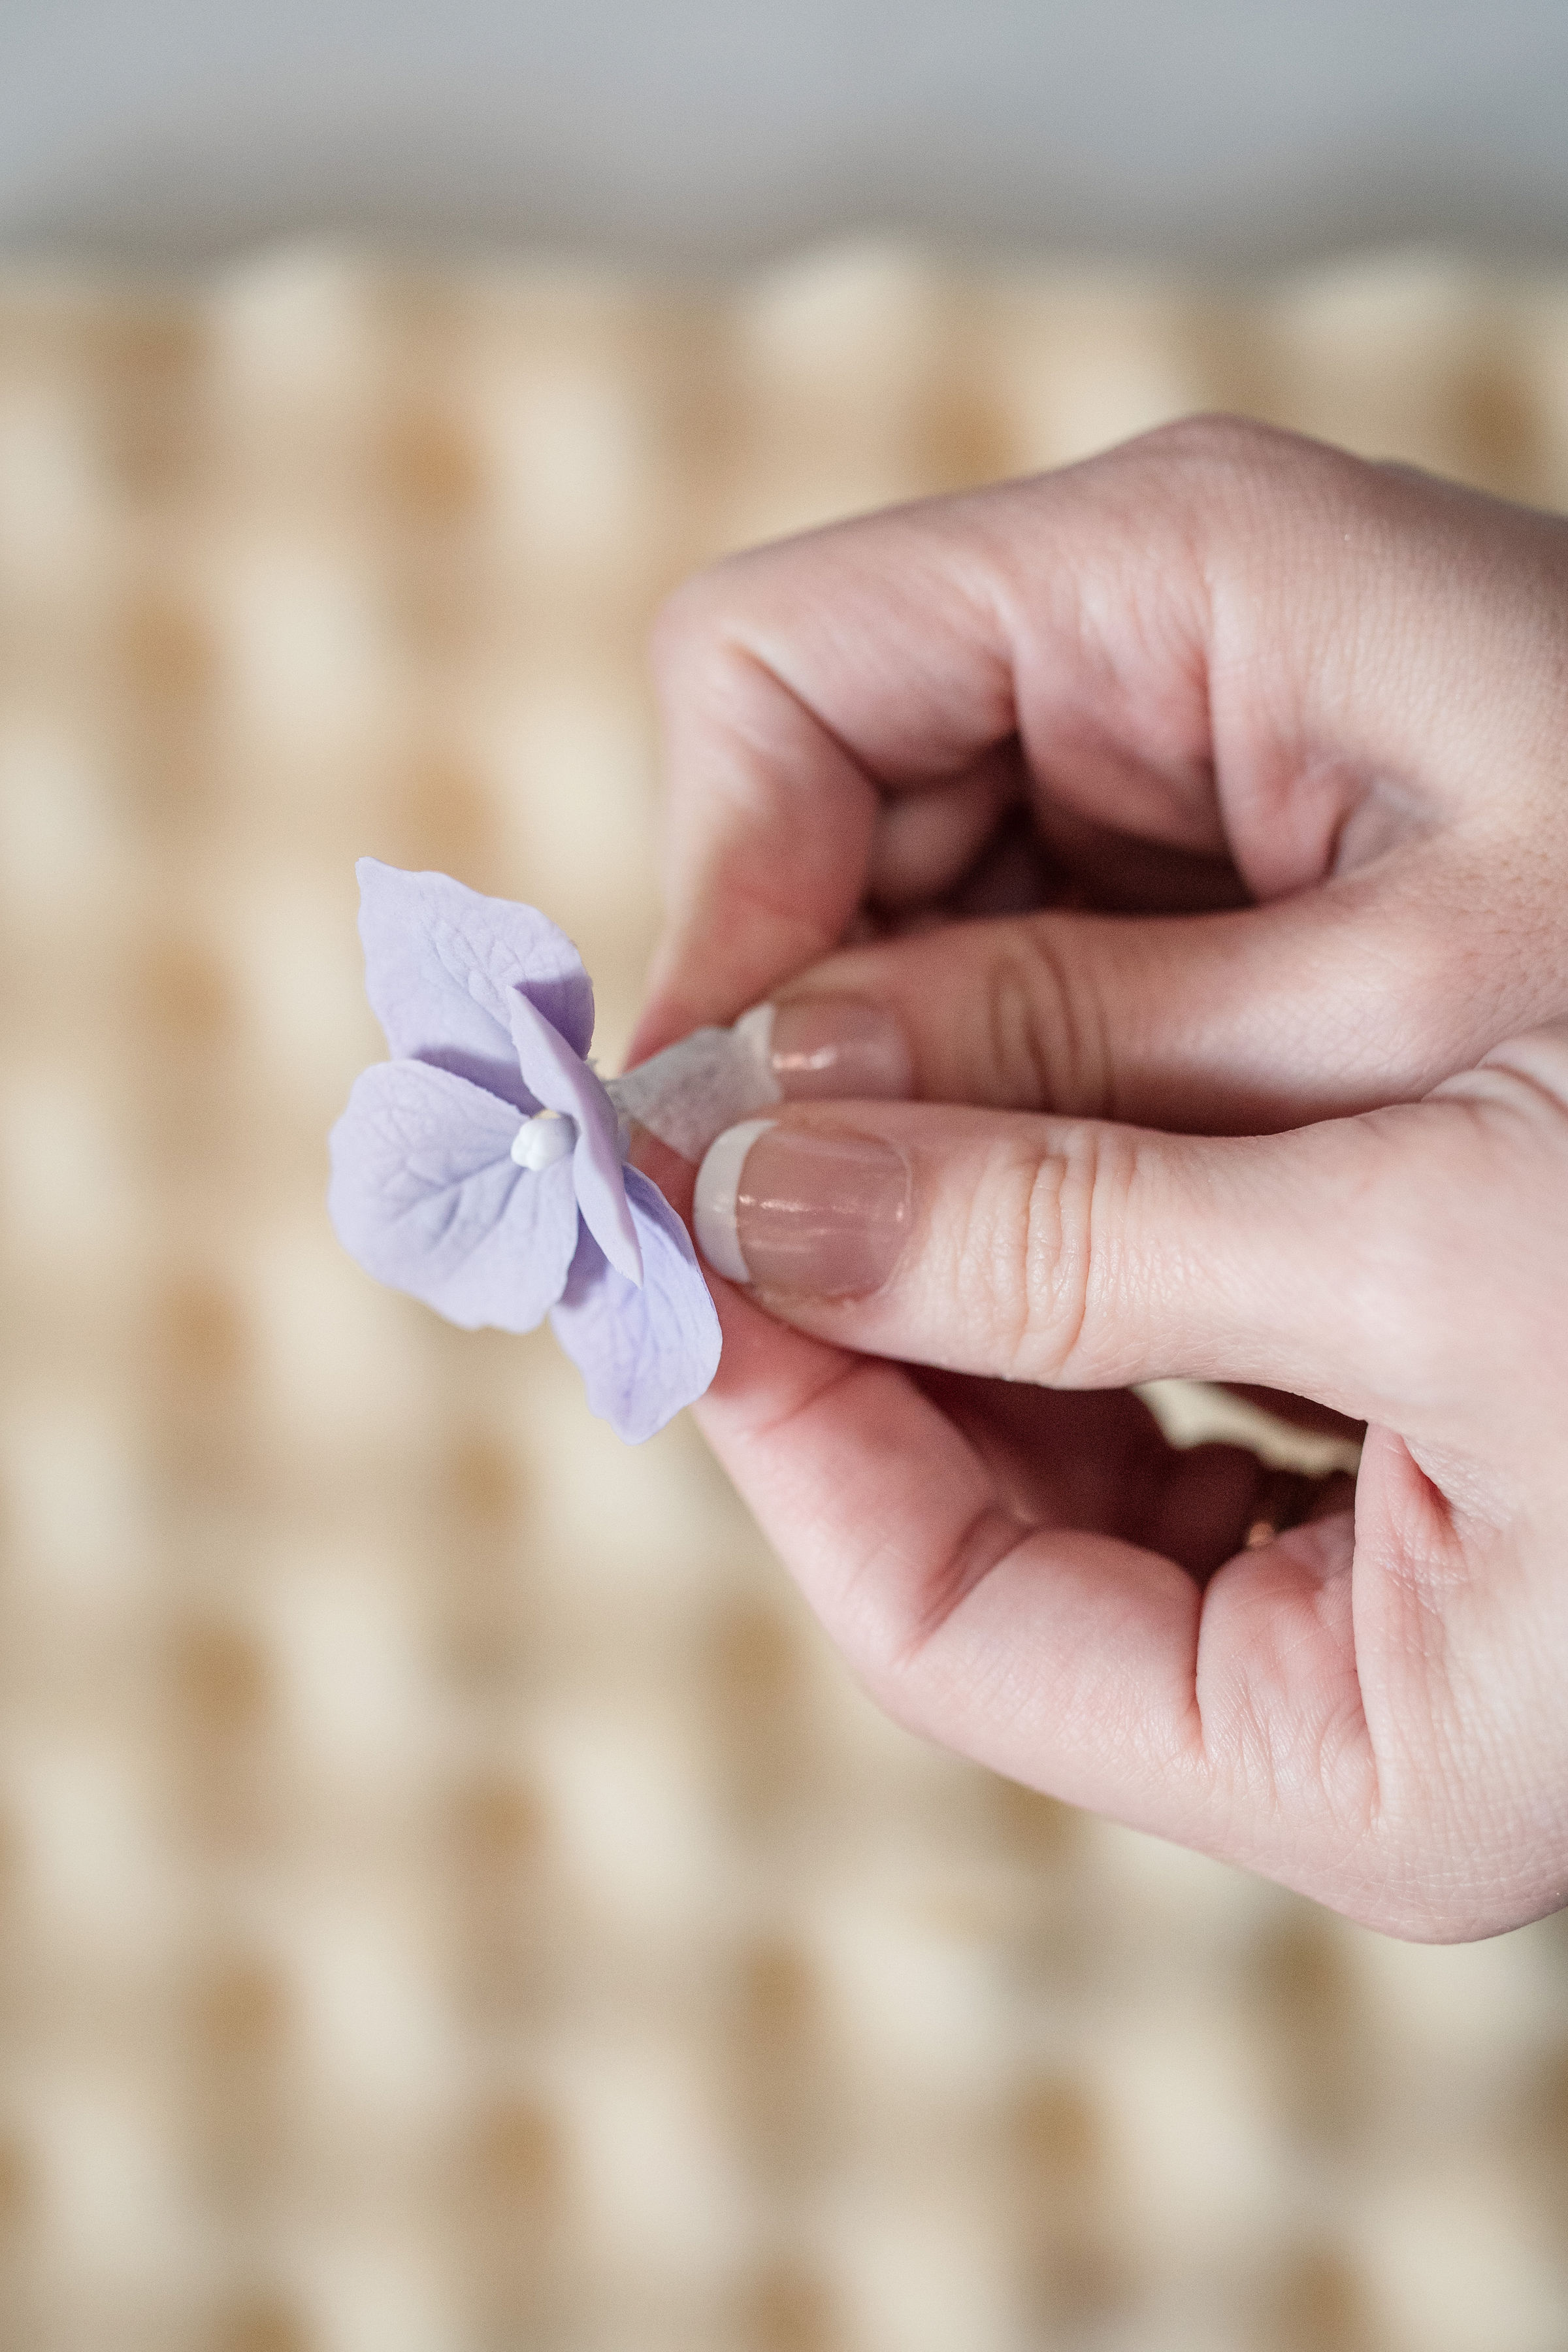
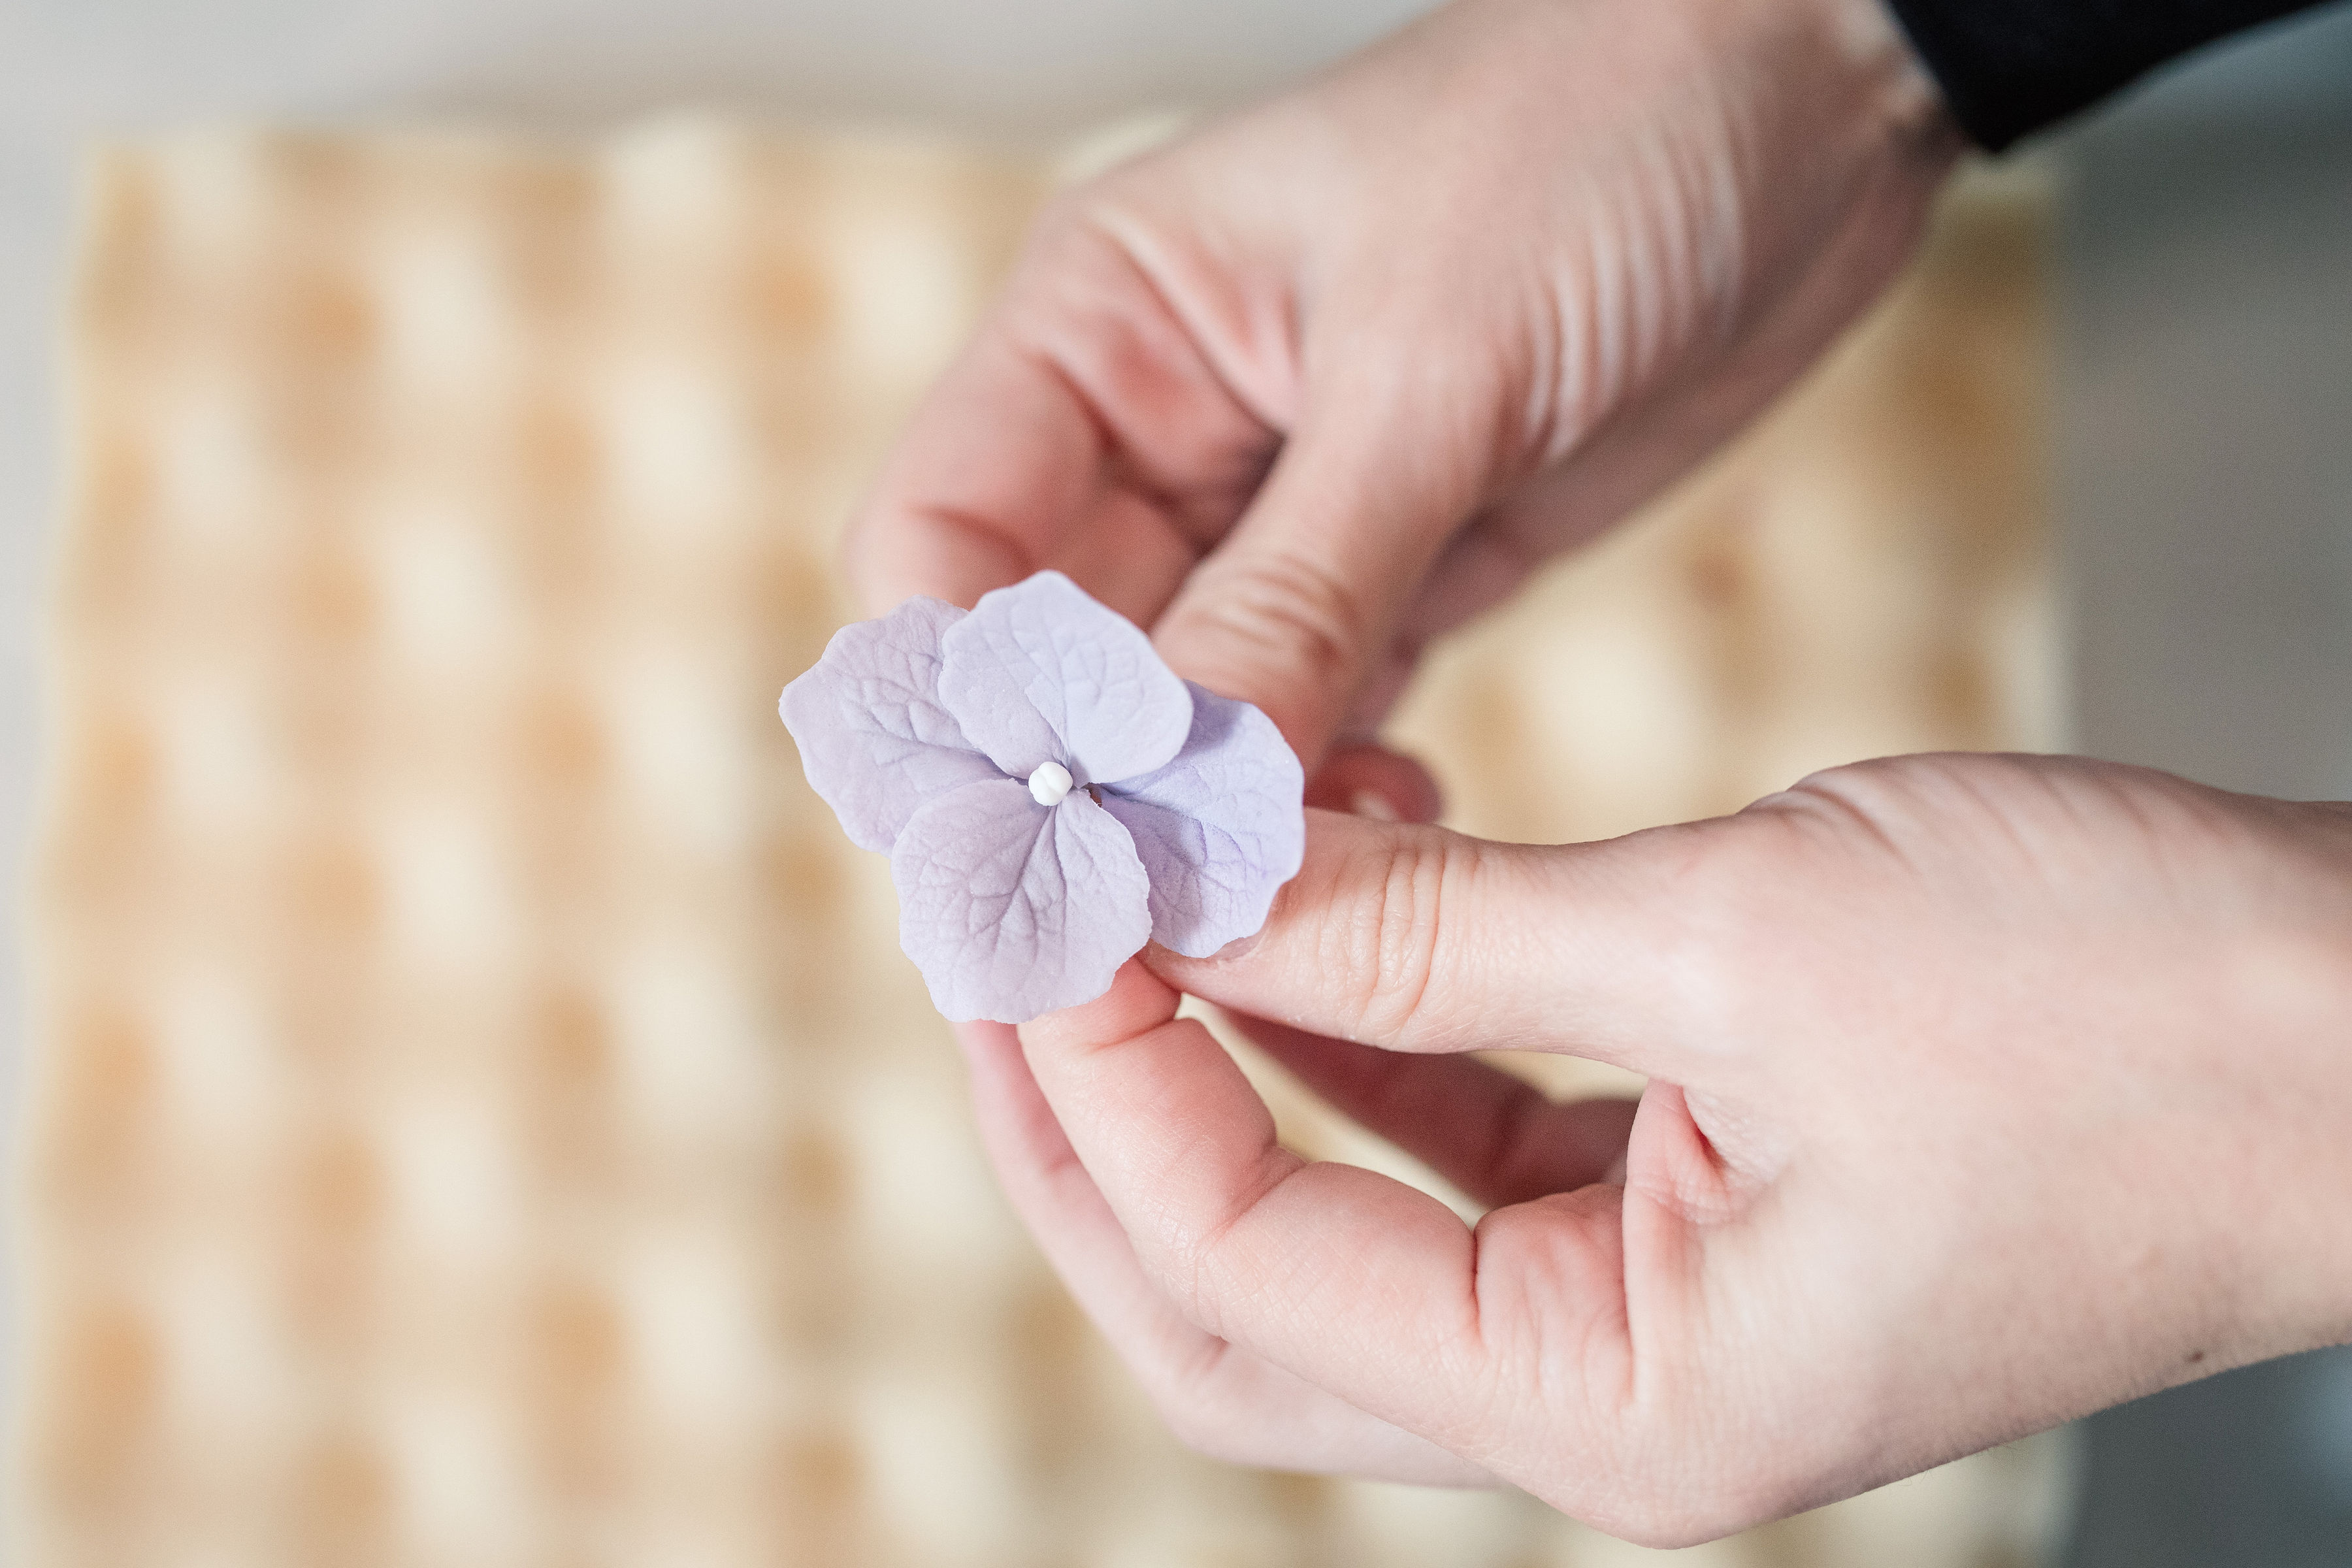
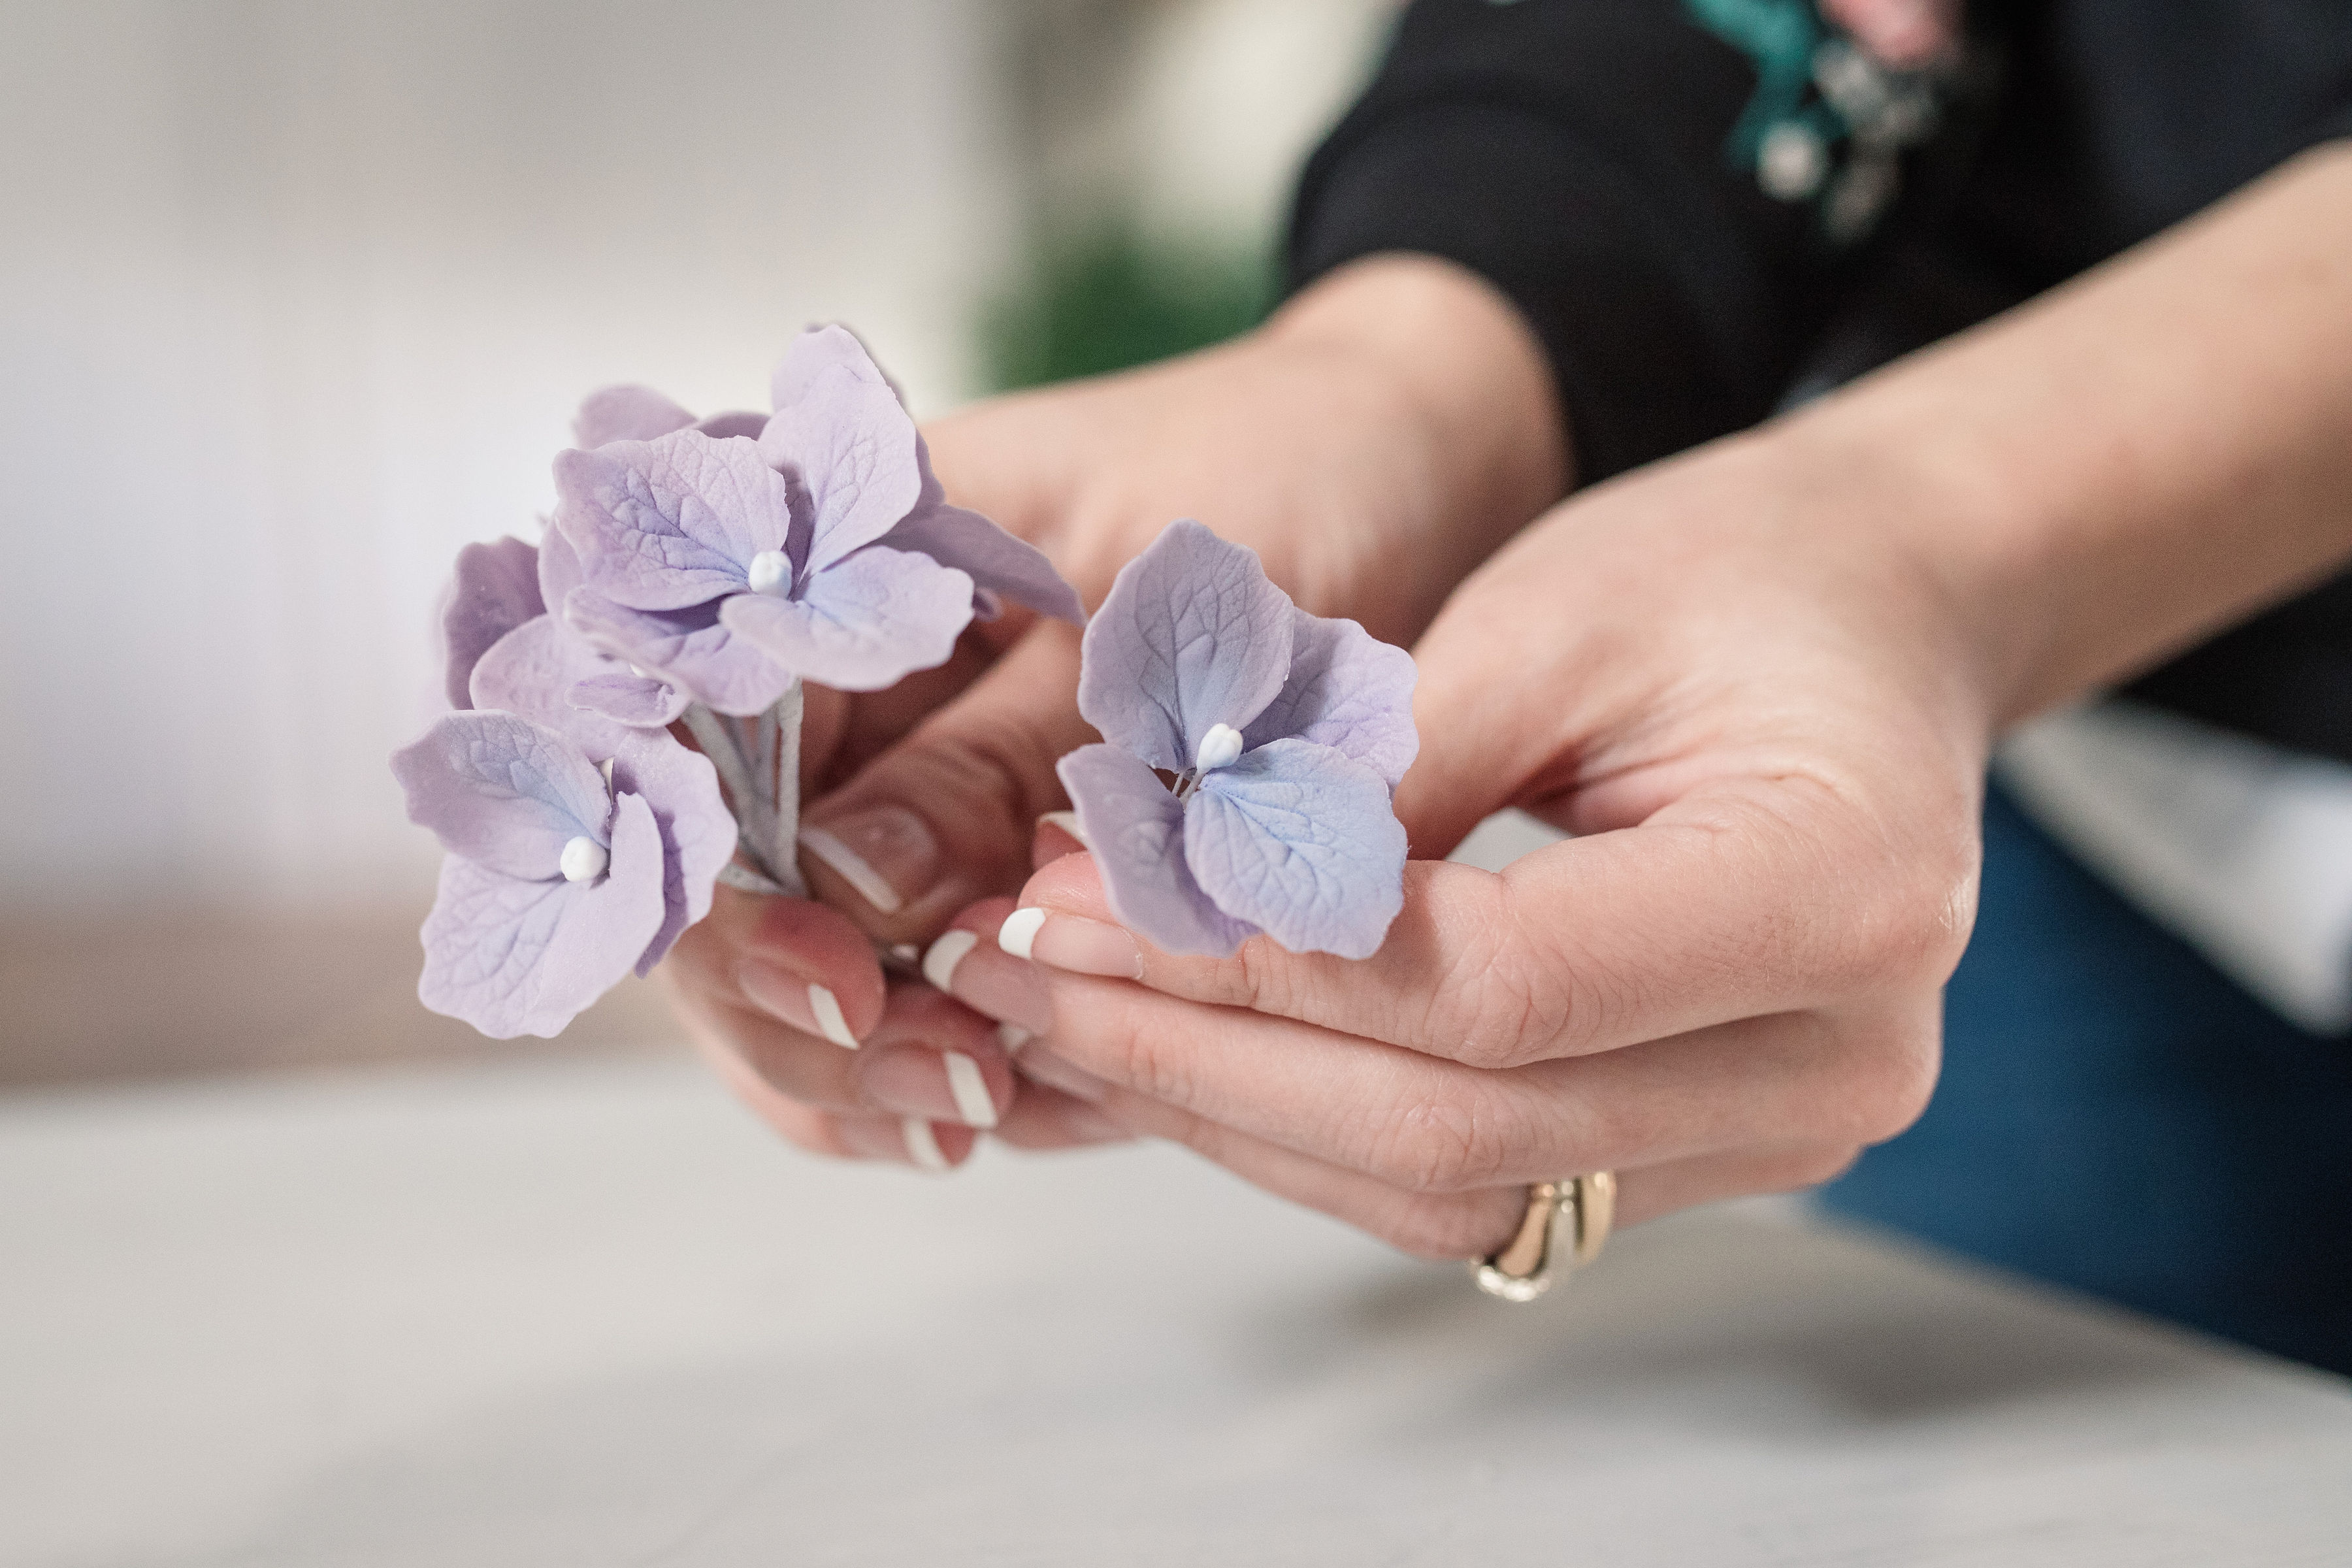
- Tape the next 2 petals underneath the first 2 to fill in the gaps and make a full flower.
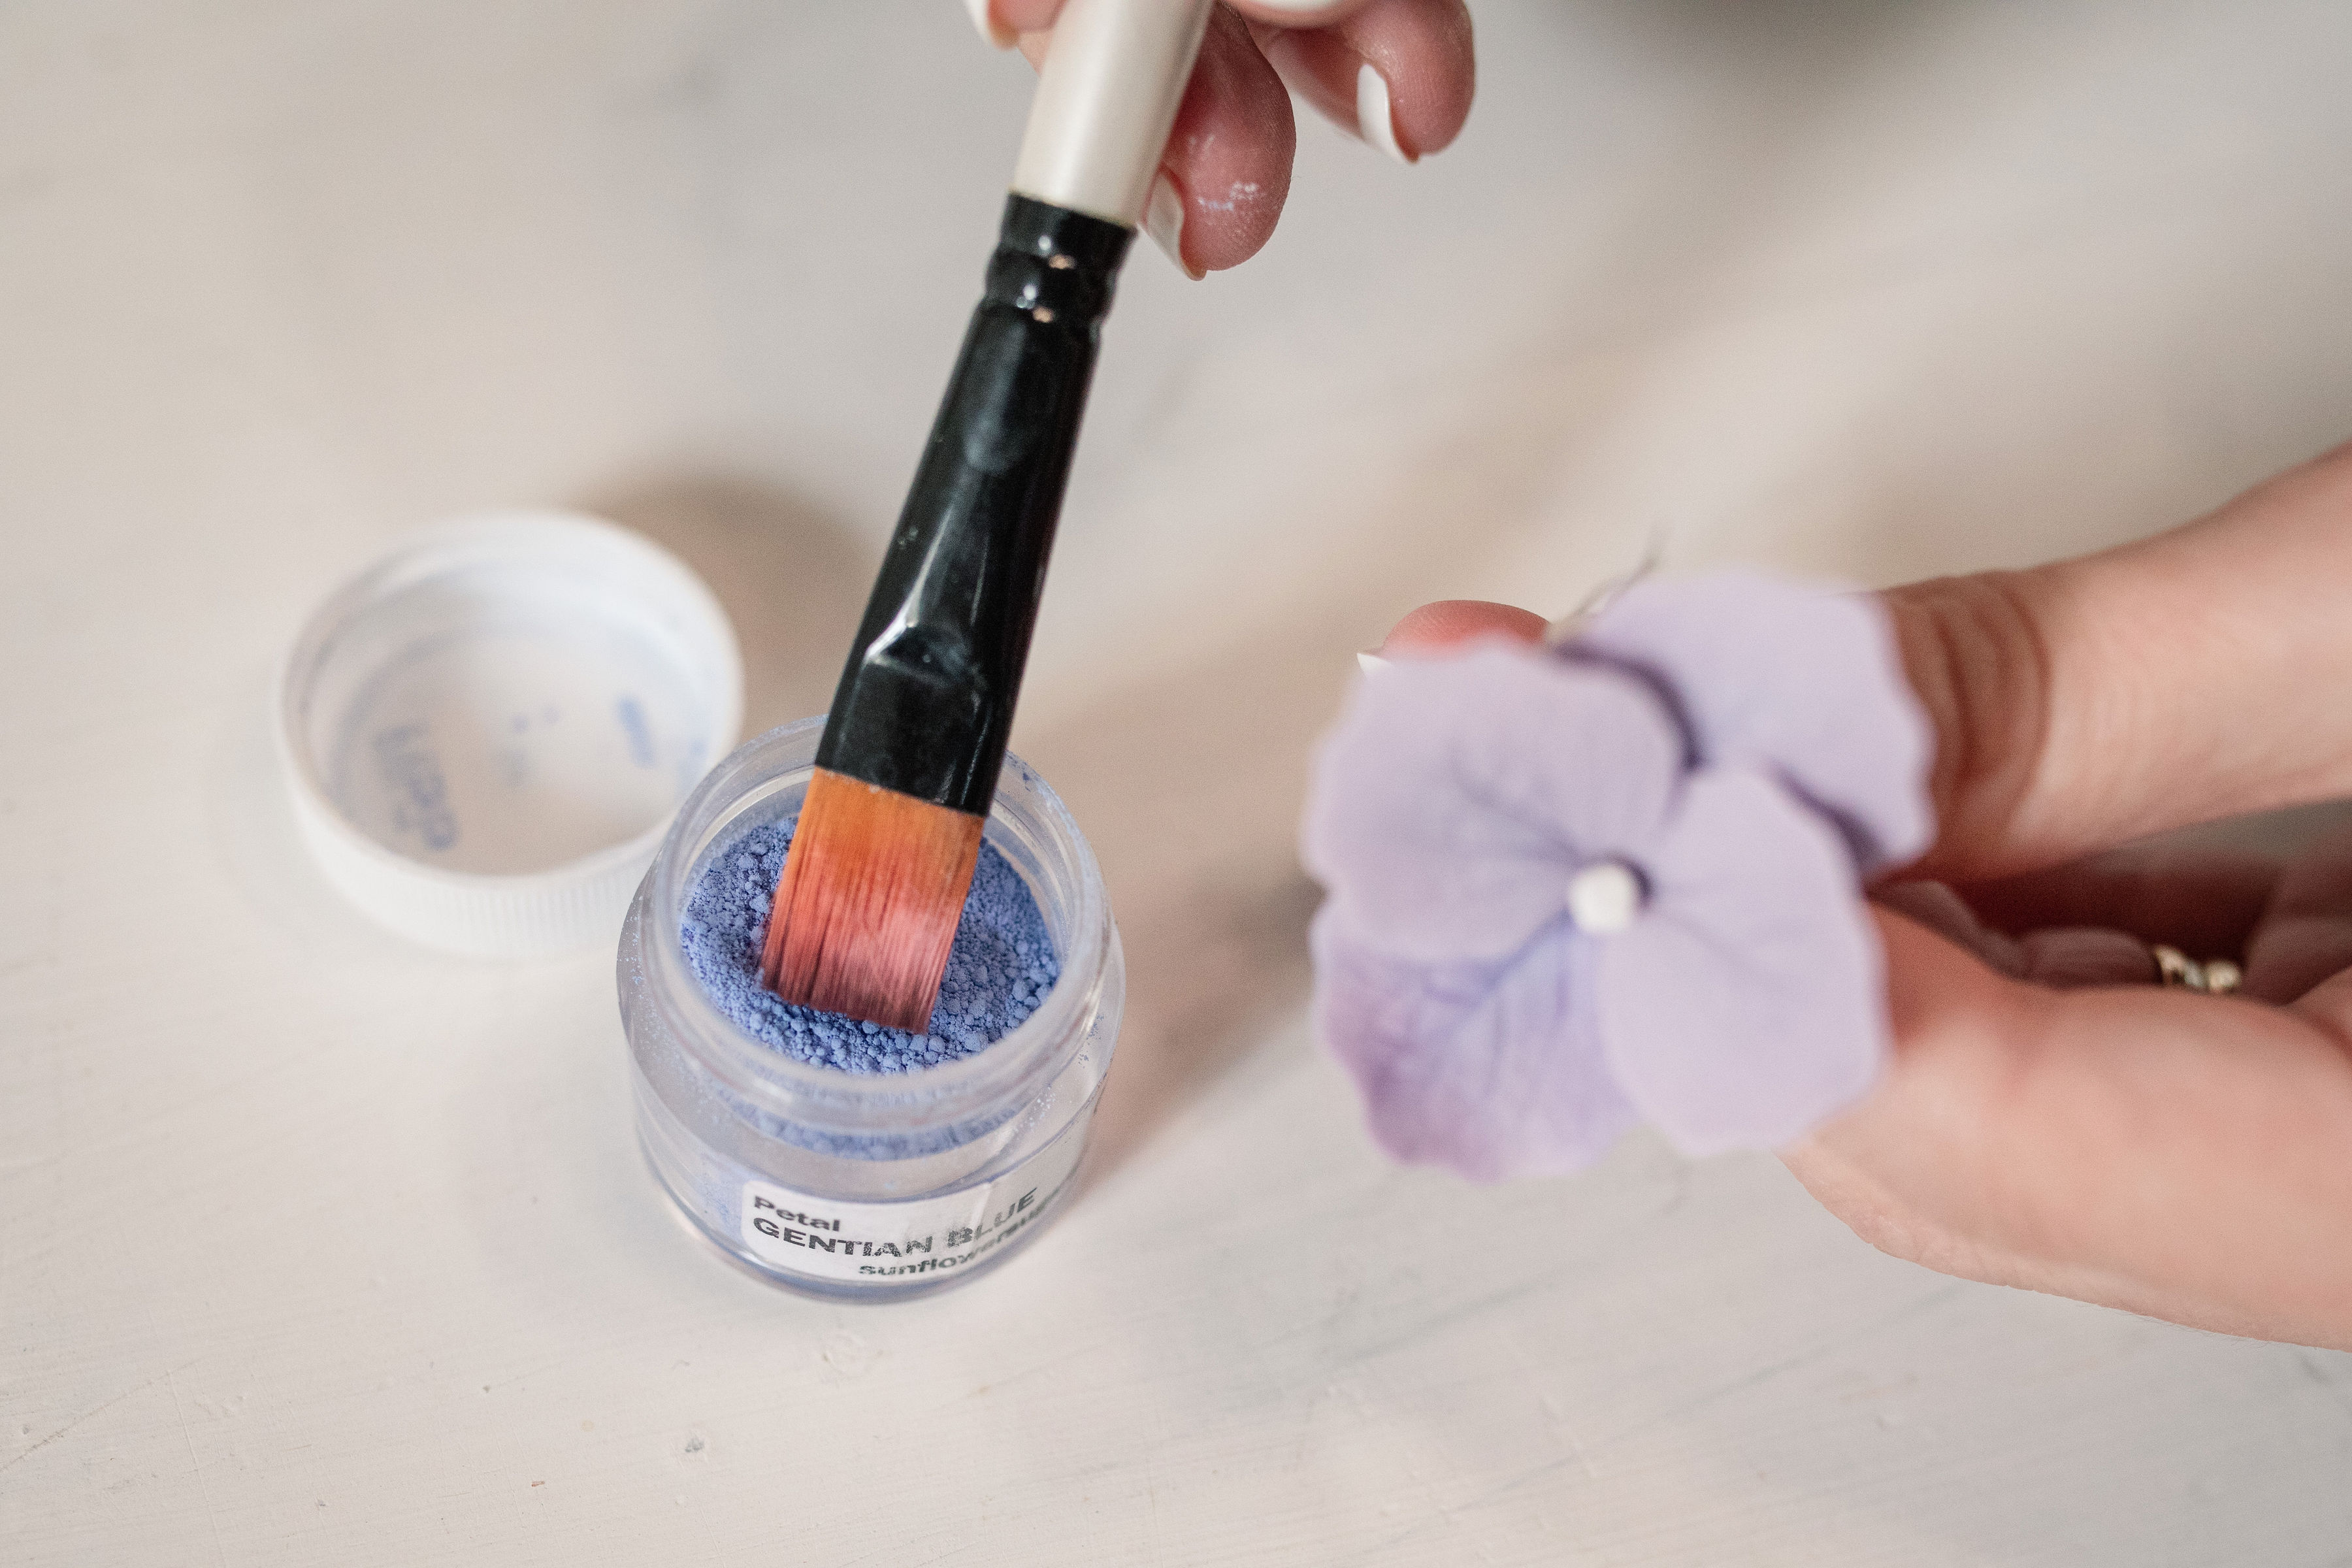
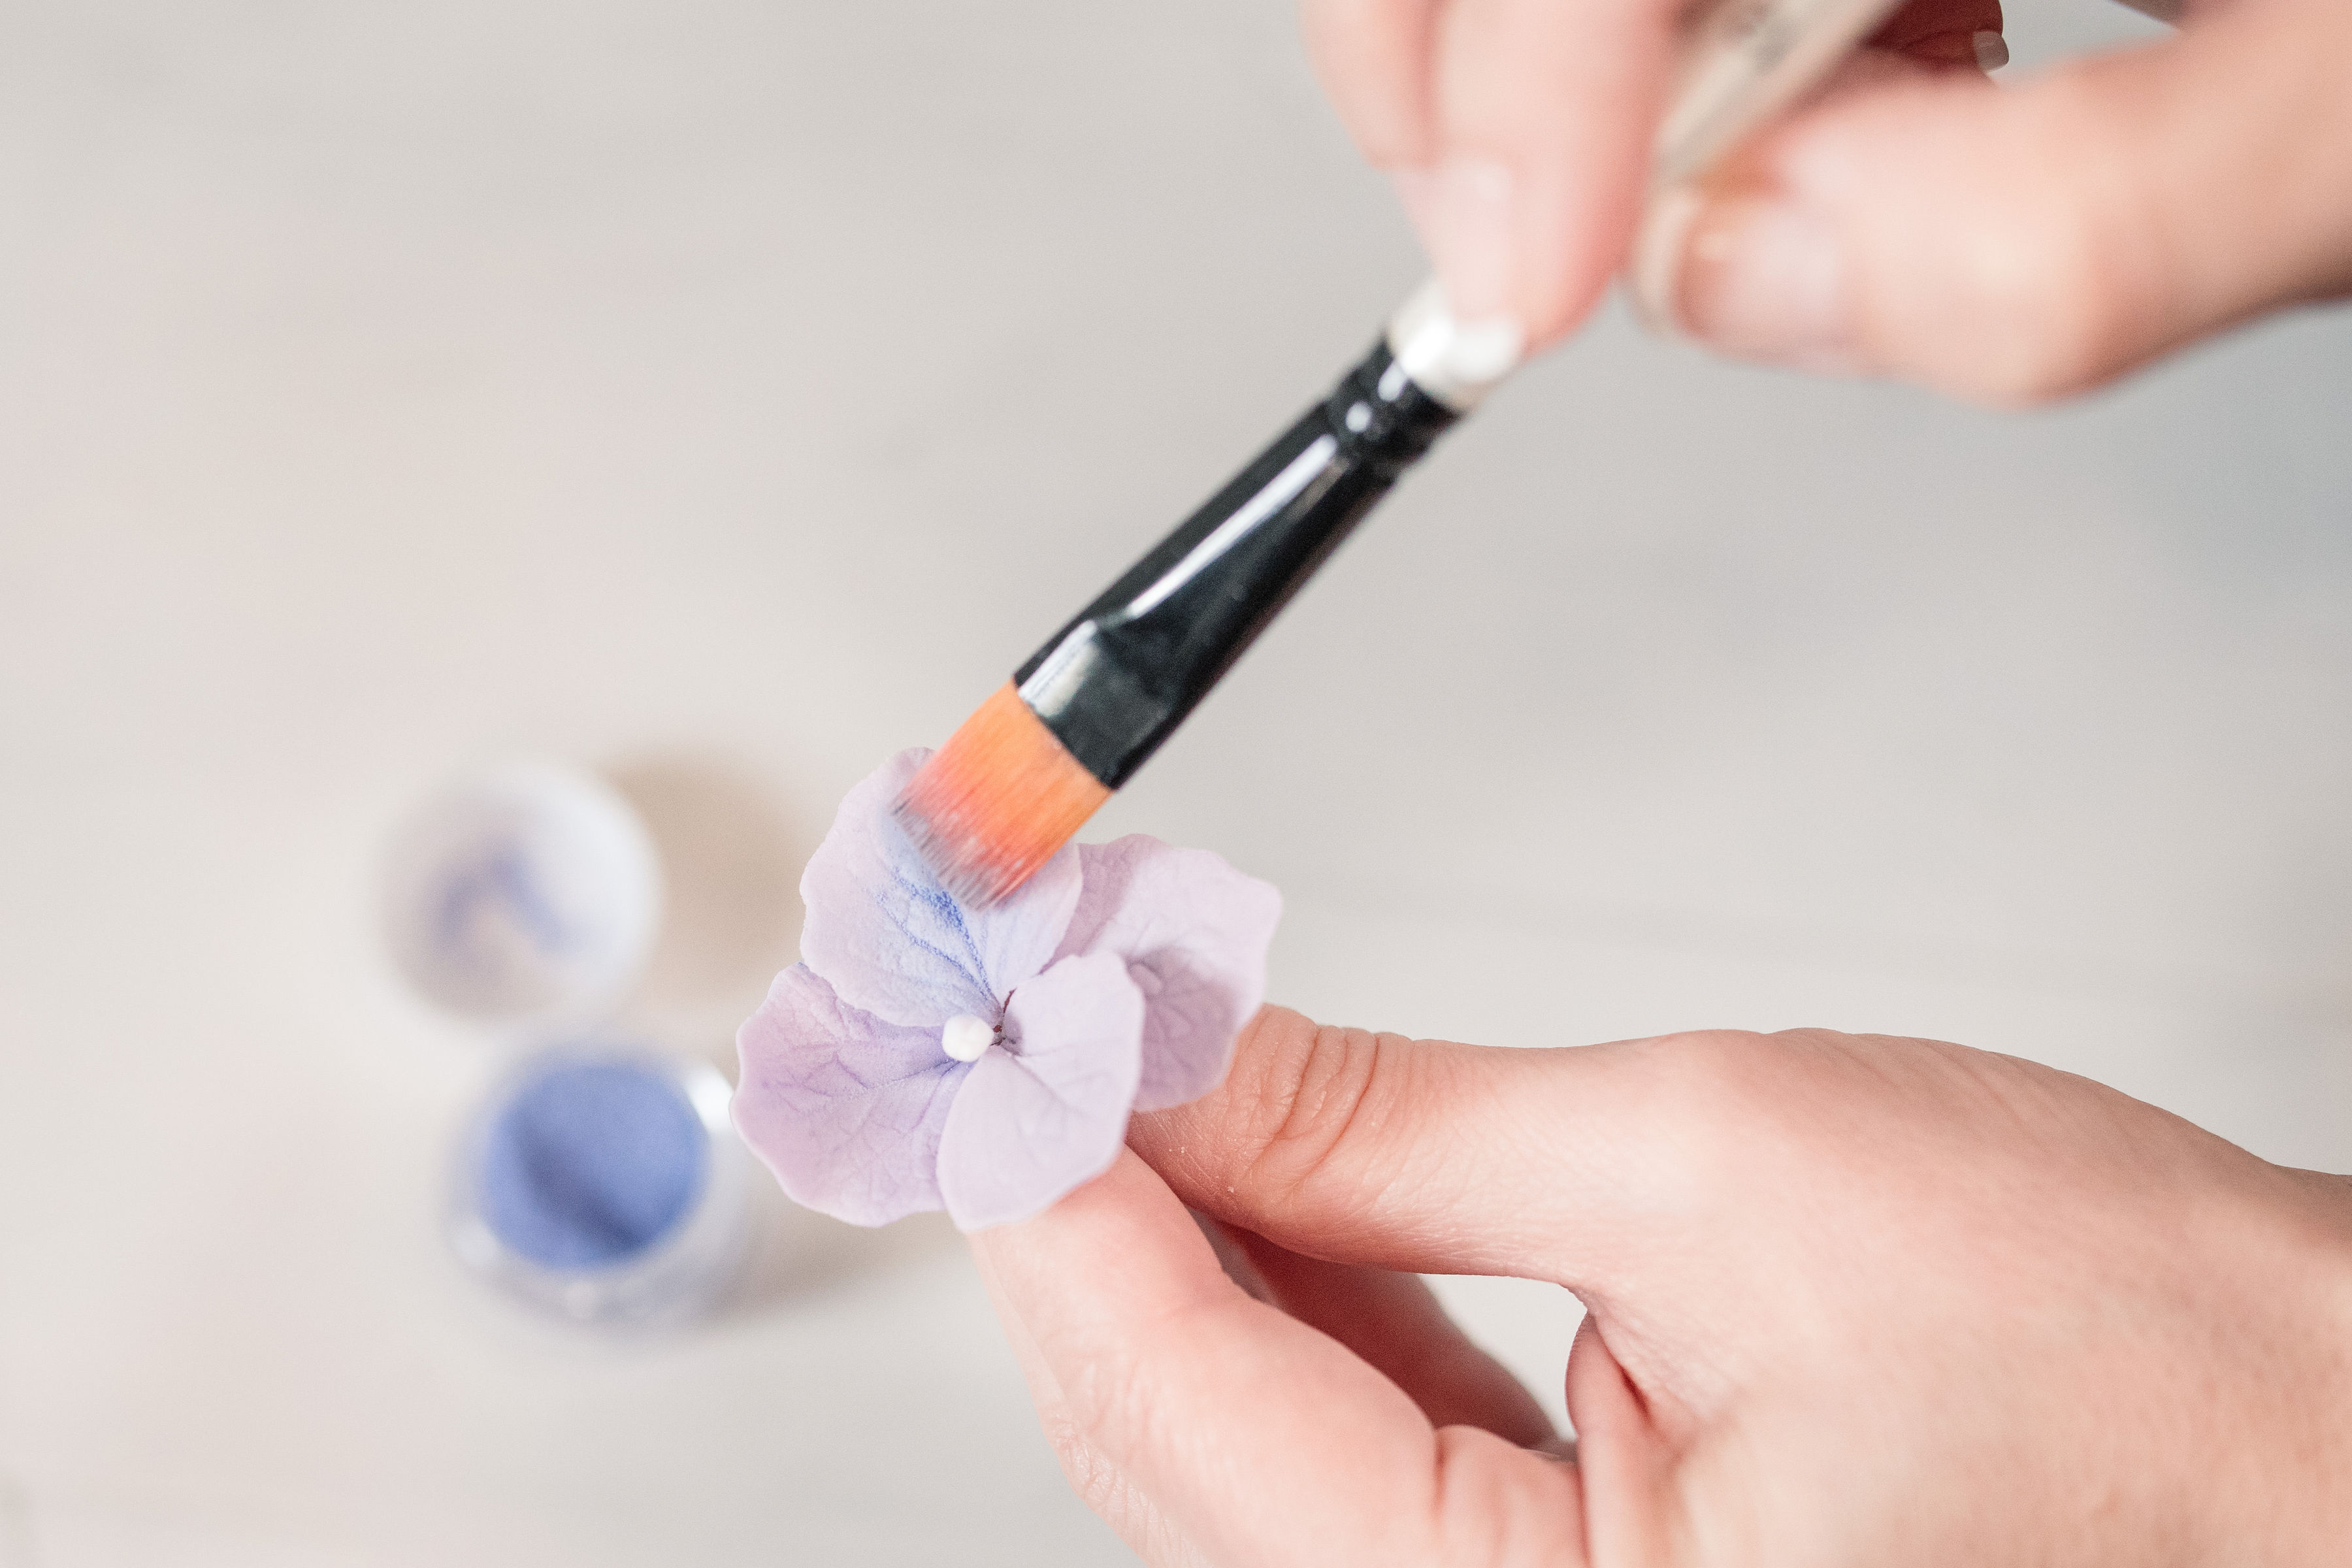
- Dust the flowers with your choice of dust colors by dipping the brush into the dust (dab off any excess dust onto a kitchen towel) then apply the dust by following the direction of the veins, from the center outward or from the edges inward. A mixture of fresh green, pale pink, lilac, and blue produce a natural flower.
- Start grouping the finished hydrangeas together to make a pompom-shaped posy and tape them together. Make sure you place the stem into a posy pick or a straw before inserting into a cake.
This tutorial originally appeared in the March/April 2019 of American Cake Decorating.

Nina YK
Nina YK’s fascination with art and fashion and her professional training at her aunt’s bridal gown studio led to her love and passion for baking. In a short time, Nina was able to create a style-led brand and build an excellent reputation within the wedding industry, winning Best Cake Designer in the Four Counties Wedding Awards 2017 and attaining several awards at Cake International. She is now regarded as one of the UK’s premier wedding-cake designers, having been featured in numerous publications around the world.