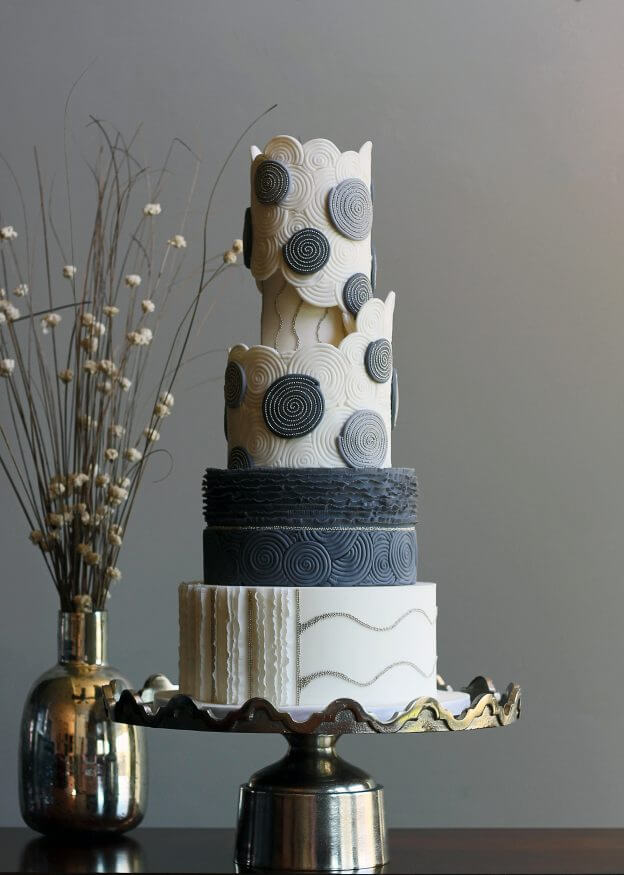
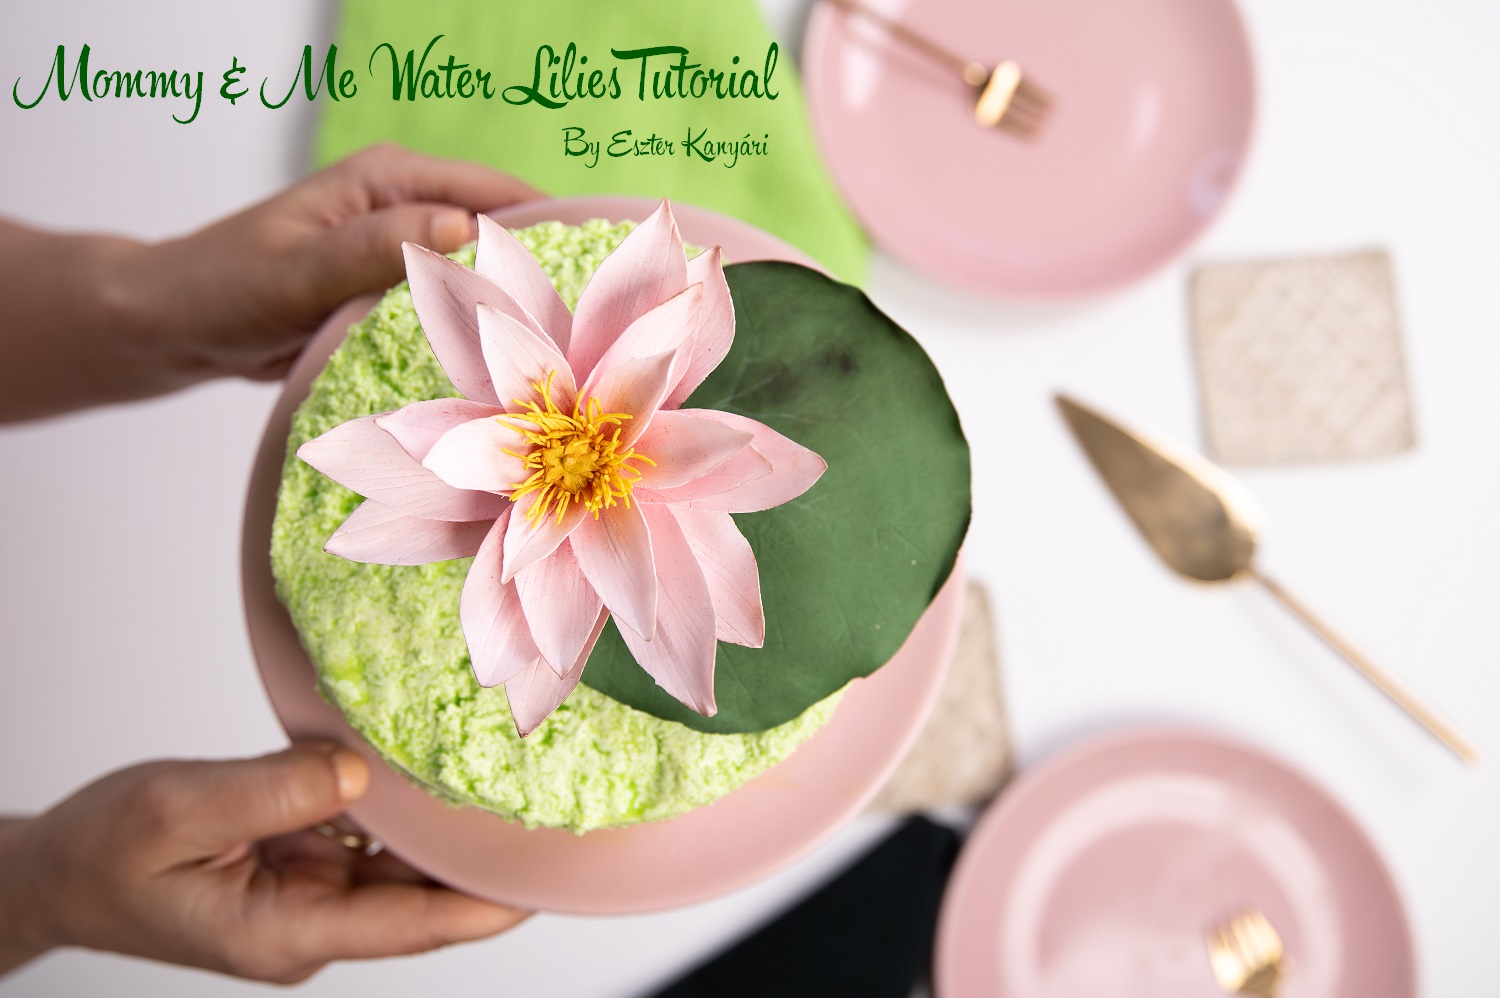
Looking for something striking to give your cake some added WOW factor, then Shannon Bond is here to help! “I’m going to share my process on how to create the inlaid fondant pattern I used on my Midnight Monet cake,” said Shannon Bond. “There are many impression mats available, but sometimes you have a unique pattern or design which calls for a custom technique.”
Spectacular Spirals
By Shannon Bond
Components
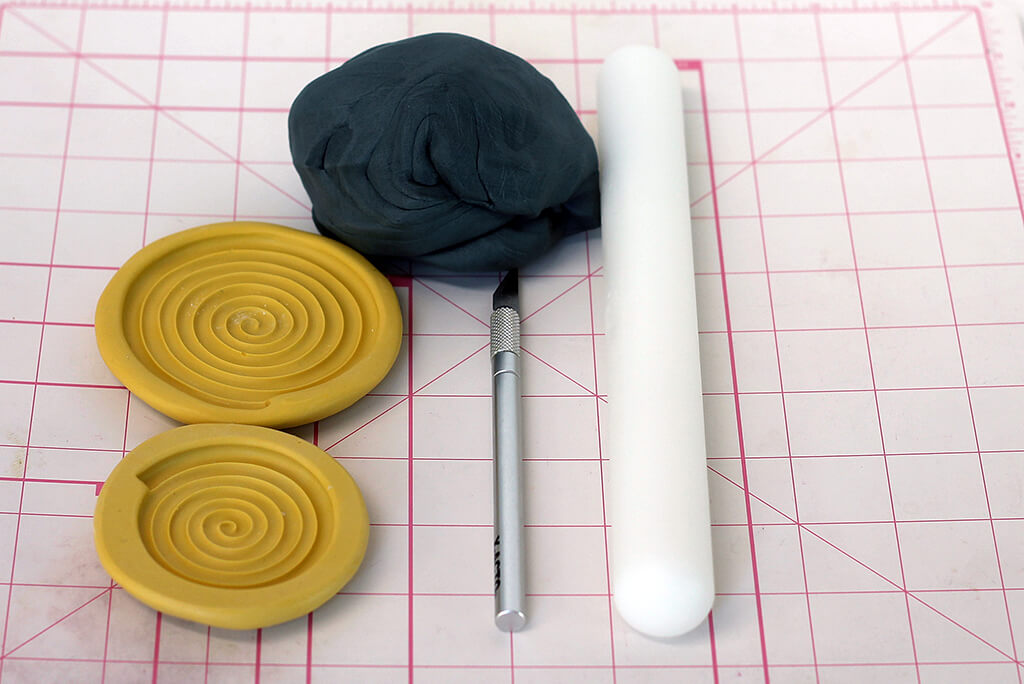
- Navy Blue Satin Ice fondant
- X-ACTO Knife
- Ruler or measuring tape
- Spiral silicone molds
- Small rolling pin
- Vegetable shortening
- Cornstarch for dusting
Steps
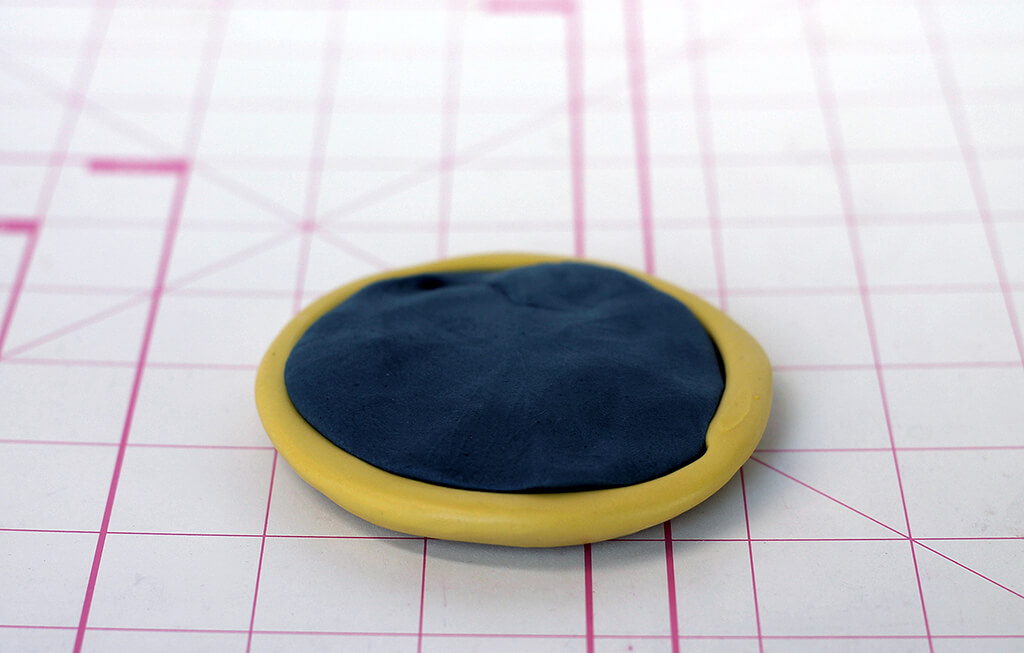
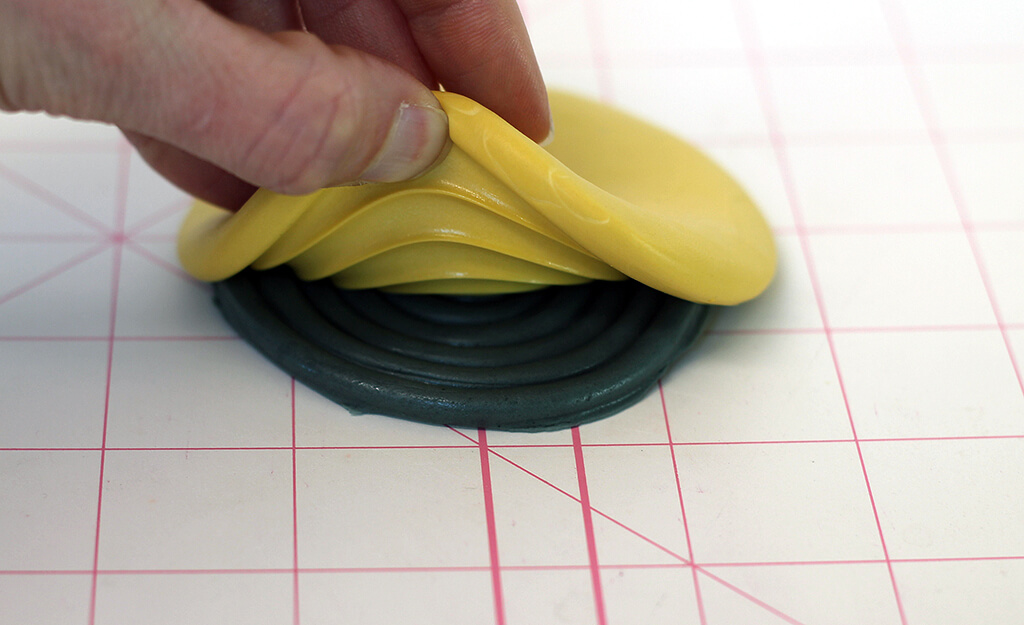
1. Condition the fondant with a little vegetable shortening. Lightly dust the mold with a touch of cornstarch and shake out. Apply a small amount of fondant into the molds.
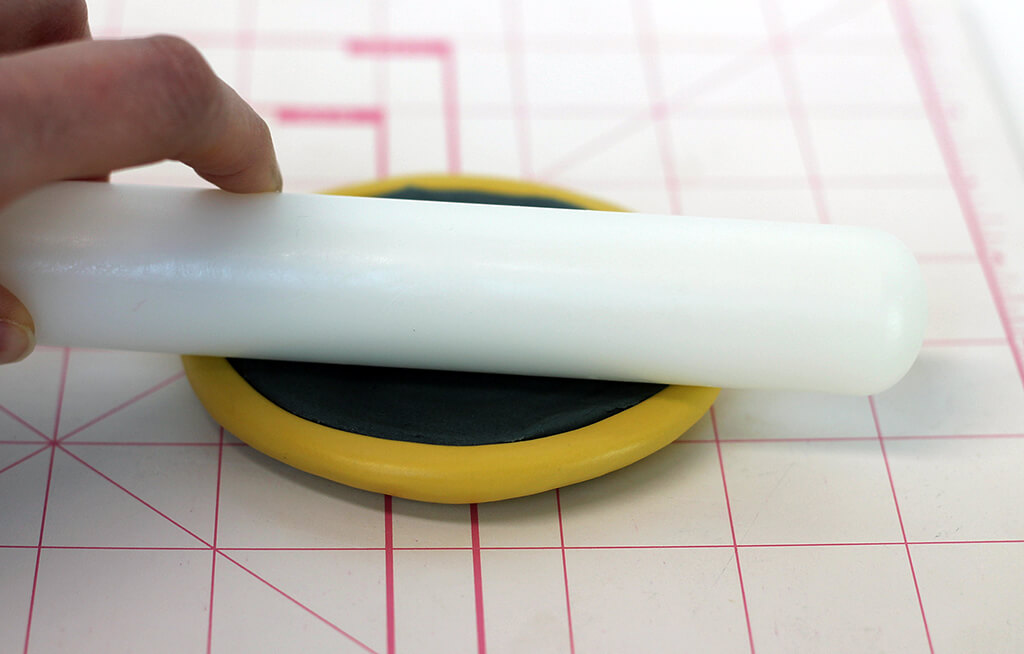
2. Use the rolling pin to even out the fondant and remove any excess.
3. Turn the mold over and gently peel away the mold from the fondant. If you have trouble removing the mold, you can place the filled mold into the freezer for just a few minutes to stiffen the fondant a bit before removing.
4. Repeat this process with both sizes of molds until several fondant spirals are ready for the next step.

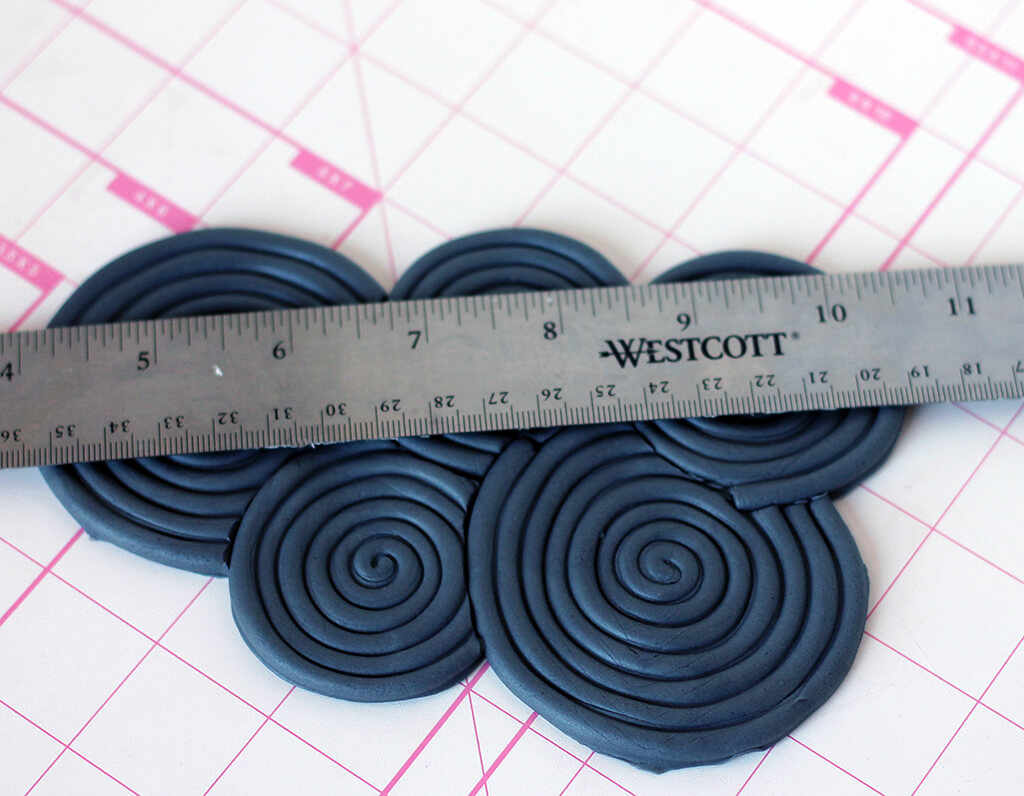
5. Lay one fondant spiral slightly overlapping on top of the other and trace around the top spiral with an X-ACTO knife.
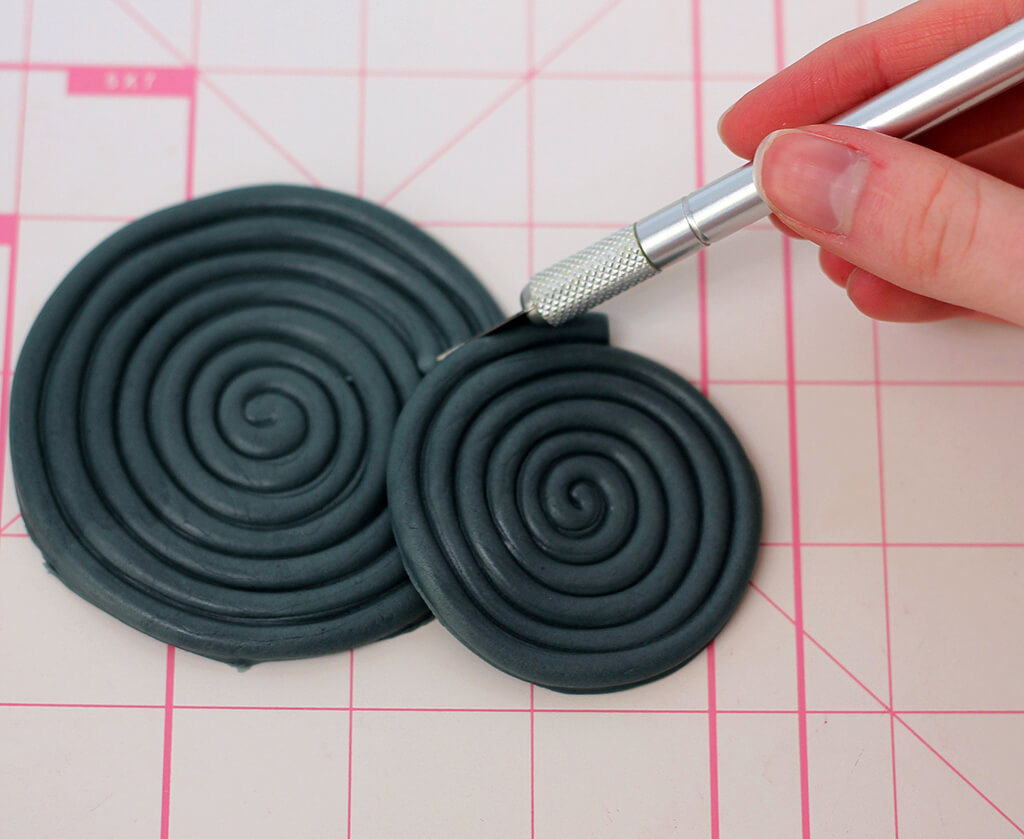
6. Remove the cut piece of fondant from the bottom spiral and place both spirals together. They should fit tight without any gaps.
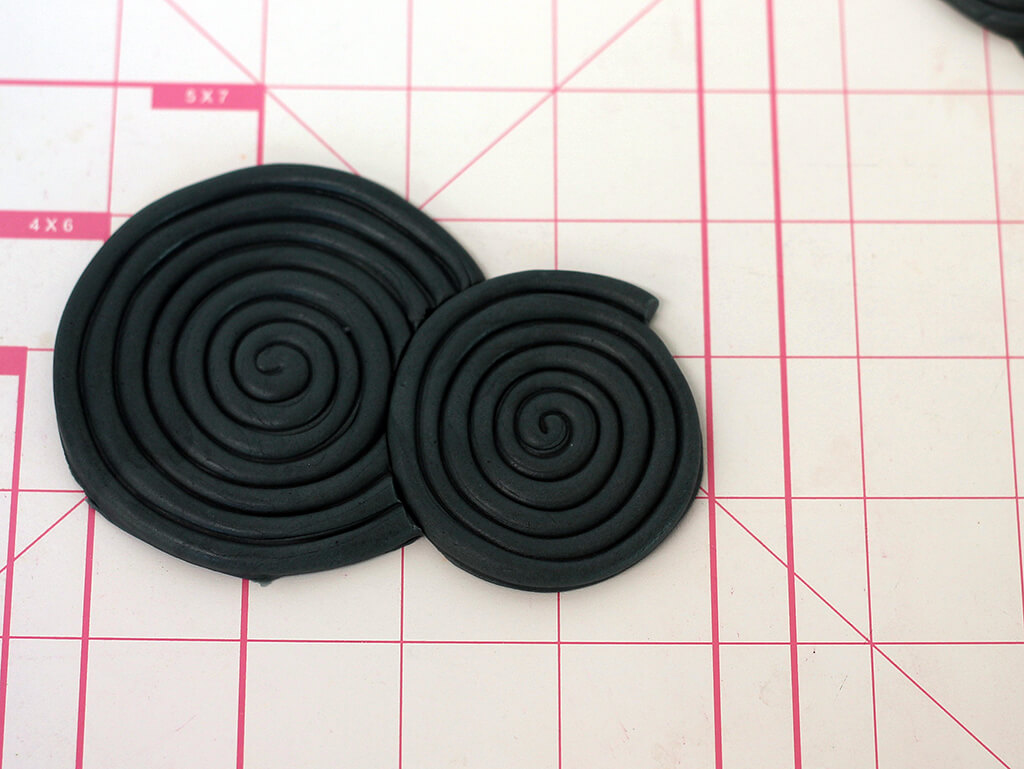
7. Continue overlapping and cutting the spirals to create a panel that is the correct height and width for your cake.
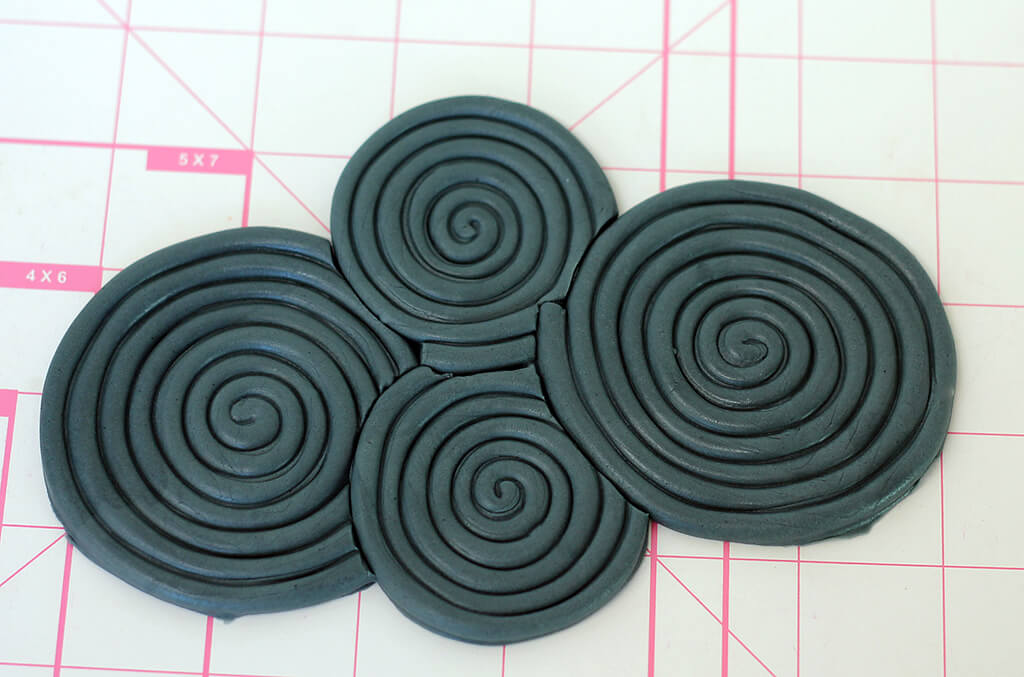
8. Using a ruler and X-ACTO knife, Cut the pattern to the exact dimensions needed for your design.
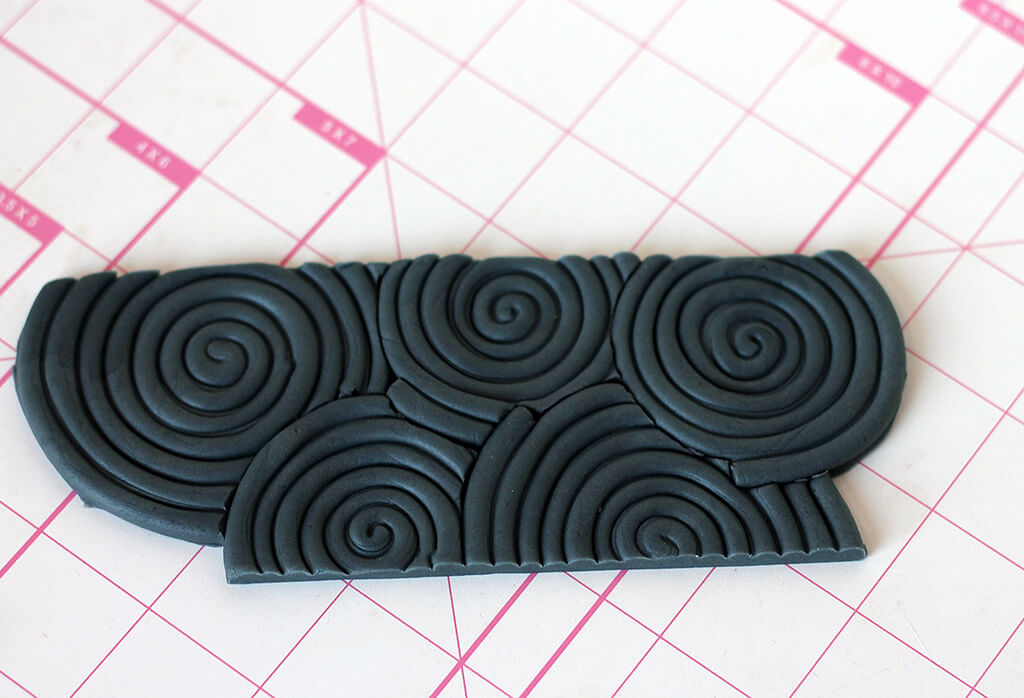
9. Fill in any empty spaces to complete the pattern.
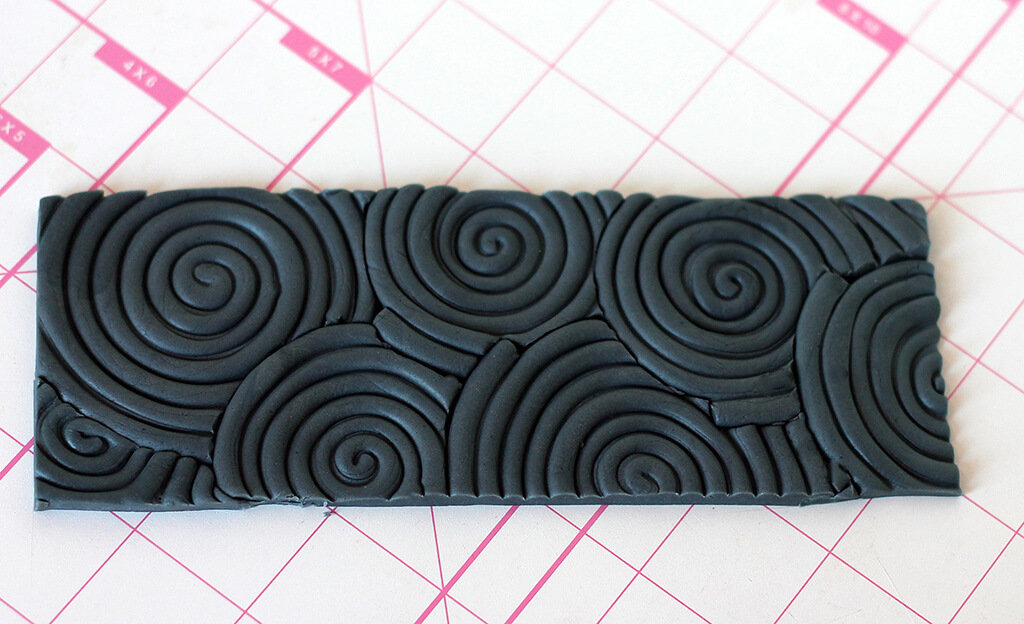
10. Apply the pattern onto your fondant-covered cake with a bit of water and enjoy your results!

