
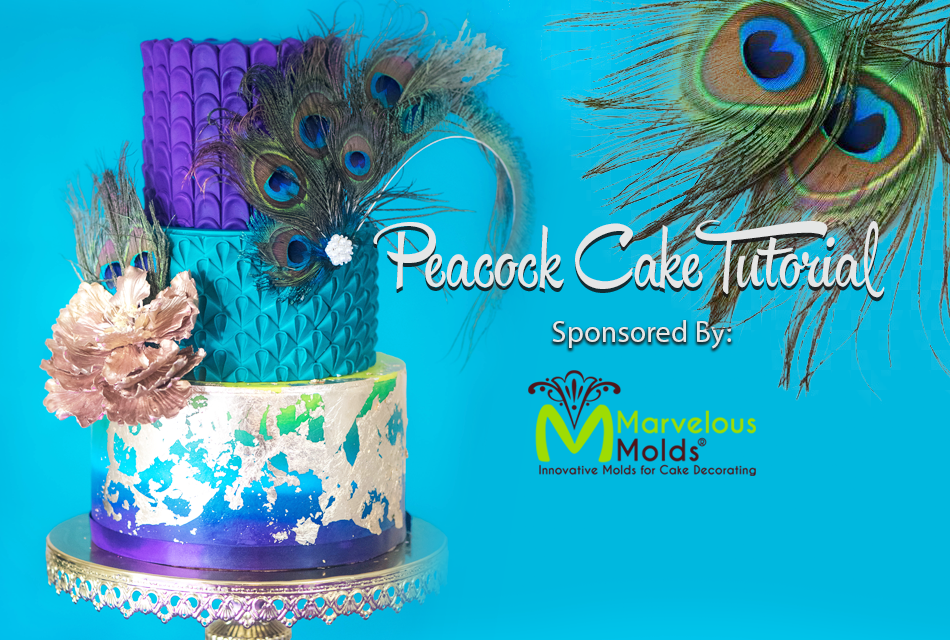
To celebrate the release of the new collection of molds from the Marvelous Molds‘ Simpress line, we’ve created a gorgeous Geometric wedding cake using two of the stunning molds from the collection.
When I received the molds from the new Simpress collection, I was immediately drawn to the simple, modern elegance of the designs. The Geometric Illusion mold is perfect for recreating those intricate geometric patterns quickly and easily and the other two designs offer a world of inspiration for creating a variety of unique and interesting designs from soft and romantic, to bold and modern.
The Geometric Illusion Mold

The Piped Perfection Mold
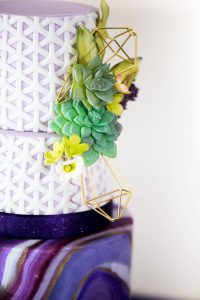
As I researched “Geometric Weddings” on Instagram, my feed was filled with an array of gorgeous inspiration, it almost made me want to get married again just so I could have a dreamy bohemian wedding cake. I really wanted to create a design that featured trendy floating prisms (as seen on Instagram), succulents and bold colors. I thought that the intricate Tri-Weave pattern would provide a seamless canvas for the design. Initially, I considered using the mold with just one color, but after creating several burgundy panels, I felt that the beauty of the design was a little lost in the dark color. So I decided to try a little trick to create a two-tone design using the mold, and IT WORKED! Success.
I added a gorgeous marbled-tier using a variety of purples, mauve’s, and lilacs, which really plays to this year’s trending wedding color: Pantone Ultra Violet. Finally, I just had to include that gorgeous Geometric Illusion mold in the cake, so I kept it simple and used the mold on a narrow bottom-tier and painted it with edible gold to bring out the intricacy of the design. The addition of the mold really finished the design and the pop of metallic balanced beautifully with the floating prisms.
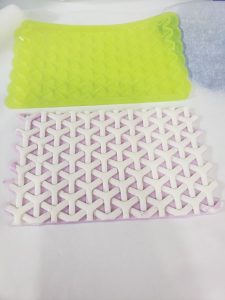
Two-Tone Tri-Weave Tutorial
Components
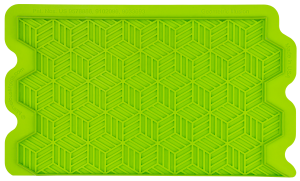
Marvelous Molds Tri-Weave Mold
White Satin Ice Fondant
Lavender Satin Ice Fondant
Tupperware
Thin, flexible plastic smoother
Sharp Knife
Small Rolling Pin
Brush
Water
Instructions
I wracked my brain on how to create a two-tone effect with this mold, but then an idea hit me like a lightening bolt! This technique is SUPER easy and extremely fast, so you won’t have to spend hours fiddling with fondant and Dresden tools. I chose the Tri-Weave mold as I thought the deep cavities of the mold and pattern would work best for the technique.
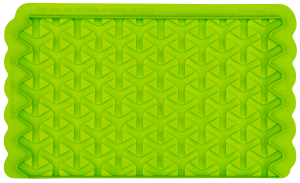
The Tri-Weave mold
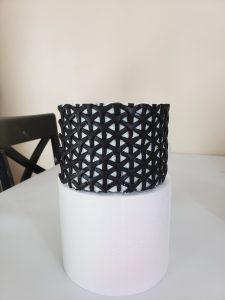
First, choose two contrasting colors, here I used lavender and white because I wanted there to be a subtle different between the background and foreground patterns. However I also tried this technique with black and white, and hot pink and white, and all worked brilliantly!
Rebekah Notes: I used Satin Ice fondant for this technique, however you could also use Daisy Paste too. I did not try the technique with other fondants, so that might need some experimentation.
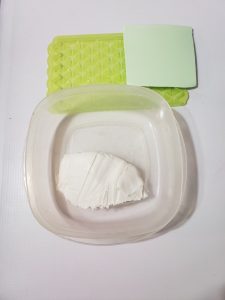
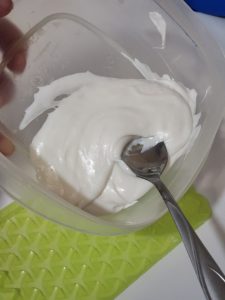
Take a small 2-inch piece of white fondant and place it into a Tupperware container. Place in the microwave and heat for 15-25 seconds on high heat until puffy.
(You’ll know it’s done because the fondant will puff up like a melted marshmallow)
Stir the melted fondant just to make sure that it’s completely melted and then pour onto one end of the Tri-Weave mold.
Working quickly, take the flexible smoother and drag the melted fondant along the length of the mold. This will fill in the mold with the fondant.
Next, take the smoother again and make several passes over the mold, this time exerting more pressure as you drag along the mold. Remove any excess fondant until only the deepest crevices of the mold are filled in.
Rebekah notes: You really have to work quickly and if the fondant was too soft or too hard, the results won’t be as clean as you need for the two-tone to be perfect.
Once the mold is filled, rub a little Crisco of vegetable shortening over your finger and remove any little bits of fondant that bled onto areas of the mold that you need exposed. Just gently rub those area with your finger to remove the fondant. It dries quickly and should easily flake away.
Take the second color fondant, here I used Lavender, and roll a piece to about 1/4 inch thick.
Brush the mold with a little water, this will ensure that the back piece adheres fully to the infilled fondant, otherwise the two may separate on application or removal.
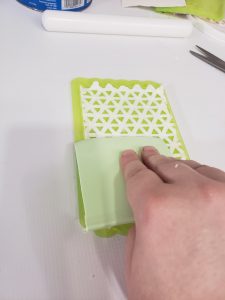
Place the lavender fondant over the mold and using your fingertips, press the fondant into the mold.
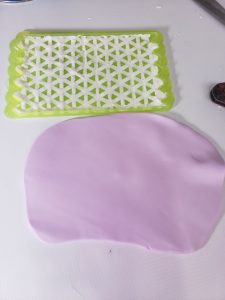
Using a small rolling pin, roll over the back of the mold to flatten the panel and trim away any excess.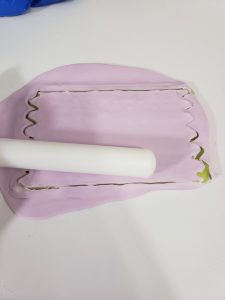
Rub your finger around the perimeter of the molds to clean up the edge.

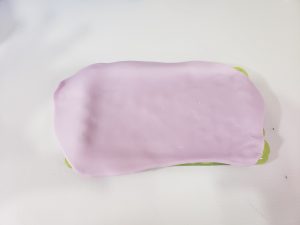
To adhere the panel, brush a little water or edible glue onto the back of the fondant and line up the flat edge with the bottom of your cake. Gently attach the fondant to the cake and press to adhere before gently removing the mold.
Continue the above steps until the cake tier is covered.


