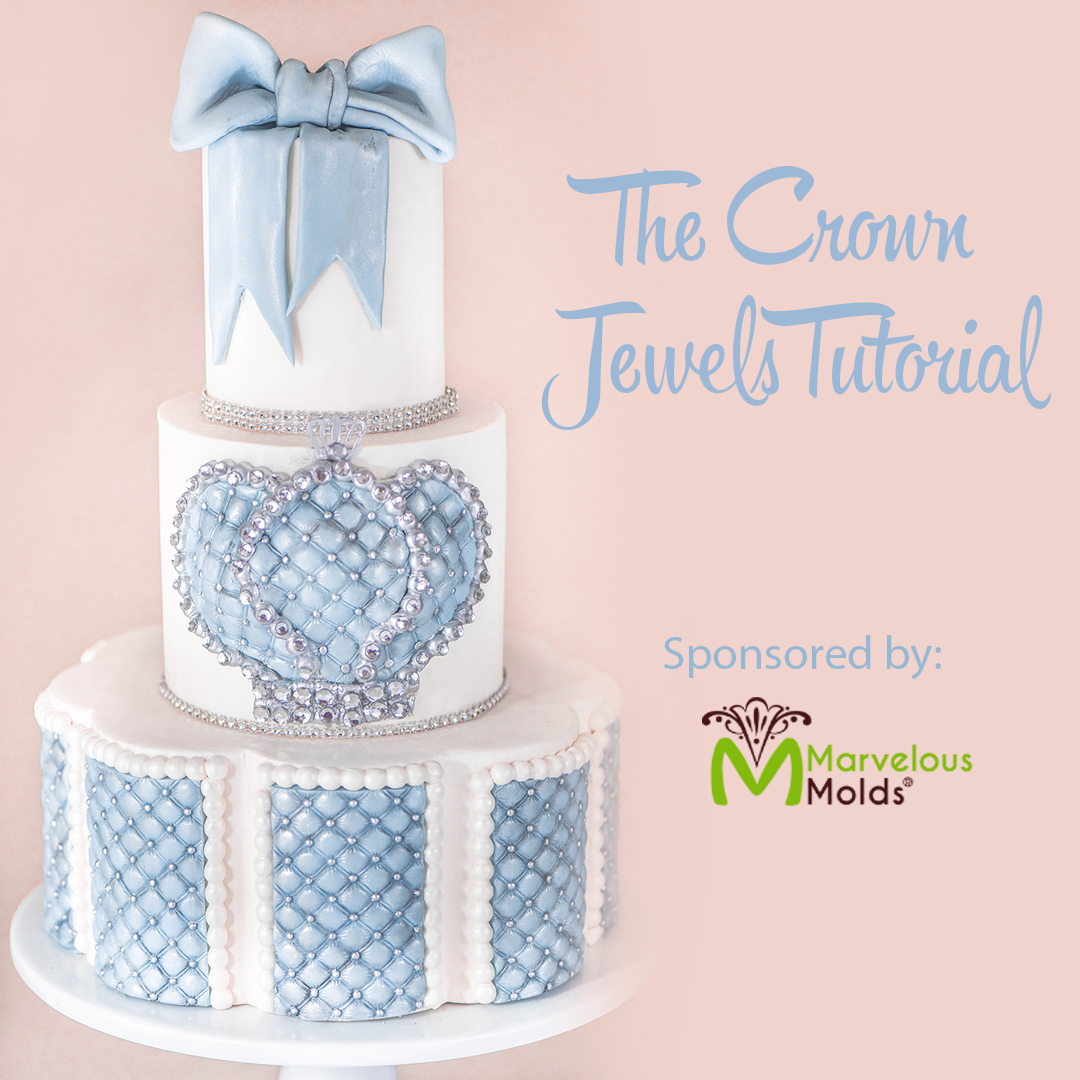
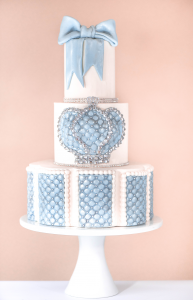
Learn to create this gorgeous quilted crown jewels baby shower cake using the new Tufted Swiss Dots Simpress mold from Marvelous Molds. This adorable design is inspired by the ittybittytoes baby wear collection of the same name and features a regal bas-relief crown design and elegantly tufted panels; perfect for welcoming a little prince!!
Crown Jewels Cake Tutorial
by Rebekah Wilbur
Components:
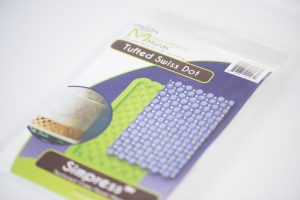
- Tufted Swiss Dots Simpress Mold
- Pearl border mold
- White gum paste
- Baby blue fondant
- Cornstarch for dusting
- Small rolling pin
- Sarge rolling pin
- Selection of dusting brushes
- Silver luster dust
- Clear alcohol or lemon extract
- Pearl luster dust
- Black petal dust
- Cornflower blue petal dust
- Sharp knife
- Small crystals (optional)
- Edible glue
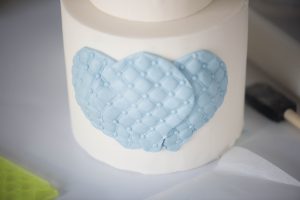
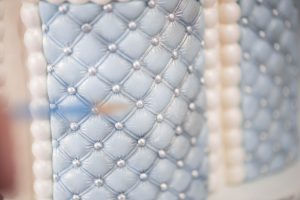
To create the tufted panels: First, cover a petal tier with white fondant.

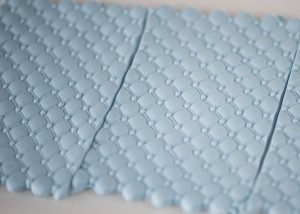
Prepare the Tufted Swiss Dots mold by lightly dusting with cornflour and shaking out excess. Knead some baby blue fondant and an equal amount of white gum paste together to make a 50/50 mix. Roll the fondant mix to slightly thicker than the mold and place inside.
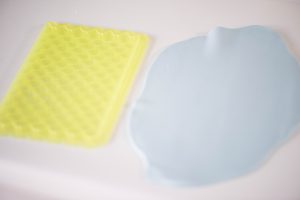
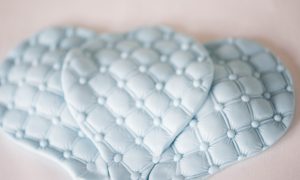
Work the fondant into the mold by pressing it into the cavities. Be sure to make sure you really press the fondant into the mold to get the best impression. Roll over the fondant to trim away the excess. The edges of the mold should easily cut through the paste. Turn out the mold and repeat to create 3 more panels.
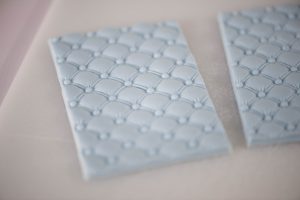
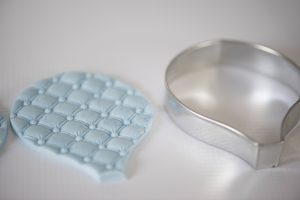
Carefully trim each panel into two. The panels were trimmed to four tufts across. Leave the panels to firm up for 10 minutes before handling as this will prevent them from losing their shape.
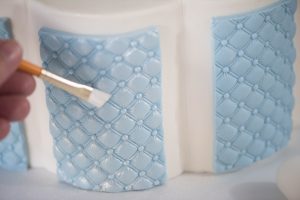
Place the panel in the center of the petal. You can adhere the panel with either edible glue, a touch of water, or vegetable shortening. Continue adding panels until all the petals have been covered.

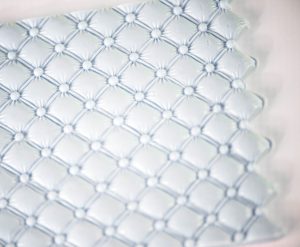
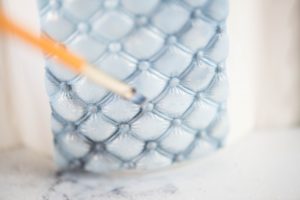
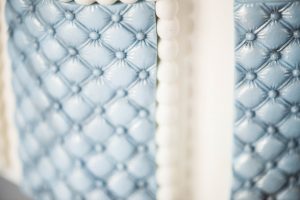
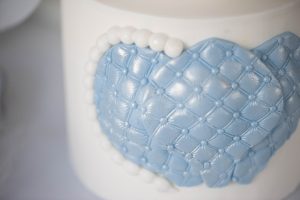
Brush the panels liberally with some pearl luster dust, this will give them a satin-like sheen and mimic the look of tufted satin.
In a clean bowl, mix some black petal dust with the cornflower blue. Using a small brush, add some shading to bring out the pattern of the Swiss dots.
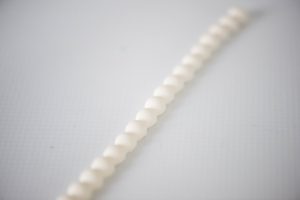
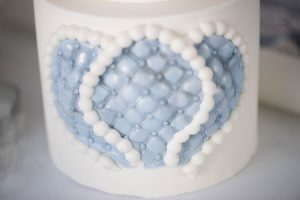
To finish the panels, create some string of pearl pieces using a pearl border mold and some white gum paste. Attach the pearl border around the perimeter of each panel. To finish the border, dust liberally with pearl luster dust.
To make the quilted crown applique. Create a single panel of the Tufted Swiss Dots mold and using a large magnolia petal cutter, cut out three petals.
Roll three balls of the fondant mix and press flat slightly, then lay the “petals” over the top as shown. The fondant underneath will give the crown some dimension and make it appear more three-dimensional.

Carefully transfer the crown to the surface of a 6-inch cake tier covered with white fondant. This tier is 5-inches deep, anything less may be too small.
Brush the applique with pearl luster dust and begin to outline the sections with the pearl border mold.
Once all the sections have been linked with the border mold add some shading using the black petal dust mix.
Add a 2-row section of the Tufted dot mold along the base of the crown and paint the border with some silver luster dust.
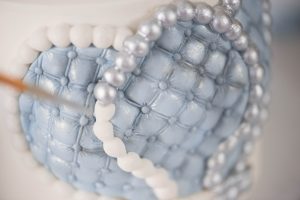
To finish the design, paint the dots with silver luster dust. You can also add some silver Swarovski crystals to the applique, but take care as these elements are non-edible, so use with caution.
This elegant mold could be used for so many different projects; we found it highly versatile. Quilting is a simple technique, but hard to get looking just right when done by hand. The mold creates a seamless design that can be extended around the circumference of the cake without any distortion of the pattern. We also enjoyed that the mold can be used with dragees. Simply add the dragees directly to the mold before inserting the fondant or gum paste. This mold would be great for use on handbag cakes, shoe cakes, make-up cakes, princess cakes, quilted wedding cakes, and so much more! It’s also perfect for use on cupcakes!
We look forward to seeing what you come up with!
If you use the mold, share your designs with us for a chance to be featured on the ACD blog!
