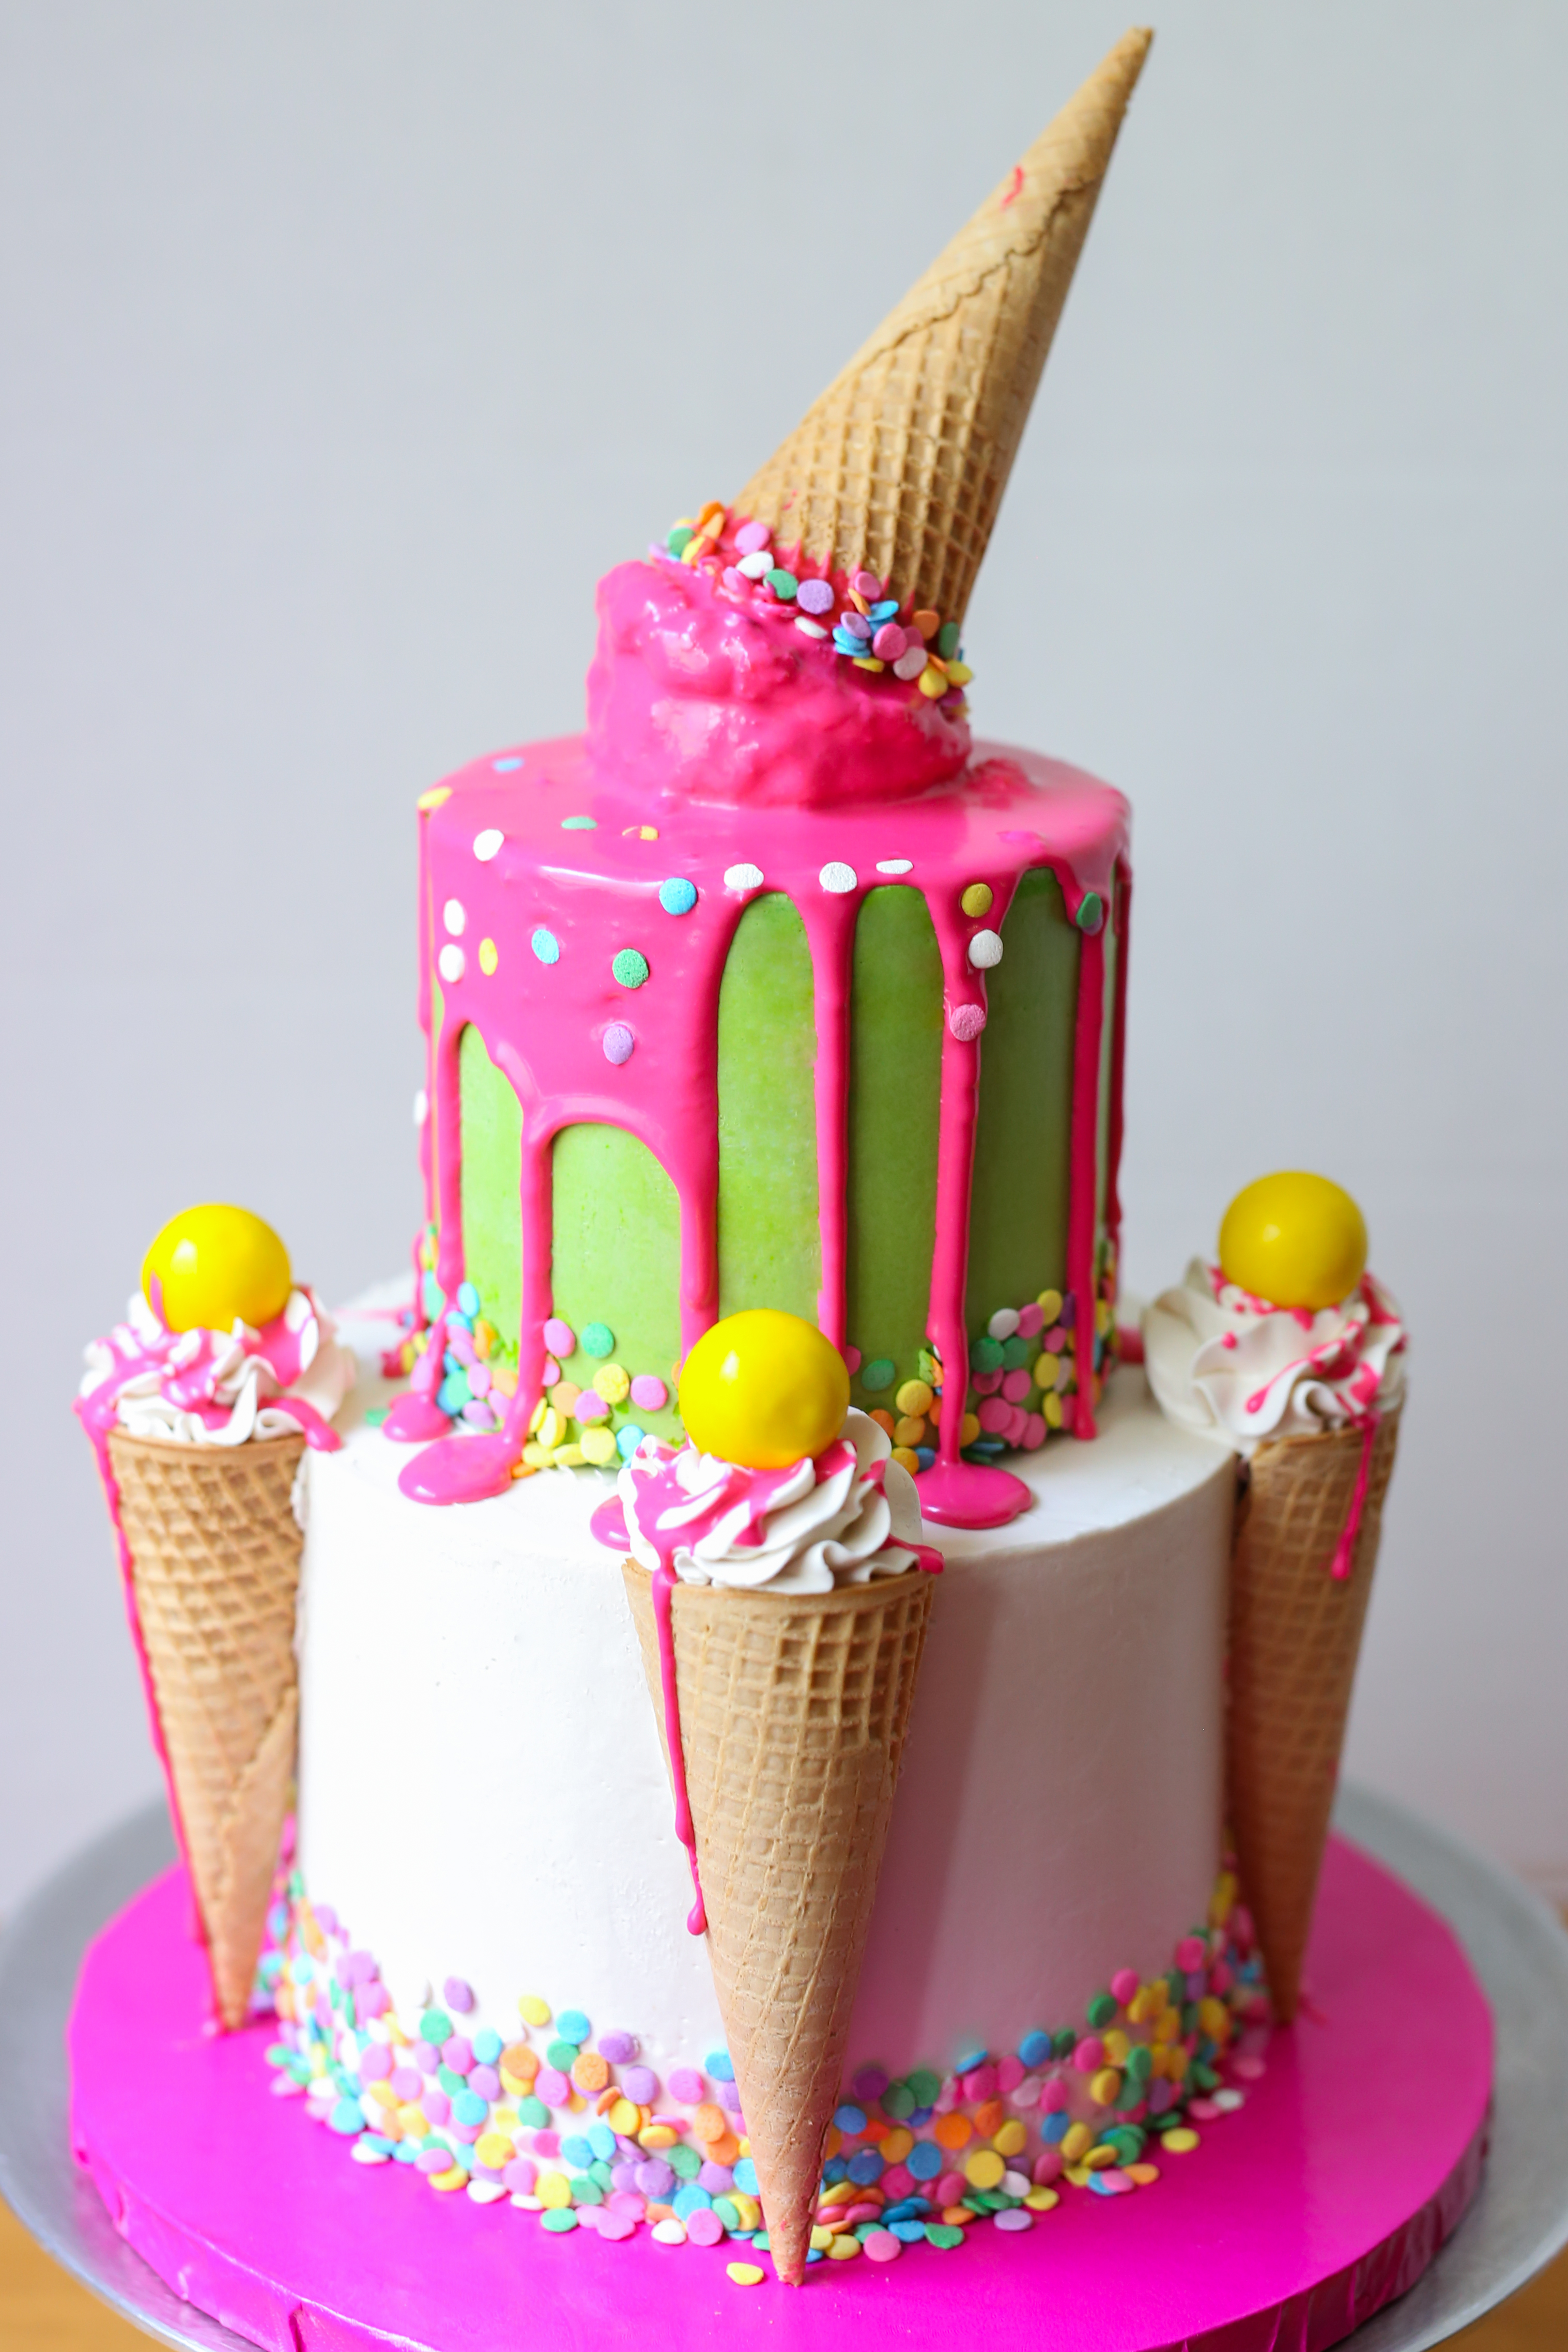
Venus Medler of Venus’s Cakes shares a super-easy tutorial for a fun and playful ice cream cone drip cake. This cake positively screams Happy Birthday; perfect for little kids and big kids alike.
Components:
- Sharp knife
- 8-inch cake drum
- 4 bubba straws
- 6-inch cake iced
- 4-inch cake iced with green buttercream
- 10.5 oz. white chocolate morsels
- 3.5 oz. heavy whipping cream
- AmeriColor Pink gel
- Confetti sprinkles
- 5 waffle cones
- Large gumballs (yellow and pink)
- White vanilla buttercream
- Cake pop dough
- 3 piping bags
- 1M piping tip
You will need to prepare the cakes for decorating in advance and refrigerate until cold. This cake is a vanilla bean sour cream cake with Swiss meringue vanilla bean buttercream. The bottom tier is 6 inches wide by 5 inches tall, and the top tier is 4 inches wide by 5 inches tall. Clare this could look nice in a pop-out box
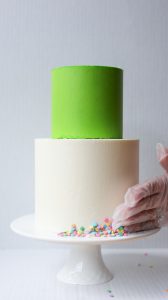
1) Stack the prepared cakes ready for decoration. I use boba straws (bubble tea straws), which are cut to the same length and inserted into the bottom 6-inch tier of the cake.
Venus notes: Make sure you don’t cut the straws too short, you want the straws to support the weight of the 4-inch cake that will be placed on top.

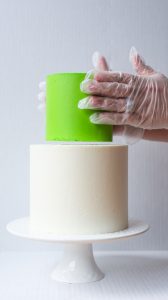
2) Carefully place the 4-inch tier on top of the bottom cake tier. Using gloves and a spatula will minimize any damage caused by fingerprints.
Venus notes: Working with a cold cake will allow you to handle the cake into place without risk of damage.
3) Take a handful of sprinkles and push them into the bottom of the cake tier, they should slightly embed. Alternatively, you can brush the bottom of the cake with a little piping gel and stick the sprinkles to the gel. Repeat this step for the top tier.
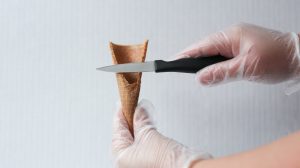
4) Take a waffle cone and cut away one side as shown in the picture, this will allow you to lay the waffle cone flush with the side of the cake. Repeat this step until you have prepared 5 cones.
5) Push the waffle cones into the side of the cake at equal distances. You can use a little melted white chocolate to stick the cones to the cake—but they should stick to the cake without any additional glue.

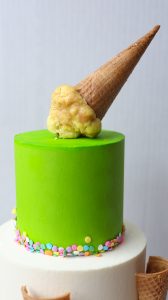
6) Take a ½ cup of leftover vanilla cake scraps (save your scraps) and add a tablespoon of vanilla buttercream. Mix well to create a firm cake pop dough. Using a 1-inch ice cream scoop, mold the dough into the shape of ice cream, and place onto a waffle cone. Then place the cake ball and the waffle cone onto the cake as shown (upside down).
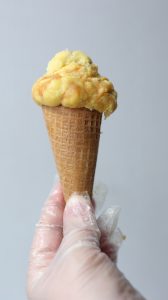
7) Prepare your drip by creating a thin consistency ganache. I used 10.5 oz. of Nestlé white chocolate morsels and 3.5 oz. of heavy whipping cream. Put the heavy whipping cream in the microwave and heat until scalding. Once the heavy whipping cream is hot, pour it over the morsels and let set for a couple of minutes. Slowly mix to combine, and add your chosen coloring to the ganache.
Venus notes: If your ganache is too translucent, add some AmeriColor white gel paste.
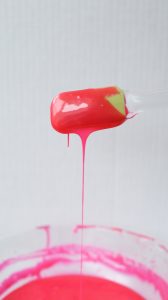
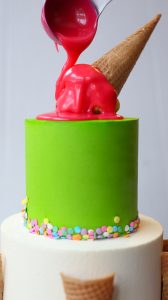
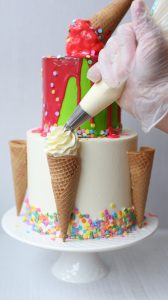
8) Allow the ganache to cool, and then pour over the ice cream cake pop and the entire top tier. Be careful with pouring, It’s easy to go overboard. Add little bits of ganache at a time until you start to see the ganache dripping down the side of the cake. Immediately add the sprinkles so they will move with the ganache and enhance that dripping and melting effect.
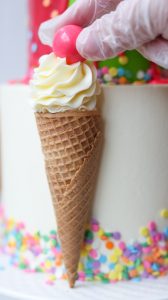
9) Fill a piping bag fitted with a 1M Wilton tip with some white buttercream. Pipe a swirl of buttercream onto each cone.
Venus notes: The idea is to recreate the characteristic swirl of ice cream.
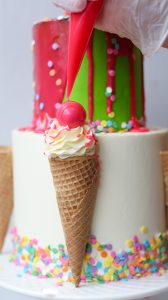
10) Add a large gumball to the top of the buttercream swirl. Alternatively, you could make a fondant cherry.
11) To finish the cake, fill another piping bag with leftover ganache. Cut a tiny bit off the piping bag to create a small hole and drizzle the ganache over the ice cream cone swirl. Do this with the remaining ice cream cone swirls.
