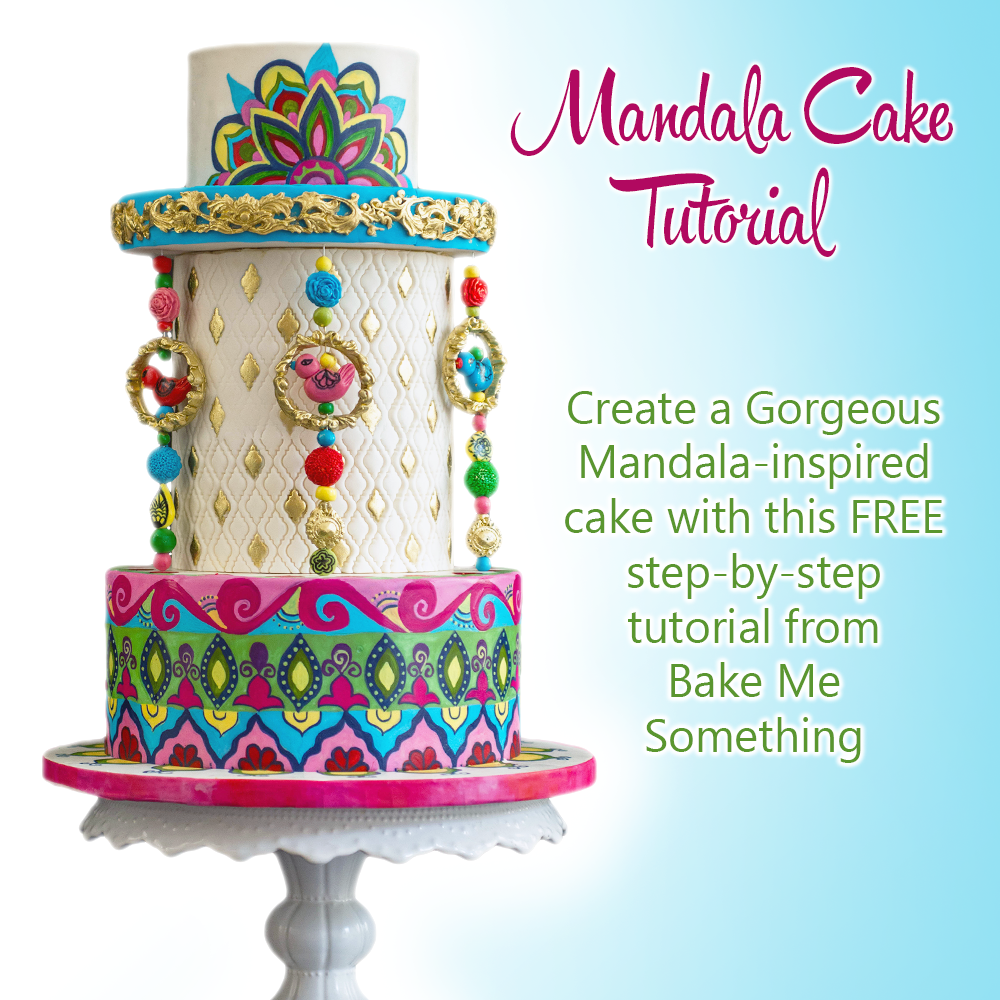
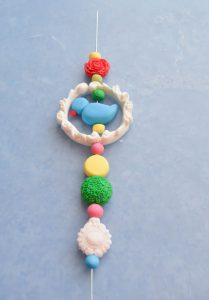
Mona Marwaha of Bake me Something shares a wonderful tutorial for a bright and colorful Mandala-inspired cake design. Follow the steps to recreate this hand-painted, beaded cake design for yourself!
Components:
|
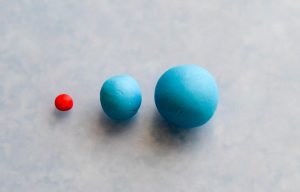
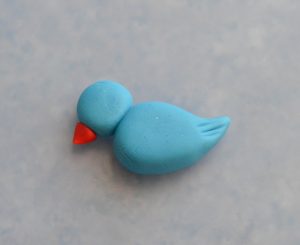
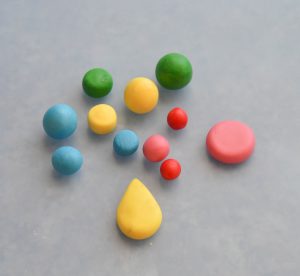
| For the bird, roll two small balls of fondant, one smaller for the head and other a little bigger for the body. Roll a very tiny ball in another color for the beak.
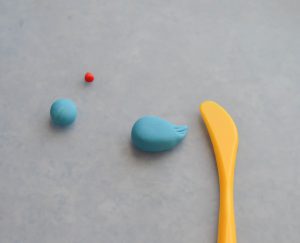
Roll the bigger ball into a cone; flatten the end and curve into the shape as shown. Make a few indentations at the pointy flat end.
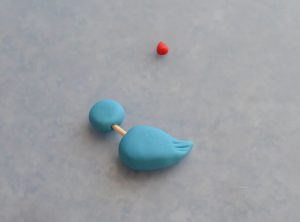
Now join the head to the body; you may use a small piece of toothpick to attach. Roll the small red fondant into a cone shape and glue it to the head to form the beak as shown.
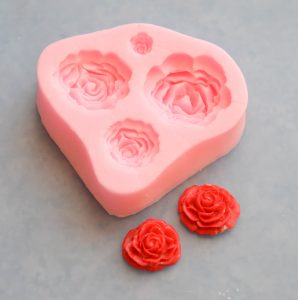
To make the rose beads, roll out a small portion of red fondant and using a flower mold (I used a medium sized rose mold) mold two roses as shown.
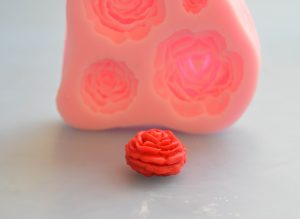
Glue the flat side of each flower and stick them together to form a bead shape.
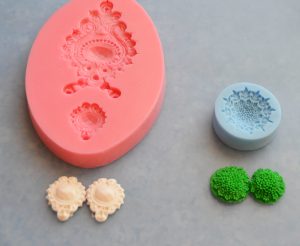
To form the other beads, use different molds and the same technique as the previous two steps to form several different styles and colors of beads as shown.
Roll out some fondant in different colors to form different sizes of beads; you may flatten some of them, this will add variety.
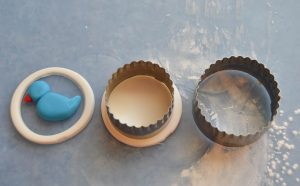
To create the frame for the bird, roll out some gum paste to about 1/8” thick and cut out a circle using a 3” round cutter and cut this circle again using the 2 ½” round cutter to form a round hollow ring as shown in the picture. Make sure the hollow round is big enough to fit the small bird we made earlier (Step 1-3).
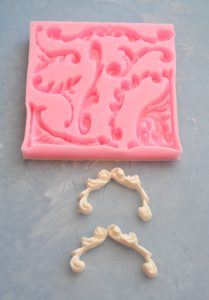
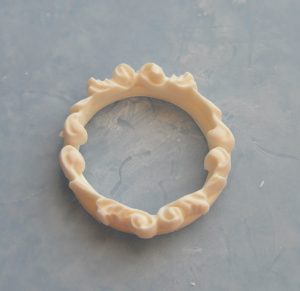
Using a decorative mold, create some pieces as shown and attach to the ring, let dry completely.
When all the pieces have dried completely, line them up as desired. Using the 20-gauge floral wire, thread the beads onto the wire.
Spray the beads with a little PME glaze to give them a nice sheen. You should create enough beads to make 5 strands to go around the exterior of the cake as shown. To Make the Mandala Design Components:
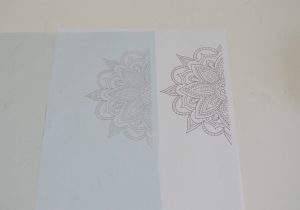
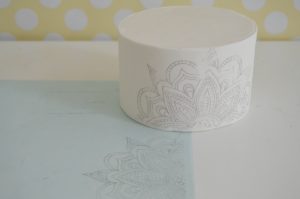
Print out of the image you wish to transfer to the cake. Mona notes: you may need to edit the size of the image to fit comfortably on the exterior of the cake. Print out the image onto the transparent sheet using an edible printer.
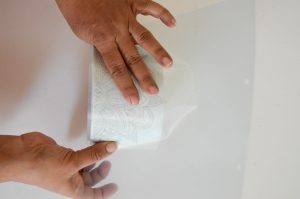
With the ink side down carefully line the image up against the cake surface where you want the image.
Lightly press the exterior of the image to transfer the design onto the cake surface.
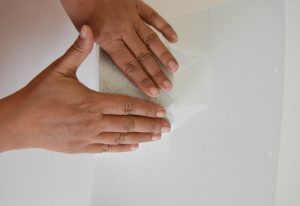
Carefully remove the icing sheet to reveal the design. You can now paint the design using a variety of edible gel colors.
|


