
Carie Mcghie shares a wonderful tutorial for a layered applique technique, using simple flower cutters and veiners. She notes, “I took inspiration from a dress designed by fashion designer Georges Hobeika from his Fall/Winter 2015–2016 Haute Couture Fashion Show. I tried to decorate the entire cake using only the two cutters and veiners in the James Rosselle California Poppy Cutter and Veiner Set. By working smart and not hard, the next time you get a custom cake order you will be saying to yourself: Make a cake using only two cutters and veiners that expresses fashion and floral?…no problem!”
Components
- Cake stacked and covered in white fondant
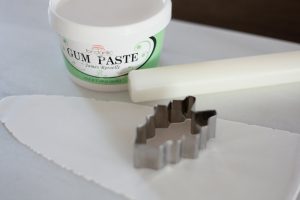
- Gum Paste
- California Poppy Petal Cutter by James Rosselle
- California Poppy Petal Veiner by James Rosselle
- 3.5 circle cutter
- Tools: Small rolling pin, ball tools, scissors, Dresden tool, small paint brushes
- Everclear
- Small foam pieces
- Petal dust in dark and medium blue
- Edible glitter and gold metallic dust
- Edible glue
- Foam flower pad
- Bumpy foam pad
Making the Floral Appliques
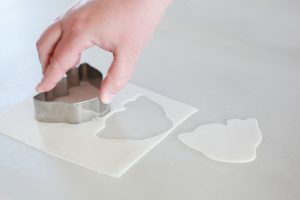
Step 1: Roll out gum paste until thin and cut out three petal shapes using the California Poppy Petal Cutter by James Rosselle.
Carie notes: I rolled the gum paste to a #4 using a KitchenAid Pasta Attachment.
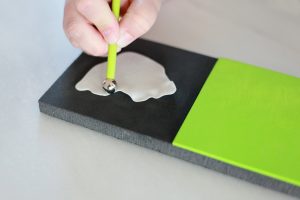
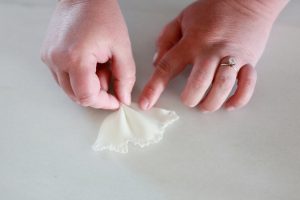
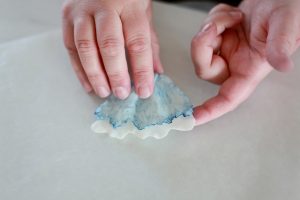
Step 2: Place one of the petals on a flower foam pad. Thin and ruffle the edges with a medium ball tool. Repeat for a total of two ruffled petals.
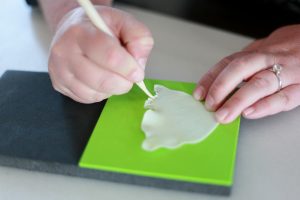
Step 3: Use a veining tool or the small end of a Dresden tool to pull and fray the top edge of only one of the ruffled petals.
Carie notes: Place the petals in a gum paste storage board or under plastic until ready to use to prevent them from drying out.
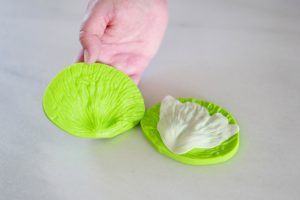
Step 4: Impress the ruffled and frayed petal using the California Poppy Petal Veiner by James Rosselle.
Carie notes: Dust the veiner with a little cornstarch to prevent sticking.
Step 5: Gather the bottom edge of the petal and pinch to remove the excess.
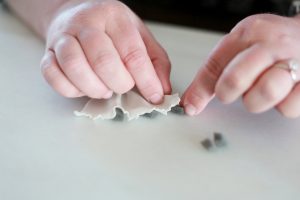
Step 6: Place small pieces of foam under the ruffles of the petal to create great 3D texture and allow the petal to dry.
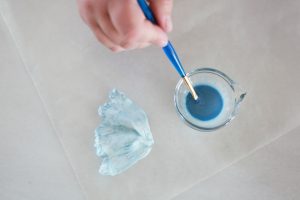
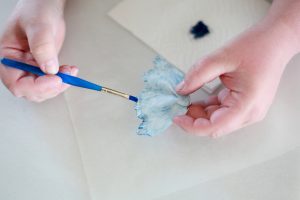
Step 7: Mix medium blue petal dust with Everclear and paint the ruffled and frayed petal.
Step 8: Dust the frayed edge of the petal with dark blue petal dust.
Step 9: Use gum glue to attach the frayed and ruffled petal to the ruffled petal that was set aside earlier.
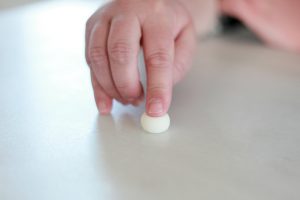
Step 10: Take the last petal that was cut and roll it into a ball and press to flatten slightly.
Carie notes: Using a cutter is a great way to portion out gum paste or fondant so all of your decorations will be uniformly sized.
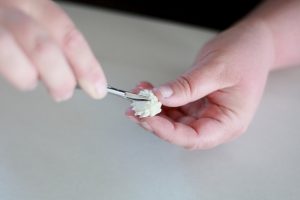
Step 11: Using small scissors, snip the ball to form spikes. Work up the ball creating multiple rows of spikes, each offset from the previous row.
Carie notes: For clean cuts, apply a little vegetable shortening to the blades of the scissors.
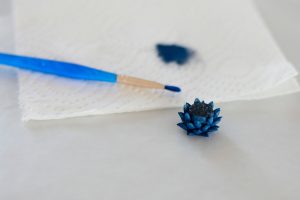
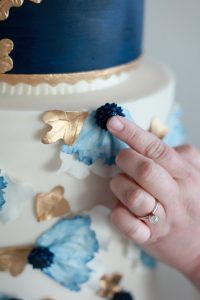
Step 12: Dust the flower center with dark blue petal dust. Apply gum glue to the top and dip the center into edible glitter. Attach the center to the layered petals with gum glue and then attach the finished applique to the cake.
Making the Leaves
Step 1: Roll out gum paste till thin and cut a leaf shape using the California Poppy Leaf Cutter by James Rosselle.
Step 2: Place the leaf on a flower foam pad and thin the edges with a medium ball tool.

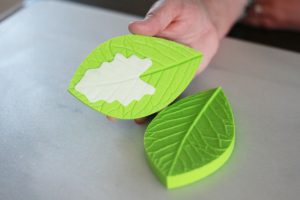
Step 3: Impress the leaf using the California Poppy Leaf Veiner by James Rosselle. Be sure to line up the top and bottom of the leaf with the center vein on the veiner.
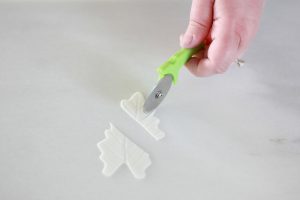
Step 4: Using a mini fondant cutter, slice the leaf from below the second point to the center vein line. Repeat for the other side.
Carie notes: We’re going to use the small leaf we created so discard the other two pieces.
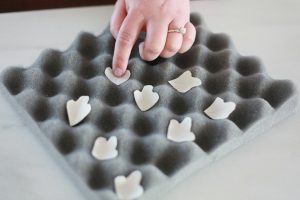
Step 5: Place leaves in a bumpy foam square to create movement and allow them to dry.
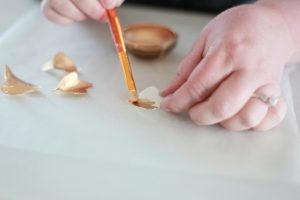
Step 6: Mix edible gold metallic paint with Everclear and paint the front and back of each leaf. Allow the paint to dry before attaching leaves to the cake with gum glue.

