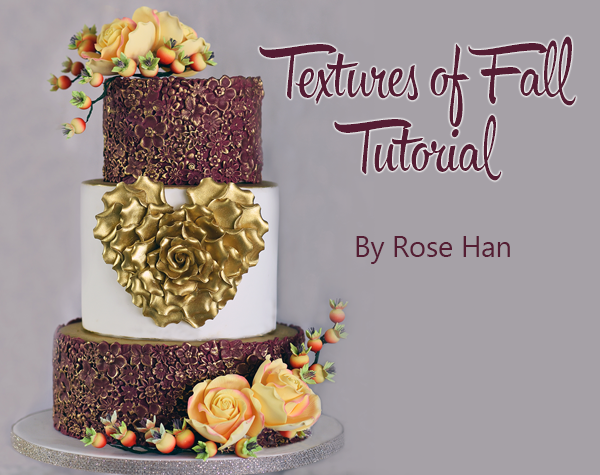
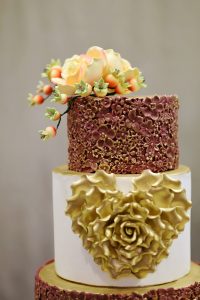
Texture is the order of the day with this stunning fall-inspired design from Rose Han. Learn to create two gorgeous, autumnal bas-relief effects, and a stunning floral spray with this detailed step-by-step tutorial.
Components:
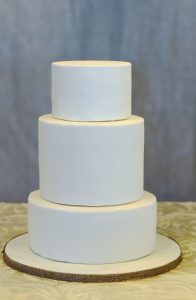
Stacked 3-tier cake with extended middle tier, covered in white fondant and stacked and doweled
Maroon/burgundy colored fondant
Cornstarch (for dusting)
Vegetable shortening (as needed)
Rolling pin
Small paring knife
Lemon extract
Wide paintbrush
*Karen Davies Sugar Flowers Mold
Gold petal dust (Rolkem)
Yellow gum paste
Sugar glue
Rose petal cutters (teardrop cutters)
Rose petal veiner
24-, 26-, 28-gauge floral wires
Ball tool
Petal dusts in red, apple green, and deep purple
Small pieces of foam for petal forming
Groove board
Flower foam pad
Foam rose cones (4)
Pliers
Egg form
Green floral tape
Paintbrushes
Water brush
Melted white chocolate (for fixing the heart onto the cake)
Tissue paper
Wilton storage board/food storage bags
Floral picks
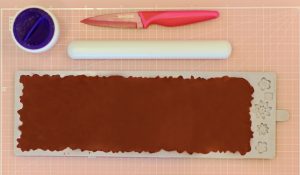
Bas–Relief Effect
Prepare your cake by covering three 6/8/10 tier cakes with fondant and stacking as shown.
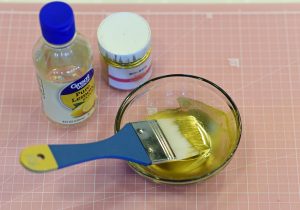
- Create a paint by dissolving gold petal dust into a clear lemon extract. Using a wide brush, paint the top of each cake tier with the edible gold paint.
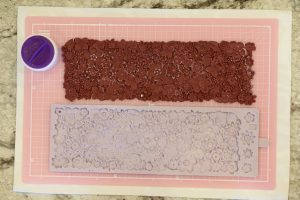
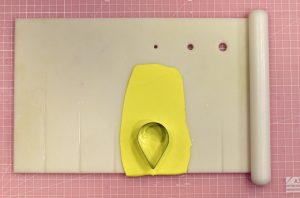
- Roll a piece of maroon/burgundy-colored fondant to the same size as the flower relief mold. Fill it in, pressing firmly all over, and gently remove the excess.
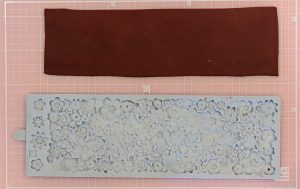
- Turn out the mold and create additional pieces using the same technique, you will need 2–4 pieces to stretch around each tier.
Rose notes: You can place the mold into the refrigerator for 5 minutes to allow the fondant to firm up, making it easier to release.
- Using a wide brush, dampen the sides of the top and bottom tiers, then gently apply the fondant flower piece around it. Repeat this step until your tiers are covered all the way around.
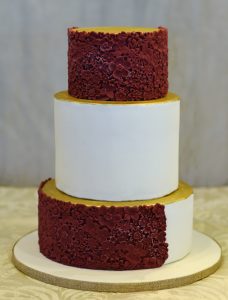
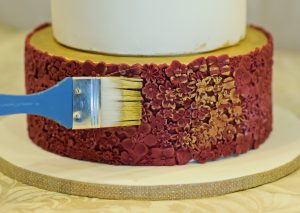
- Using a wide brush, lightly dip into the gold paint created earlier and gently, with no pressure, brush the surface of the flowers. Remove extra paint with a water brush.
Rose notes: A clean makeup sponge can also be used to apply the paint.
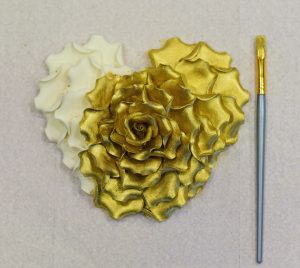
Rose Petal Heart
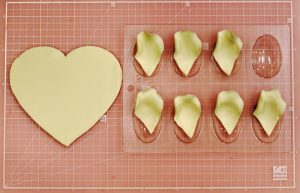
- The rosepetal heart should be made 2 to 3 days in advance to allow it to completely dry out. Begin by rolling out some gum paste to approximately ¼-inch thickness. Cut a heart shape 2 inches shorter than the height of the middle tier of the cake and set aside to dry.
- Using large rosepetal cutters, cut out 14 petals, thin the petals using a ball tool, and curl the sides as shown using your fingers or bamboo sticks. Let the petals dry for 30 minutes in an egg form so that they retain their shape.
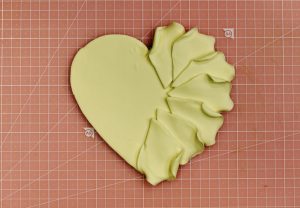
- Lay out each petal around the sides of the heart (7 on each side) and once happy with the configuration, attach the petals using a little edible glue.
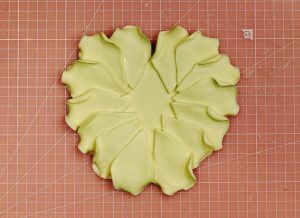
- Continue making petals, gradually reducing the size of the cutters and numbers of petals, ruffling the petals, and attaching them to the heart until you reach the middle.
- Make a small flower cone and fix it to the center. Using small pieces of foam, elevate the petals to give it more volume. Allow the heart to dry for a couple of days.
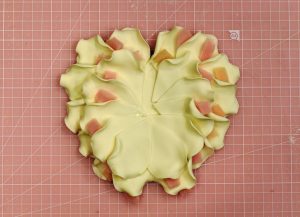
- Once dry, remove the foam pieces and then, using a small brush, paint the heart with edible gold paint.To attach the heart to the side of the middle tier use a little melted white chocolate.
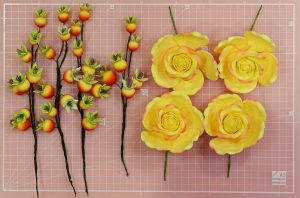
The Flowers
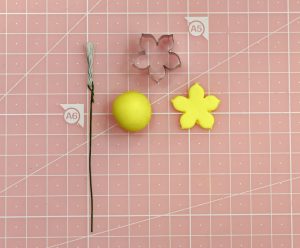
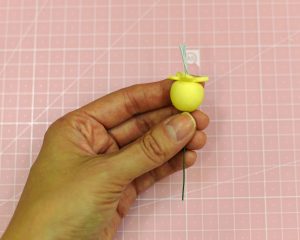
- To make the rose hips, cut six 28-gauge white floral wires into 2″ lengths. Fold the pieces in the middle and fix together using 26-gauge green wire. Next, make a 1-inch ball with yellow gum paste and cut a small 5-petal flower for the front of the rose hips.
- Secure the flower to the top of the ball with edible glue, then pull the green wire through the top of the ball until the white wires are exposed a little from the front.
- Using a paring knife, make small indentations on the exposed petals to create dimension.
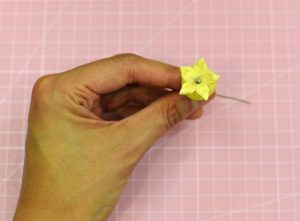
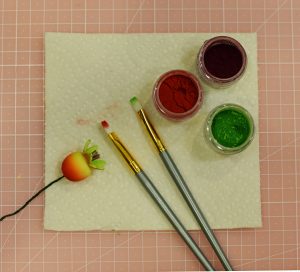
- Gently dust the white wires with deep purple petal dust, the flower tips with apple green, and the bottom of the ball with red.
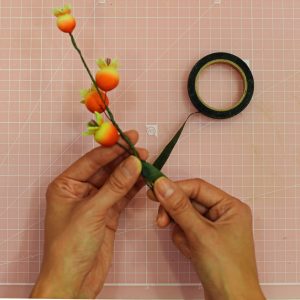
- To connect the rose hips, use 24-gauge green wire as the main stem, and attach the rose hips to it using green floral tape.
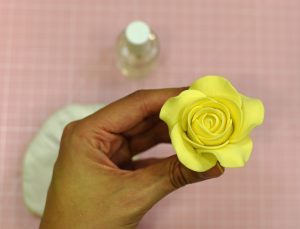
The Roses
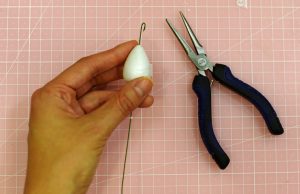
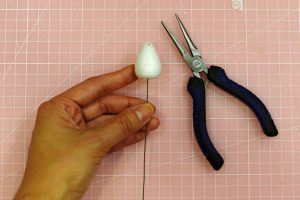
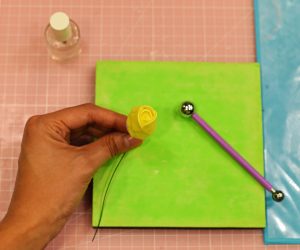
- Using pliers make a small hook at the tip of a 24-gauge green wire. Pass the wire through a foam rose cone until it becomes embedded in the foam.
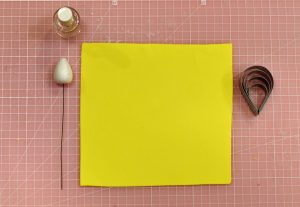
- Roll a very thin layer of yellow gum paste to1/8inch. Using rose petal cutters in four different sizes, cut out 6 small, 6 medium, and 5 large petals. Place the petals into a Wilton storage board or a food storage bag to prevent the petals from drying out.
- Using a ball tool, thin the edge of each petal. Use one small petal and make a cone shape, attaching it to the flower cone using edible glue. Next, take 2 petals and attach them to the rose cone on opposite sides. Finish the rose center by attaching 3 petals, making sure each petal overlaps the previous petal slightly on one side.
- Continue to add 3 medium petals, and then a final layer of 3 medium petals.
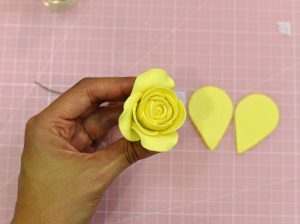
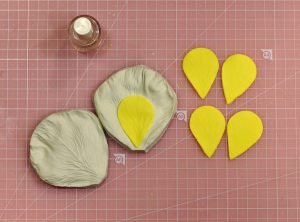
- After thinning the edges of the large petals with the ball tool, place each petal into a double-sided veiner and press firmly to make an impression.
- Roll and shape the edges of the petals, then place into an egg form and allow to dry until firm enough to handle (3–45minutes). Attach petals in the same spiraling way as before, overlapping each petal slightly. Allow the rose to dry for at least 24 hours.
- To make the outer petals, roll out some yellow gum paste very thinly on a groove board. Cut out 5 extra-large petals using a rose petal cutter.
- Dip 26-gauge wire into edible glue, wiping off excess and insert into the petal one-third of the way. Thin the edges with a ball tool on a soft foam pad, then gently press the petal in a double-sided veiner. Roll up the edges a little, then leave the petal to dry on the egg form. Once completely dry, attach to the rose centers created earlier with some green floral tape. Gently dust the edges of the petals with red petal dust.
- To assemble the flowers on the cake, insert floral picks into the cake on the top tier and the side of the bottom tier. Using pliers gently insert each flower into the floral pick, using some melted chocolate to fill up extra space and hold the flowers in place.


