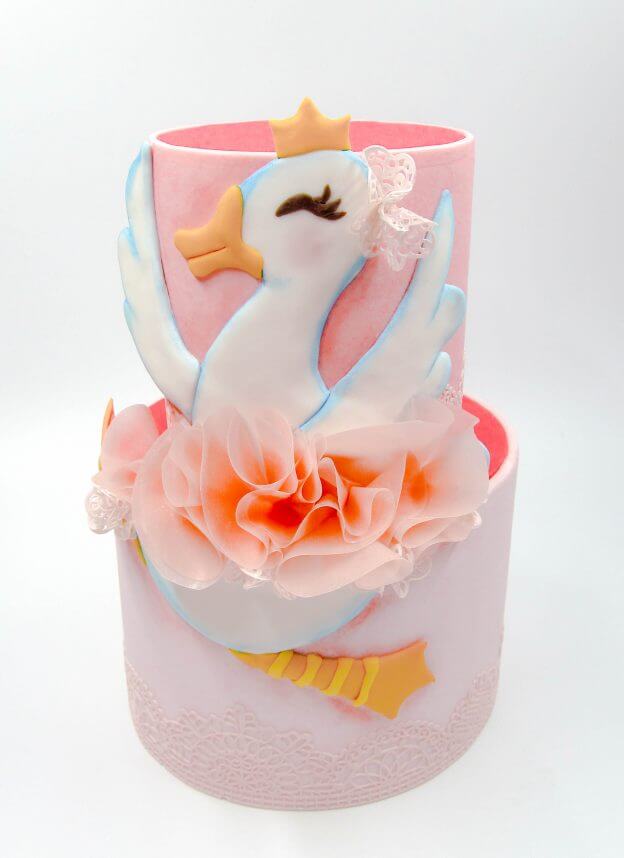
Cake Artist, Maria Perez shares a delightful tutorial for a cute 2-D ballerina goose cake with tutu-ruffles and lace appliques.
Components:
- 1 (8-inch) round cake (torted, filled, and crumb coated);
- 1 (10-inch) round cake (torted, filled, and crumb coated);
- 2 kg of pink fondant;
- 1 kg of white fondant;
- 300 grams of lace dough;
- 100 grams of yellow fondant;
- Edible glue;
- Wafer paper;
- Scissors;
- Edible makers;
- Blue and pink powdered edible colors;
- Brush;
- Silicone molds for lace;
- Silpat and spatula.
Instructions:
To prepare: Prepare white lace according to the instructions and create the lace pieces using the molds. Allow to dry overnight.
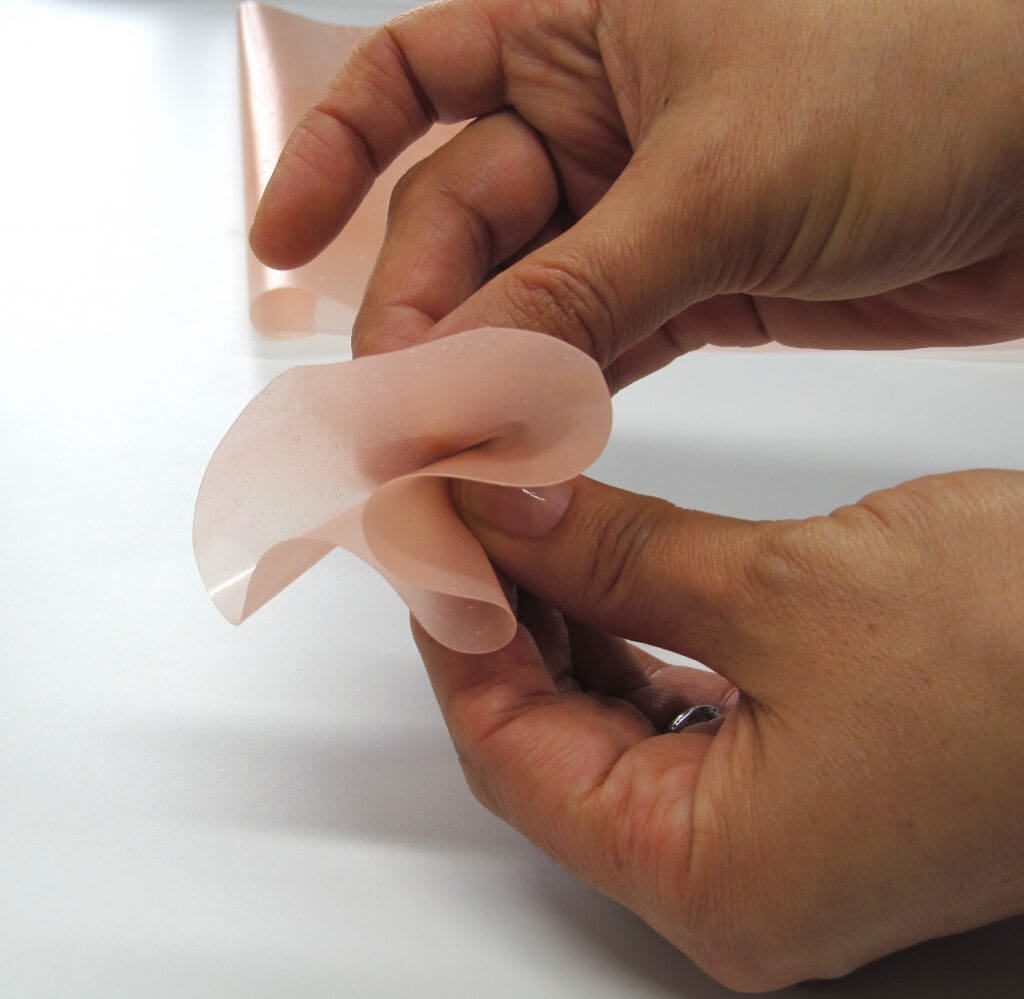
Create some clear pink lace by coloring some Flexique or similar product with a little pink gel color, spread over the backside of a Silpat mat, making sure the lace is very thin. Once dry, cut the lace into circles and adhere together to make a ruffled-flower.
Maria notes The lace flower will form the tutu skirt and should be as thin as possible to appear almost translucent.

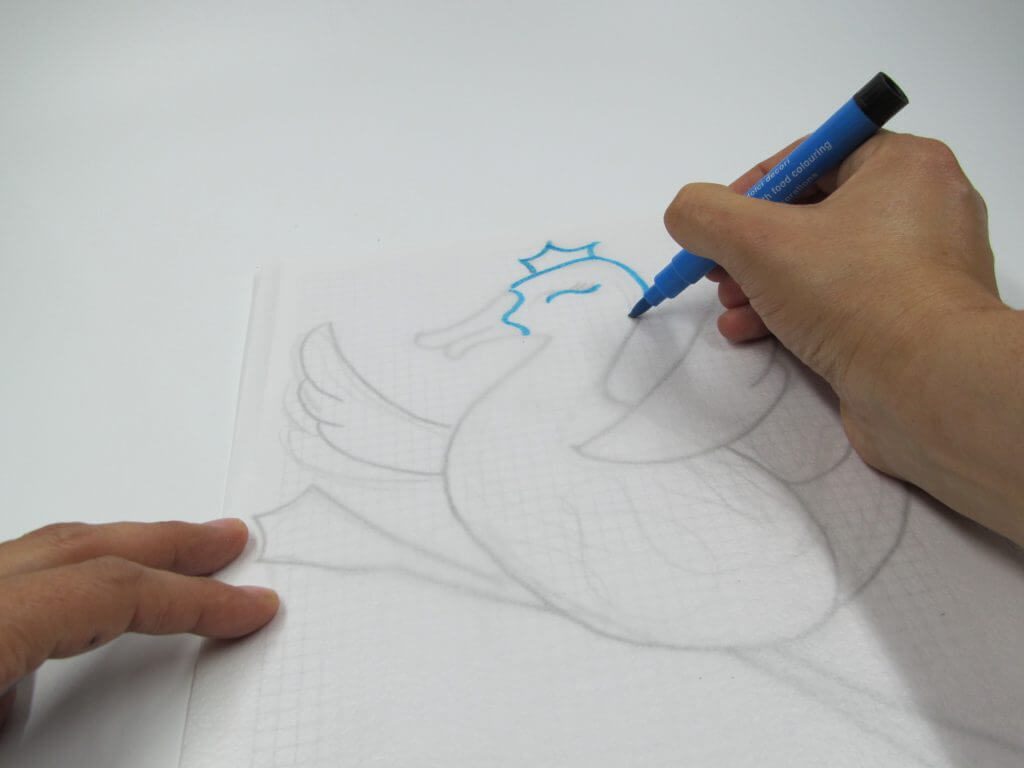
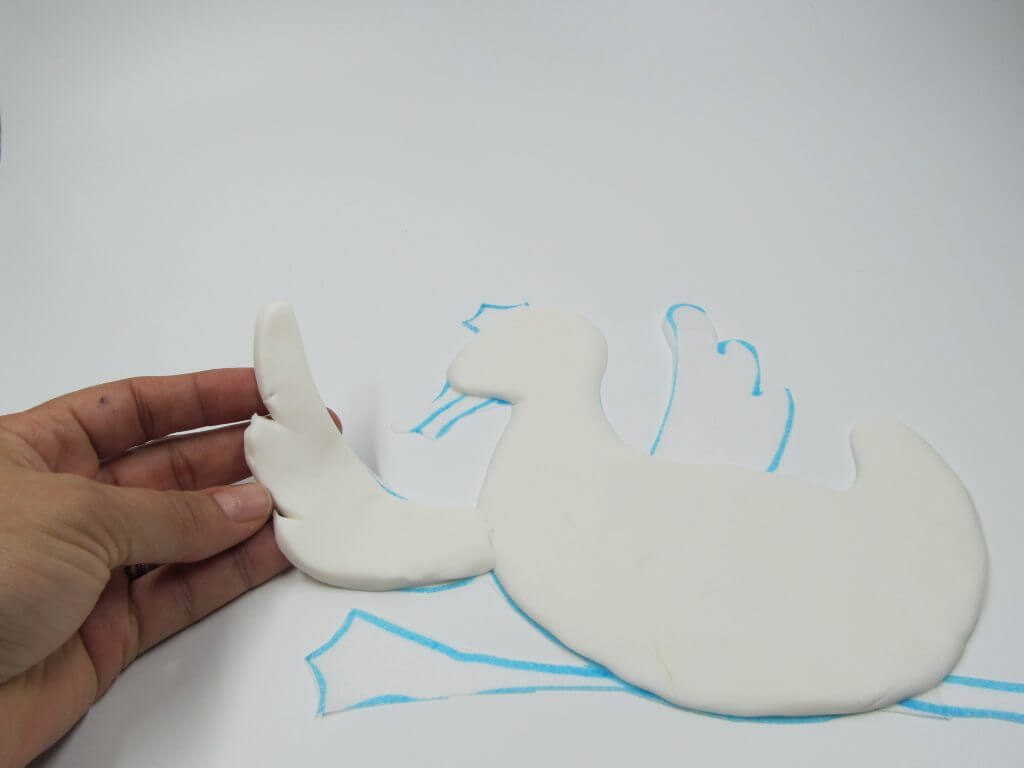
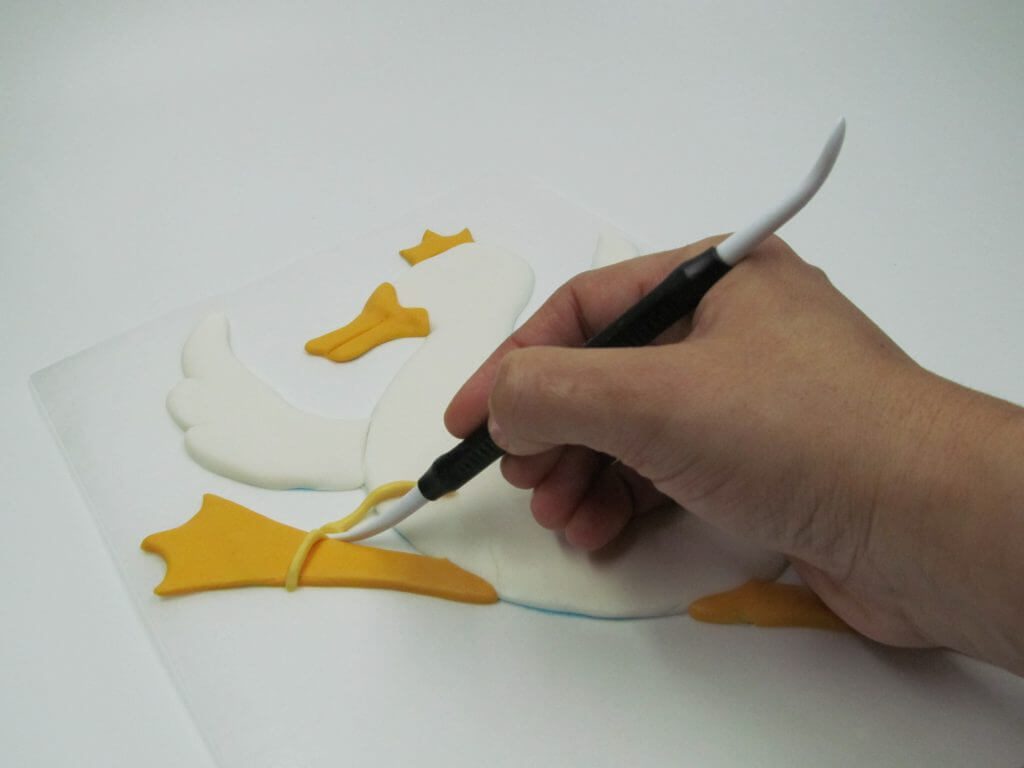
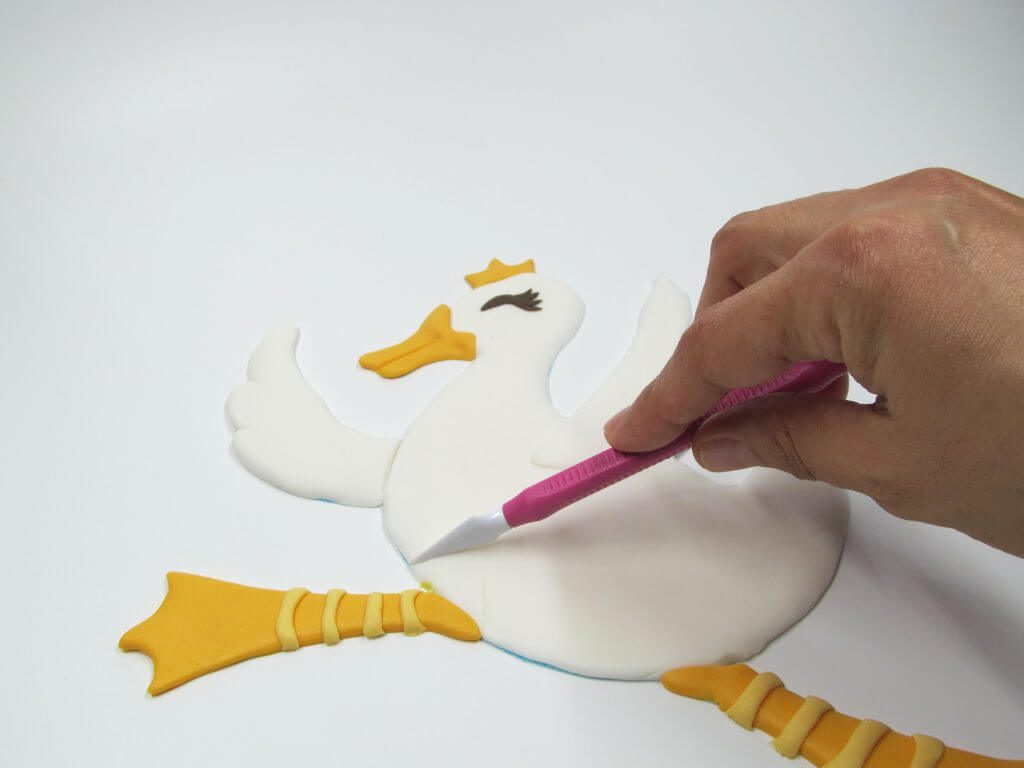
Draw the goose outline onto some wafer paper using an edible marker. Cut out pieces of white fondant rolled to approximately 1/8th inch to flesh out the goose, using the template as a guide.
Maria notes: Each section should be cut individually, ie. the wings, body, beak etc. This will give them a more 3-dimensional appearance.
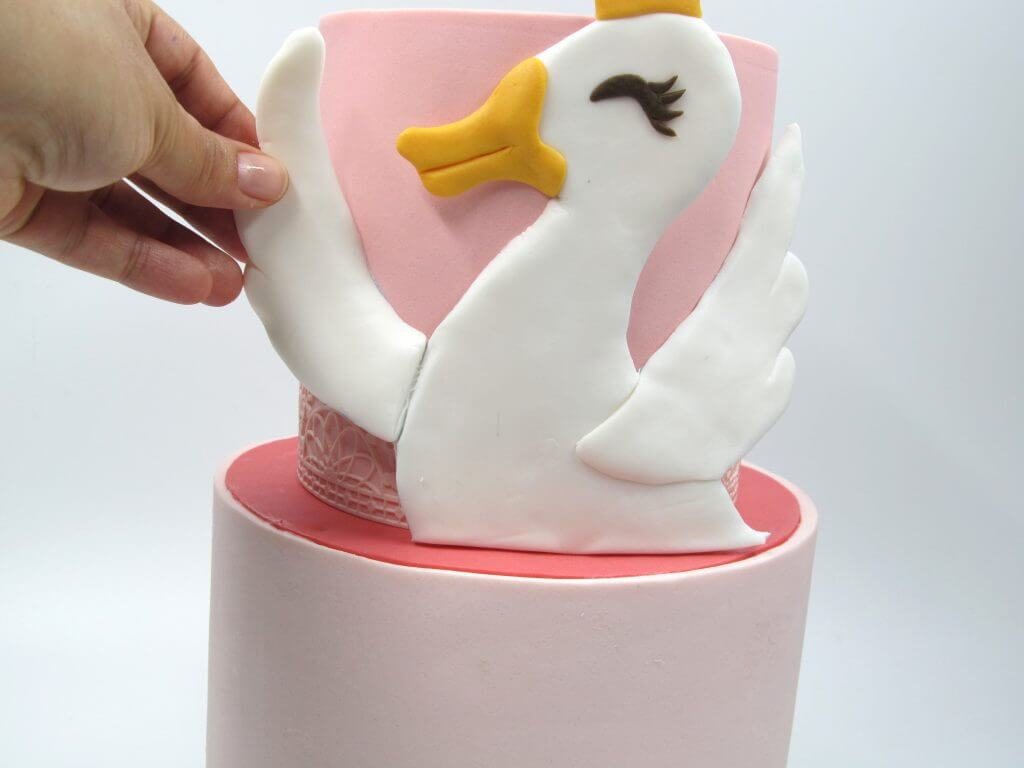
Paste the upper portion onto the side of the top tier, and the lower portion on the bottom cake.
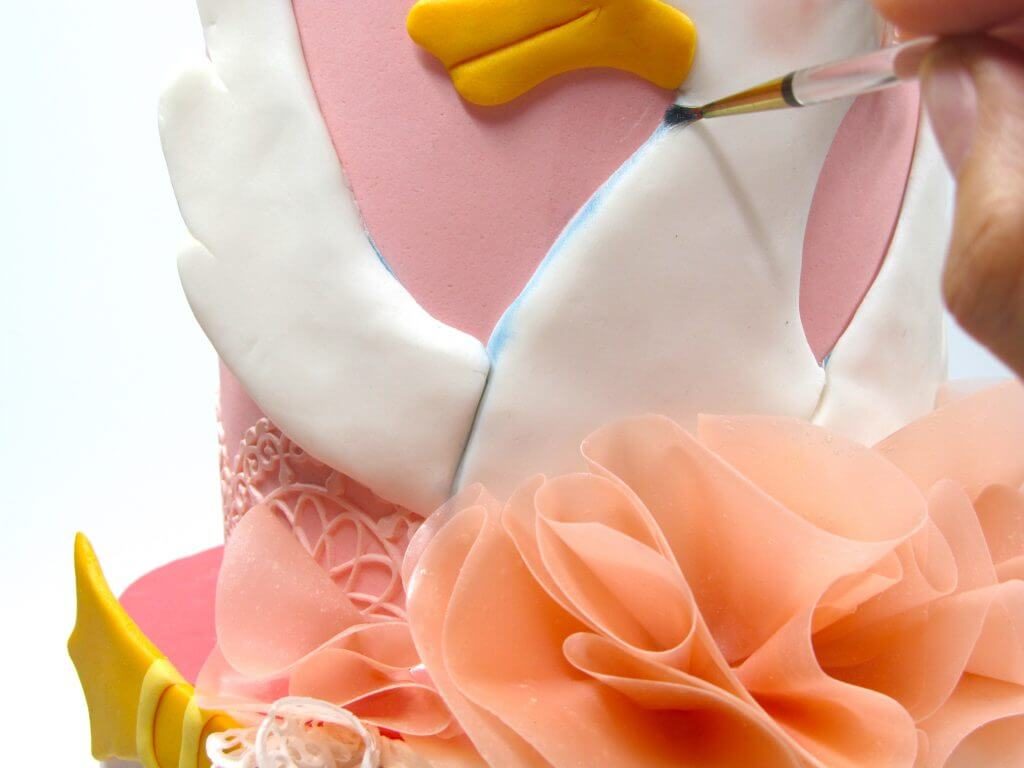
Add the lace skirt you created earlier at the center point where the two tiers meet.
Add some decorative flowers made from left-over lace to finish the design.
About the Author: Maria Teresa Perez ” born between the cakes”.
I started working when I was very young making artistic cakes in our family bakery, from there I learned the basics of cake design. I have more than 25 years of experience as a cake decorator. I currently work as a freelance consultant for several industries, in the development of new products. As a cake designer and teacher, I enjoy giving demonstrations at various shows and events at the international level and giving workshops and classes in Padua, Italy.


