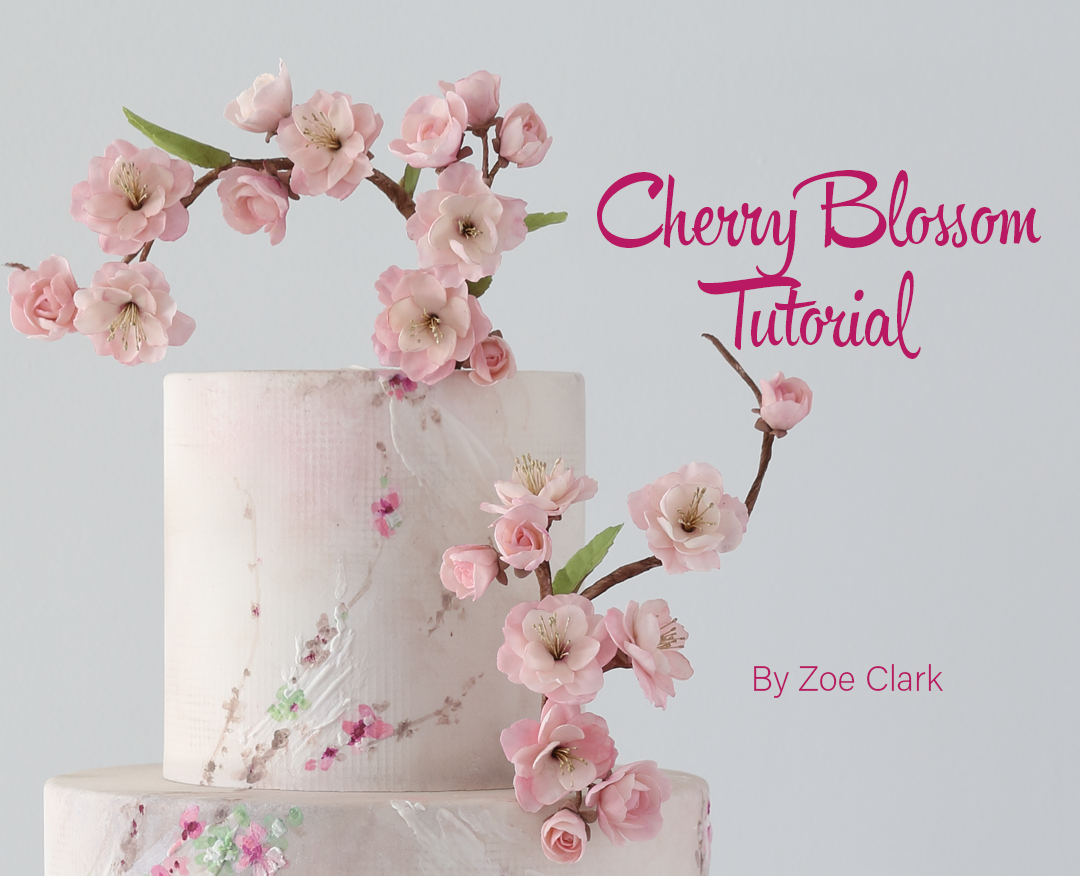
The fabulous award-winning and internationally recognized cake artist, Zoe Clark, created a stunning textural cherry-blossom cake for our May/June floral issue. Learn to create her signature cherry blossoms with this easy step-by-step tutorial!
Cherry Blossoms
By Zoe Clark
Components
Gum paste colored to very light, light, and medium pink
Gum paste colored with green
Medium fine paintbrush
Tiny seed head white stamen
28-gauge white wire
28-gauge green wire
Cherry blossom cutters of two sizes (I used Sugar Art Studio)
Dresden tool
Small ball tool (opt)
Celpad with holes
green floral tape
brown floral tape
cornstarch
Egg white
Petal dust colors in the following shades: black, pinks, magenta/burgundy, green, brown
To Make the Centers
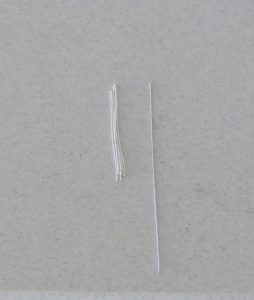
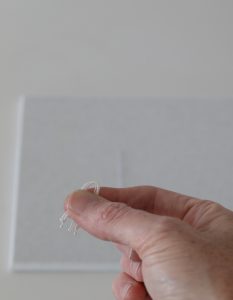
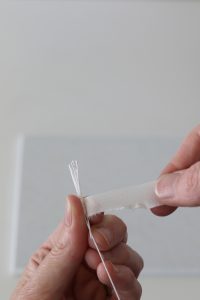
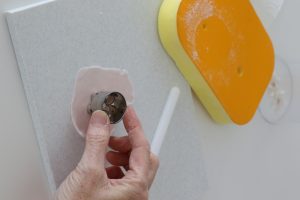
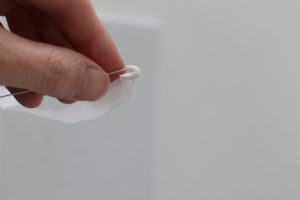
Take 8 stamen and a 10 cm length of 28-gauge wire. Fold the stamen in half and thread the wire through the loop. Tape over the bottom of the stamen and down onto the wire. Make 10-12 flower centers.

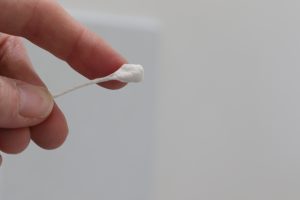
Dust the prepared centers with a touch of yellow, green and brown petal dust and set aside.

To Make the Flowers
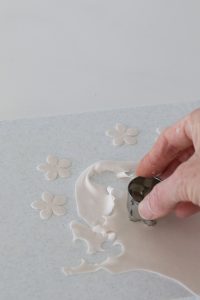
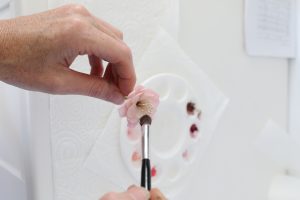
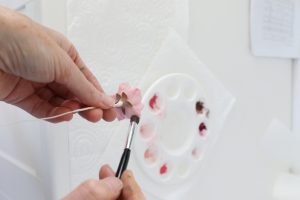
Thinly roll out some of the lightest colored pink and cut out some blossom using the smallest cutter. Place on the foam pad and shape and soft the petals using the Dresden tool. Press the ball tool lightly into the center of the flower to gently cup the petals.
Zoe notes: Use cornstarch if the paste is a little sticky.
Dust the center with a little bit of brown and a touch of magenta and place under a glass while you prepare the middle layer.

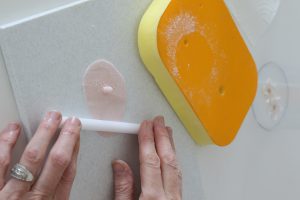
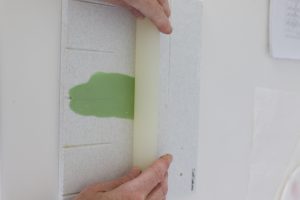
Smear a little shortening over the medium sized hole of the firm side of the CelPad (alternatively, you could use the largest hole on a CelBoard). Place a small amount of the medium pink gum paste over the hole, dust with a little cornstarch and roll it out to around 1 mm — until you can see the paste in the hole coming through. Remove the paste from the CelPad. Flip it over and use a CelPin to thin out the paste a little more.

Cut out the petals using the smallest size blossom cutter. As before, use the Dresden tool to thin and shape the edges.
Zoe notes: You will need to place the base of the flower into the hole of the foam pad to do this.
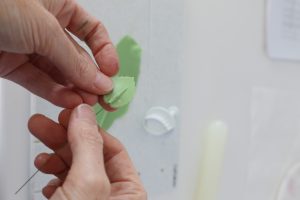
Press the pointed end of the CelPin into the center of the petals to cup them. Place one of the prepared petal sets on top and secure it in place with a small amount of egg white. Use the CelPin once again to press into the flower center.

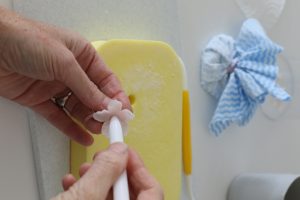
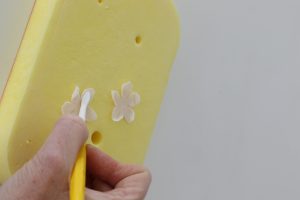
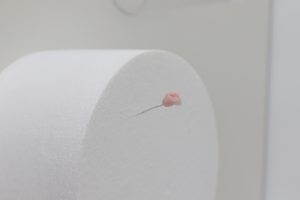
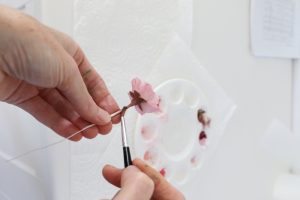
Thread the stamen down through the middle of both petal sets and secure in place underneath by twiddling the paste around the wire using your fingers. Remove any excess paste. Turn the blossom upside down and stick into a polystyrene dummy to dry.


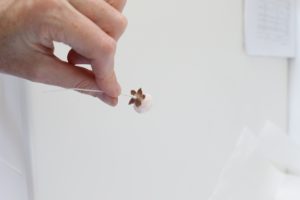
Roll out some of the darkest colored paste and cut out the third petal set using the larger cutter. Shape and soften as before and attach it behind the first two layers using egg white.
Return the flower to the dummy to dry.

To Make the Buds
Wrap some tape a few times around the end of a 10 cm piece of 28-gauge wire. Fold the end over a bit to make a hook and keep wrapping the tape around to create a kind of ball/cone.
Zoe notes: For the buds and closed blossoms, you can just roll out the darkest colored paste. Use the smallest petal cutter for the two inner layers and the larger one for the outer layer. If you want a smaller blossom, just make it two layers instead of three.
For the first layer, start by attaching one petal around the flower center using egg white. Wrap the opposite petal over the first. Add the other three petals in a spiral formation. Set aside to dry.
Add the second and third layers, trying to overlap each petal as you go and continuing a kind of spiral.
For the Calyx
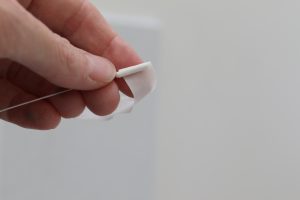
Thinly roll out some brown gum paste and cut out the calyx using a small pointed blossom cutter. Shape it on the foam pad using the Dresden tool. Thread it down the wire and attach it to the under side of the blossoms and buds. Using your fingers, pinch the tips of the calyx to shape it.
To Create the Leaves
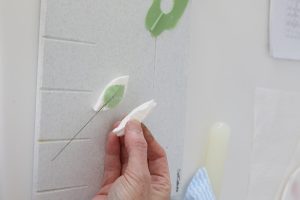
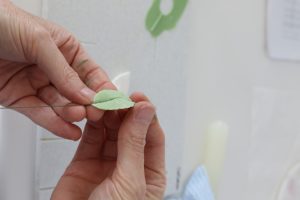
To make the leaves, roll out some green gum paste over the ridge on a cell board. Remove the paste, flip it over and cut out the leaf. Dip some green 28 gauge wire into some egg white and insert it in the ridge at the base of the leaf. You want it to come up at least a third of the way into the leaf.
Place the leaf in a veiner and press the pattern into the paste. Soften the edges on a foam pad, pinch the end and set it aside in a cake dummy to dry.
To Dust and Color the Flowers
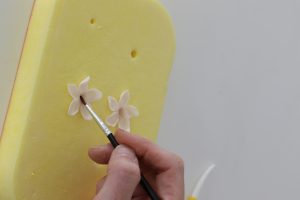
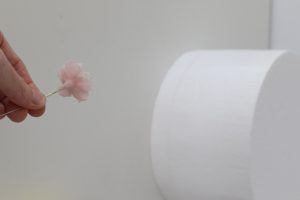
Dust the flowers using the various tones of pink, making the outer layers slightly darker than the inner.
Zoe notes: Go lightly, it’s easier to build up color and impossible to remove it. Use a soft brush to prevent streaking.
Dust the calyx brown and continue coloring the tape about 3 cm down the stem.
Assembling the Branch
Start taping clusters of flowers together in a random fashion, in twos, threes and fours. To make a branch, begin by taping around the end of a half length of 20 gauge wire with some brown tape, then add in a blossom a bit further down. Then you can start adding in the smaller clusters of blossoms. Add in a few leaves here and there. There are two main stems on this cake but you can arrange the flowers as you like.

When you have taped everything together, dust over the branches with brown dust. You can also stem the flowers if you like.
Insert the flowers into the cake making sure you place the wire into a flower pick or straw first.
