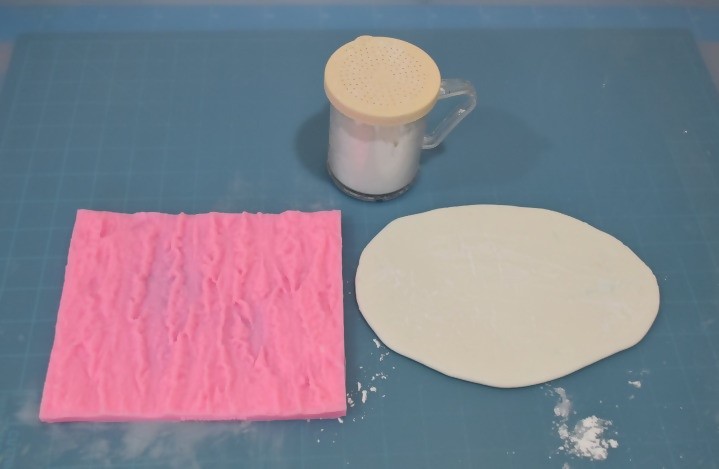
- Tree Bark Mold
- Fondant Sculpting Tools
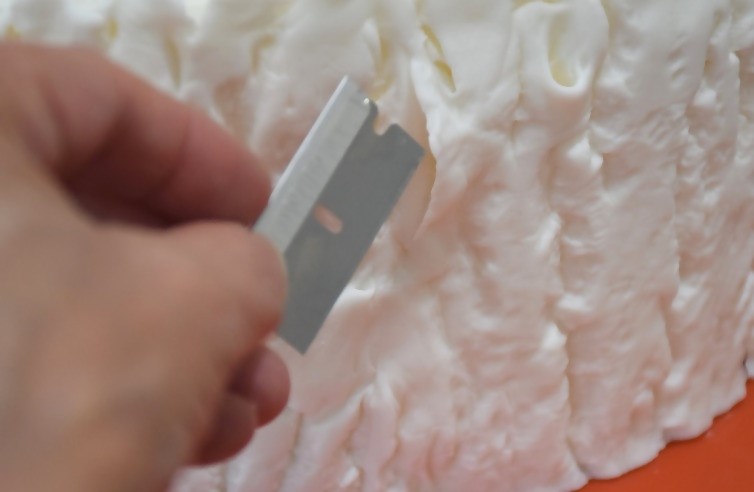
- Xacto Blade / Blade
- Edible Food Color
- Alcohol
- Paint Brushes
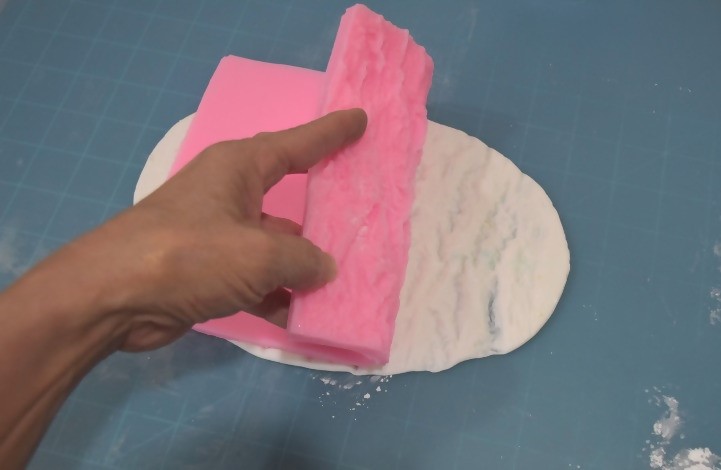
- Clean Makeup Sponge
- Gloves
Roll out your fondant to a desired thickness to ensure you capture all the details of your mold. Sprinkle your with powdered sugar to keep it from sticking to the mold. I use a mix of powdered sugar with baking powder.
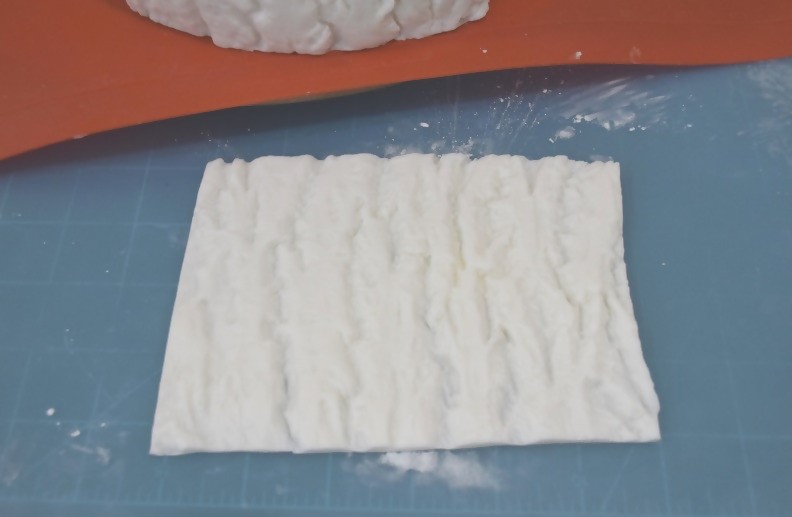
Once your fondant is ready, lay your mold on top and apply pressure with your hand pushing down on the entire mold. Before removing the mold, lift one side at a time to make sure you have captured all the details.
Cut the bottom and sides of fondant evenly before applying to the cake. Repeat these steps until your cake is completely covered, then trim off any excess portion from the top leaving it slightly higher than your cake rim.
To cover the top of my cake, I cut out a circle of fondant making sure it meets the edge of the mold and start to pinch the ends together thinning them out while pulling them up in different directions to create some elevation.

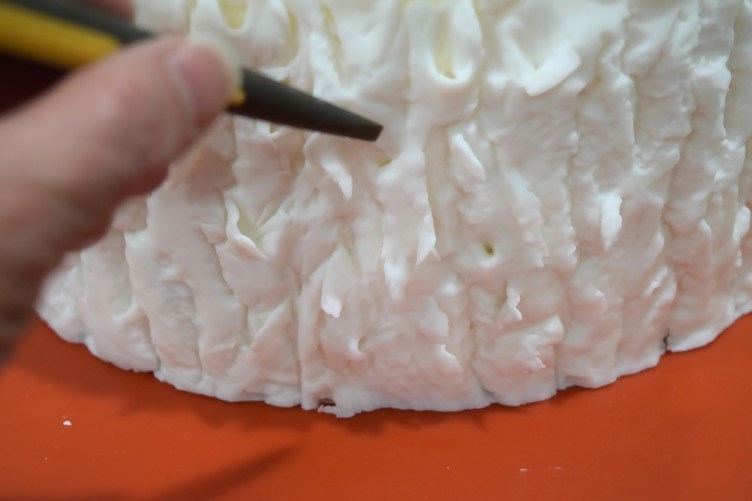
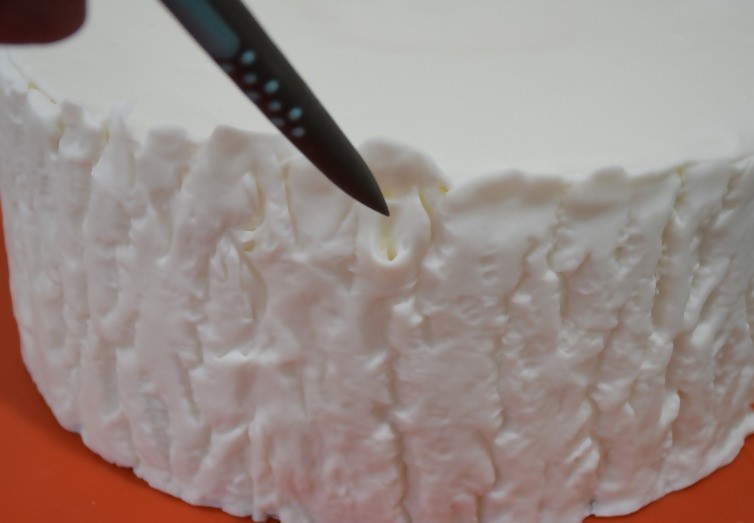
Once you have completed the edges, take your fondant tools and blade to start creating texture on your bark while blending in the seams.
In the areas where you cut the fondant, gently pull out the ends with while thinning them then deepen the inside of the crack for more dimensions and created some holes.
Once your texture is finished the fun part starts! Time to think Picasso and paint J
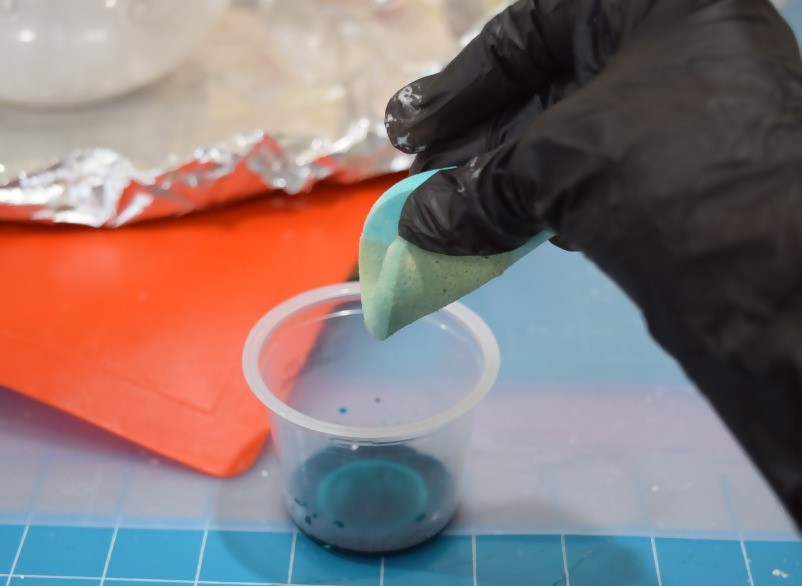
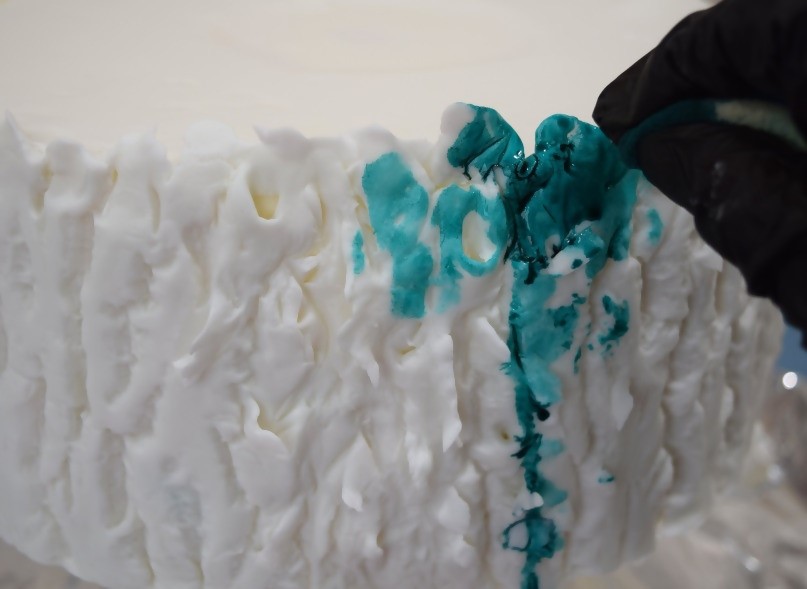
In this step, it’s important to have all your items ready since this process can get messy. Make sure to use gloves or you will end up with colorful hands.
For the base, it is best to place a large piece of foil under your cake in your working area to collect the paint that drips off. Securely elevate your cake on a stable base so it is not lying directly on the foil. I would suggest using a rotating table to do this on.
Blend your edible paint with alcohol so you have a thin consistency. Dip your clean makeup sponge into your paint and start to dab the bark then go back and squeeze your sponge up against the top of the bark and let the paint drip down so that it seeps into the crevices. You can then go back and continue to apply the paint where needed. Remember you can always use the drippings on the foil using your sponge. Repeat this process until your bark is completed.
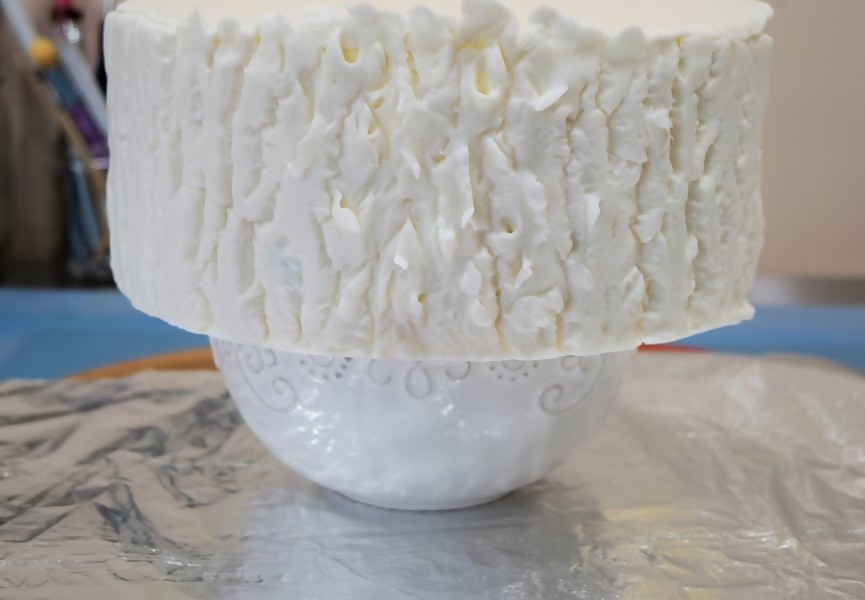
You can see all the beautiful details starting to show!
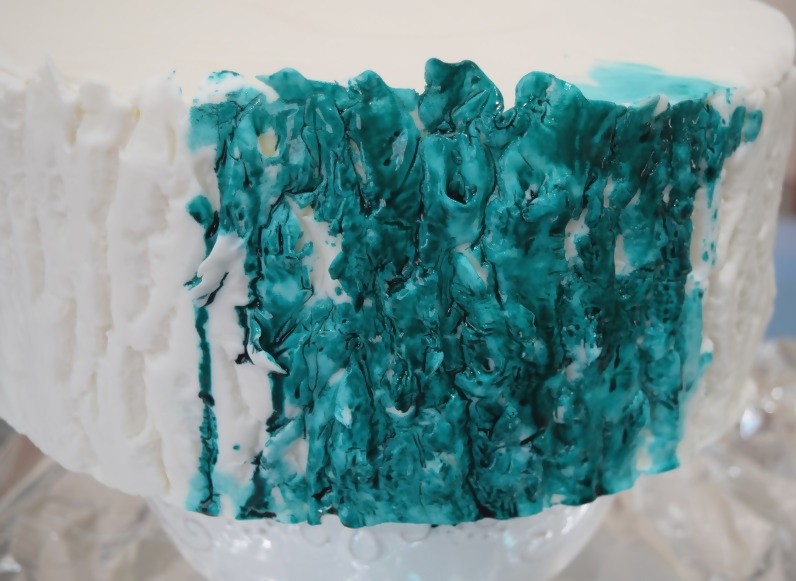
Once your bark is completely covered, let it sit to dry.
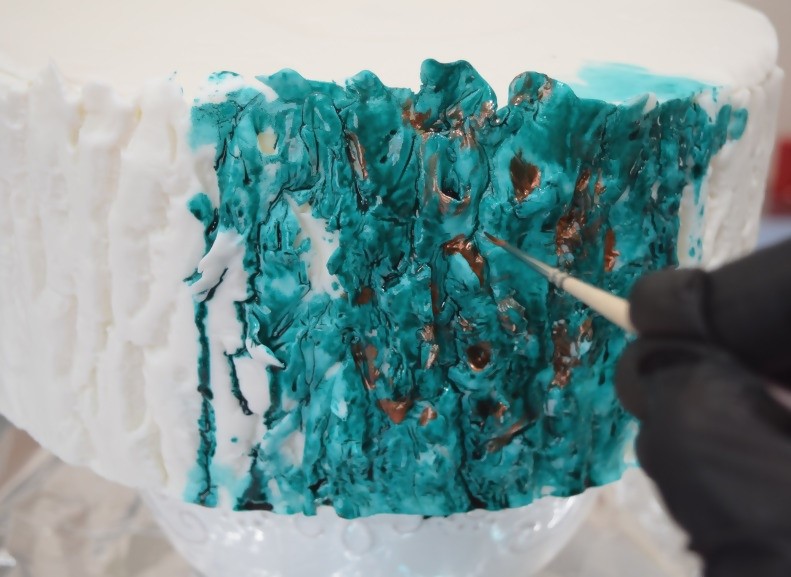
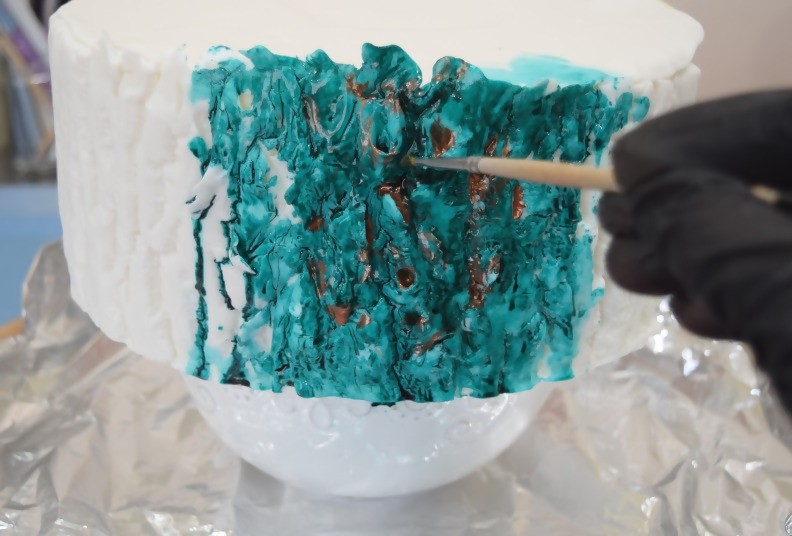
Once it’s ready, start to add details with a paint brush. I used a bronze and added a bit more paint the cracks for definition. Once you have completed detailing, let it dry so you can see the true colors. You can then go back and remove color in areas to highlight them with a brush lightly dipped in alcohol. Remember you can always add or remove color where needed.
Detailing with Bronze
Darkening the cracks
Removing paint for highlights
