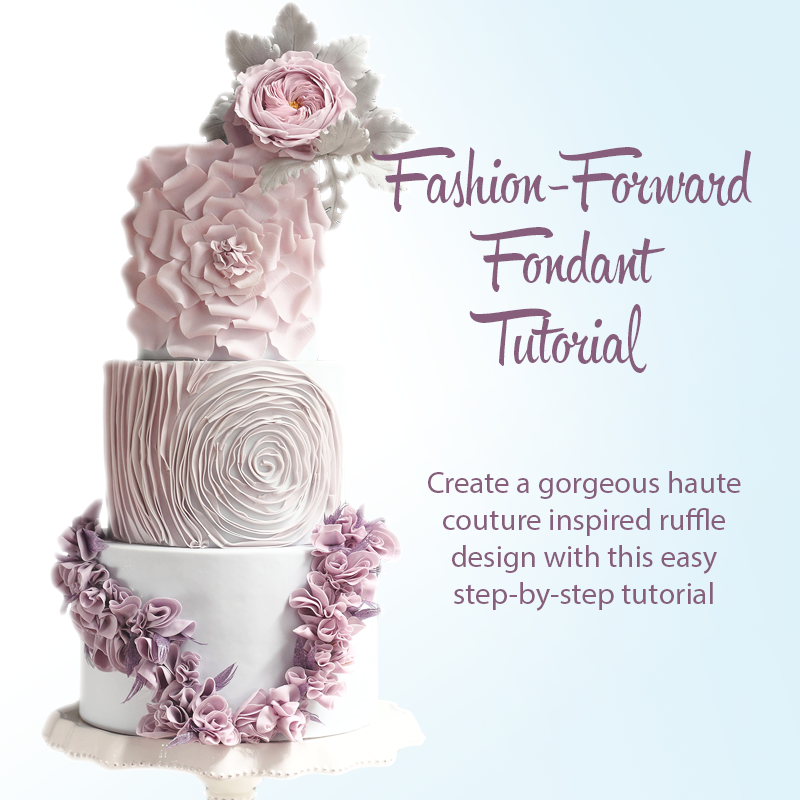
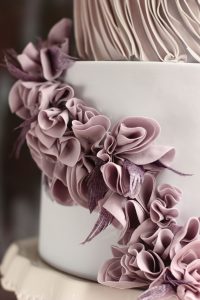
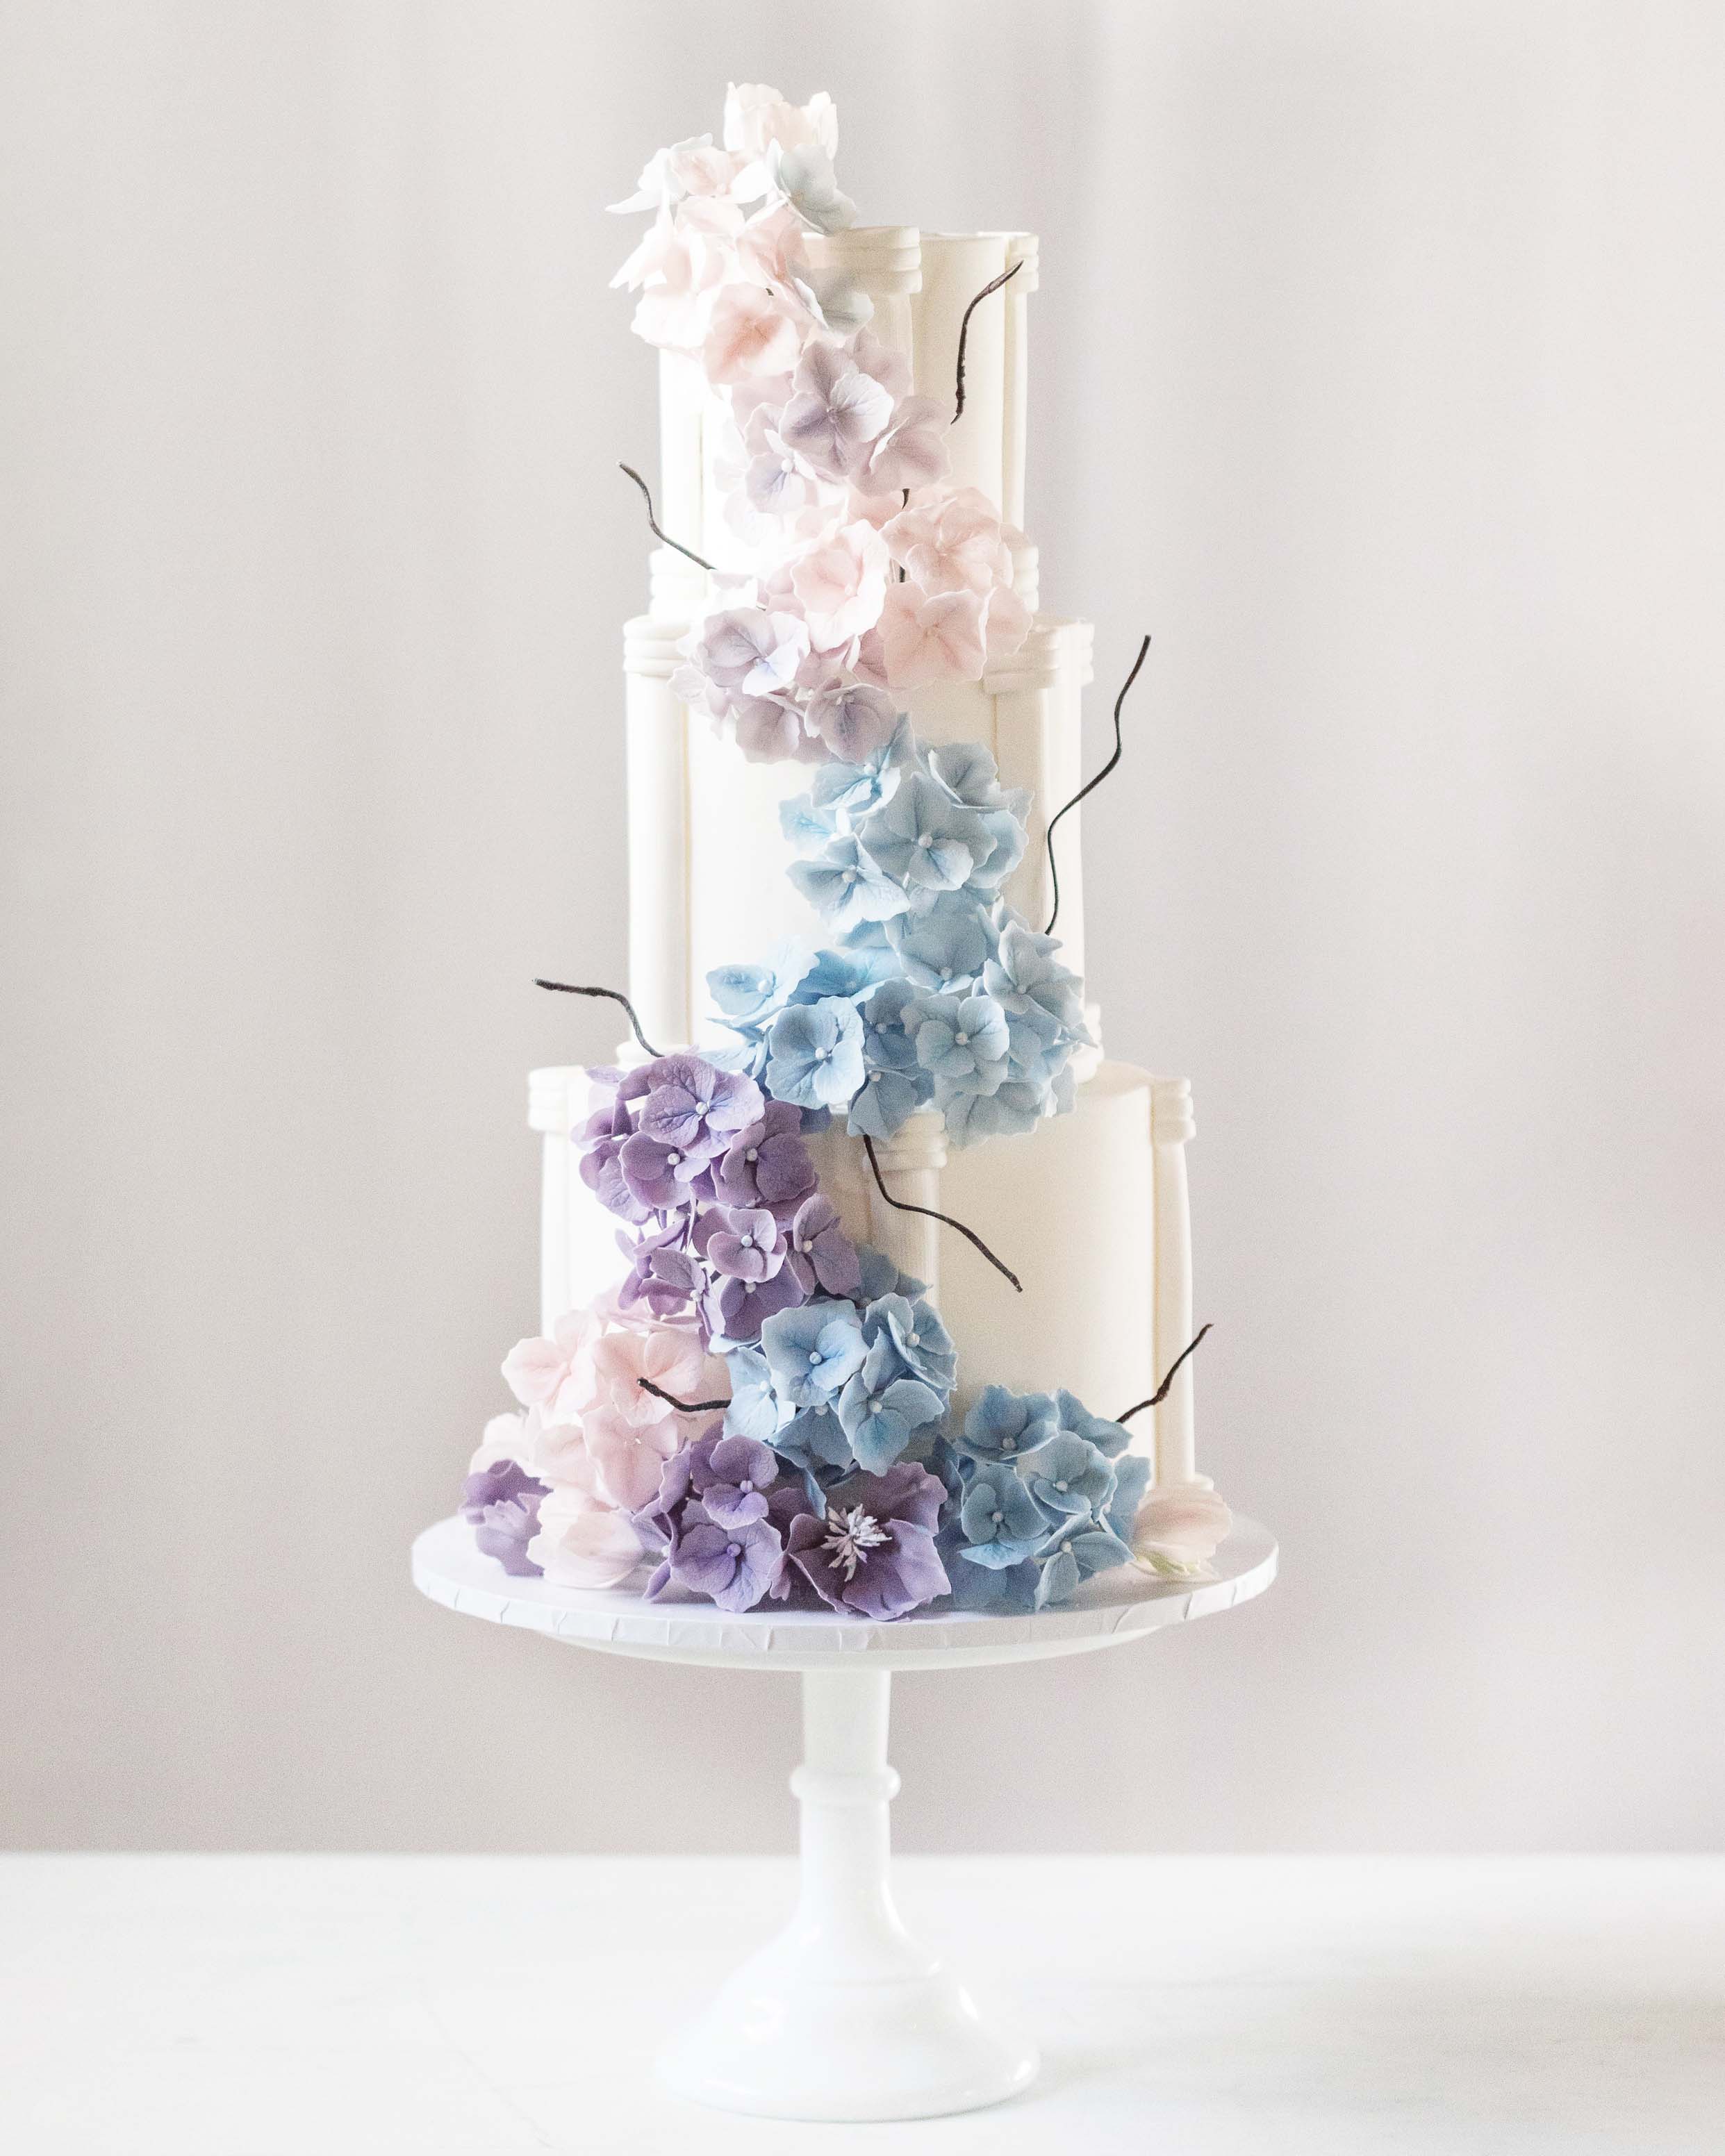
Haute couture fashion has long been treasured as a source of creative inspiration. The gorgeous color palettes, lace details, fabric effects, and bold prints are easily translated into incredible edibles. Jessica MV of Floral Cakes by Jessica MV shows you how to create designer details with this Ralph and Russo inspired cake tutorial. Learn the steps to create a runway-ready cake.
Components
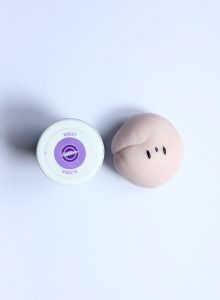
- Gum paste in a pastel purple shade (combining touches of pink and violet)
- Edible glue
- Premium or “O grade” wafer paper
- Vegetable oil
- Shortening
- Petal dust in Wedgwood Blue, Royal Purple, Violet Purple
- Pasta roller
- Small rolling pin
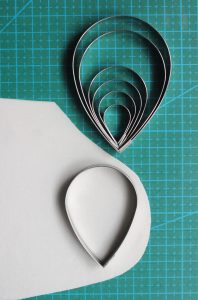
- Rose petal cutters
- Ball tool
- Veining stick
- Storage board
- Ruler
- X-Acto knife
- Scissors
- One-sided blade
- Fruit tray
- Dresden tool
- Bamboo skewer
- Tissue paper
- Bamboo toothpicks
- To Prepare: 10/8/6-inch tiers, pre-covered with white fondant and stacked ready to decorate.
Creating the Top Tier
Step 1: Tint some light pink gum paste with a small amount of Wilton violet gel color, knead well, blending the color well throughout the gum paste.
Jessica notes: Your goal should be to achieve a pastel purple/pink shade.
Step 2: Knead a piece of gum paste well with a little shortening, roll it out using a small rolling pin, and then run it through a pasta roller on a number 2 setting. Cut out several petals using 3 different sizes of a rose petal cutter set.
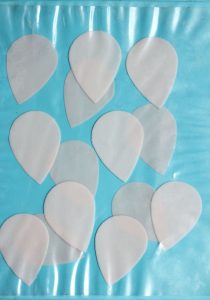
Step 3: Store all the cut petals in an airtight bag or Wilton storage board to prevent them from drying.
Jessica notes: I use the third biggest, the third smallest, and the fourth smallest cutters to cut out 25 petals, 11 petals, and 4 petals respectively to form a rosette for the front of the cake (17 cm height and 15 cm diameter).
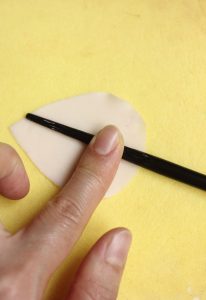
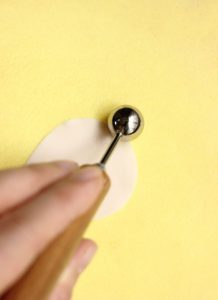
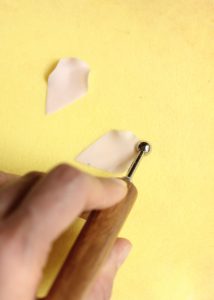
Step 4: Thin the edge of each petal with a big ball tool, then vein the petal using a veining stick or a double-sided, silicone veiner.
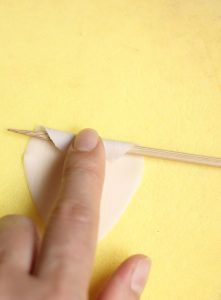
Step 5: Flip each petal over, and curve its top edge backward using a bamboo skewer.
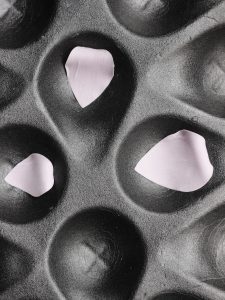
Step 6: Put the prepared petals into the cavities of a fruit tray and allow to slightly dry, this will create a realistic petal shape.
Jessica notes: Don’t allow the petals to dry too much, you want the petals to retain their form, whilst still being flexible enough to glue and manipulate into place. The petal should hold its shape but still feel a little damp to the touch.
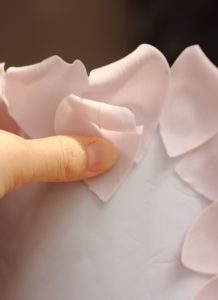
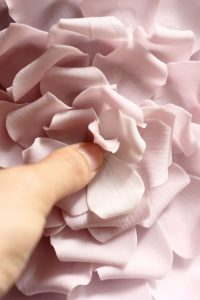
Step 7: When the petals are semi-dry, pick up the biggest petal, apply a little edible glue on its backside, then attach it to the cake starting at the top side. You can sketch the shape of the rosette first before applying the petals. Keep attaching the other big petals until you finish the first layer.

Step 8: The second layer will use the same size petals as the first. Apply each petal, taking care to cover the overlapping points of the first layer.
Step 9: The third and the fourth layers of the rosette are formed with the same method but, instead, using the mid-size petals.
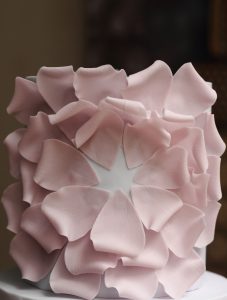
Step 10: The final layer is formed with the remaining 5 small-size petals.
Step 11: Cut out 14 petals from thinly rolled gum paste using the second smallest cutter of the rose petal cutter set. Store the cut petals in a storage board to prevent drying. As before, thin the edge of each petal using a ball tool and a foam pad.
Step 12: Stack one petal on top of another, lowering them a little after each addition. Fold the cluster in half with the tails attached and the top edges open.
Step 13: Attach the first cluster to the center of the rosette with a little glue.
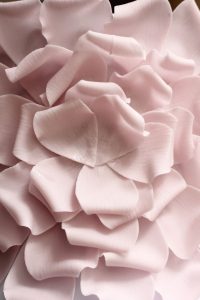
Step 14: Prepare another 6 clusters in the same way; apply them, one by one, next to each other to form a new layer. The last cluster will be applied to the very center of the rosette. Use the larger end of a Dresden tool to separate the petals from each other to create more dimensions. Allow the design to fully dry.
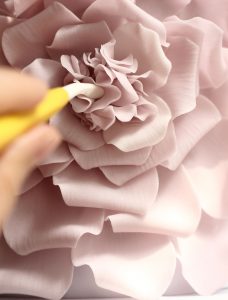
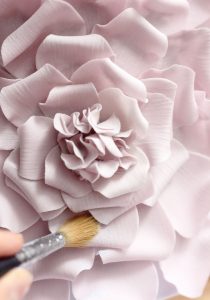
Step 15: Using Wedgewood Blue petal dust, dry dust the rosette. Dip a round brush into the petal dust and gently dust it all over the petals and center of the rosette.
For the Bottom Tier
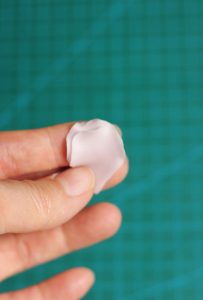
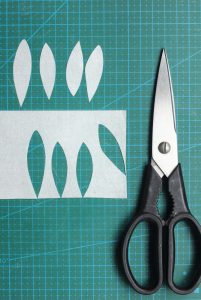
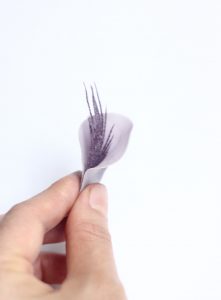
Step 1: Cut out freehand petals with an elongated shape, from wafer paper, using a pair of scissors.
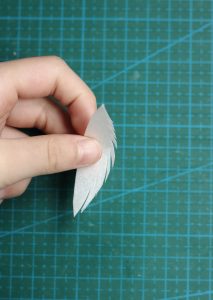
Step 2: Cut thin lines along the right side of each petal to mimic a feather. Then flip over and cut the other side in the same way.
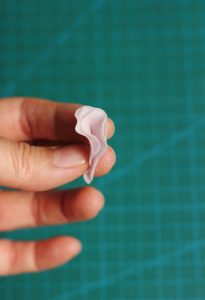
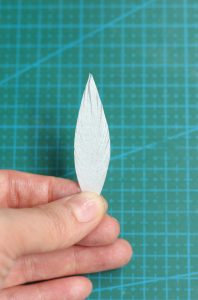
Step 3: With a bamboo skewer, gently curve the top of each feather to make it more realistic. Flip the feather over and curve back the top to add even more dimension. With the bamboo skewer, curve both sides of the feather.

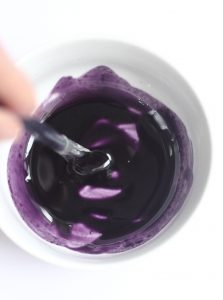
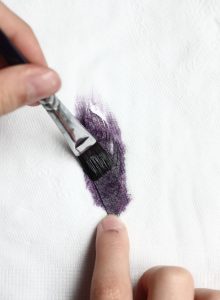
Step 4: Prepare some Violet Purple and Royal Purple petal dust, which are in different shades in equal parts to color the feathers. Mix the dust well with some vegetable oil until they are completely emulsified. Put each feather on a sheet of tissue paper and paint the mixture on using a flat brush and set aside; the tissue paper will absorb the excess oil from the wafer paper.
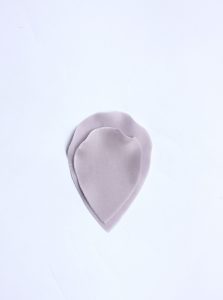
Step 5: Cut out several petals from thinly rolled gum paste. I use the third biggest and the fourth smallest cutters of my rose petal cutter set. Thin the edge of each petal, then stack the smaller petal on top of the big one, fold the cluster in half with the tails attached, and the top part open.
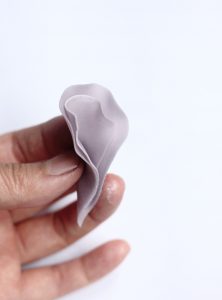
Step 6: Fold a big petal in half with the top part open. Attach a feather within the fold.
Step 7: Create several more feather ruffles and group them together to form a cluster.
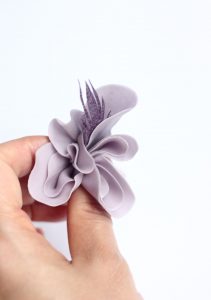
Jessica notes: You will need several clusters to complete a ruffle design. We can match different forms of ruffles in different ways to add dimensions to the ruffle design.
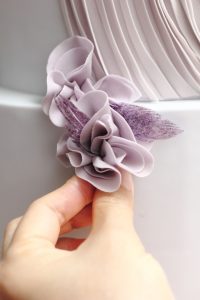
Step 8: Trim away the excess gum paste and then apply each cluster to the cake with a little edible glue.

Step 9: Add more feathers into the small gaps to create a seamless flow to the ruffle design. Continue adding clusters to the bottom tier until you are happy with the finished design.
Jessica notes: You can use bamboo toothpicks inserted through each cluster into the cake to offer support to the heavy ruffles. These can be easily removed when the ruffles have dried.

