
When it comes to creating cake toppers and figurines, modeling tools are a must-have. Kylie Mangles of Letterpress Bakery demonstrates how to use Innovative Sugarworks Sugar Shapers to create these gorgeous Cacti Cake Toppers. “I really love both the soft and firm tipped sugar shapers,” notes Kylie, “The possibilities for modeling, and adding texture are endless.”
Cacti Cake Toppers
By Kylie Mangles of Letterpress Bakery
Kylie Mangles is the owner of Letterpress Bakery, a Vancouver, Canada–based custom cake boutique. Many may remember Kylie for her Internet breaking “cut-out Ralph” cake, which won the Threadcakes competition. Although Kylie is perhaps most well known for her incredible sculpted designs, she is an all-around cake artist, creating beautiful tiered wedding cakes, cookies, cake toppers and more.
https://www.facebook.com/LetterpressBakery/?pnref=lhc
Components:
- Modeling Chocolate in a variety of colors (leaf green, blue, light brown, light purple, lime green)
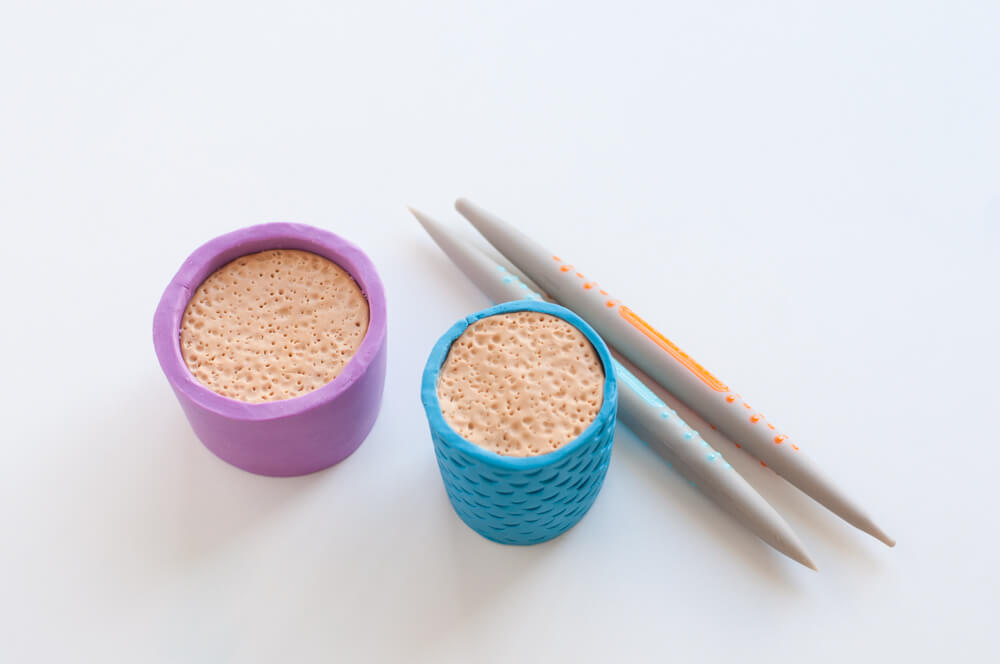
- Innovative Sugarworks Sugar Shapers (Soft tip and Firm tip shapers)
- X-Acto Knife
- 5 petal cutter
- Blossom cutter
- Small paintbrush
- Edible glue
- Small rolling pin
Copy:
1: Color modeling chocolate (MC) in two shades of green for the two cacti, purple for one flower pot, blue for the other, and a sandy/brown color for inside the pots.

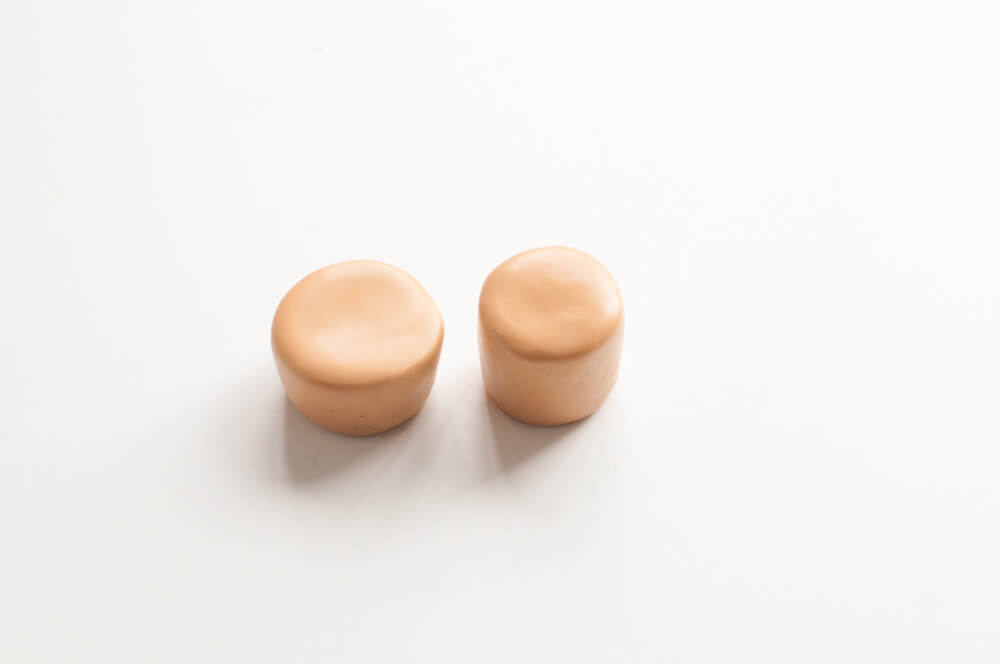
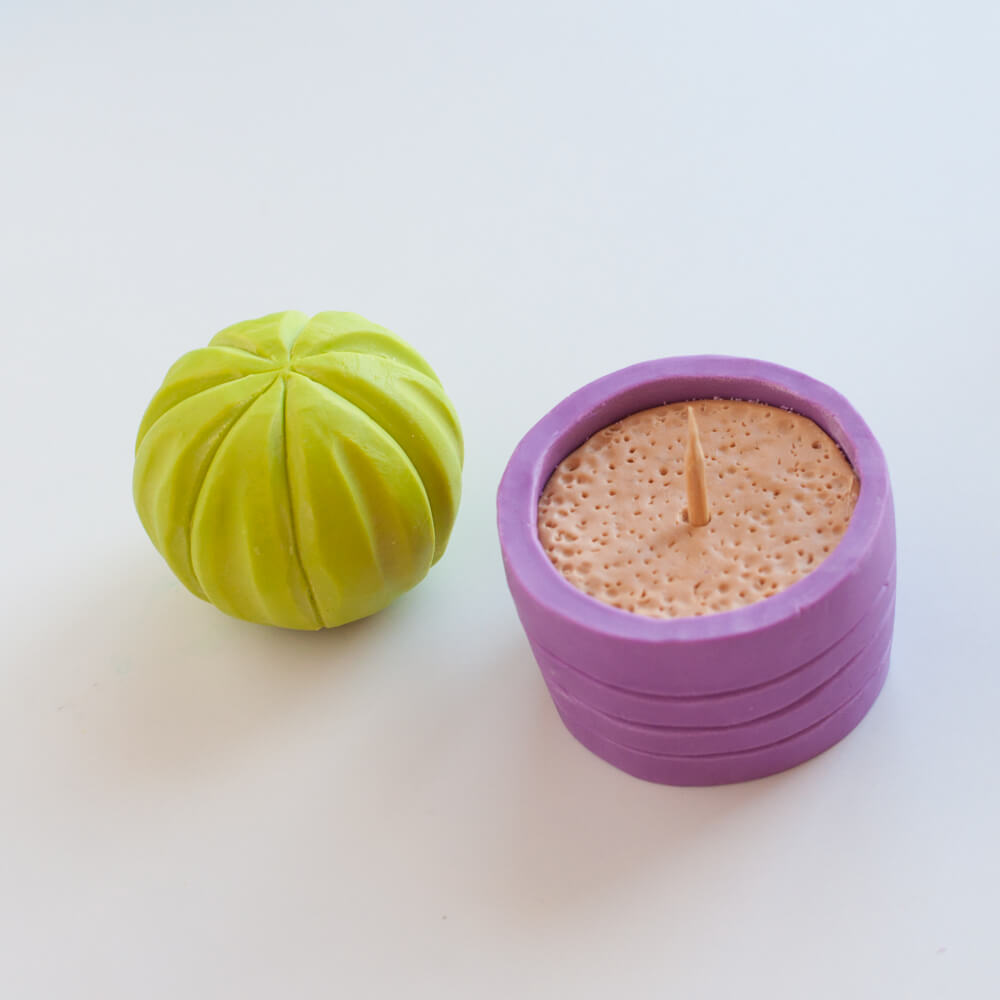
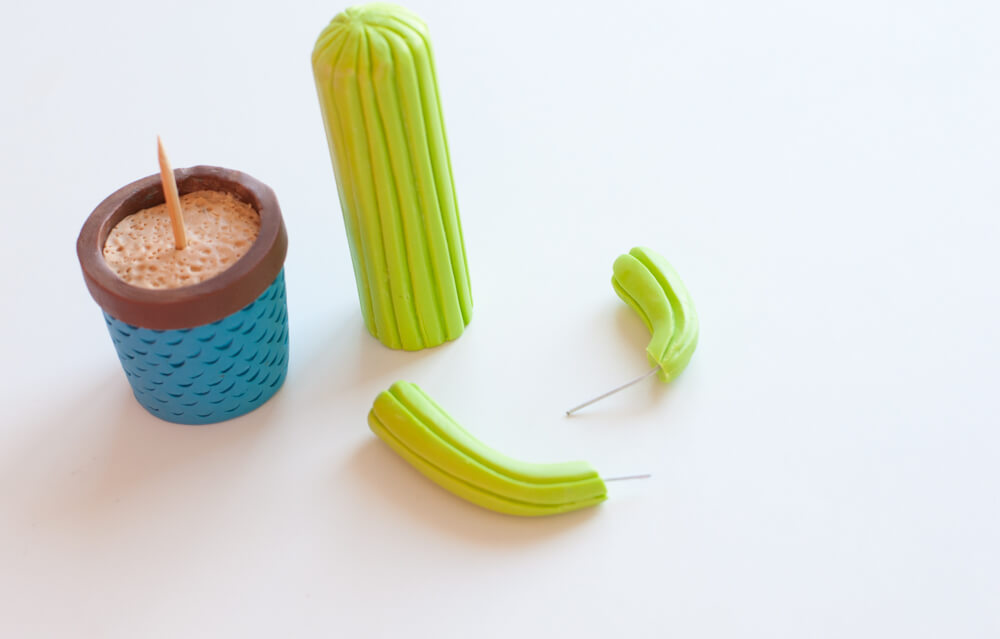
2: Form two balls for the “sand” into pot shapes, one taller and skinnier, and the other shorter and wider.
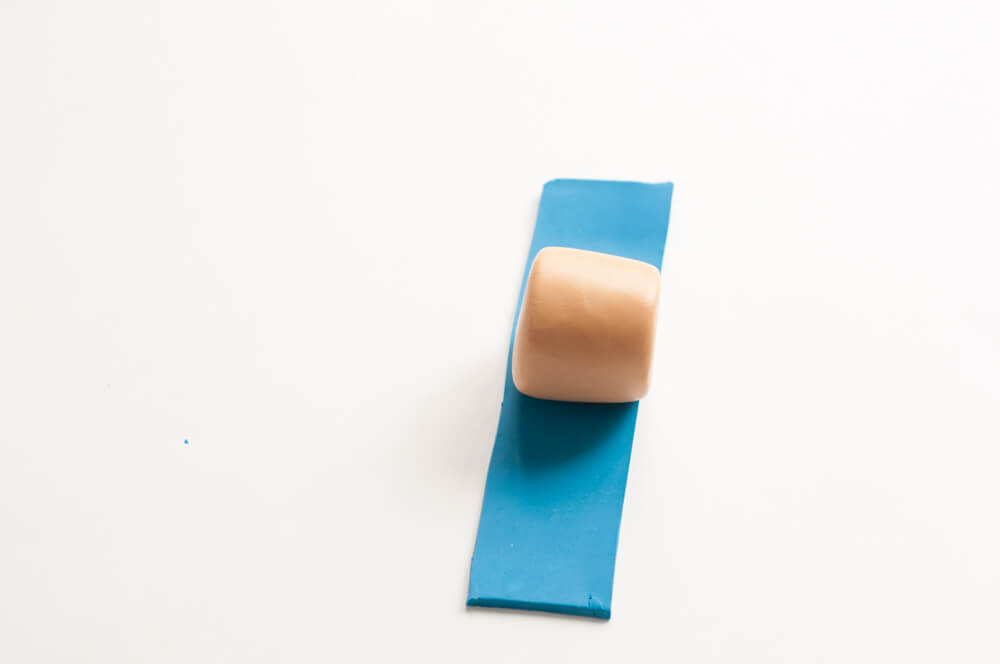
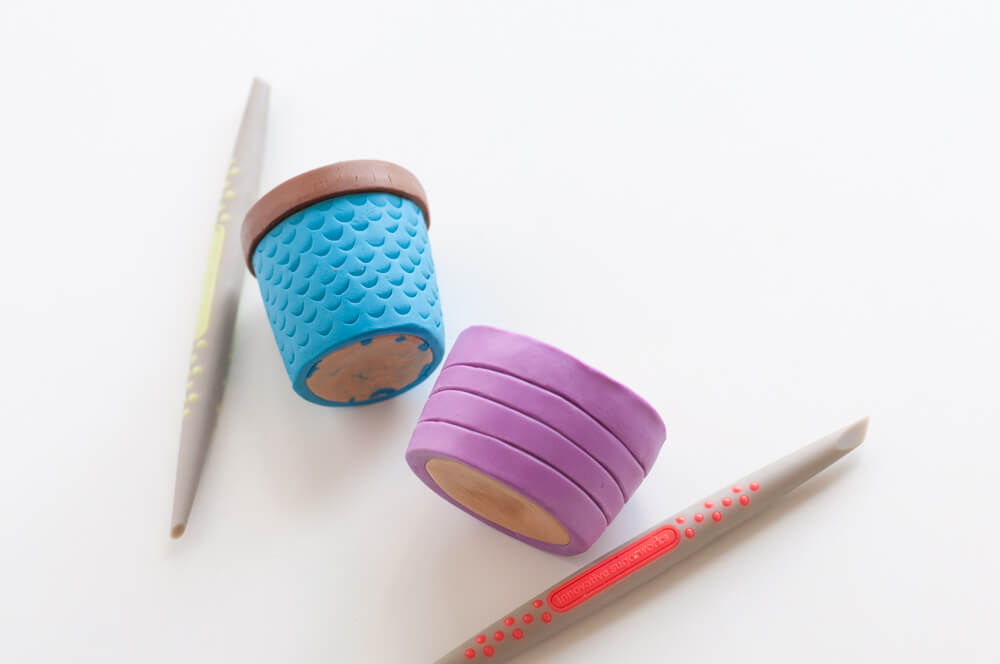
3: Use your “sand” shape to measure and cut a strip of rolled-out blue MC to create the pot. Do the same for the purple pot.
4: Glue the purple and blue strips around each pot of sand and use an X-Acto knife to trim the edges.

5: Use the soft blue and orange sugar shapers to create the sand texture by stippling the surface.
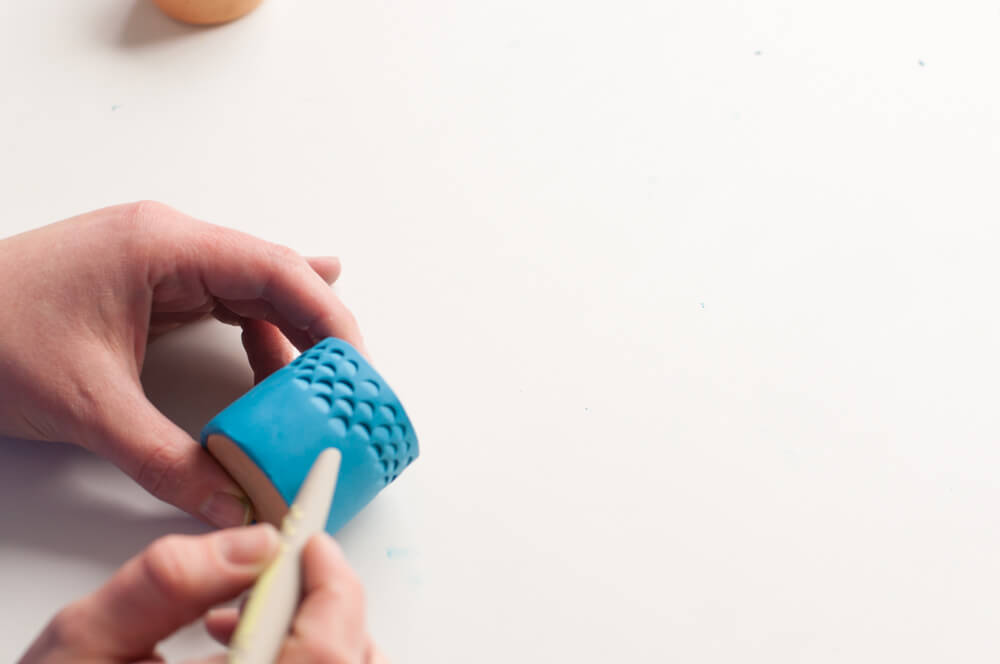
6: Use the soft green shaper to create texture on the blue pot. Start at the bottom by creating a row, then alternate the pattern as you go up. Add a strip of brown MC for the belt.
7: Use the soft or stiff red shaper to create line texture on the purple pot as shown.
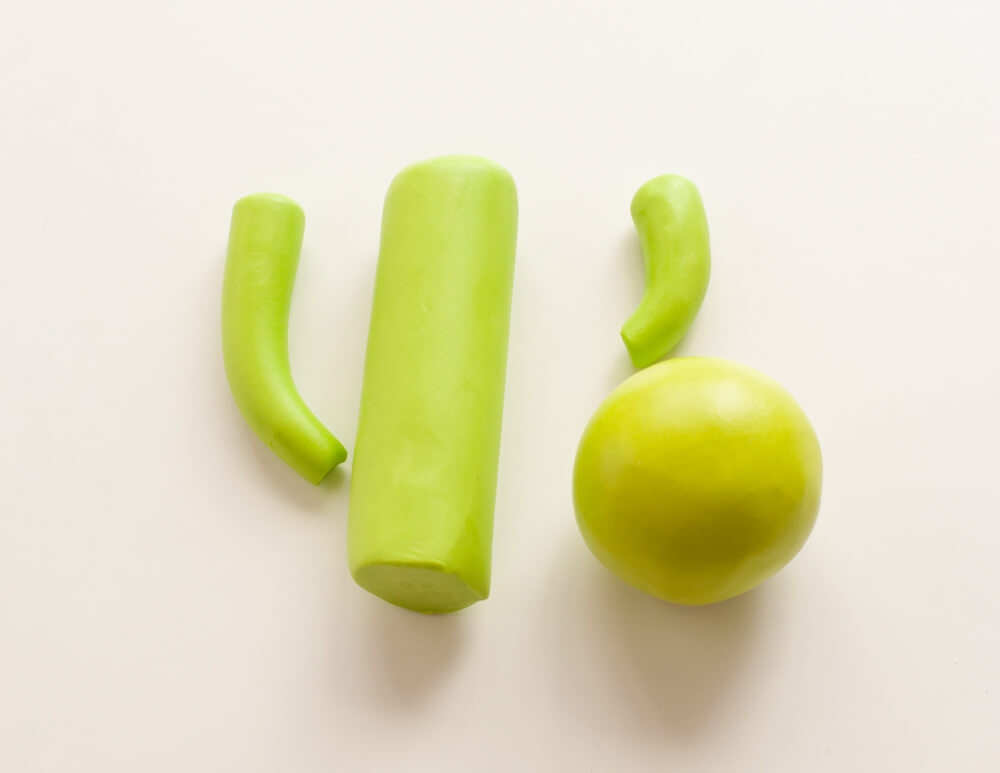
8: Using the darker green MC, shape a small piece into a log to form the trunk of the cacti and two smaller logs for the arms. Then take a small amount of the lighter shade of green and shape into a ball.
9: Use the stiff red shaper to create lines on both cacti. Then use the stiff orange shaper to make indents in between the lines on the round cacti.
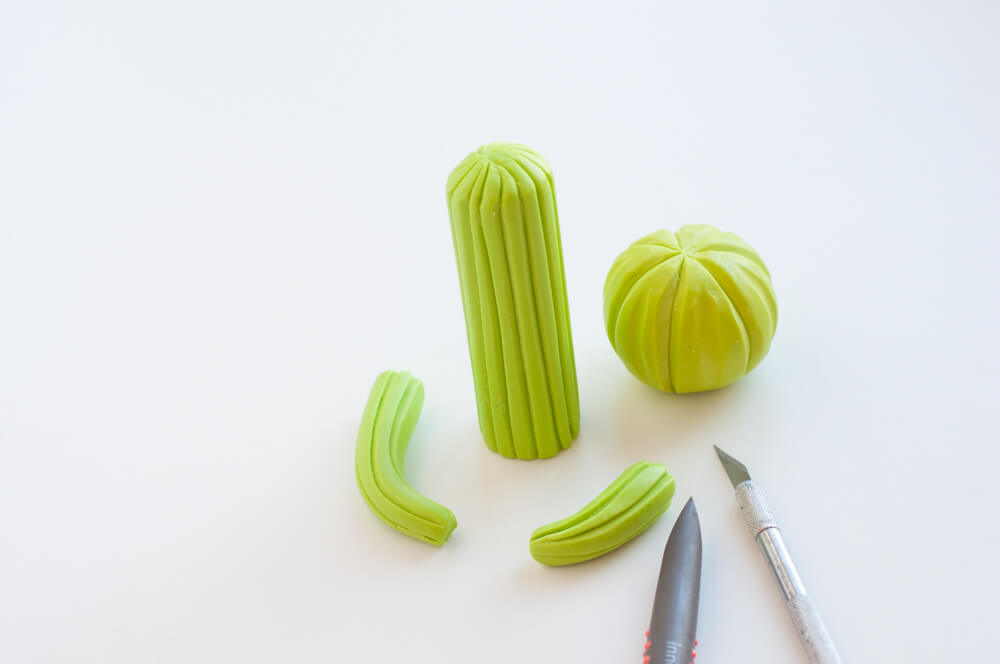
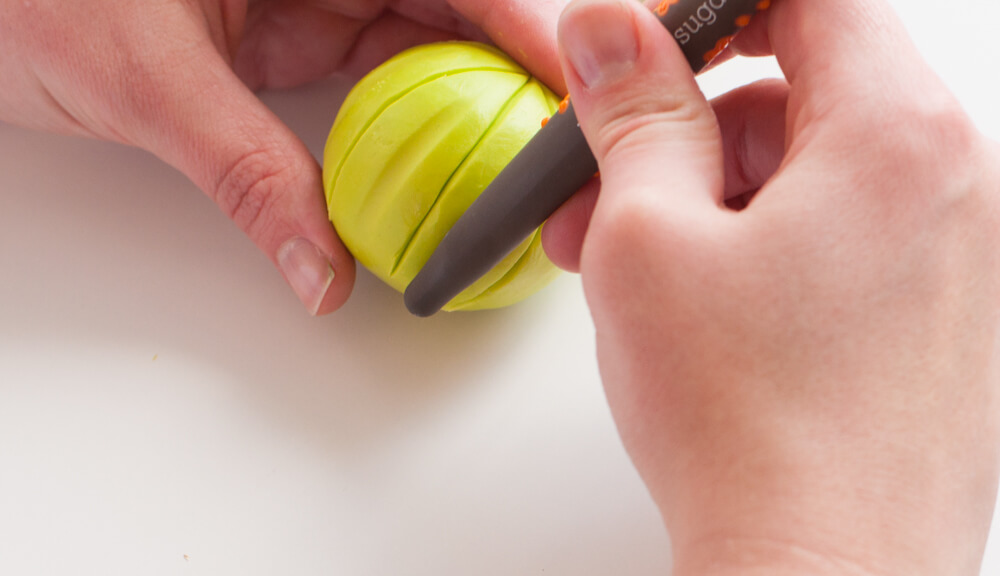
10: Use an X-Acto knife and stiff red shaper to deepen the lines.
11: Insert a toothpick into the pot to attach the cacti. If needed, brush on a small amount of water as glue. You can use this at any step when attaching pieces together.
12: Cut two pieces of wire, approx. 3″ long to attach the arms to the cacti. Insert the wire into the arms, leaving a small amount exposed to insert into the trunk of the cacti.
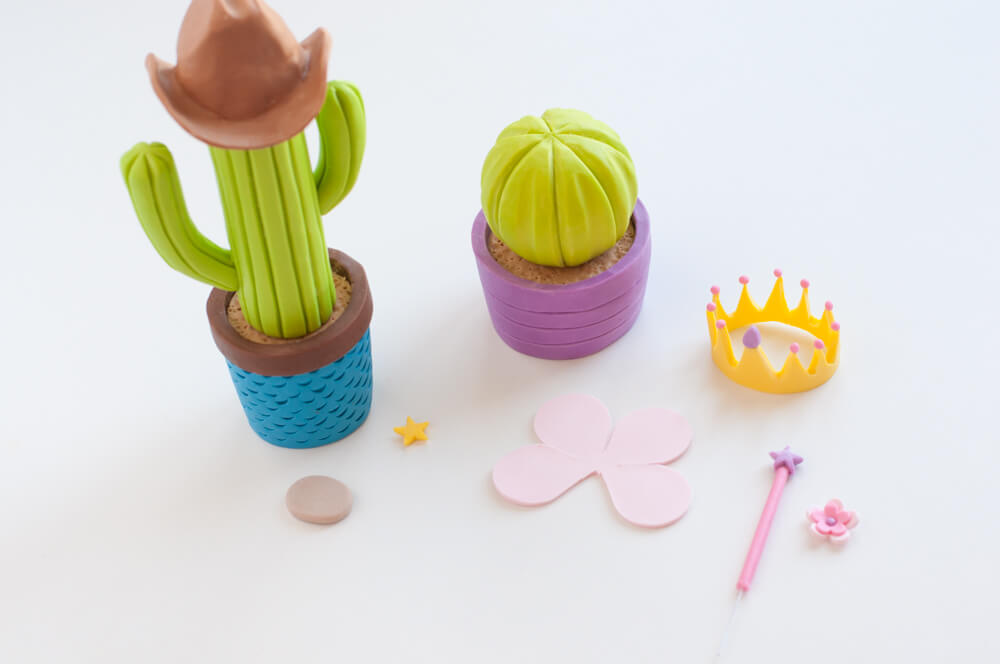
13: Create the costume pieces for the cowboy: cowboy hat, belt buckle, and sheriff’s badge. For the fairy, make a crown, wand, and use a five petal rose cutter, with one petal removed, to make the wings.
14: Make four tiny balls of black, for the eyes, and a small snake for a mouth, with four tiny snakes for eyelashes. Attach the costume pieces to the cacti with a brush and a small amount of water.


