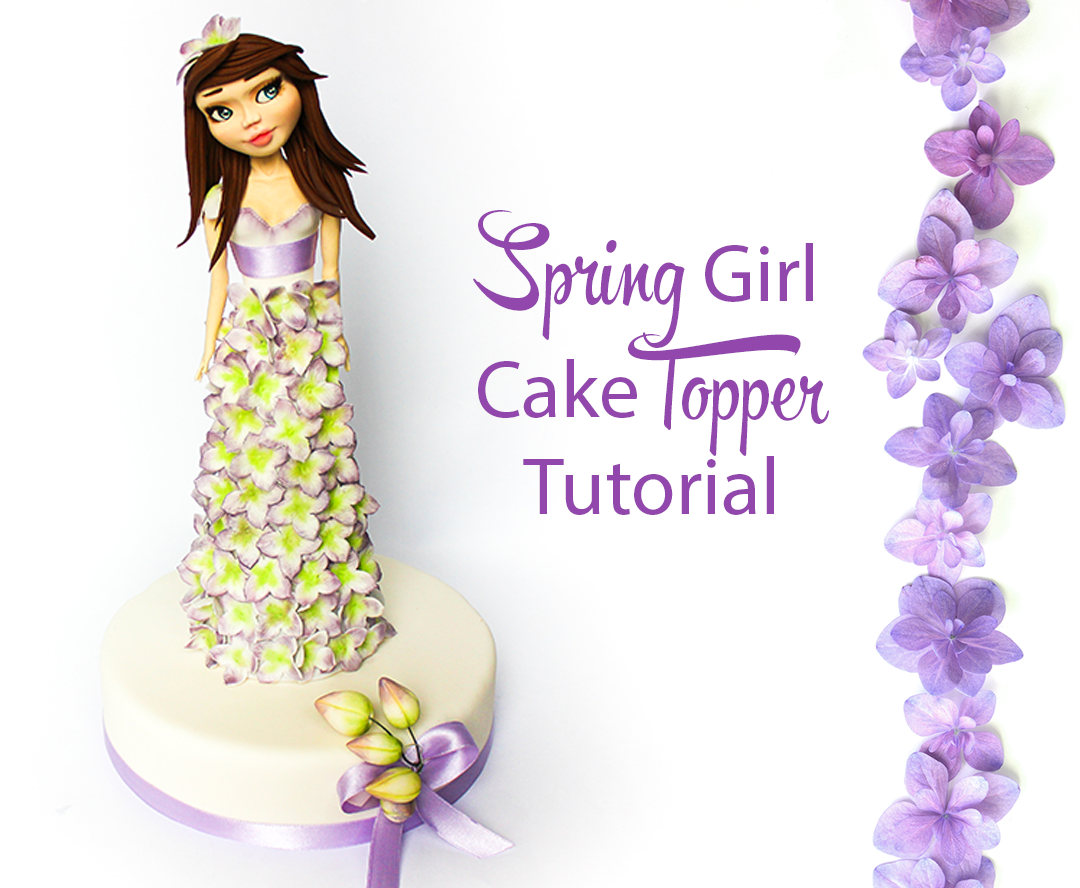
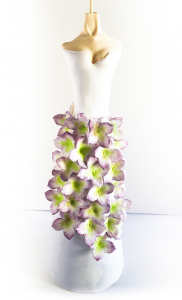
I was imagining Spring when I designed this tutorial,” notes Barbara. “I wanted to capture the beauty and freshness of the flowers and the soft-pastel colors.” This elegant figurine with a floral gown would make a perfect topper for a Sweet 16 celebration, birthday cake, or more. Learn how to recreate Barbara’s award-winning style with this step-by-step tutorial.
Spring Doll Tutorial
Components:
- Cake carved in a cone shape (6″ tall with a diameter of 4″ at the base)
- An 8-inch cake, filled and frosted
- Modelling paste (modeling chocolate or gumpaste/chocolate mix) as follows:
- 150 grams of Flesh toned paste
- 60 grams of brown color 60 paste
- 100 grams of white paste
- 1kg of white fondant
- Petal dust colors in: peach, brown, pink, lilac, apple green
- Gel colors (blue, brown)
- Edible glue
- Lilac satin ribbon
- Small and large rolling pin
- ruler
- Fondant smoother
- Dresden tool, ball tool, bone tool
- Skewer, toothpick
- Pastry bag fitted with PME tip #3
- Hydrangea flower cutter and veiner
- Scalpel or X-Acto knife
- Foam pad
- Fine paintbrushes
- Silicone brushes (Sweet Janis by Barbara Luraschi)
- 24-guauge floral wires
- Floral tape
- Dowels
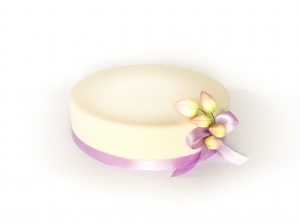
To Prepare: Cover an 8-inch cake with white sugar paste and add a lilac ribbon at the base. Make a bow and adhere it to the cake using some edible glue.
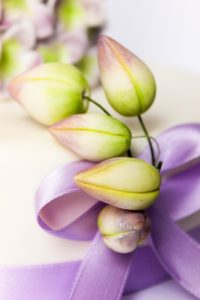
Make the decorative buds by shaping some white gum paste into a tapered ball. Insert a hooked 24-gauge floral wire dipped in some edible glue. Mark 3 lines around the cone starting from the bottom towards the point. Dust the buds using some apple green edible petal dust at the bottom, and lilac at the point. Assemble a few of them together using green floral tape. Position the buds next to the bow on the cake.
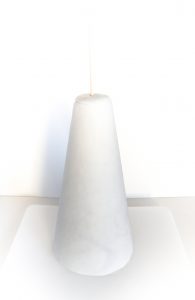
- Cover the prepared, carved cake with white fondant and insert a skewer in the middle. Leaving 4-inches exposed.
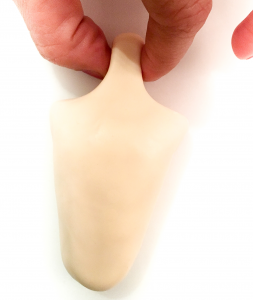
- To model the body: Take some flesh-toned modeling paste (I use Saracino) and shape into a thick tapered cylinder. Pinch the tapered end to create the neck, and push out the paste a little to form the shoulders.
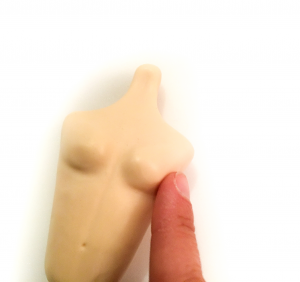
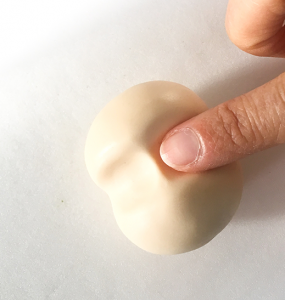
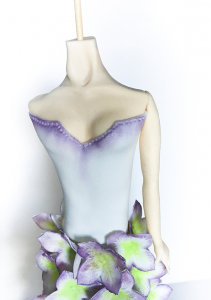
- Model the breasts by pushing into the paste using your fingers as demonstrated in the picture. Barbara notes: You can add some small balls of the modeling paste and blend into the torso with your fingers if you do not have enough paste to work with.
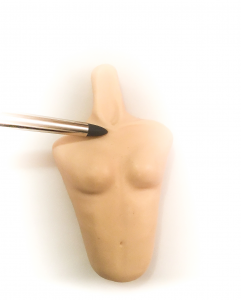
- Mark the cavity (clavicle) under the neck and define the collar bones using a silicone brush or soft-tipped modeling tool.
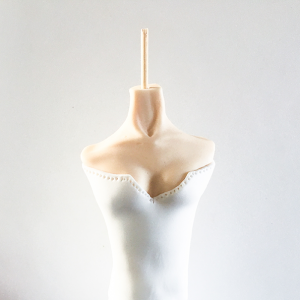
- Push the torso onto the skewer, which was previously inserted into the cake. Roll a piece of white modeling paste thinly, and wrap around the torso to create the top portion of the dress. Join the paste at the back and trim away the excess at the back and the bottom. Blend the bottom of the bodice into the dress below using a soft-tipped shaper. Shape the bust line by cutting in a ‘V’ shape at the center point. To decorate, mark the edge of the dress using a stitching wheel.
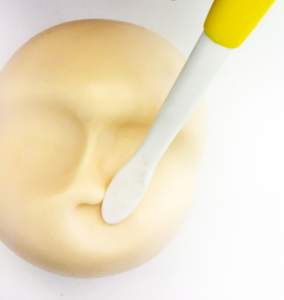
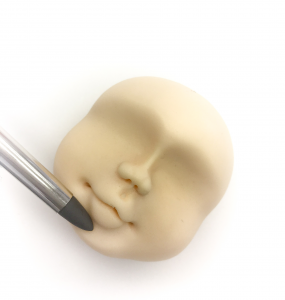
- To model the face: Take some flesh-toned modeling paste and roll into a ball. Indent in the middle with the finger, pushing up the paste to define the nose, then use your finger tips to make the eye cavities.
Barbara notes: There should be an equal distance between the top of the eye cavity and the top of the head, and the bottom of the eye cavity and the base of the chin.
- Use the Dresden tool to define the nose, pressing into the paste to create the tip and the bridge.
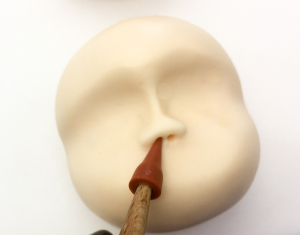
- Use a conical pointed tool to mark the nostrils.
- Use a sharp knife to cut in a line for the lips in the bottom portion of the face as shown.
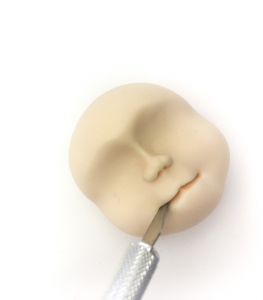
- Use the silicone brush to define the lips, pressing into the chin area, under the bottom lip, will allow the lips to protrude. Define around the top lips.
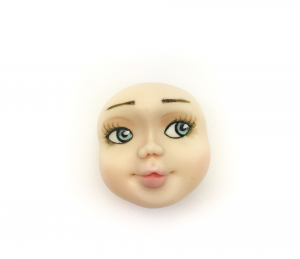
- In the eye cavities you created earlier, draw a small oval shape for the eye and remove the paste from inside. Use the tip of a silicone brush to define the eyelid and brow bone.

- Fill the cavity with a small ball of white paste, then paint the eyes using a fine artists brush. Dust the cheeks and the lips with red petal dust, and paint the eyebrows.
- Roll out some white modelling paste to 1/8″ thickness and cut out lots of hydrangea flowers using a hydrangea cutter.
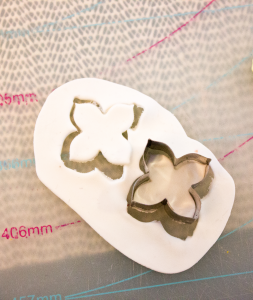
- Place the flower inside a two-sided hydrangea veiner and press gently to impress the veins.
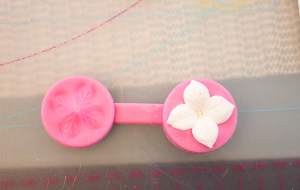
- Allow the flowers to dry on a foam pad.
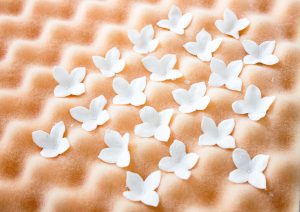
- Dust the flowers using lilac edible petal dust along the edges and apple green in the center.
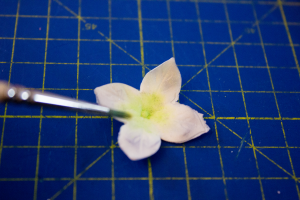
- Position the flowers all around the cake, using a little edible glue to adhere them.
- To make the arms: shape a small amount of flesh-toned paste in a slightly-tapered cylinder, and using the finger, create an indentation for the wrist and the elbow. Flatten the tapered end to create the hand.
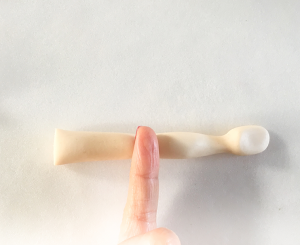
- Cut a small ‘V’ to define the thumb first, and then three more cute to create the fingers.
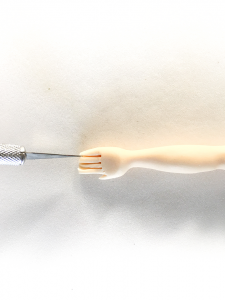
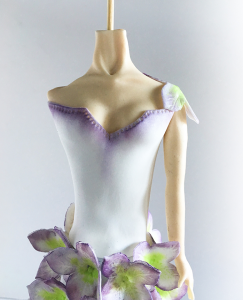
- Gently taper each finger, and then position the arm onto the body using a little edible glue to adhere the arm to the torso. Dust the edge of the top dress with lilac petal dust.
- Add a flower onto each shoulder.
- Position the head onto the body, securing the head onto the exposed skewer. To make the hair, cut strips of brown paste and add them around the base of the head, and then on the top of the head.
Barbara notes: you can texture the hair with the Dresden tool and position the pieces to give a natural effect.
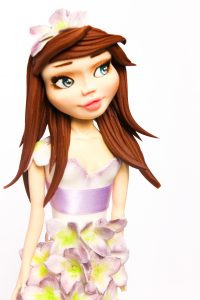
Add two flowers to the hair. To position the doll, place three dowels in the center of the cake for support and place the doll on top, securing with a little frosting to hold it in place.

