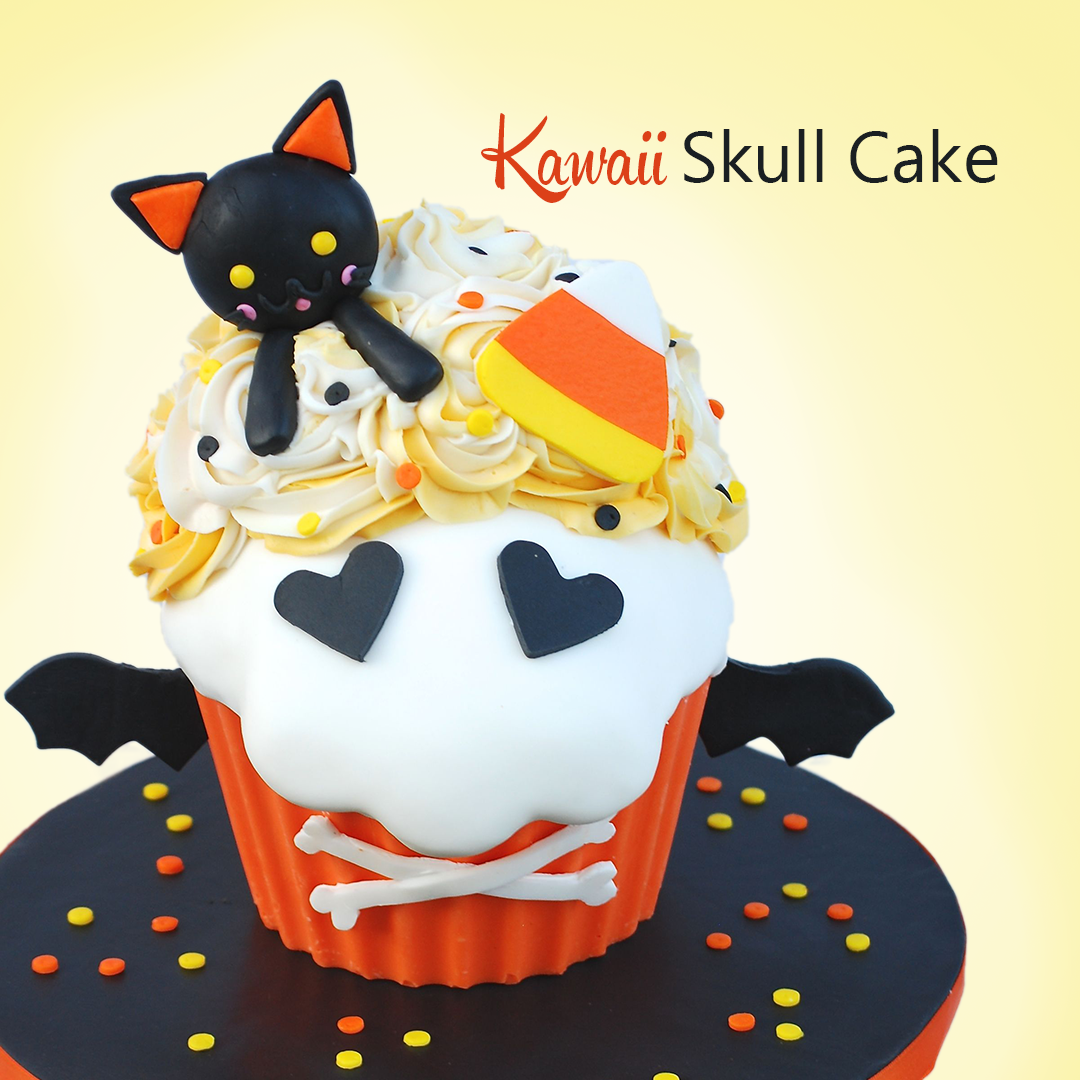
Create this cute Kawaii-inspired skull cake, the perfect Halloween treat, with this step-by-step tutorial from Jean Schapowal of Cakes with Character!
Kawaii Skull Cake
Components:
- Large Wilton Cupcake Pan
- Viva Paper towels
- Satin Ice White Fondant ( in which you will make orange, yellow, black and pink)
- 10” round cake drum
- 1 bag Wilton white candy melts ( or orange)
- 1 tube orange candy color ( to tint the white candy melts)
- Orange ribbon bat cookie cutter
- heart cutter (medium size)
- Sharp knife
- Dresden tool
- Small bone Sugar Shaper ( orange handle)
- rolling pin
- orange tint, yellow tint, pink tint, black tint Buttercream
- Wilton # 2D tip Wilton # 8 round tip
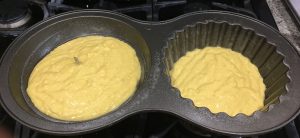
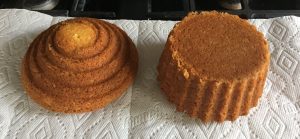
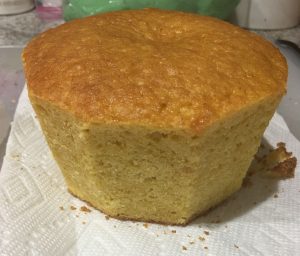
Step 1 – Fill and bake the large cupcake pan according to the manufacturers instructions. Once baked, remove the cake from the pan and allow to cool completely.
Jean notes: I used a large flower nail in the center of each pan to ensure even baking.
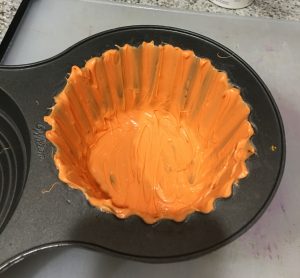
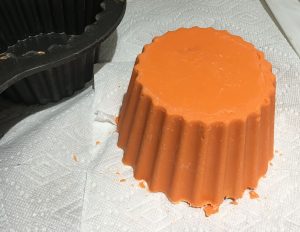
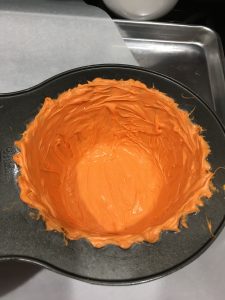
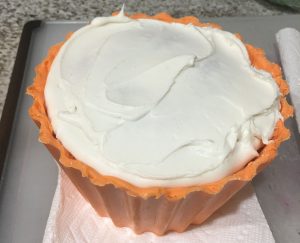
Step 2: Melt some orange candy melts/wafer and brush several layers of the candy coating on the inside of the bottom pan to create a chocolate shell. Make sure the shell is thick enough that it can support the weight of the cake inside. Several layers may be necessary. Once set, remove from the pan.
Step 3: Torte the bottom cake into layers and trim the edges. Place alternating layers of cake and buttercream inside the chocolate shell.
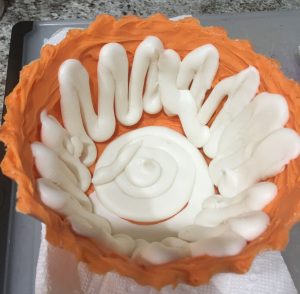

Step 4: Crumb coat the top layer and add the dome cake on top.
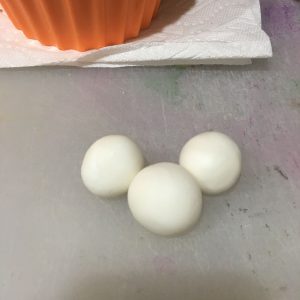
Step 5: Roll three balls of fondant approximately 1 1/2 inches in diameter and flatten slightly, add these to the front of the cake as shown.
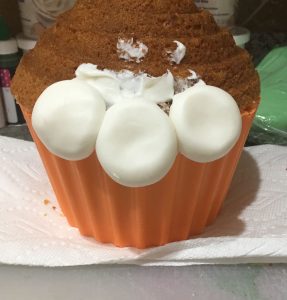
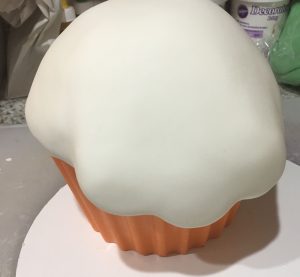
Step 6: Crumb coat the top of the cake, covering the fondant balls evenly. Smooth with a Viva paper towel.
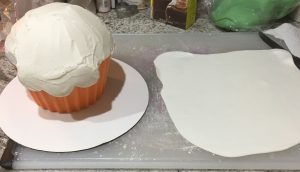
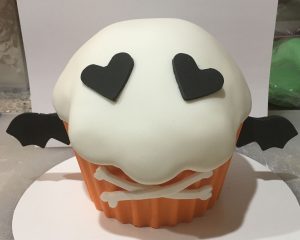
Step 7: Roll out a piece of white fondant large enough to cover the dome of the cake, drape the fondant over, smooth into the crevices, and trim away the excess.
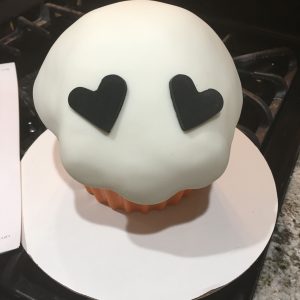
Step 8: Roll out some black fondant and using a heart cutter, cut out two heart shapes for the eyes. Adhere to the cake as shown.
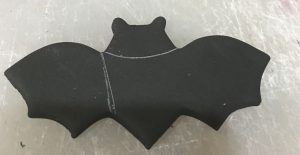
Step 9: Cut out two bat shapes using a bat cookie cutter. Cut off the head and one wing as shown.
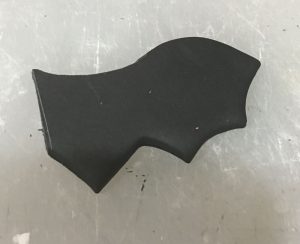
Step 10: Add the wings to the side of the cake using a little of the melted candy wafers.

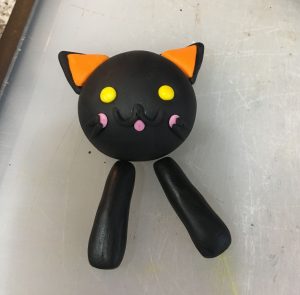
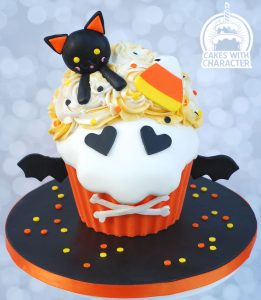
Step 11: Make the decorative cat as shown below.
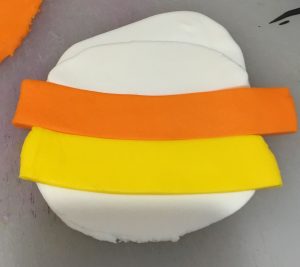
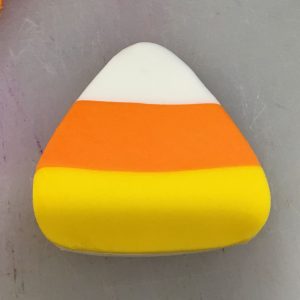
Step 12: Create a decorative candy corn using some white, orange and yellow fondant.
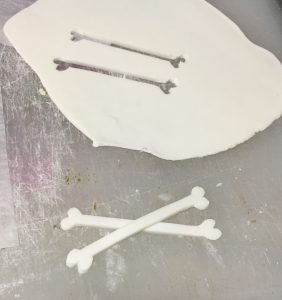
Step 13: Roll out some white fondant and cut out two bone shapes as shown. Adhere to the front of the cake as cross-bones.
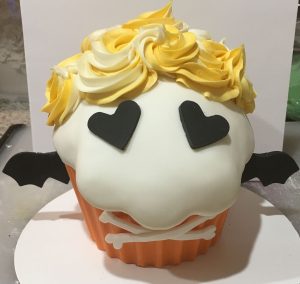
step 14: Pipe swirls of buttercream on the top of the cake and sprinkle with some festive sprinkles.
Step 15: Add the decorations (cat and the candy corn)
Step 16: Place the cake on a covered board.
