
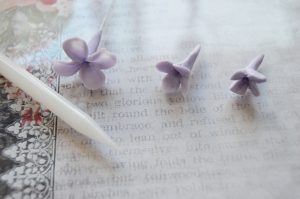
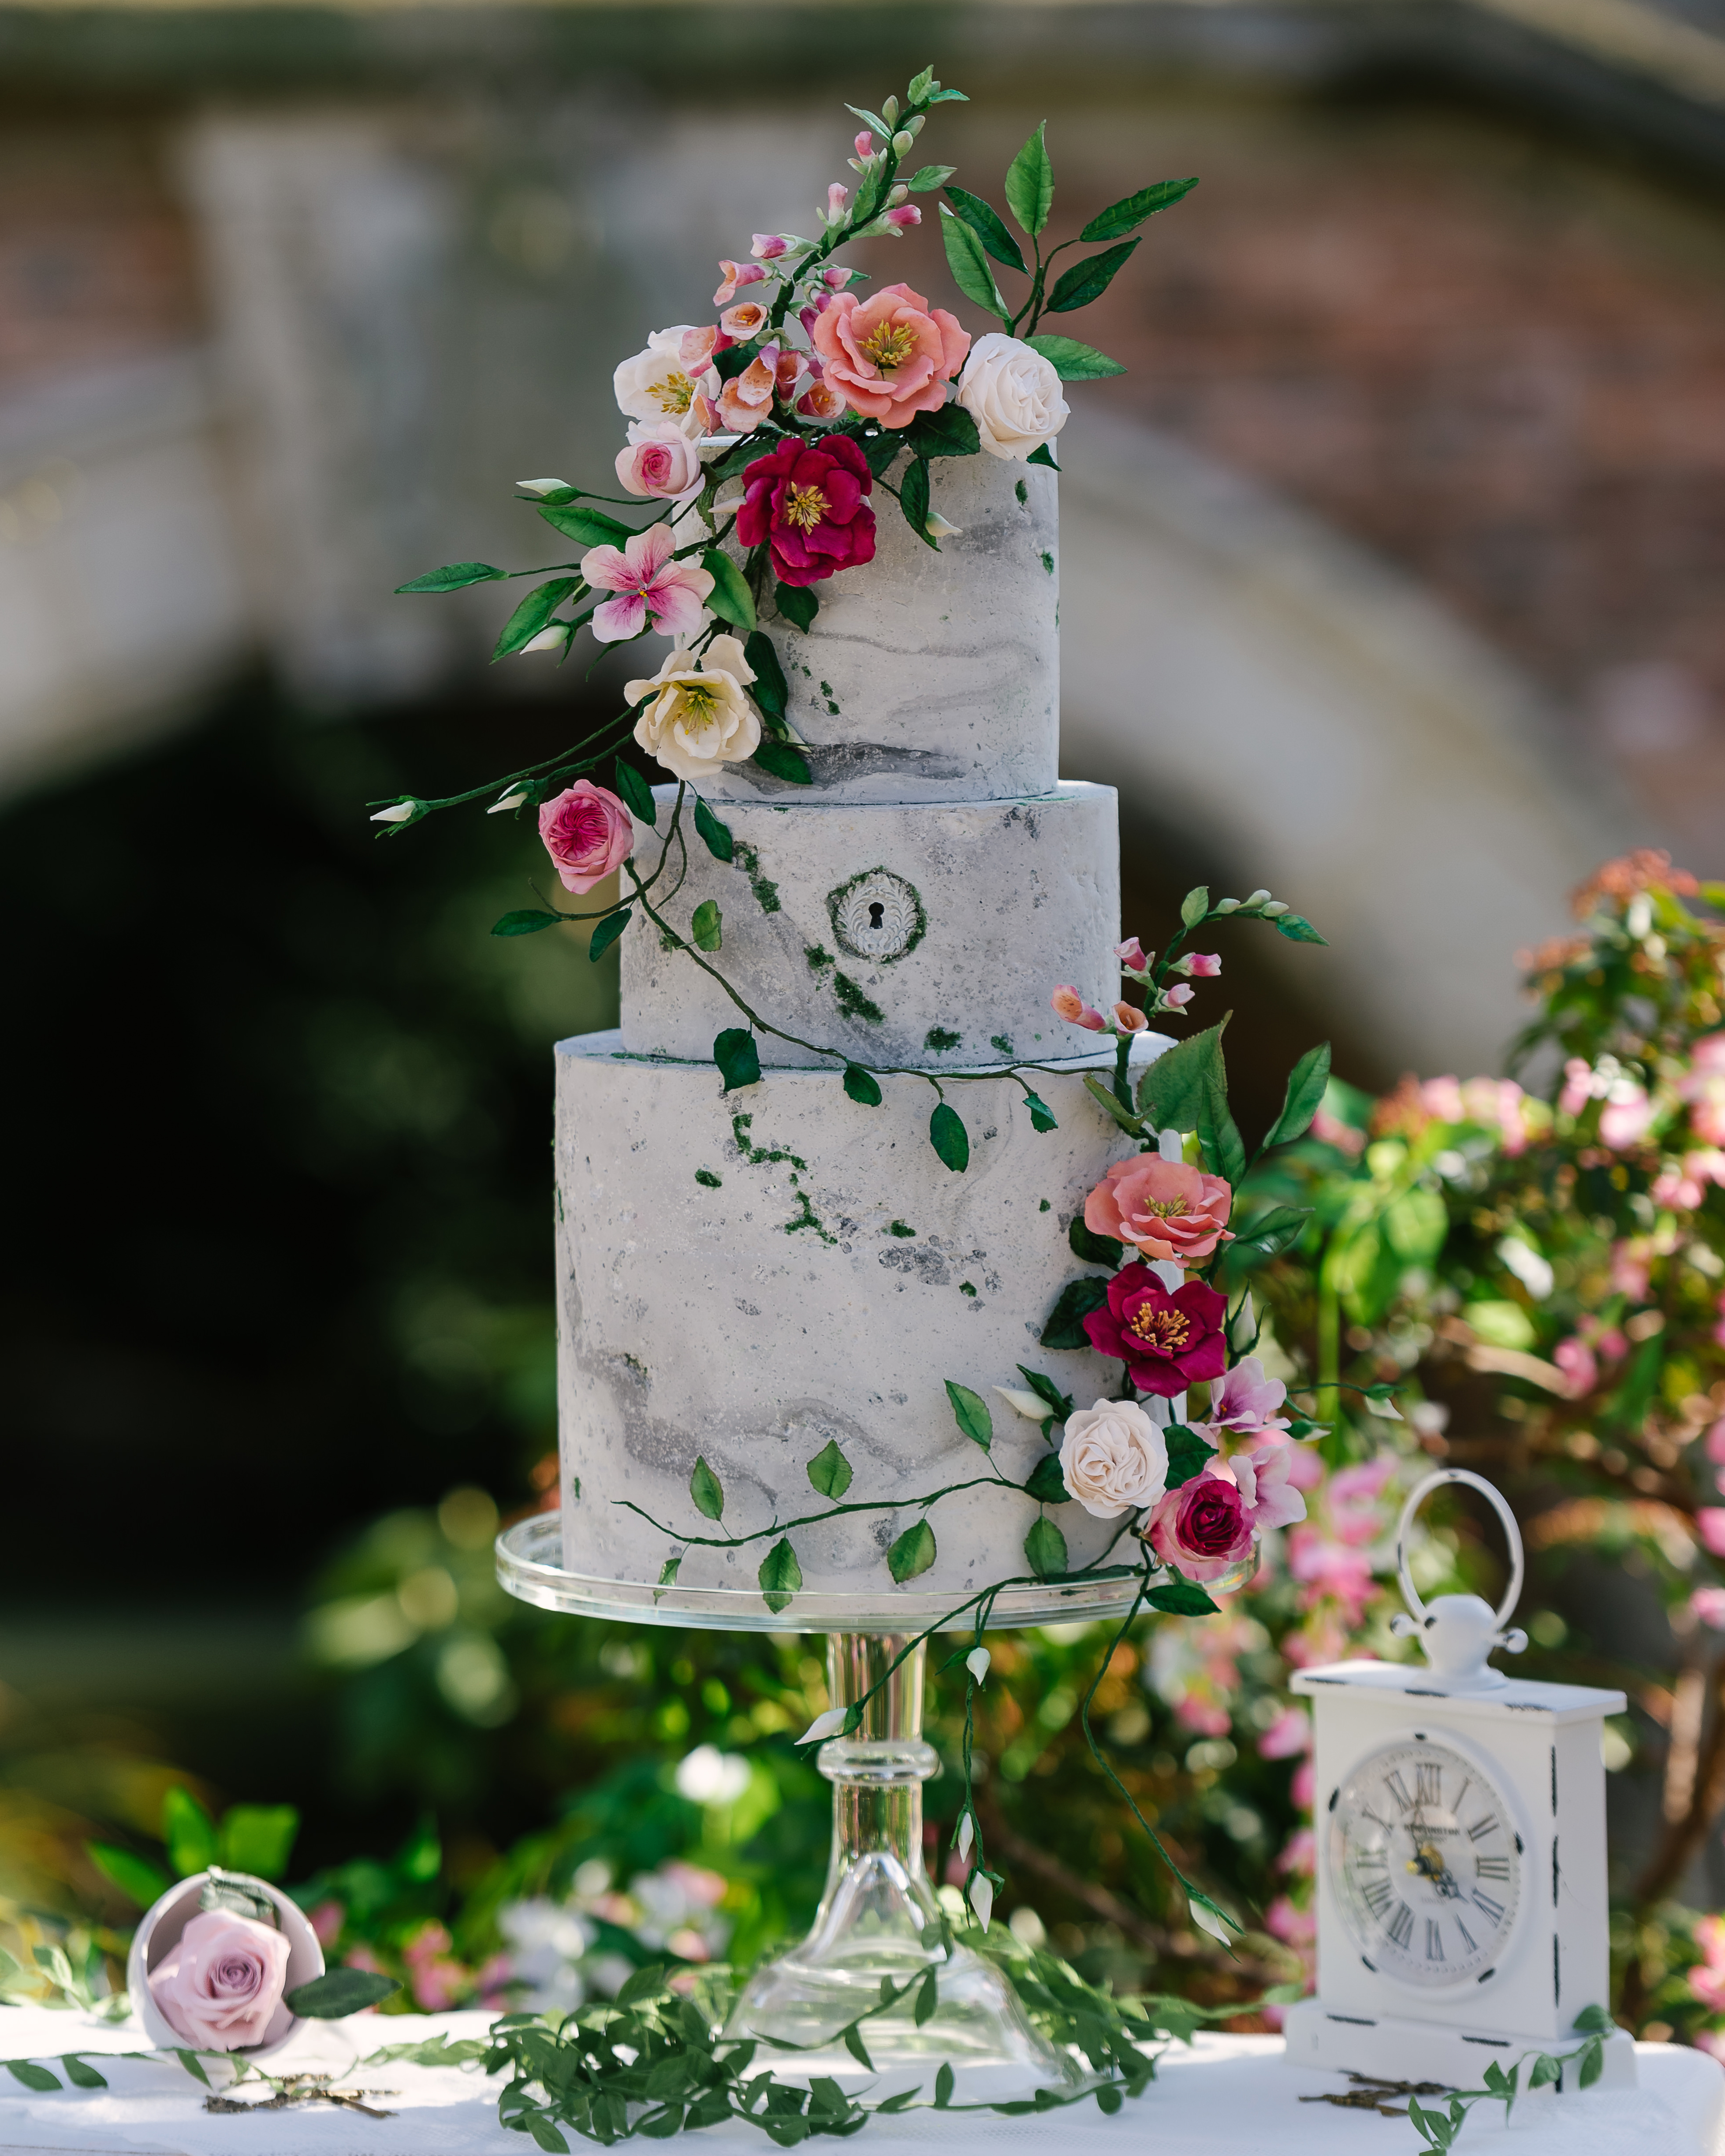
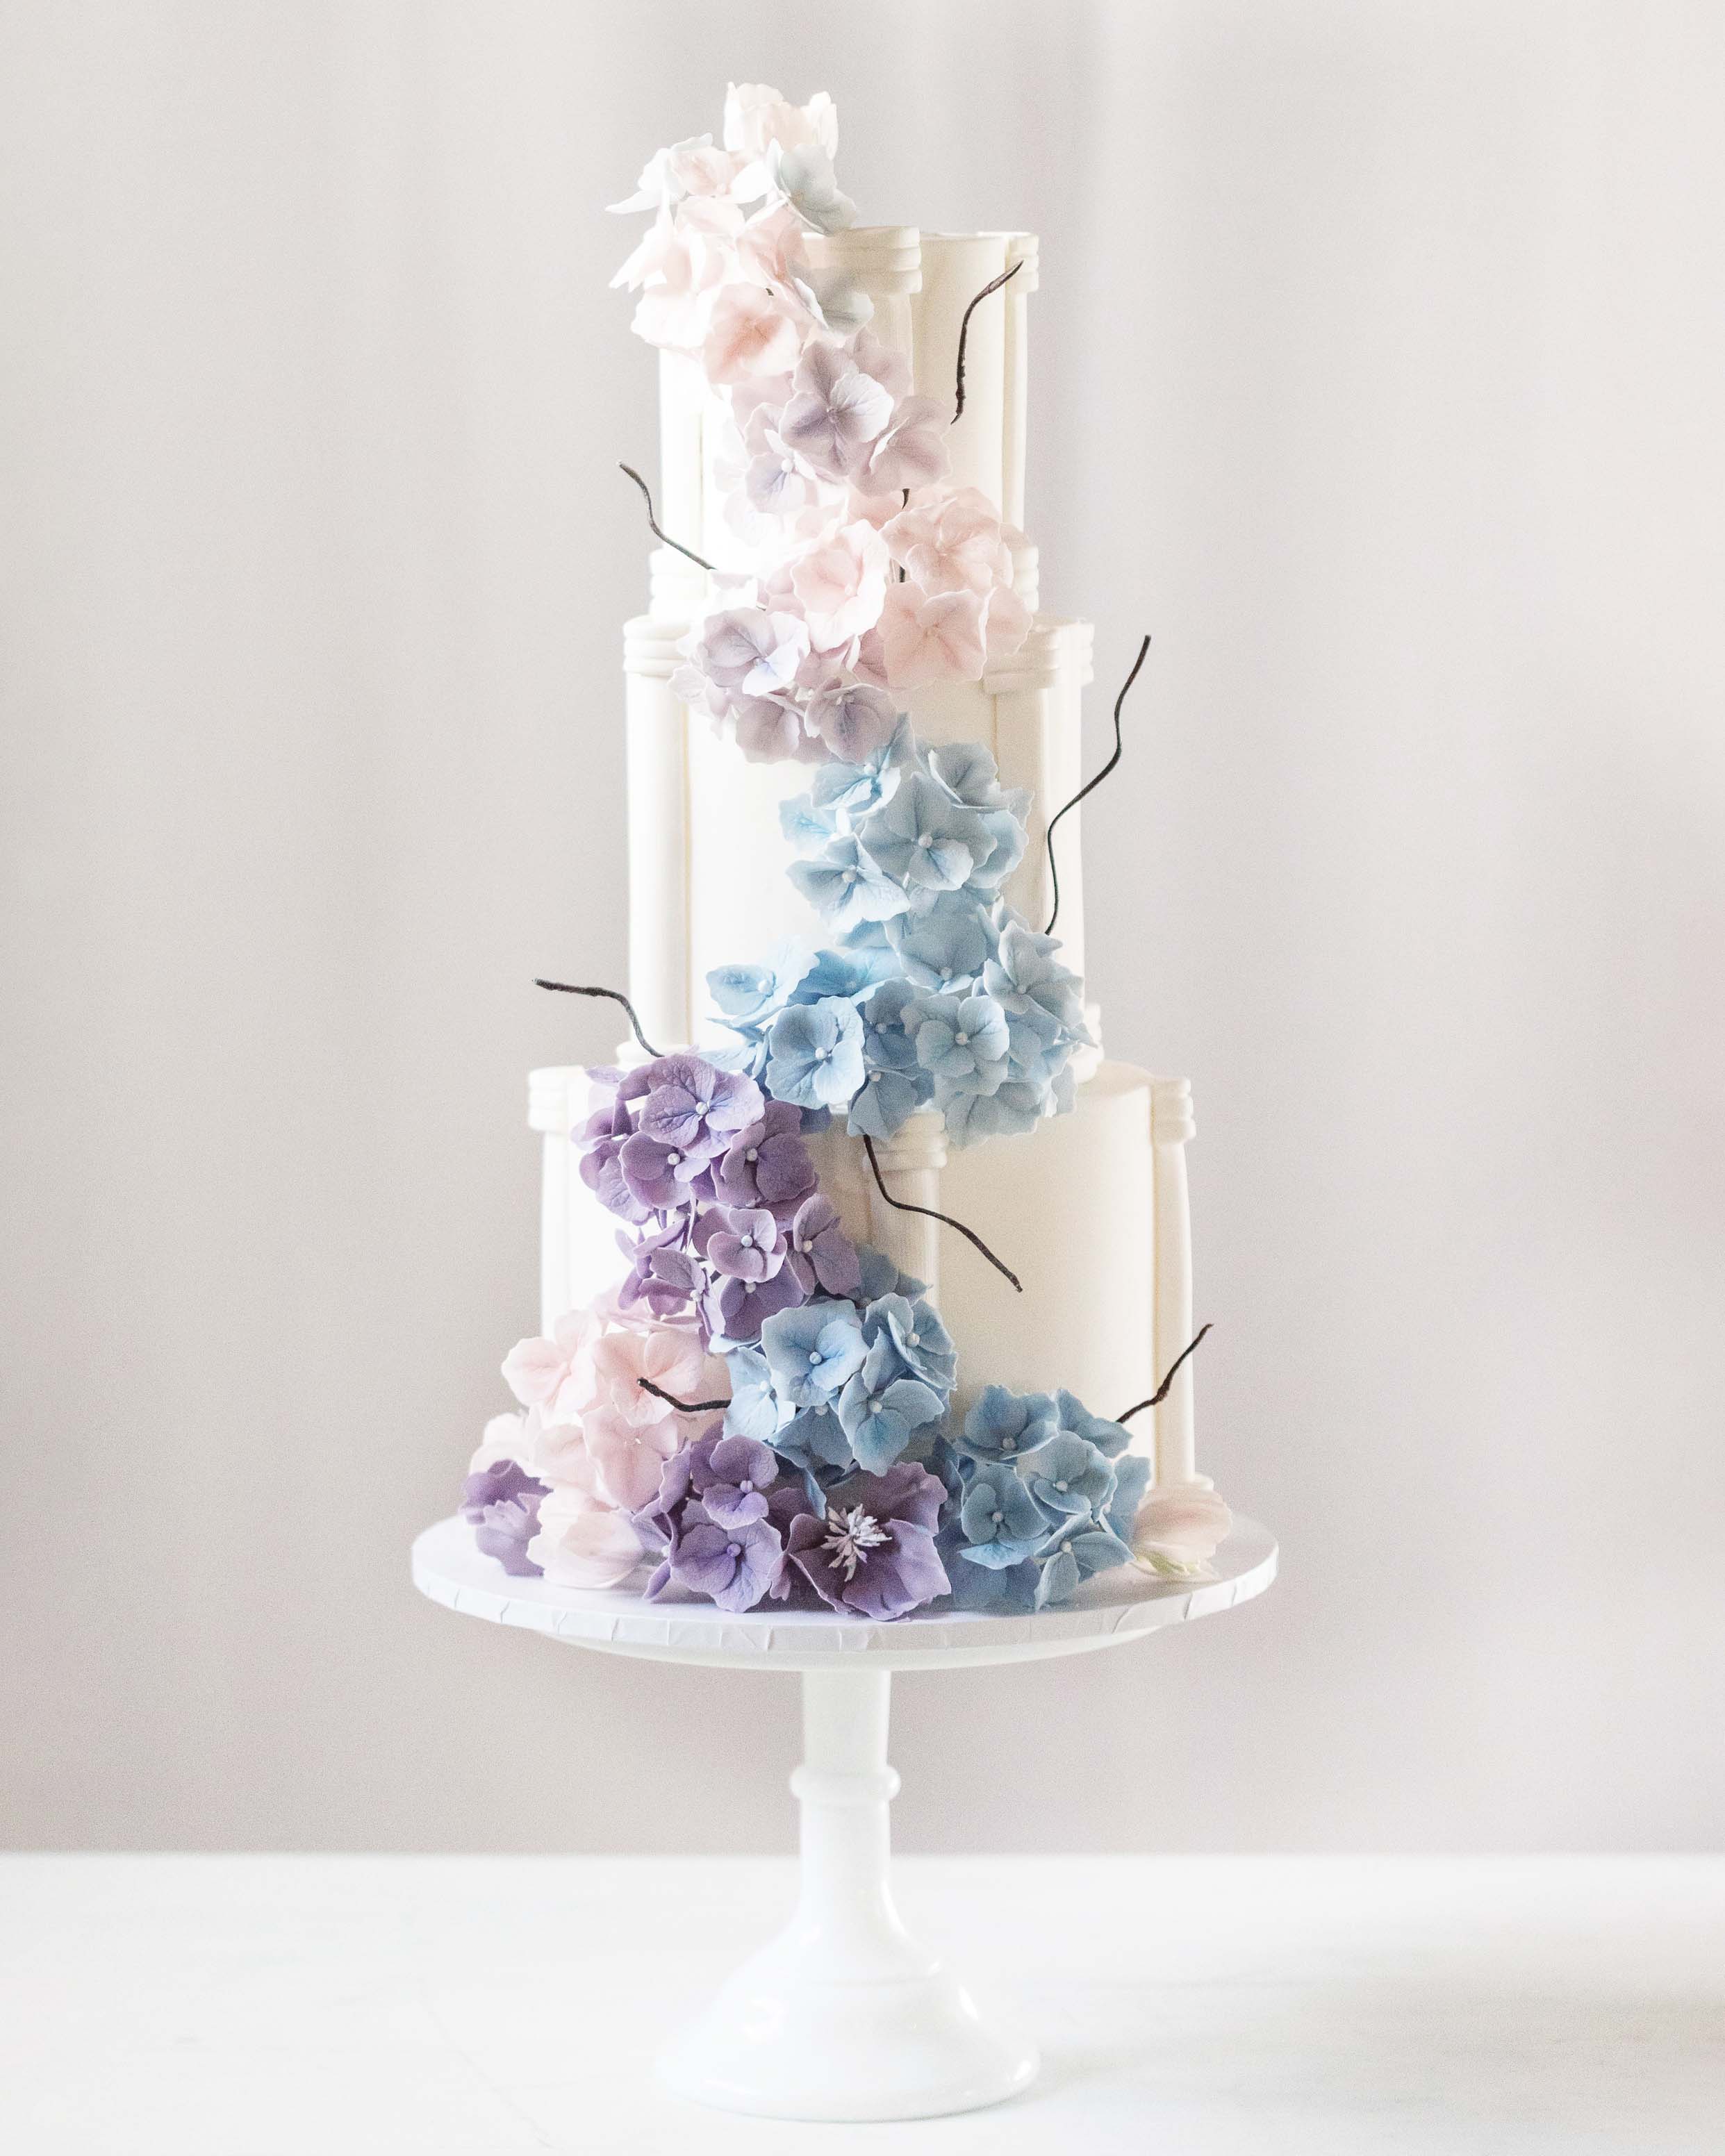
Catalina Anghel features last year’s hottest color, purple, in her Secret Garden–inspired wedding cake, incorporating beautiful lilacs into the floral arrangement. Learn to create these lovely lilacs with this super simple step-by-step tutorial.
Components:
White gum paste
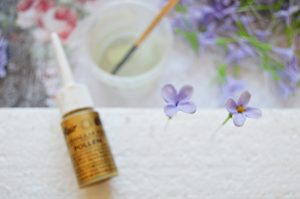
Edible petal dusts: lilac, yellow, and leaf green
Semolina
Edible glue
White 18-gauge and 28-gauge floral wire
Olive green floral tape
Large leaf veiner
Cellpin
Small scissors
Fine artists brushes sizes 6, 4, and 2
Cornstarch-filled bags for dusting
Wire-cutting pliers
Gum-Paste Lilac Tutorial
Step 1: To make the flowers, color a 3-inch ball of gum paste with some lilac edible dust.

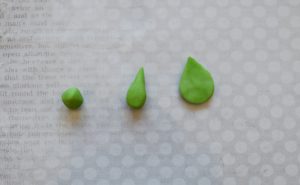
Step 2: Roll a small pea-size ball of the colored paste and then taper the paste at one end into a teardrop shape. Cut a length of floral wire into four equal pieces and create a small hook at the end of each wire.

Step 3: Push the tip of the Cellpin into the end of the bud to create a hole. Using a pair of scissors, snip four cuts as shown. Press each petal between the thumb and finger to flatten, elongate, and round each petal. Thin and shape each petal using the Cellpin. Thread the wire through the center of the petal, lowering the wire until the paste covers the top of the hook. Pinch the paste to secure it to the wire. Place the petal into a foam dummy to dry. Repeat to create as many flowers as you need.
Step 4: To make the buds, roll several pea-size balls of lilac gum paste. Cut several wires into four equal pieces. Make a small hook in the end of each piece of wire and then thread the wire through the ball to secure. Pinch and roll the paste where it meets the wire to taper the paste and form the bud. With the tip of the Cellpin, mark four lines forming a cross on each bud.

Step 5: To make the leaves, color a 3-inch ball of gum paste with the leaf green dust. Roll the green paste into several different size balls; the largest should be about the size of your thumbnail and the smallest the size of your pinky fingernail. Shape the paste into a teardrop shape and then flatten as shown.
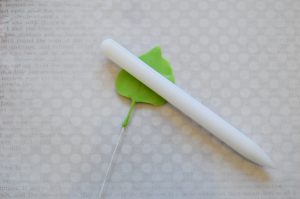
Step 6: Cut a 28-gauge floral wire into four equal parts and insert a piece of wire through the wide part of the leaf blade to the tip. Use the Cellpin roller to stretch the dough to lengthen the leaf, and then roll side to side to widen the leaf.
Catalina notes: Make sure you do not roll over the wire when thinning the petals or you could risk exposing the wire.
Step 7: Finally, pass the leaves through a veiner and then place onto a former or a piece of foam to dry.

Step 8: To make the calyx, roll a small ball of green gum paste and thread onto the flower wire. Press to adhere to the base of the flower and then roll along the wire to extend the paste down the wire.
Step 9: To finish the flowers, place a small droplet of edible glue into the center of each flower and then add a little yellow semolina or yellow dust powder and allow to dry.
Step 10: To dust the flowers, place a little lilac dusting powder onto a square of paper towel. Apply small amounts to the petals using a paintbrush to layer the color.

Step 11: To dust the leaves, place a little leaf green powder onto a square of paper towel and using the largest paintbrush, layer on the color starting from the edge, working inward.
Catalina notes: Make sure you dust both sides of the leaf.

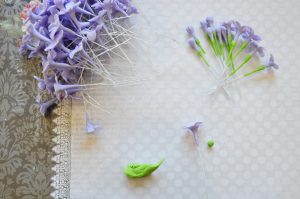
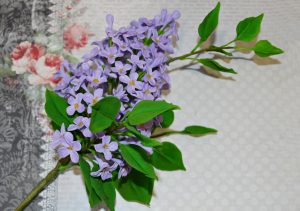
Step 12: Assemble the flowers into small bunches of 5–10 buds and flowers as shown.

Step 13: To mount the flowers onto the branch, cut an 18-gauge floral wire into two pieces. Using the floral tape, attach the small bouquets you created in the previous step. Next, attach the leaves to another 18-gauge piece of floral wire and then wire the two branches together.

