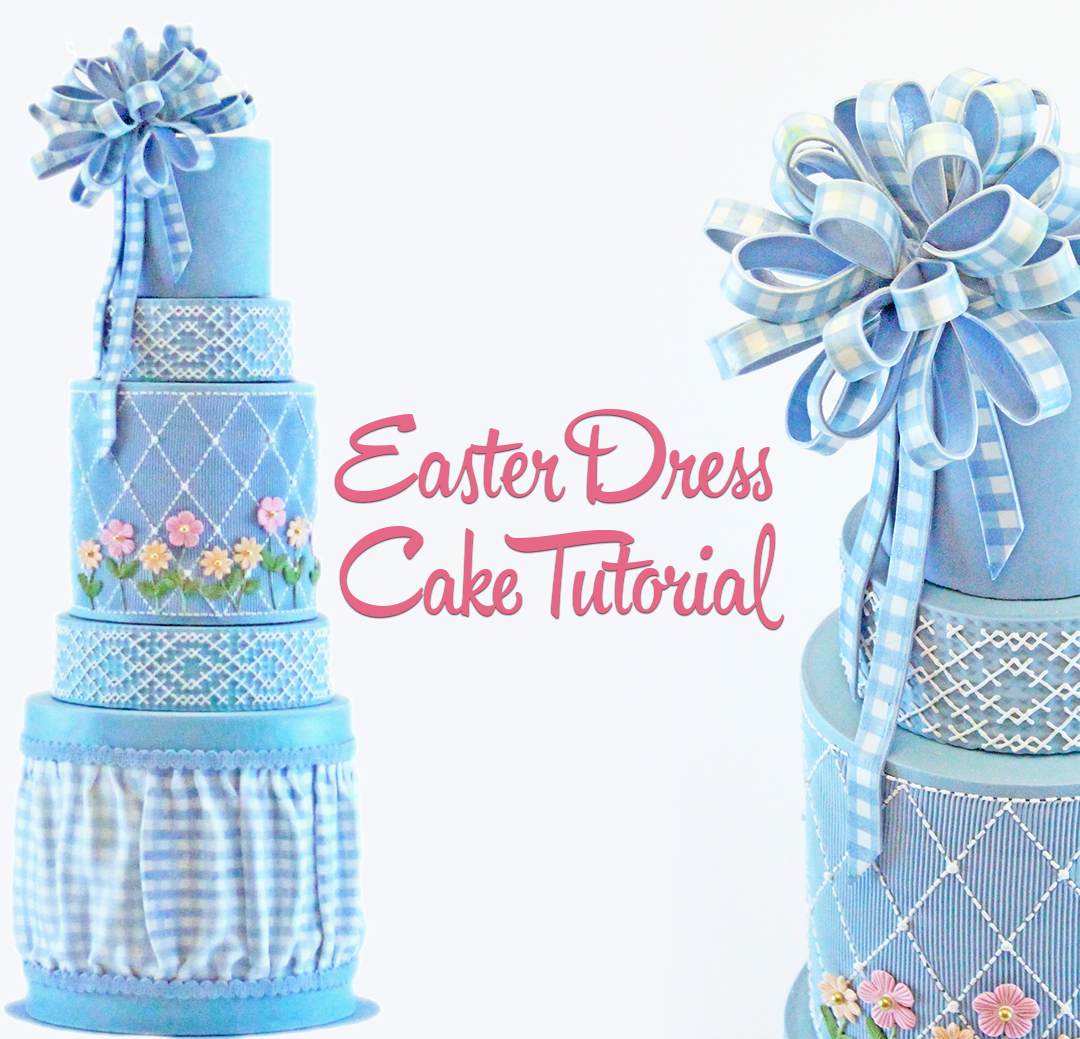
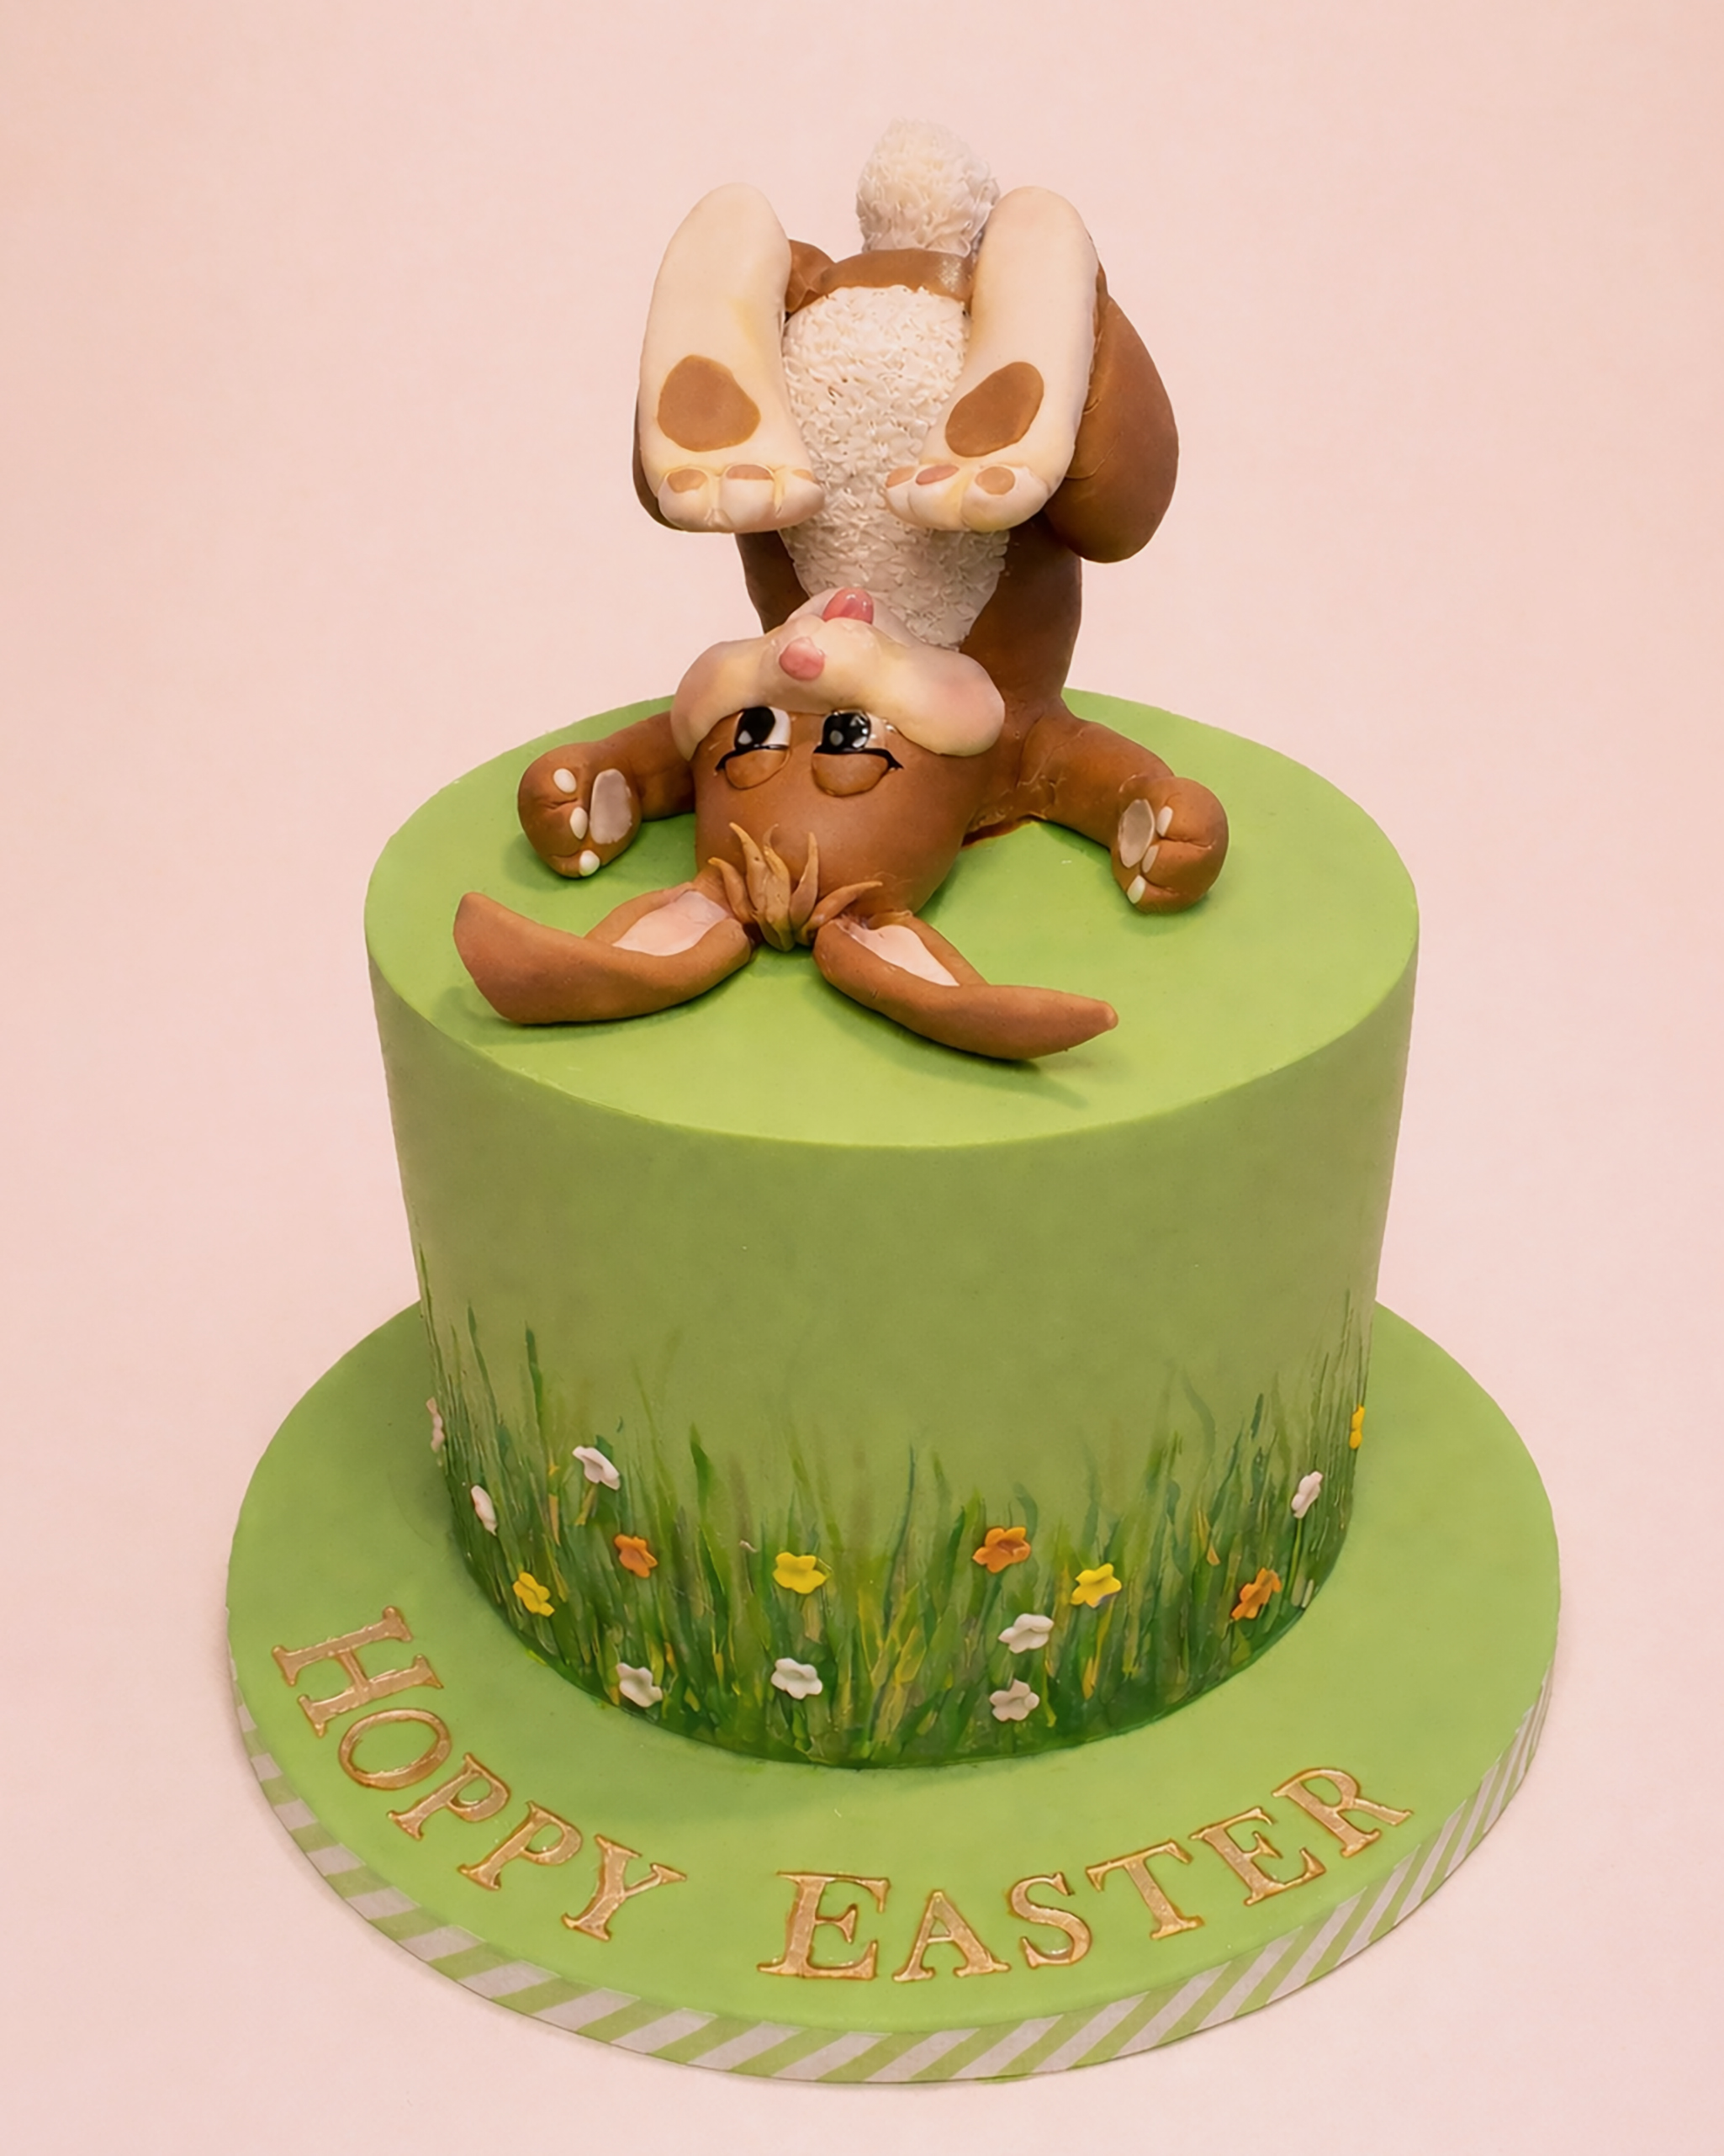
Inspired by stunning pastel Easter dresses, Rebecca Scharman creates a beautiful cake perfect for spring. This step-by-step tutorial will show you how to create gingham pleats, sensational smocking, and captivating cross-stitching. “I love Easter dresses, they have so many unique elements that translate so perfectly into cake artistry,” states Rebecca. Grab this full exclusive tutorial below!
Components:
- Fondant smoother
- Sharp cutting tool (e.g., scalpel or X-Acto knife)
- Right–angled ruler
- Straight edge for cutting lines (metal ruler, quilting ruler)
- Rolling pin (large and small)
- Fondant–covered cake tiers: 4×4, 5×2*, 6×5, 7×2*, 8×8 (*fondant is not required as cake will be wrapped during decoration)
- Small and medium ball tool
- Fondant
- Gum paste
Components for the Cross-Stitch
- Texture mat/embossing tool: square (each square should be no larger than ¼ inch)
- Piping bag filled with stiff white royal icing, fitted with coupler
- Piping tips #1 and #1.5
- Graph paper
- Pointed tool such as a pin
- Dresden tool
Creating the Cross–Stitch
For this design, the cross-stitch pattern is first created on graph paper, then a square texture pattern is embossed onto the fondant and the pattern is piped onto the cake.
Cross-Stitch Pattern Design
- 1.Measure the height of the cake, and using the texture mat, work out how many squares on the graph paper equal the height of the cake. For the 7×2 tier I have used in the example, a total of 10 squares fit into the height of the cake. As I wanted the design to have a clear center point, I used a pattern of 9×9 squares.
- 2.Using the graph paper, measure out 9 squares for the height and width of the pattern. To get a sense for what the design will look like when repeated, I mapped out 3 pattern areas.
- 3.As I found it very hard to visualize the design when I used an“x” in each square, I just colored in a square where a cross-stitch would be placed.
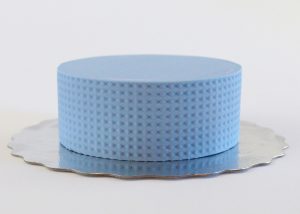
Fondant Embossing (Wrapping Method)
To prepare the cake for piping we first need to cover the cake with an embossed fondant. I find wrapping the cake to be much easier than draping fondant on the cake. The seams can be hidden at the back of the cake.
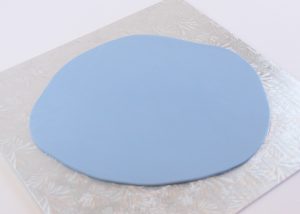
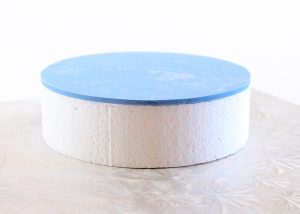
- Roll out some blue fondant onto a smooth surface to a size just larger than the circumference of the cake.
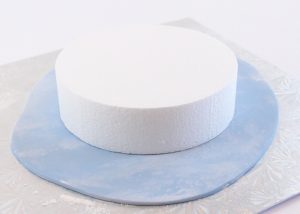
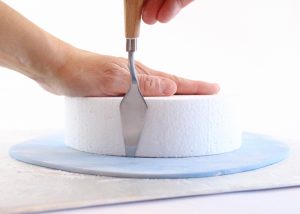
- Place the fondant on the top of the cake and then put a larger cake board on top. Flip the cake over so that the fondant is now on the bottom. Using a sharp tool, cut the fondant around the circumference of the cake, keeping the cut as clean as possible.
3. Flip the cake back over and remove the cake board. Touch up any imperfections before the fondant crusts.
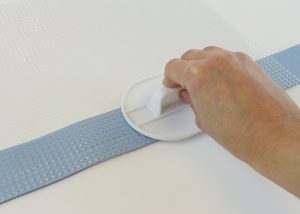
4. Roll out a long strip of the same blue fondant a little bit longer and taller than the height of the cake. Lay the texture mat on top of the fondant and emboss the design using the fondant smoother by evenly applying pressure to transfer the design. Carefully remove the texture mat and reposition as needed, paying attention to align the design as closely as possible.

5. Using a sharp knife, cut the fondant flush with the design. Place a larger cake board on top of the cake again and flip the cake over. Wrap the textured fondant around the cake with the cut edge flush against the cake board. Using a square ruler, cut through both pieces of fondant and press the seams together as neatly as possible.
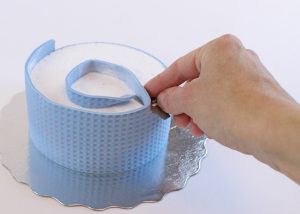
Rebecca notes: It is important to keep the design as straight and even as possible as any slant may skew the over design.
Piping the Cross-Stitch Design
Before applying the cross-stitch, you may want to let the fondant–covered cake sit a little so that is forms a crust. This way any errors can be safely removed without leaving marks in the cake.
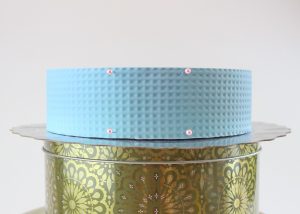
- Find the front and center of your cake where you want to place your pattern. To help you visualize the space of the pattern, you can insert pins into the cake or make a mark with a fine–pointed object.
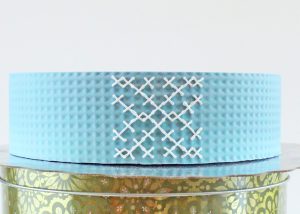
- Using a piping bag filled with stiff-consistency royal icing and fitted with a PME #1 tip, pipe the pattern onto the cake, using the template you created earlier as a reference.
Rebecca notes: I piped the cross down (top to bottom) and then piped the cross (bottom to top) up so that the lines overlapped the same way for each stitch. Using a smaller tip will yield a more defined stitch.

- Repeat the pattern until you reach the back of the cake.
Rebecca notes: I found it helpful to work from the front center to the left, and then again from the front center back to the right. This way the front has a perfect pattern and the back hides any imperfections.

Components for the Smocking Effect:
- Texture mat/embossing tool/quilting pattern/threaded rod (ridged)
- Flower cutters: blossom, daisy, and leaf
- Round dragees (gold)
- Knife tool for marking flowers
To prepare: A ribbed effect is given to the fondant. Over top, a quilting pattern is used which will act as a guide for mimicking stitches in the smocked portion of a dress. Royal icing is used for the stitching as I found it the easiest and most efficient. Lastly, flower appliqués are added that appear to be stitched onto the tier.
Fondant Embossing – Paneling Method
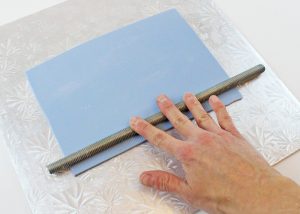
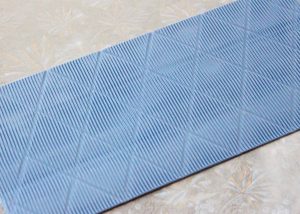
- Roll out fondant to your desired thickness. Keep in mind that this fondant will be textured with a threaded rod (or similar texture) and will thin out as a result.
- Using the threaded rod, and gentle, even pressure, work your way from top to bottom.
Rebecca notes: Make sure that the fondant is well dusted with cornstarch as the rod or texture mats have a habit of sticking.

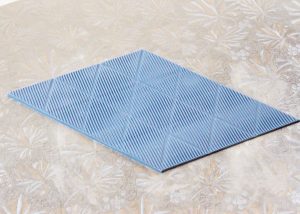
2. Once the fondant has been textured, lay the quilting mat on top and imprint the pattern. You will want to align the quilting pattern and the ridges already created as best as you can.

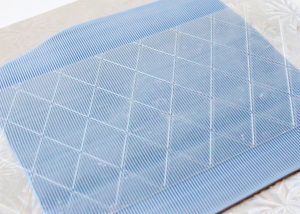
3. Take the quilting pattern off the fondant and trim the top and the bottom to the correct height.
Rebecca notes: You will need to trim to the same spot on the pattern each time or the pattern will not align when placed on the cake.
4. Next you will need to trim along the diagonal of the quilting pattern.
Rebecca notes: The edges should be flush with the top and bottom so that the ribs in the fondant run straight up and down. Use piping gel to attach the fondant to the cake.
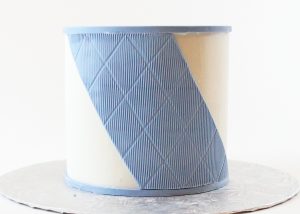
5. Apply the panels all the way around the cake, don’t worry if the design doesn’t match up perfectly. To trim the cake, hold a ruler at the same angle as the quilting pattern and with a sharp knife make a clean cut over both layers of fondant.
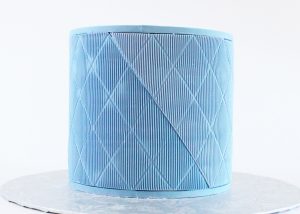
Piping the Sewing Pattern
- Using a piping bag filled with stiff-consistency royal icing and fitted with a PME tip #1.5, begin to pipe short lines in the quilt–pattern seams. Continue all the way around the cake.
Rebecca notes: These lines are to mimic stitching and it is a personal preference to how long the lines will be.

Creating the Stitched Flowers
Flower
Cut out a piece of fondant using any flower shape such as a blossom or daisy. Using a knife tool, create lines along each petal. Finally, pinch the tip of the petals to reshape the point. Using a small ball tool, cup the center of the flower slightly.
Rebecca notes: This will spread out the petals a little, give a bit more movement, and allow for space to add a dragee for the flowers’ center.


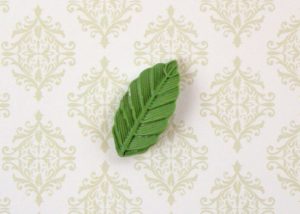
Leaf
The leaf was made using a single petal from a large daisy cutter. Using the knife tool, make a line down the center. Then make markings down each side on a slight angle similar to normal veining of a leaf. Finish by redefining the center line. Pinch the tip of the leaf to reshape.

Components for the Gingham Pleats and Bows
- Gingham stencil set
- Marvelous Molds Braided Scroll Mold
- Offset spatula
- Royal icing
- 24-gauge floral wire
- Toothpick for making bow loops (optional)
Gingham Pleating
Gingham design is the quintessential pattern on children’s Easter fashions. It is a lovely design that represents the coming of warmer weather. The stencil used for this tutorial is from Evil Cake Genius.
Fondant and Stencil Preparation
For this particular portion of the project, you will need a fondant that does not dry out quickly. The fondant needs to be rolled, stenciled twice, dried slightly, and then pleated.
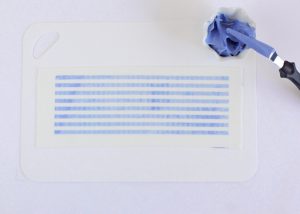
- Roll out your fondant fairly thin. The thinner you can roll it, the more realistically it will look. Trim the fondant to just bigger than the size of the stencil. Place the first stencil on the fondant. Using thin-consistency royal icing and an offset spatula, spread the royal icing over the stencil. Once the stencil has been fully covered with royal icing, use the cake scraper and remove the excess. Carefully peel off the stencil once complete. Let the royal icing dry a little (about a minute).

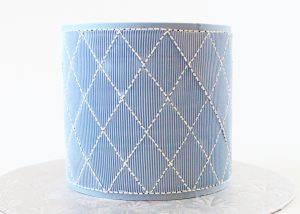
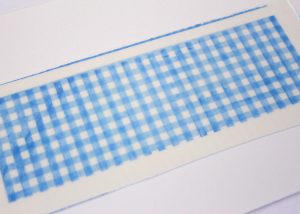
2. Place the second gingham stencil onto the fondant, making sure that the stripe patterns are perpendicular to each other. Repeat the process by spreading the royal icing over the stencil and scraping off the excess with a cake scraper. Carefully peel off the stencil once complete. Let the royal icing dry a little.

3. Using a sharp knife and a straight edge, trim the fondant to the desired size. For this particular project, the area that required the pleats was a height of 5.5 inches.

Attaching the Pleats
- Apply the piping gel to where the top of the pleats will be placed.

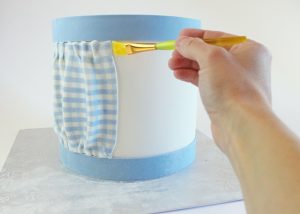
- Create a pleated look at the top by folding over pieces of the fondant on top of itself. Apply piping gel to the bottom where the pleats will be attached. Using the same technique, pleat the bottom portion and adhere to the cake. Continue adding pleats all the way around the way.
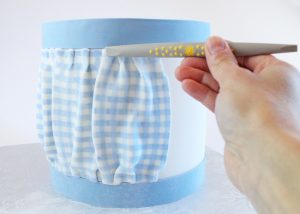
Rebecca notes: I find it more aesthetically pleasing to create random pinches and folds along the pieces of fondant. Just remember to work quickly; as the royal icing dries, it will become a little flaky.

