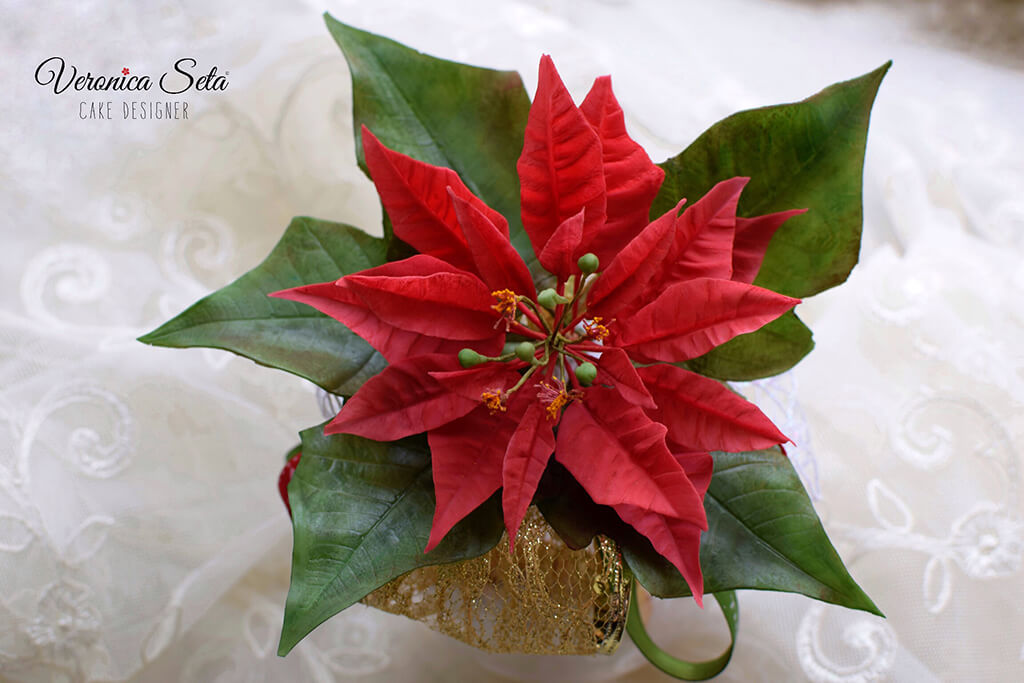
Poinsettias remain one of the most popular holiday flowers; with their bold red flowers and bright green foliage their festive color is a perfect fit for Christmas. Award-winning sugar artist, Veronica Seta shares a lovely tutorial for a festive Poinsettia flower.
Components:
- Dusting colors in Lemon yellow, Autumn yellow, Brown, Ruby, Forest green, Woodland green, Burgundy.
- Gumpaste
- Poinsettia cutters and veiner.
- Paint Brushes.
- Ball tool.
- Cutter tool.
- Rolling pin.
- Non-slip mat.
- 28, 26, 24 gauge floral wires.
- Pale green floral tape.
1. To create the stamen, wrap fine white cotton thread about 8 times around two slightly parted fingers to create a loop. Cut a 33-gauge wire, then bend it to create a hairpin shape through the loop of thread and squeeze it tightly to hold the thread in place.
Repeat the above step to create three more loops.
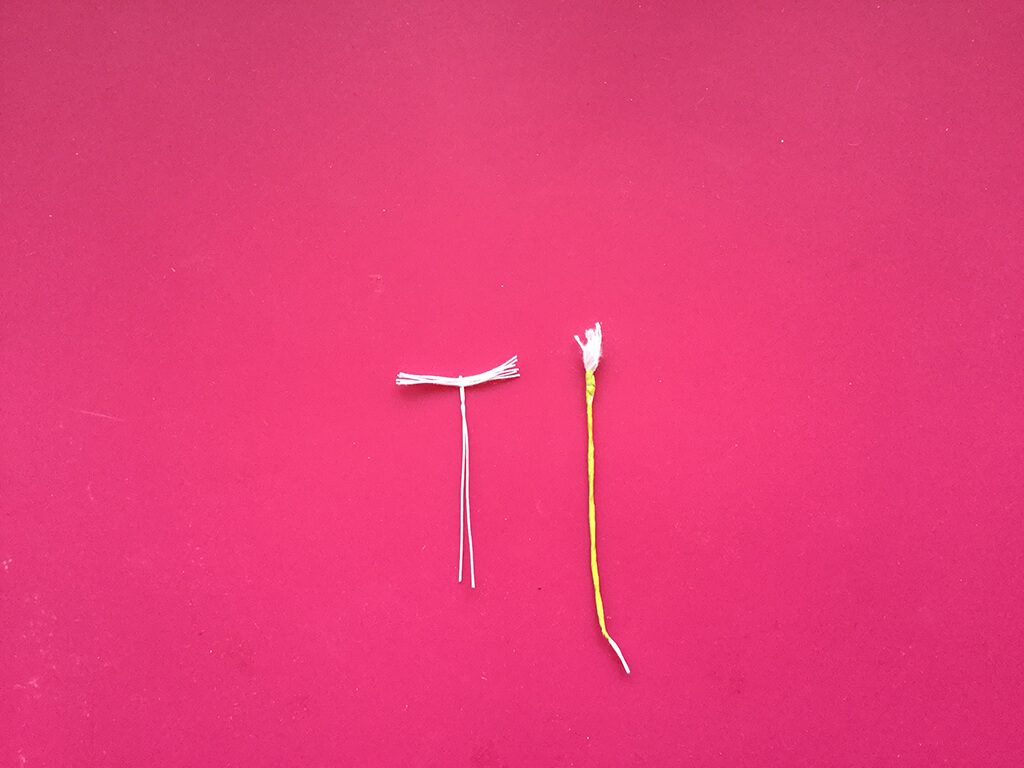
2. Use fine scissors to cut through the thread to create short stamens to each wire. Trim them shorter if needed. Rub the tips of thread against an emery board and dust them with ruby dust. Dip the tips of the thread in a bit of edible glue and then in lemon yellow dusting color mixed with semolina to create the appearance of pollen.
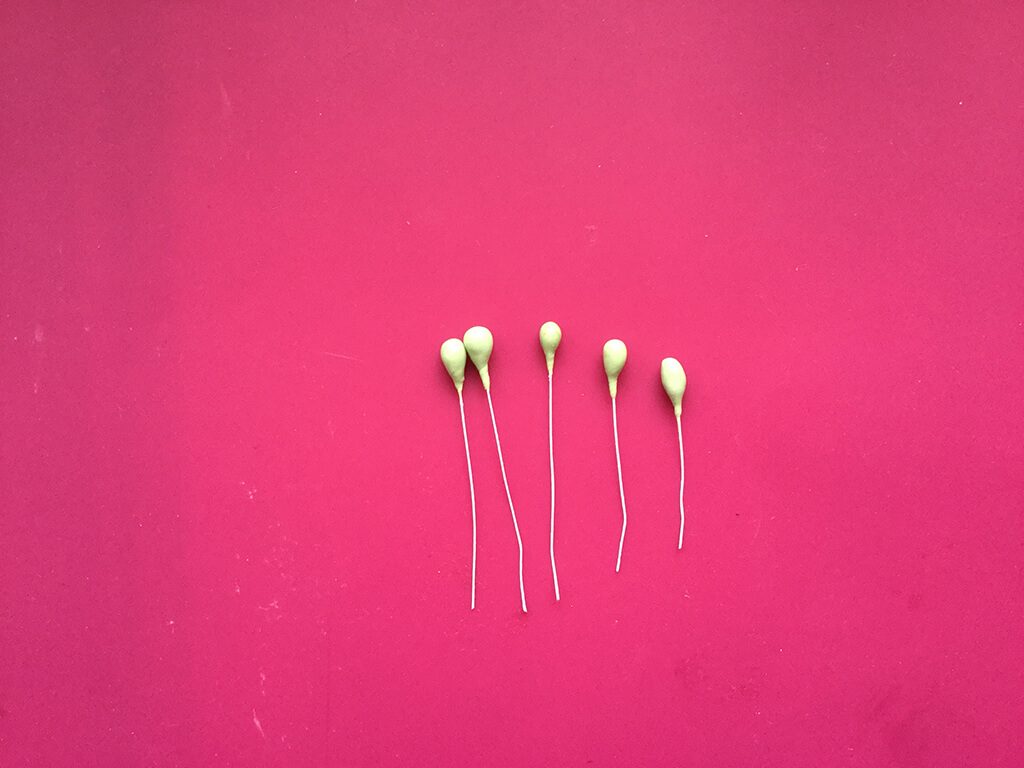
3. To create the buds, bend a hook at the end of a 33-gauge wire. Attach a tiny ball of pale green gum paste to the hook and work the ball against the wire to secure it well. Create a very slight point at the tip and at the base. Dust the buds with foliage green dust mixed with yellow autumn dust.
4. To assemble the centers of the flowers, tape the buds and the stamens with pale green floral tape and then tape them together into groups to create an open center.
5. To make the petals, roll a sausage shape from red gum paste. Place the paste on a Celboard and roll to 1/8th-inch thickness using a small rolling pin. Cut the various bract shapes using the various sizes of cutters for a poinsettia. Work the gum paste at the base of the bracts between your fingers and thumb down onto the wire to create a paste-coated section over the wire. Soften the edges with a ball tool and vein each bract. Use moistened 28-gauge wires for the smaller bracts and 26-gauge wires for the bigger ones. Dust the bracts by mixing ruby and burgundy, and define the edges with foliage green. Prepare 3 bracts for the smaller sizes, 4 bracts for the medium size and 5 bracts for the bigger size.

6. Roll out some light green gum paste on a Celboard, cut the poinsettia’s leaf shape and insert a moistened 26-gauge wire into the ridge to support half the length of the leaf. Work the gum paste at the base of the leaf between your fingers and thumb down onto the wire to create a paste-coated section over the wire. Soften the edges of the leaf with a ball tool. Vein it. Dust it starting gently with forest green, then woodland green, and finally foliage green. Prepare five leaves.
7. Tape together the center of the flower with the smallest bracts first. Proceed, then, with four medium-sized bracts and finally with the bigger size bracts. Tape the 5 leaves together with the flower.
Veronica Seta is a multi-award winning artist from Naples, Italy. She is known for elegant tiered cake design and exquisite sugar flowers. Veronica has appeared in a number of international publications and enjoys sharing her knowledge with others by creating tutorial content.
