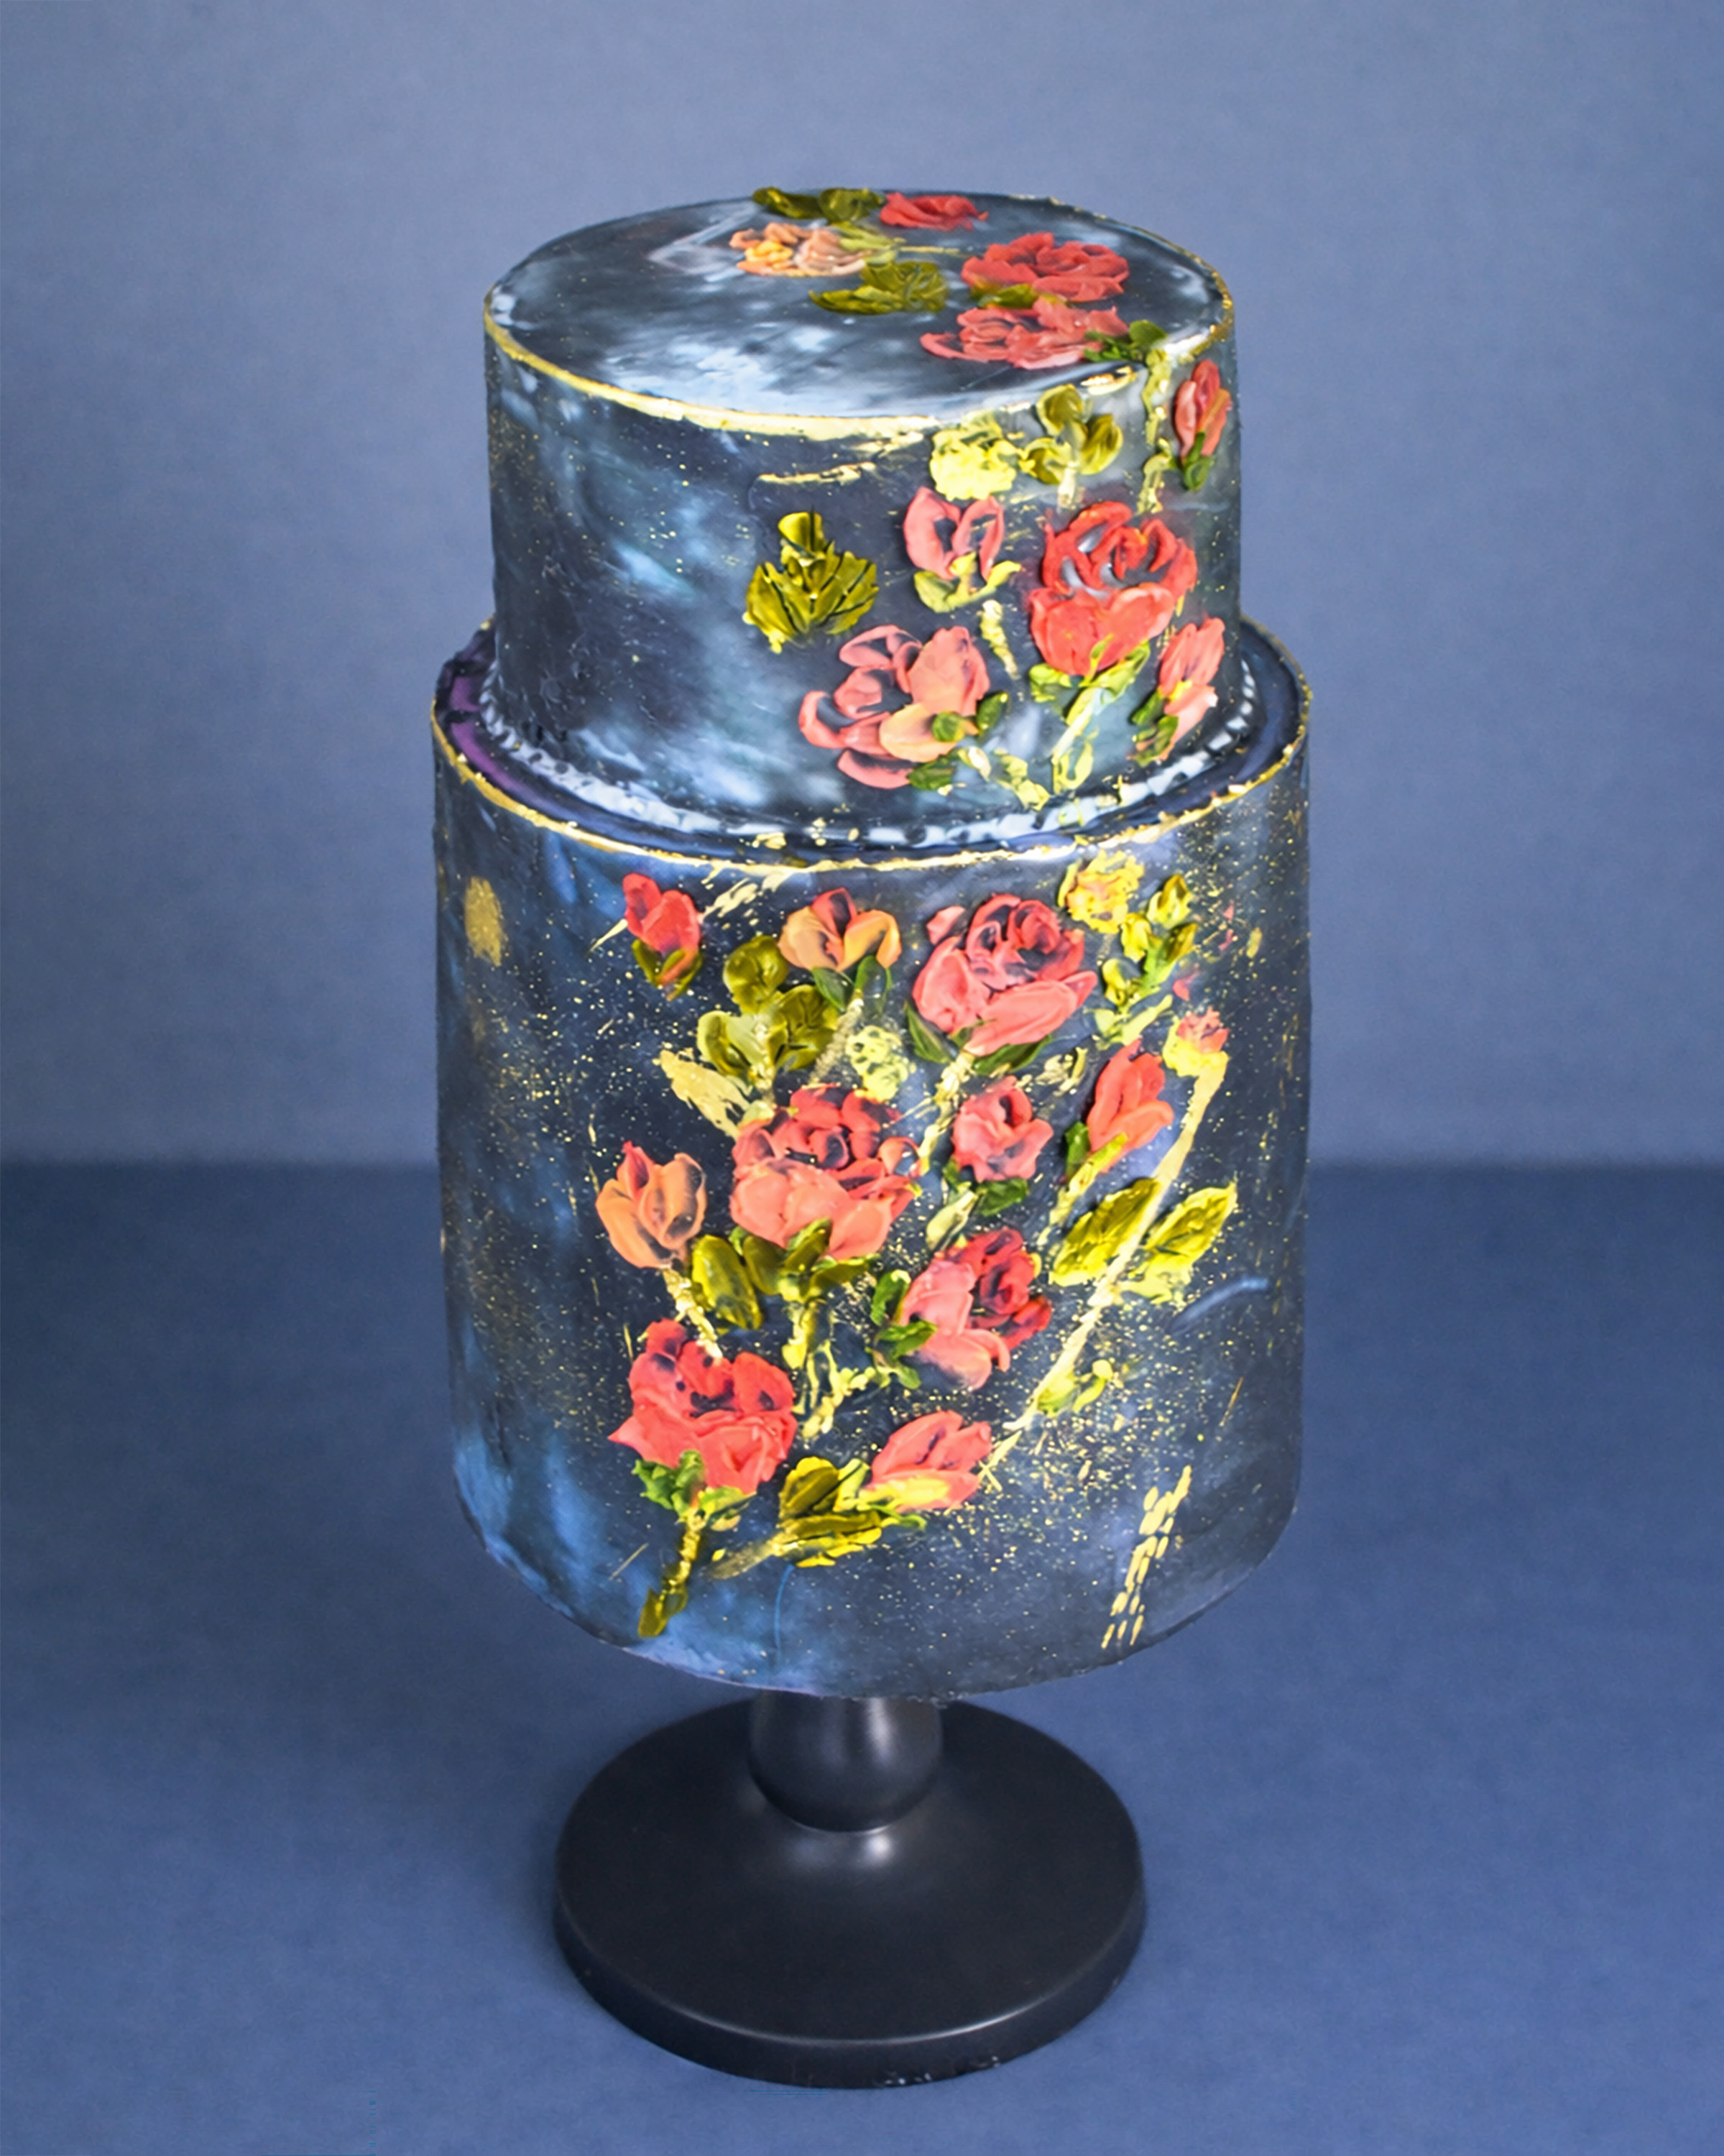
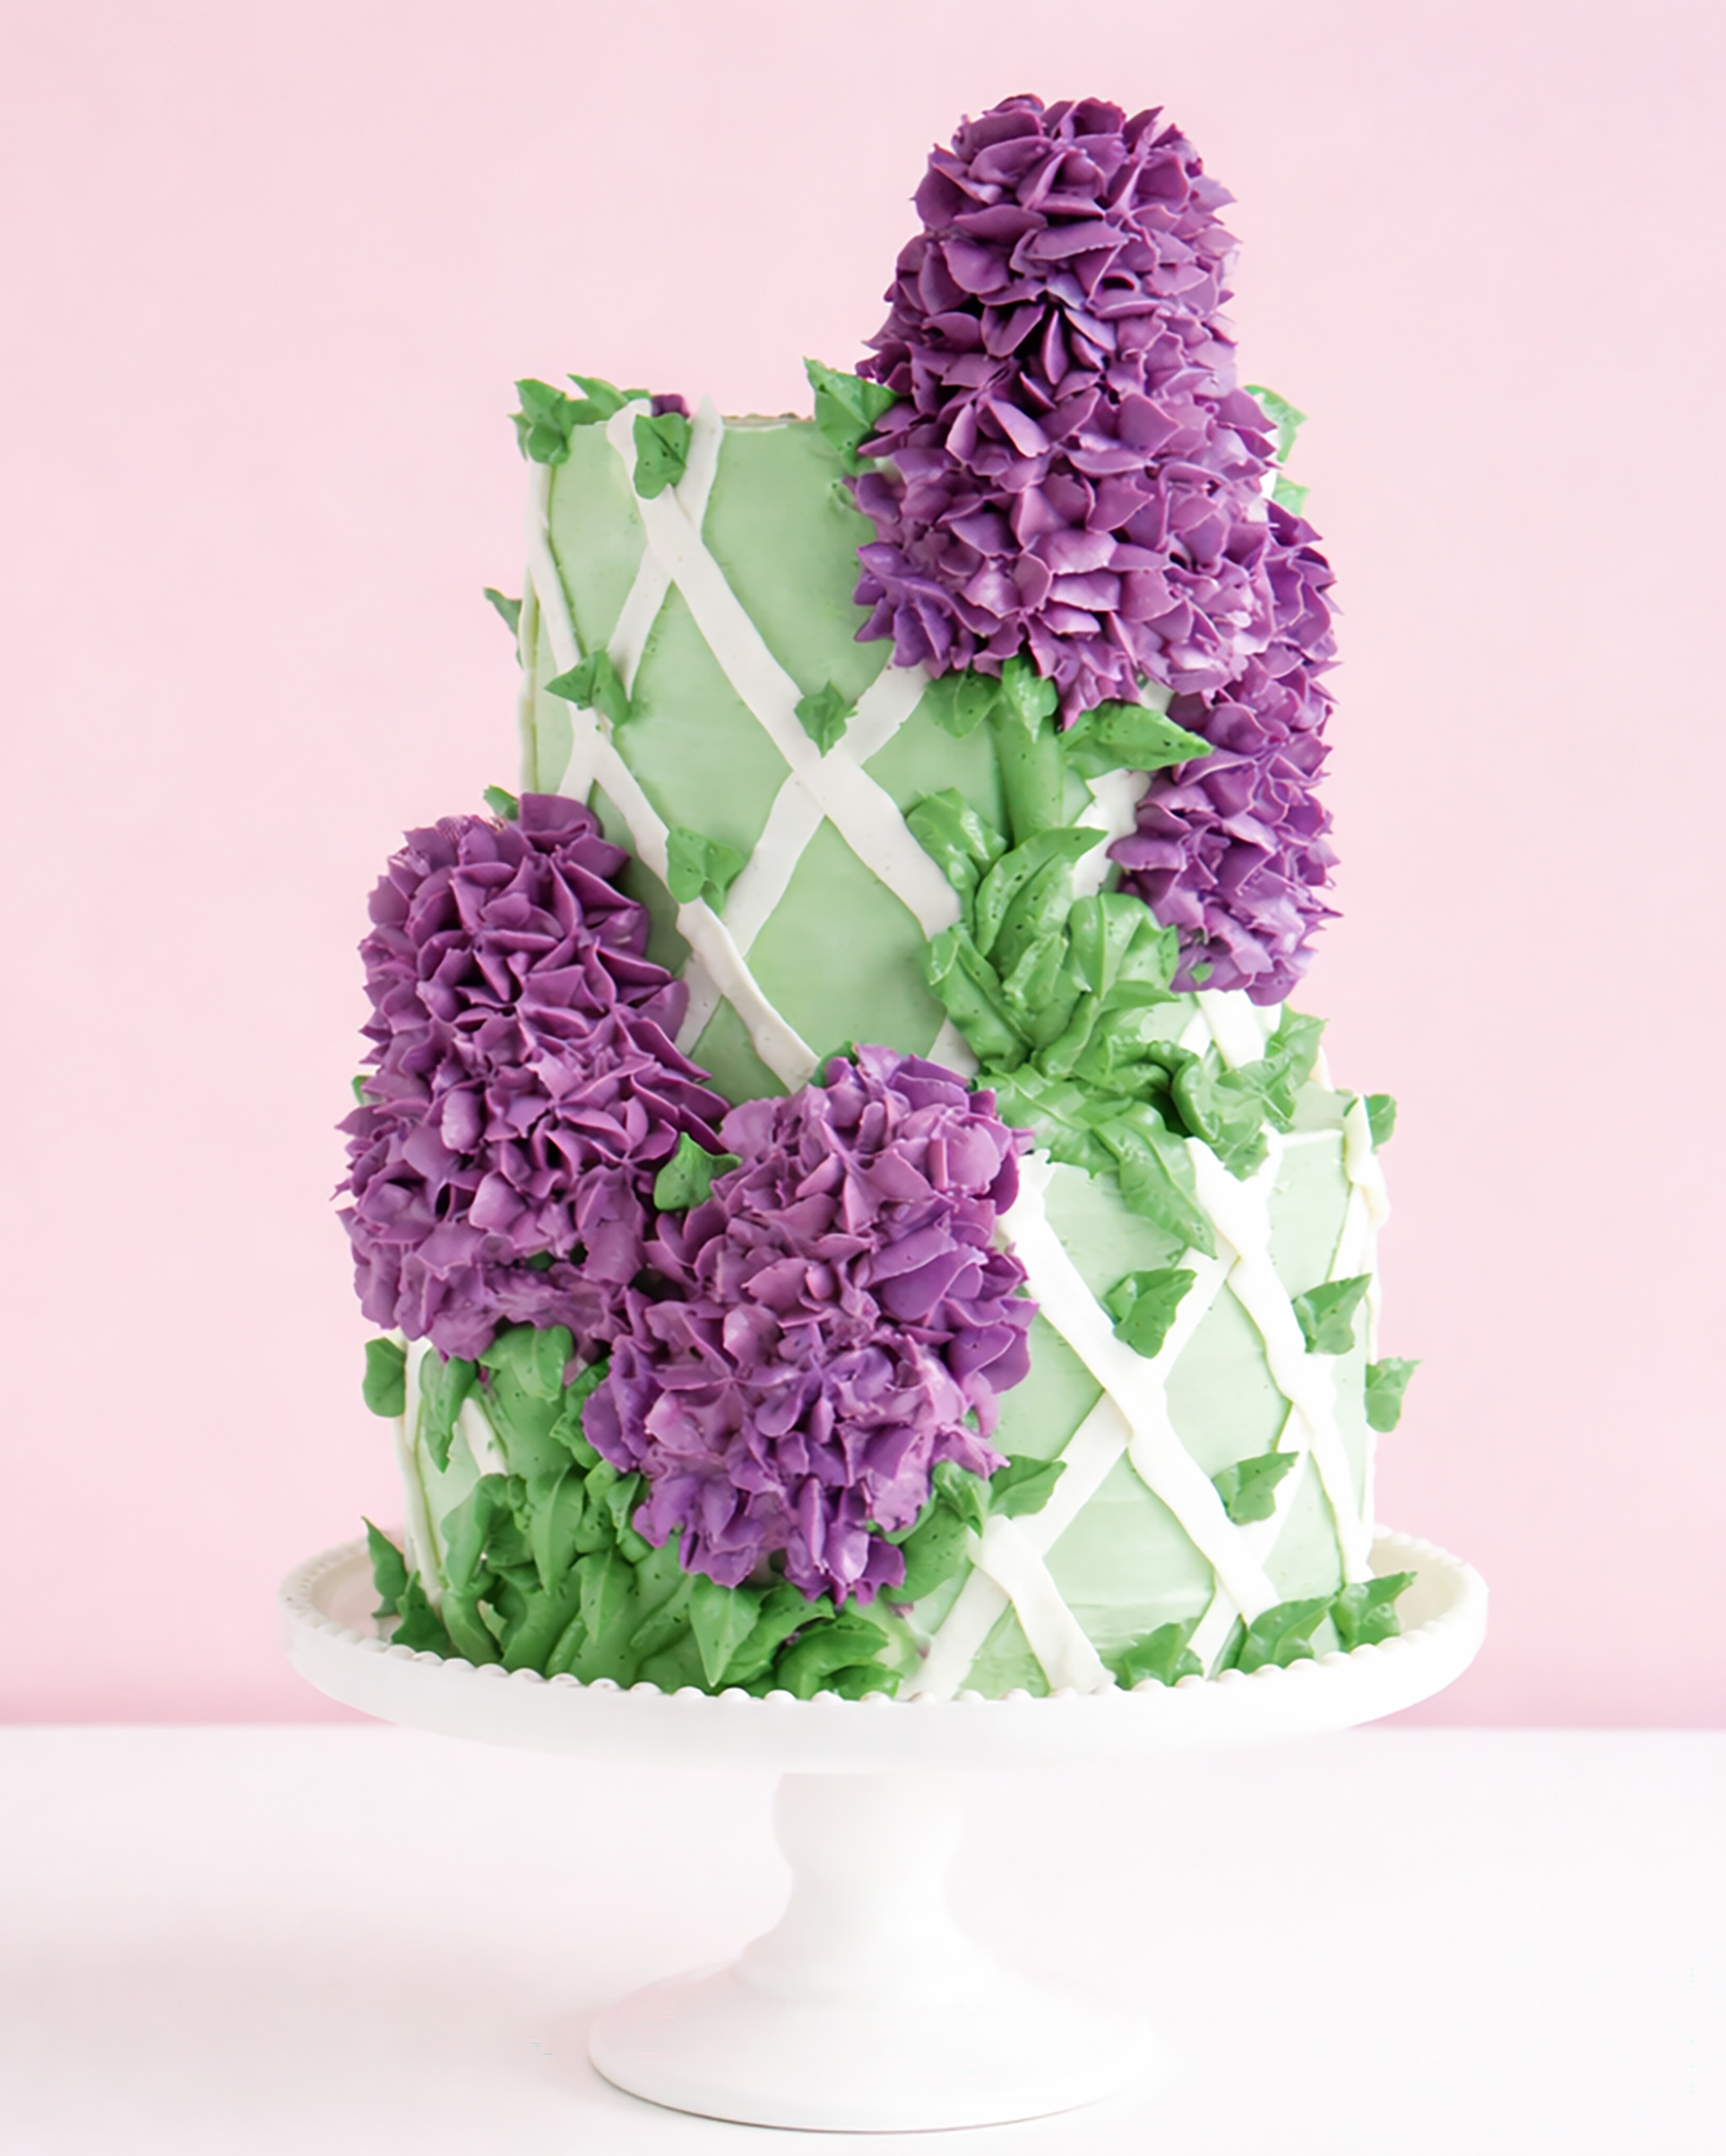
Painting techniques have long influenced the cake-decorating world. Knife-painted flowers utilize a thick oil paint to create dimensional and realistic blooms that appear to jump off the canvas. It was only a matter of time before cake artists adapted the technique to create their own edible version using buttercream! Mona Marwaha shares her simple technique for knife-painted buttercream flowers, a fast-growing cake trend that continues to take over our Instagram feeds.
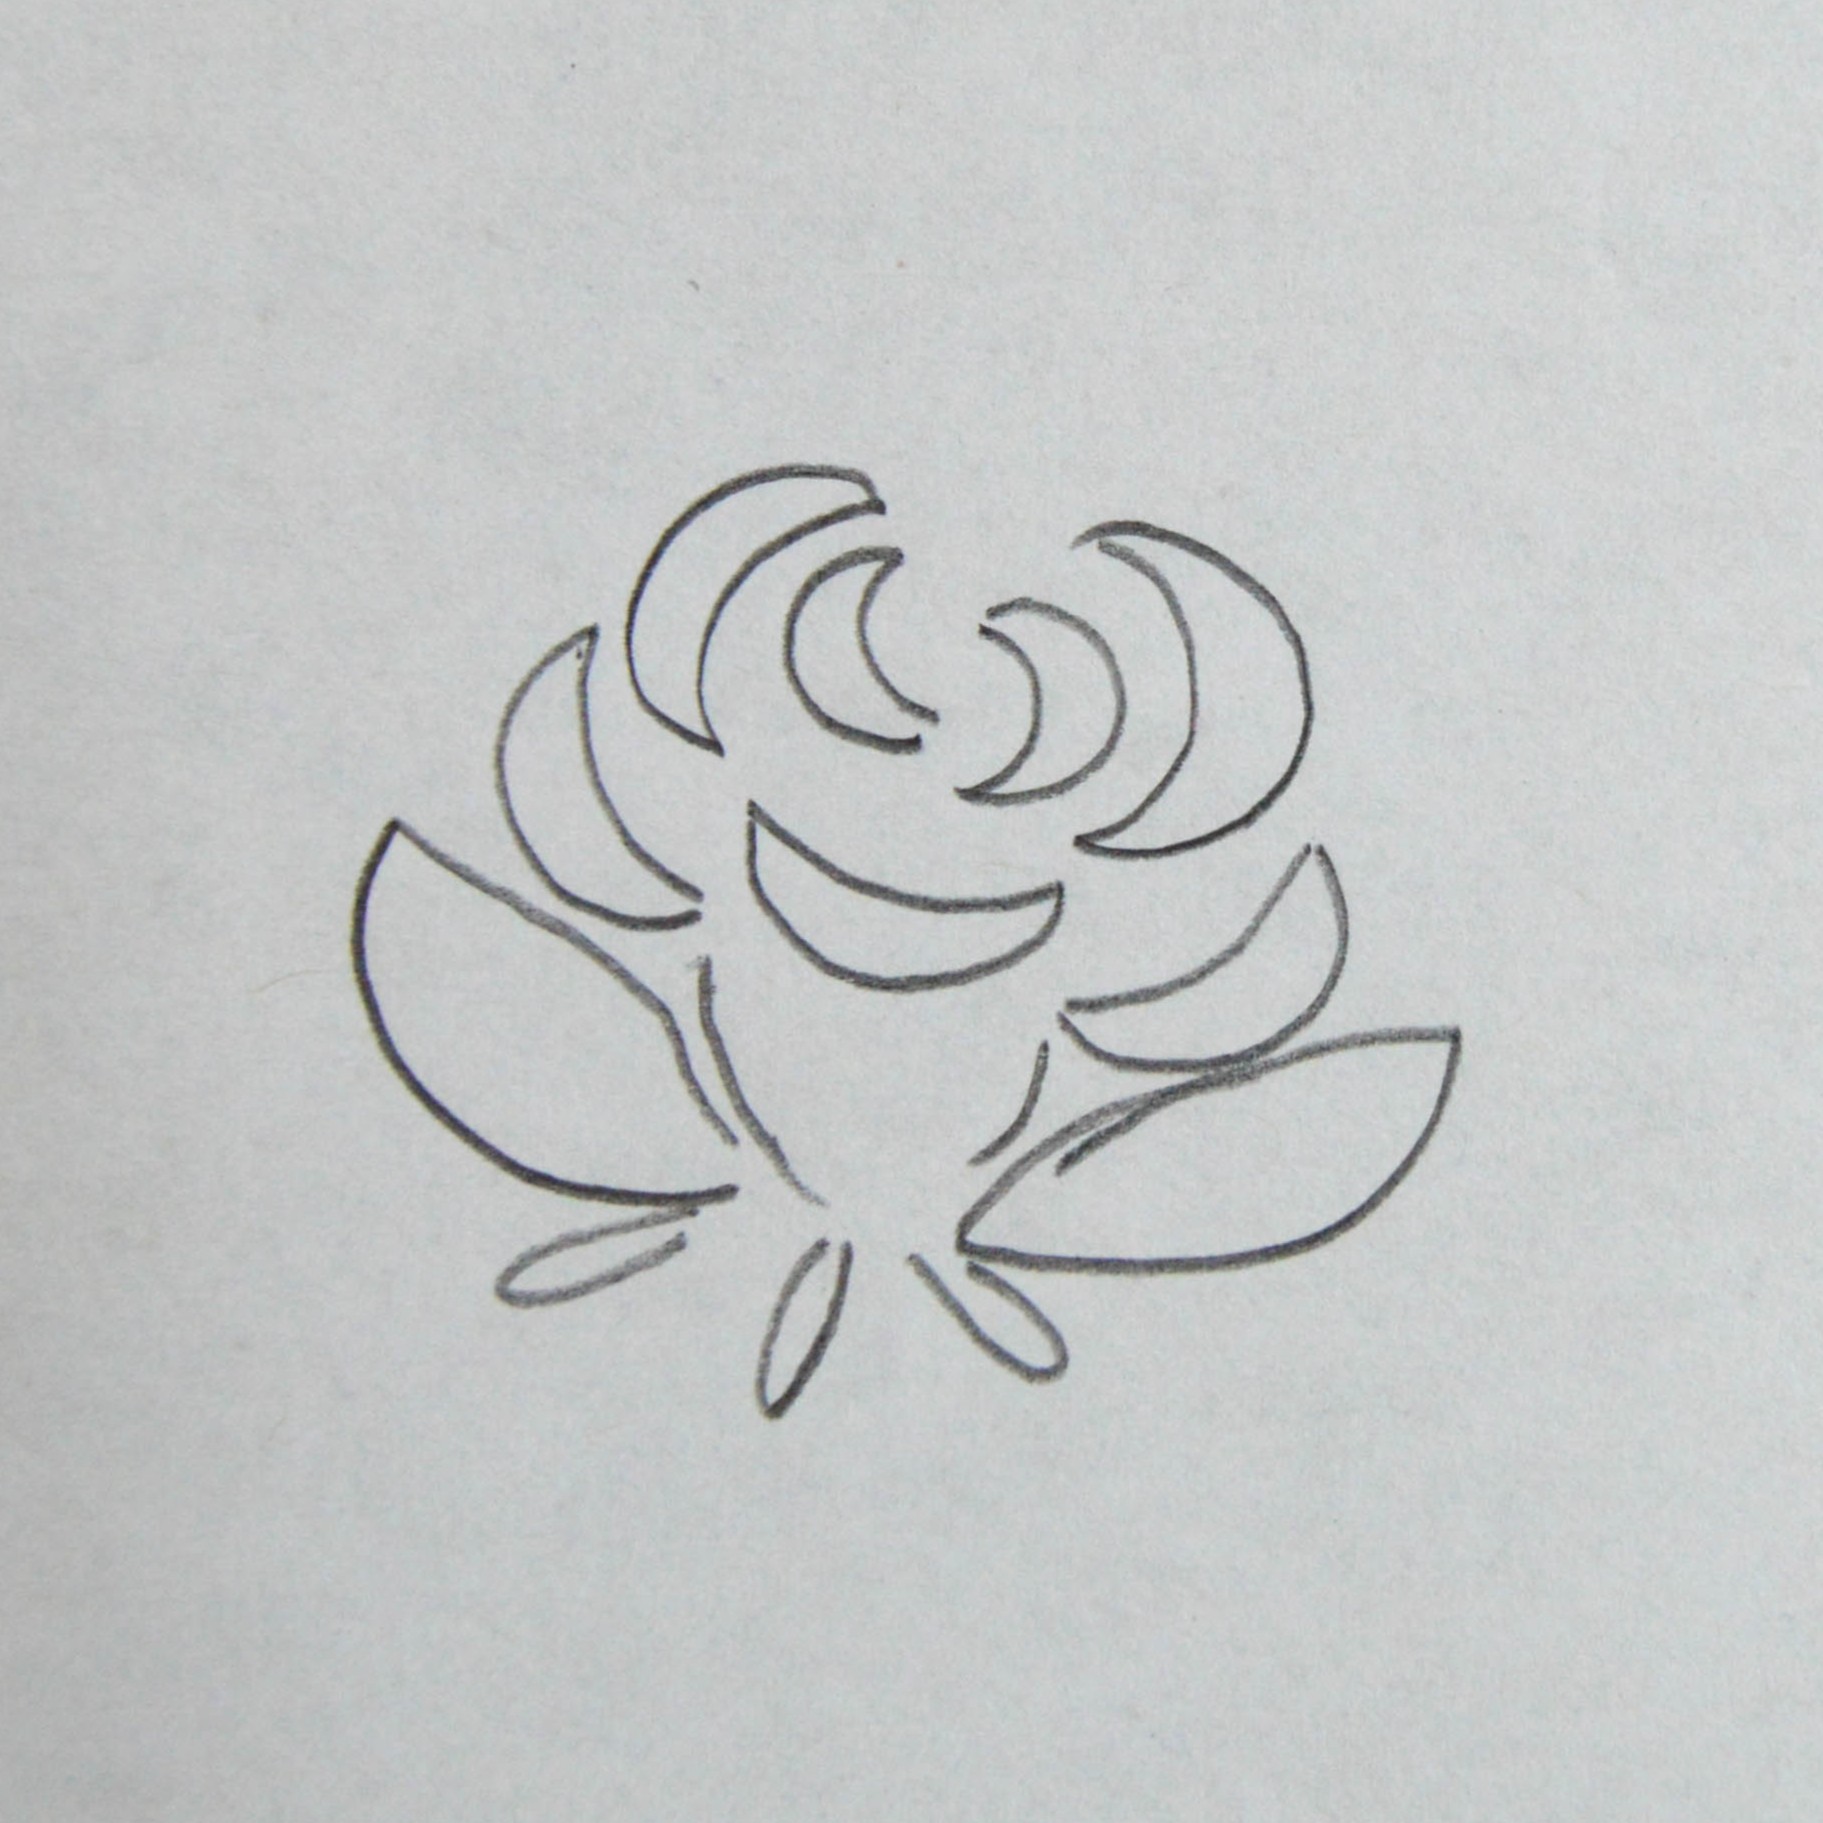
If you’re new to palette-knife buttercream flower techniques, this is a great place to start, since there’s a template! You can use this sketch to practice the technique first; it will help you understand the knife strokes and how much buttercream to use. Or you can chill your creation in the refrigerator or freezer, making it easy to peel off and place on your cake. Add as many flowers as you like to the cake, you’re really only limited by your own imagination!
Download the template here: Rose Template.
Edibles:
- Italian meringue buttercream: pink, white, and green
Equipment:
- Non-toxic pencil
- Parchment paper
- Large painters palette
- Angled palette knife
Create the Knife-Painted Rose
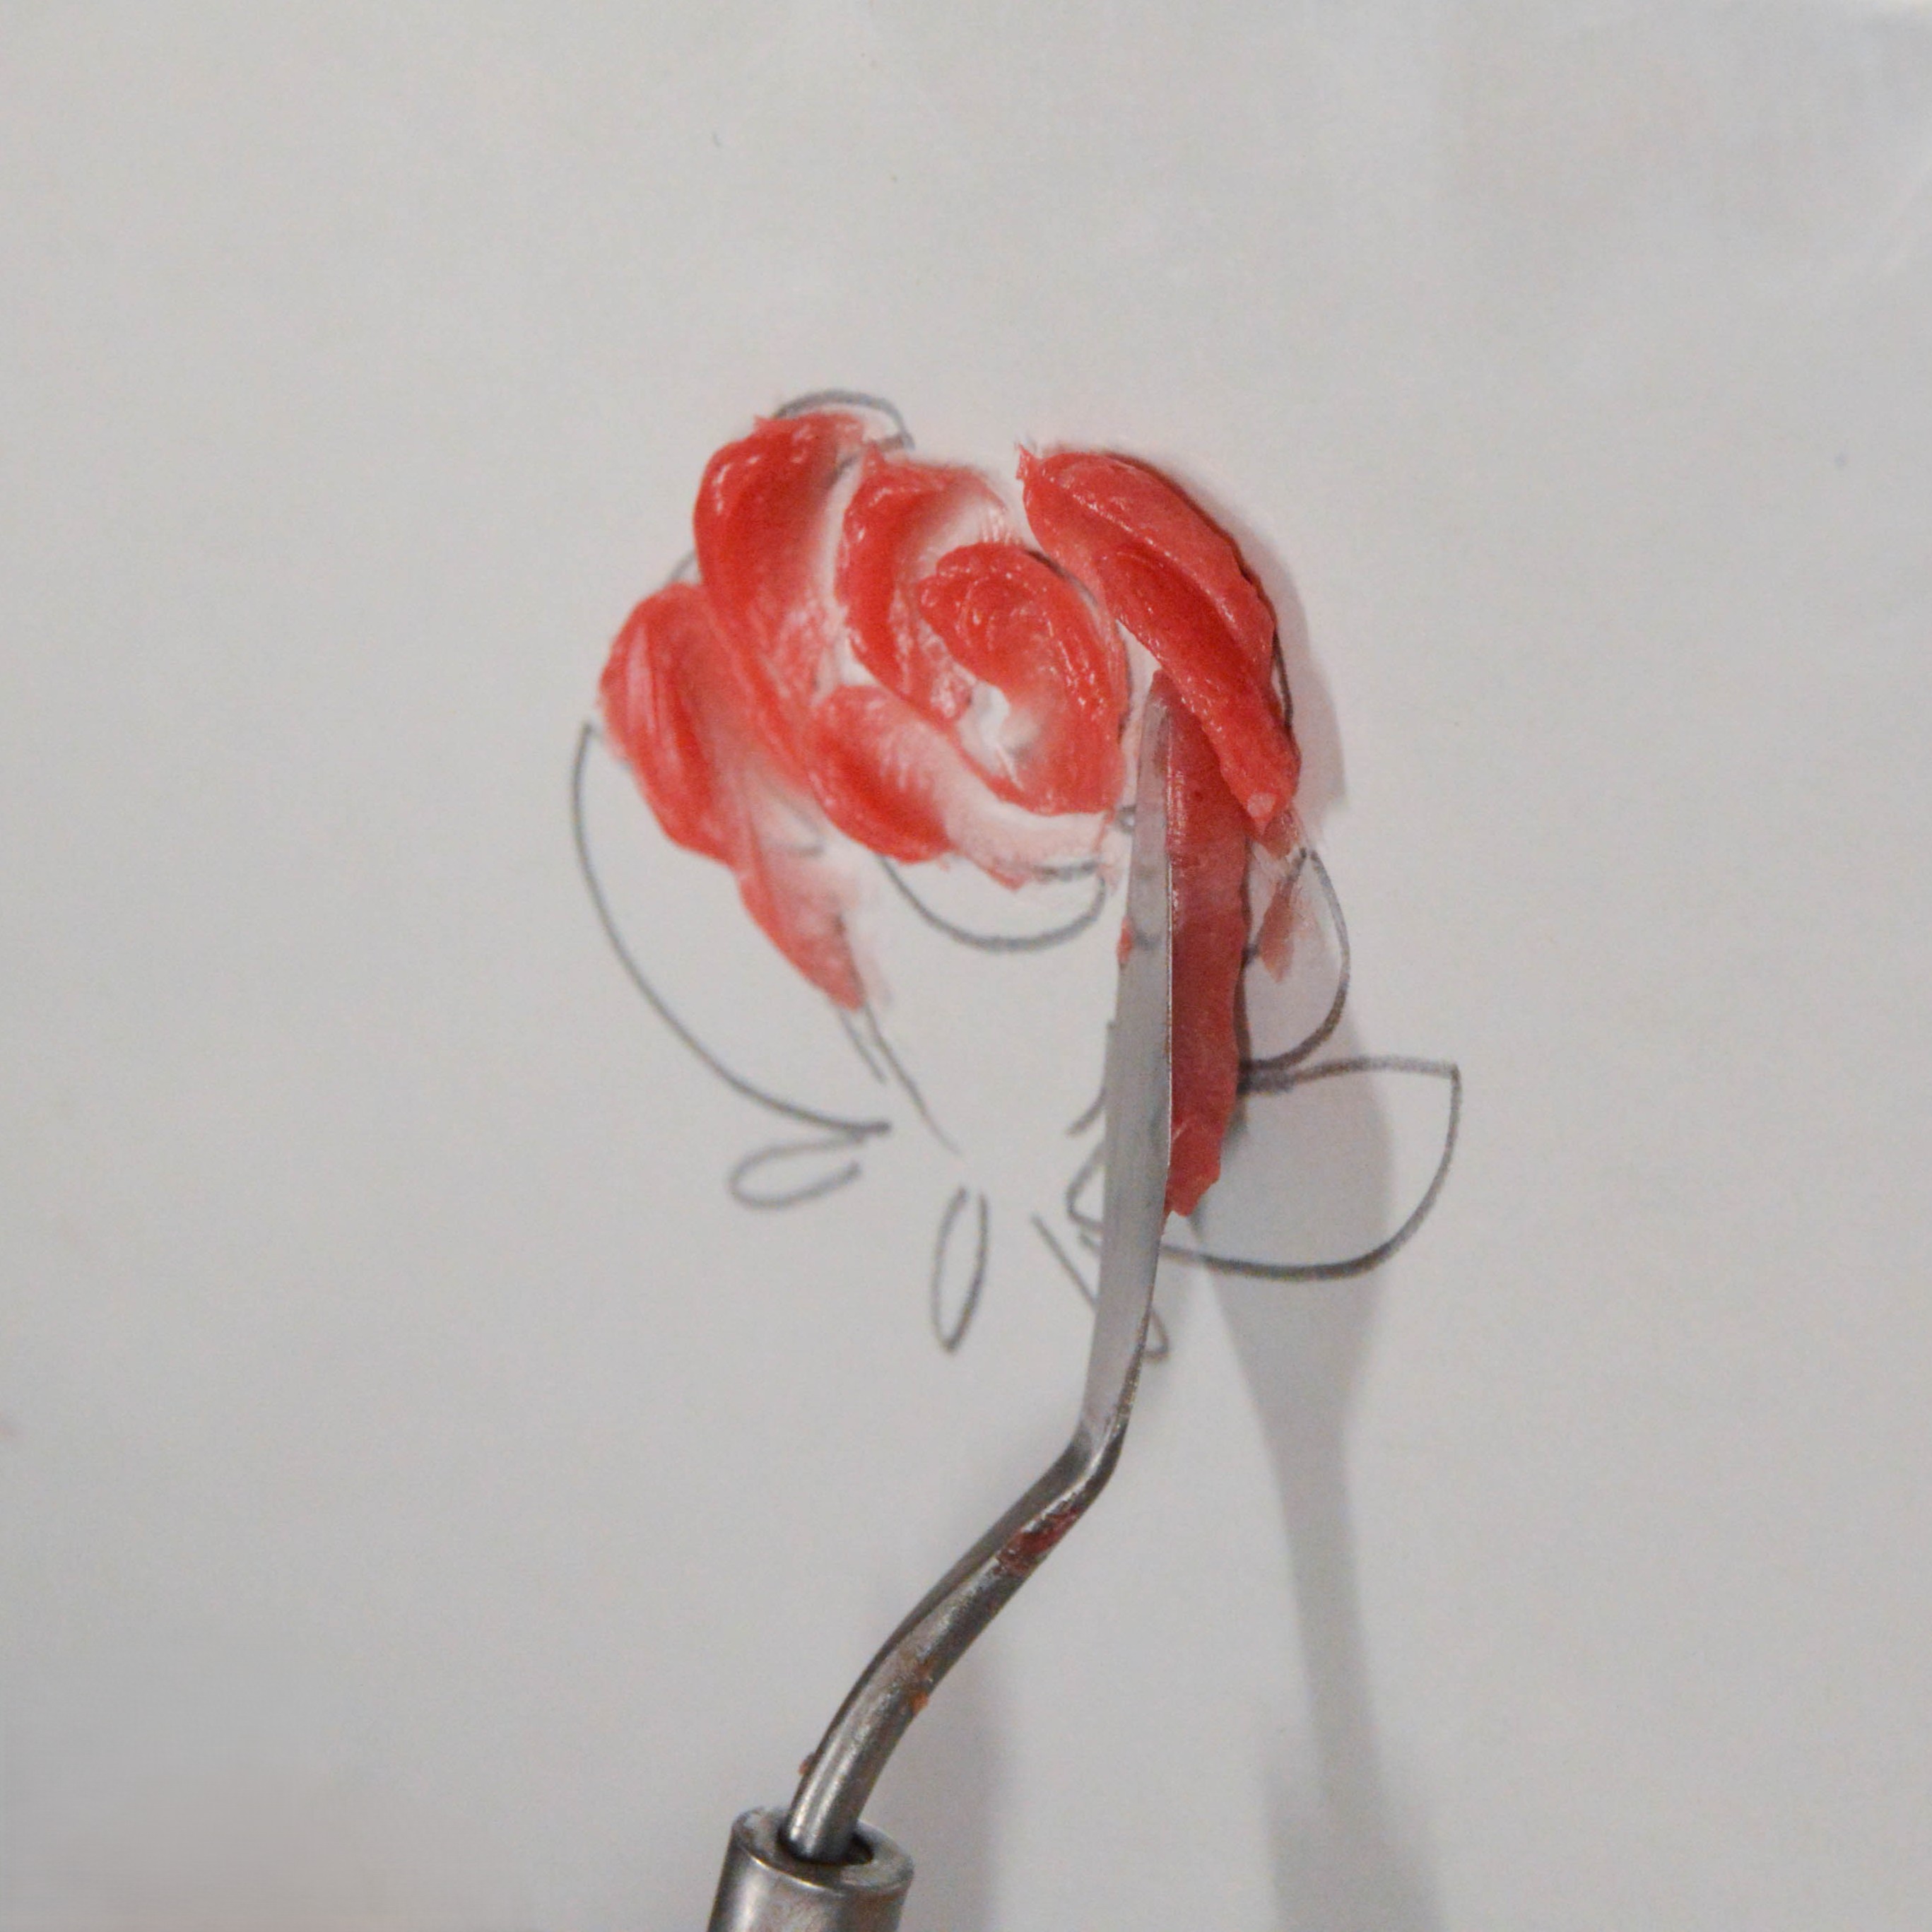
- Using the picture for reference, draw a rough sketch of a rose flower from a side perspective onto a piece of parchment paper.
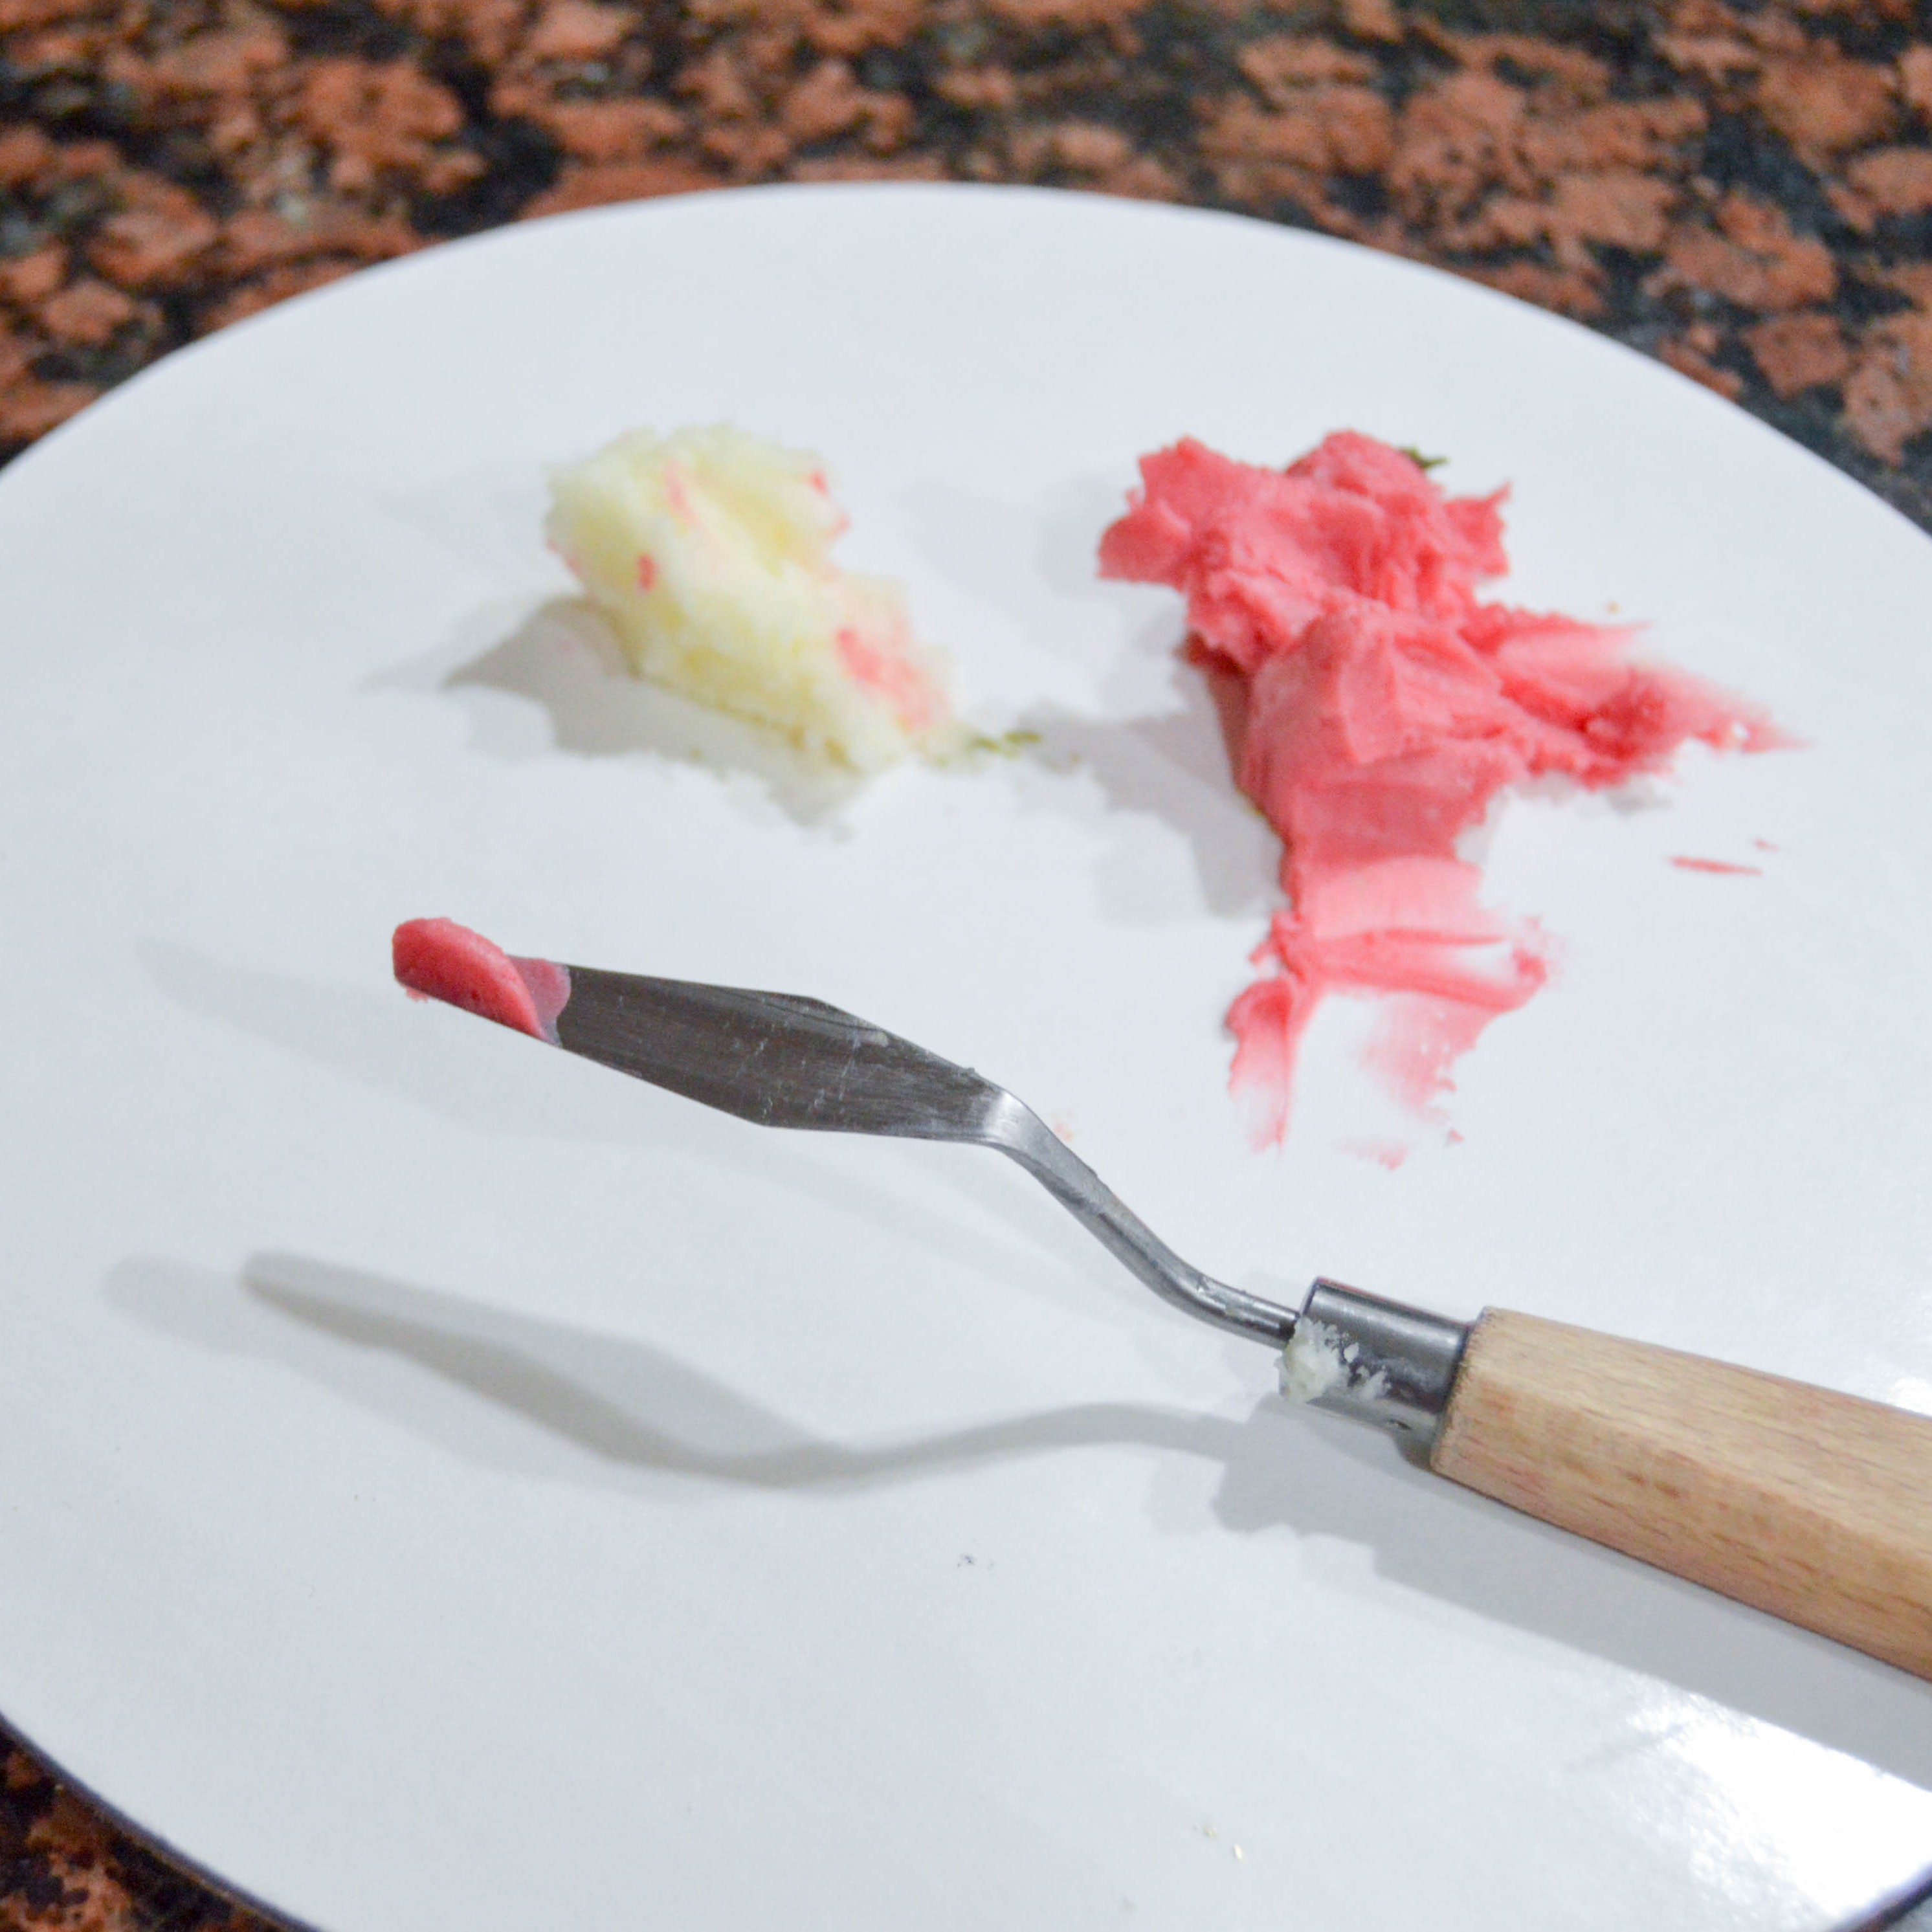
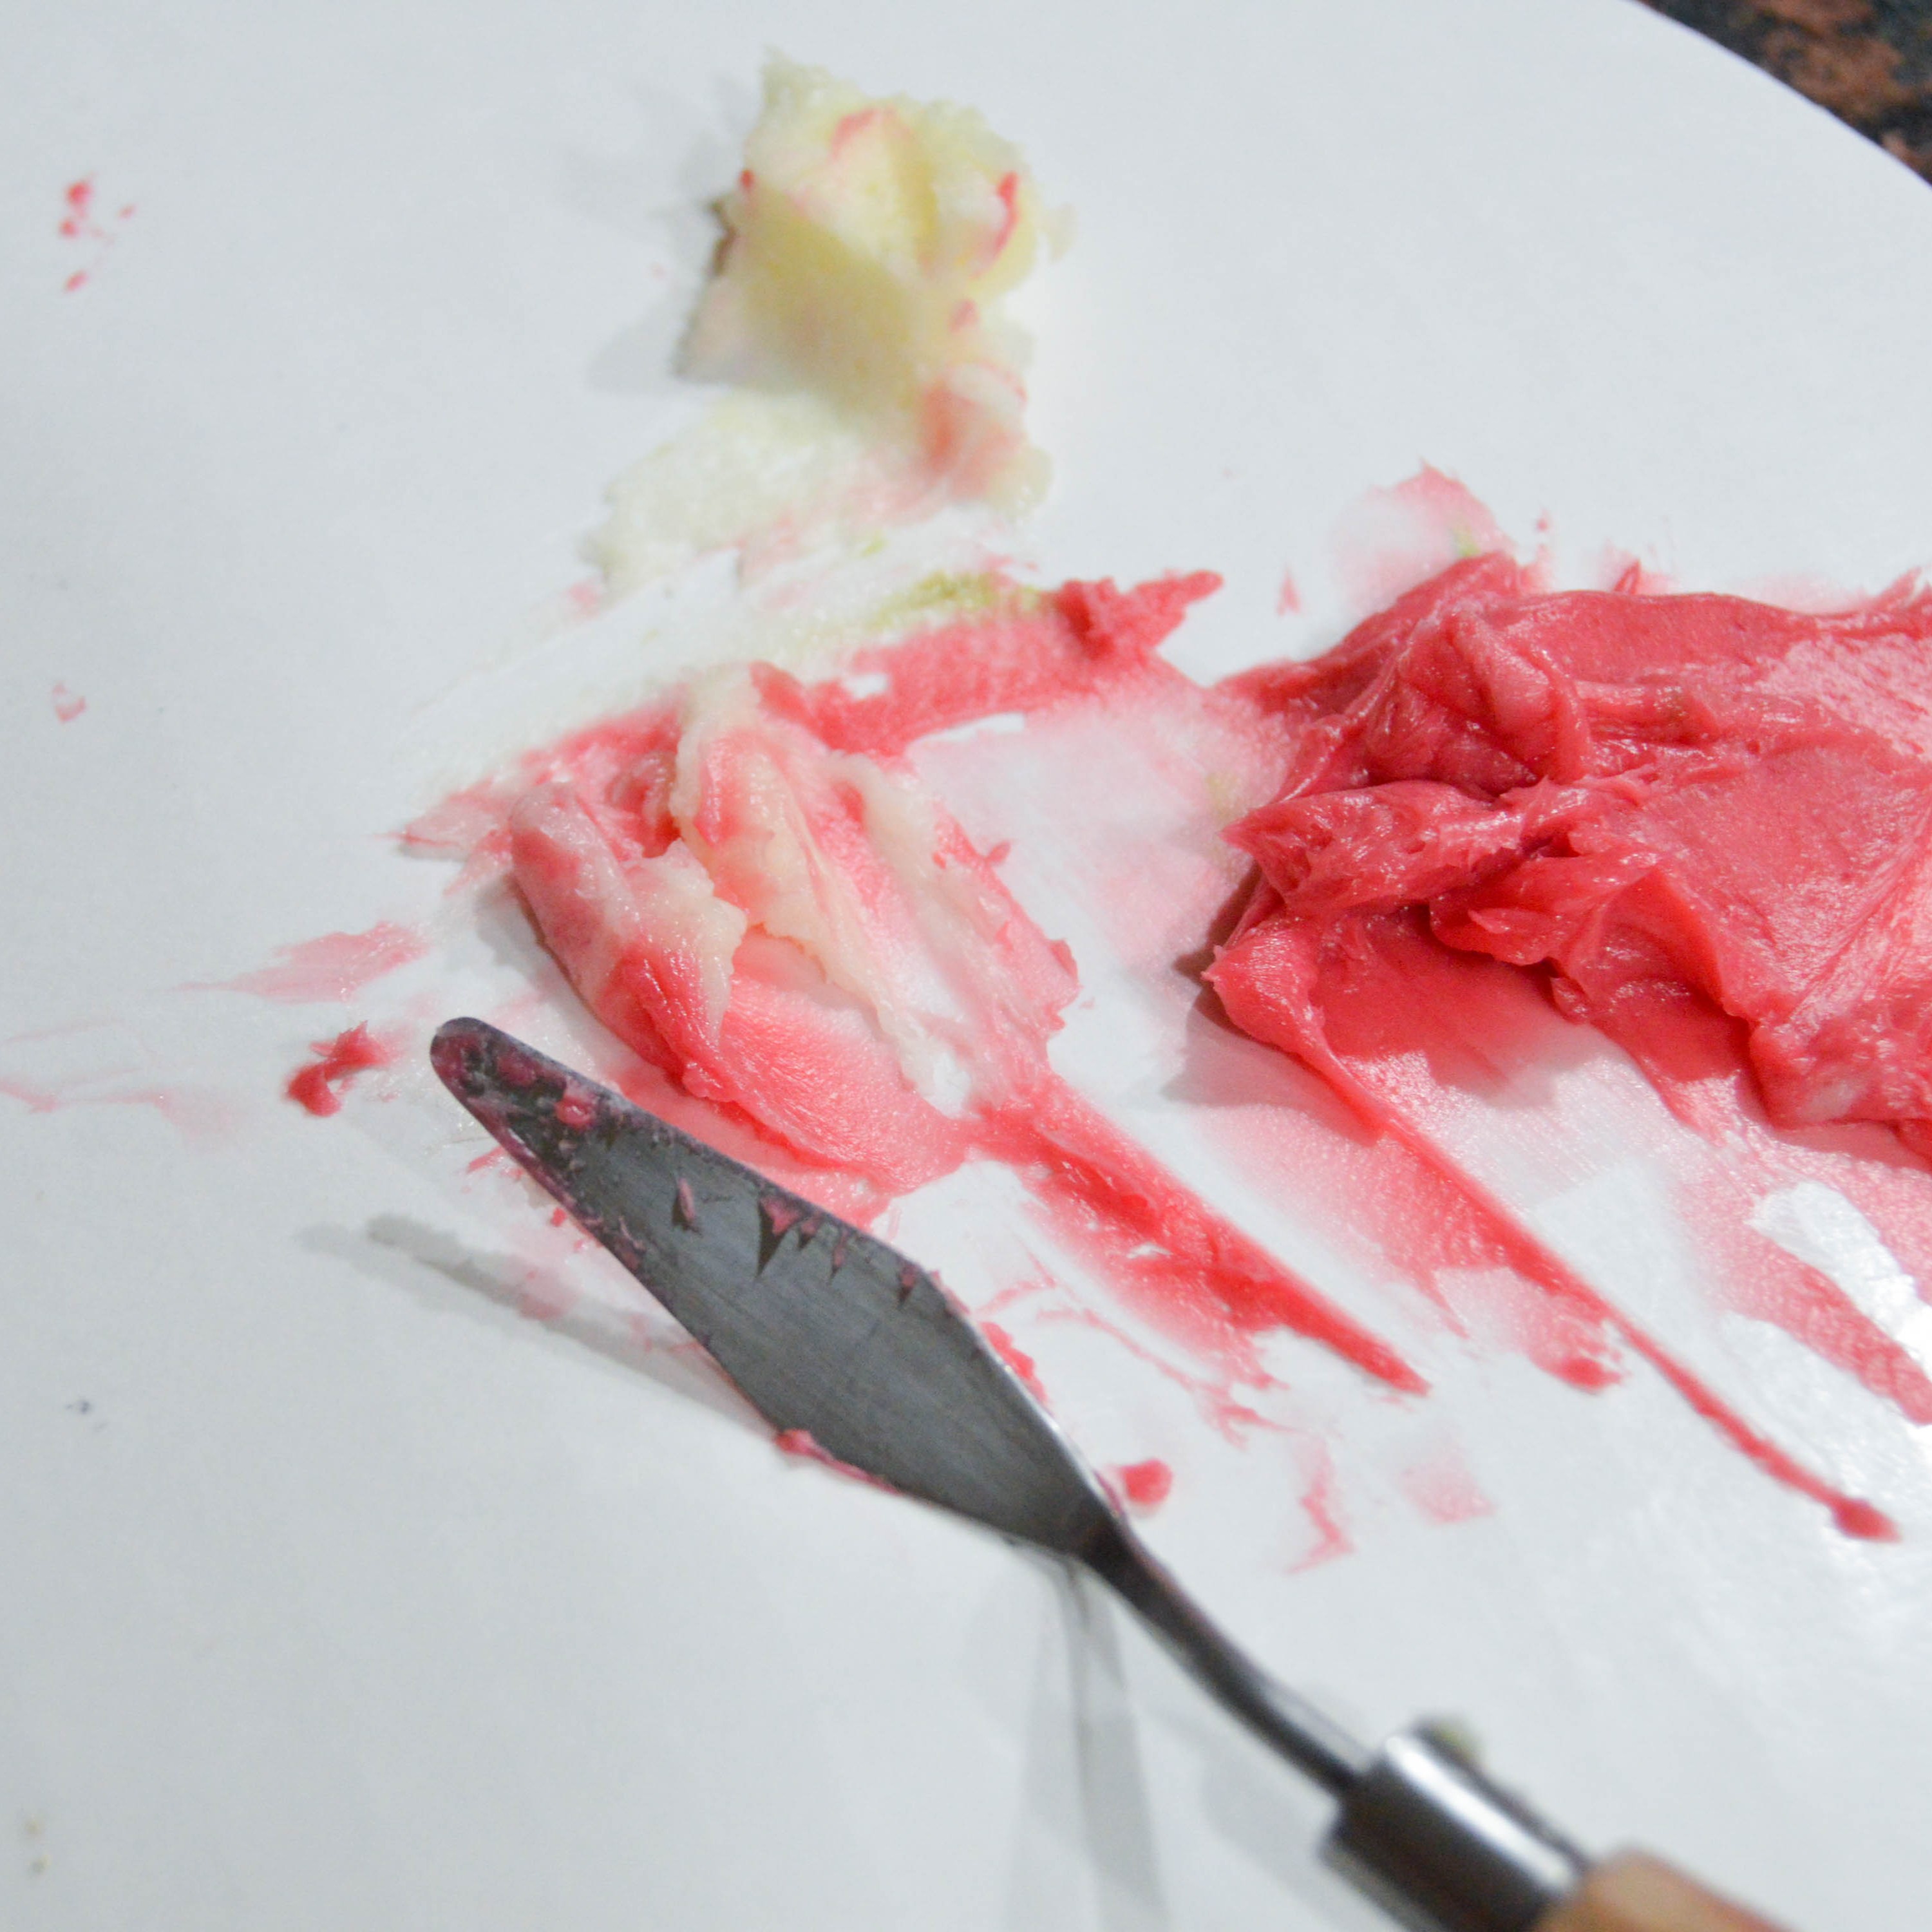
- Beginning with the pink color, create some gradations of the color by adding some white; this will help to create the highlights and shadows of the rose and yield a more realistic-looking flower.
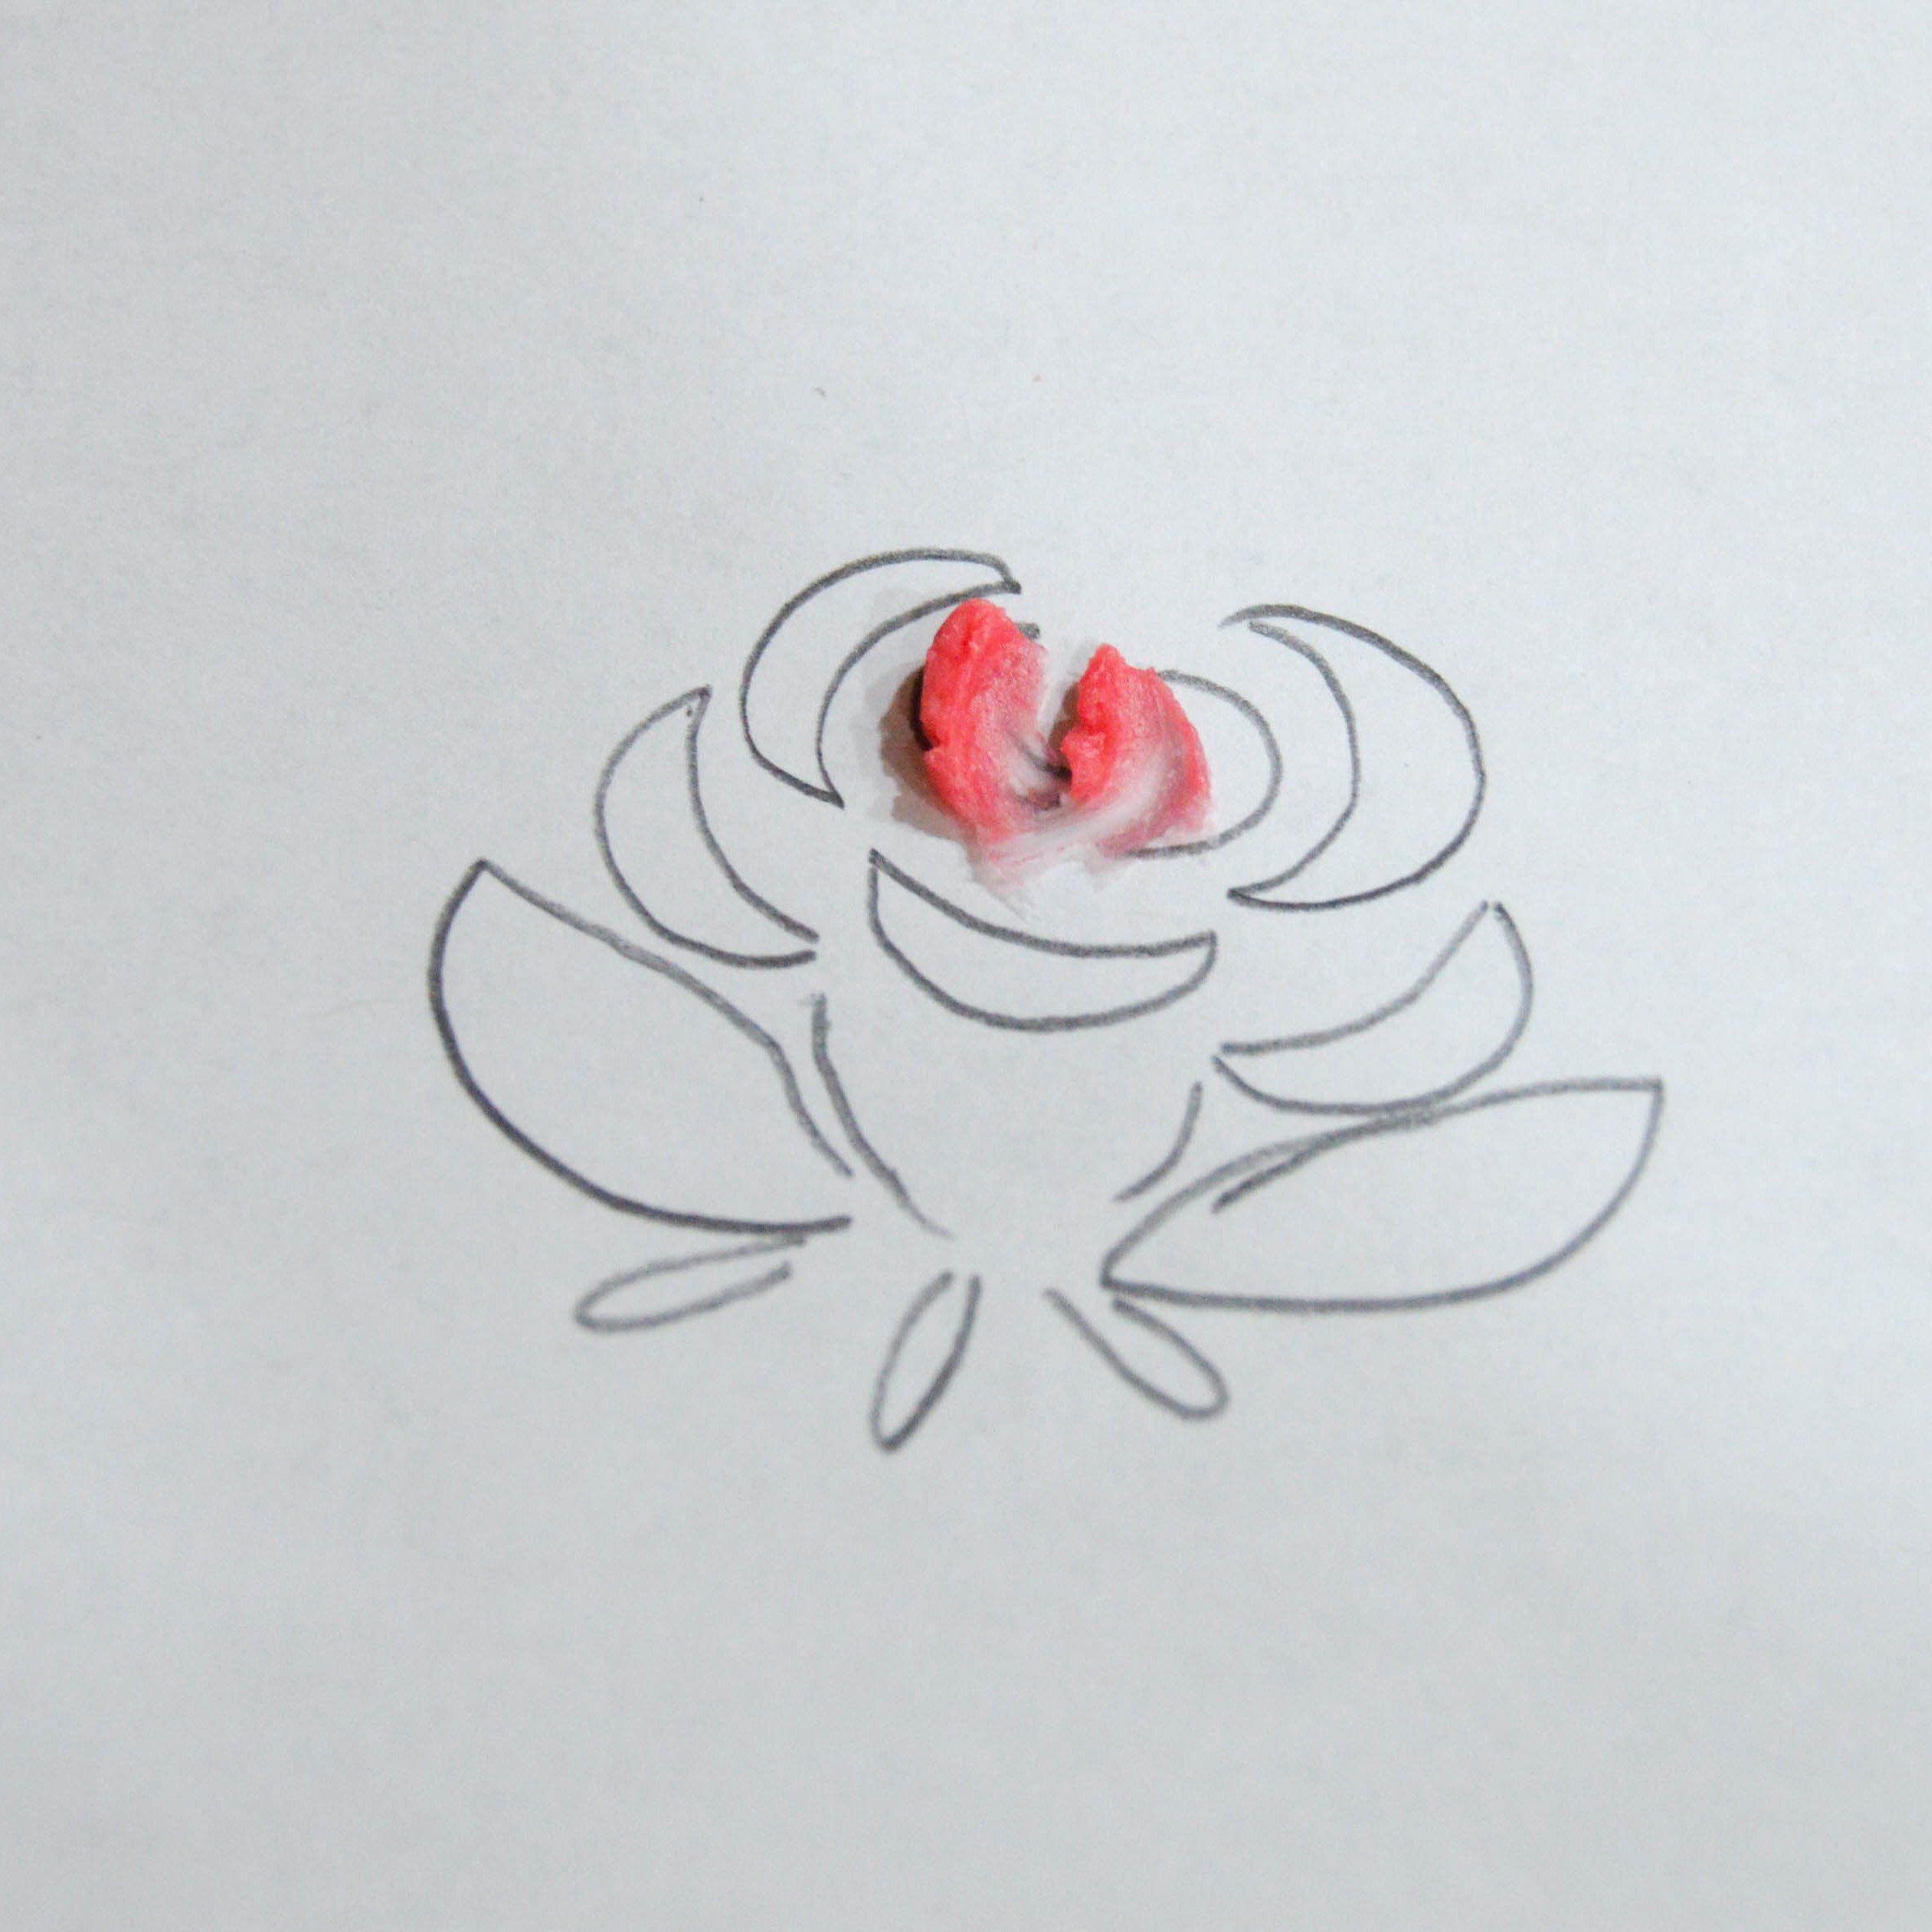
- Take a small amount of buttercream on the tip of the knife. It helps to first flatten the buttercream out and cut across to create a small roll on the edge of the knife. Beginning in the center, with the tip of the knife pointing inward, gently paint two small curves.
- Continuing with the same technique, begin to add more petals, working outward, and gently overlap the petals to create realism and depth. Tip: Remember to work with very small amounts of buttercream; creating a roll on the edge of the knife will help to add roundness and fullness to the petals.
- As you add more flowers and move outward, use lighter shades of the pink buttercream. It also looks nice if darker and lighter shades are slightly blended before you load the knife with more “paint.” For the outermost petal, fill the tip of the knife with buttercream and swipe the knife outward with a larger stroke; this movement will create a fully bloomed flower.
- Add a small green calyx to the base of the flower using small rolls of green buttercream and swiping inward.

This tutorial originally appeared in the March/April 2019 issue of American Cake Decorating.
