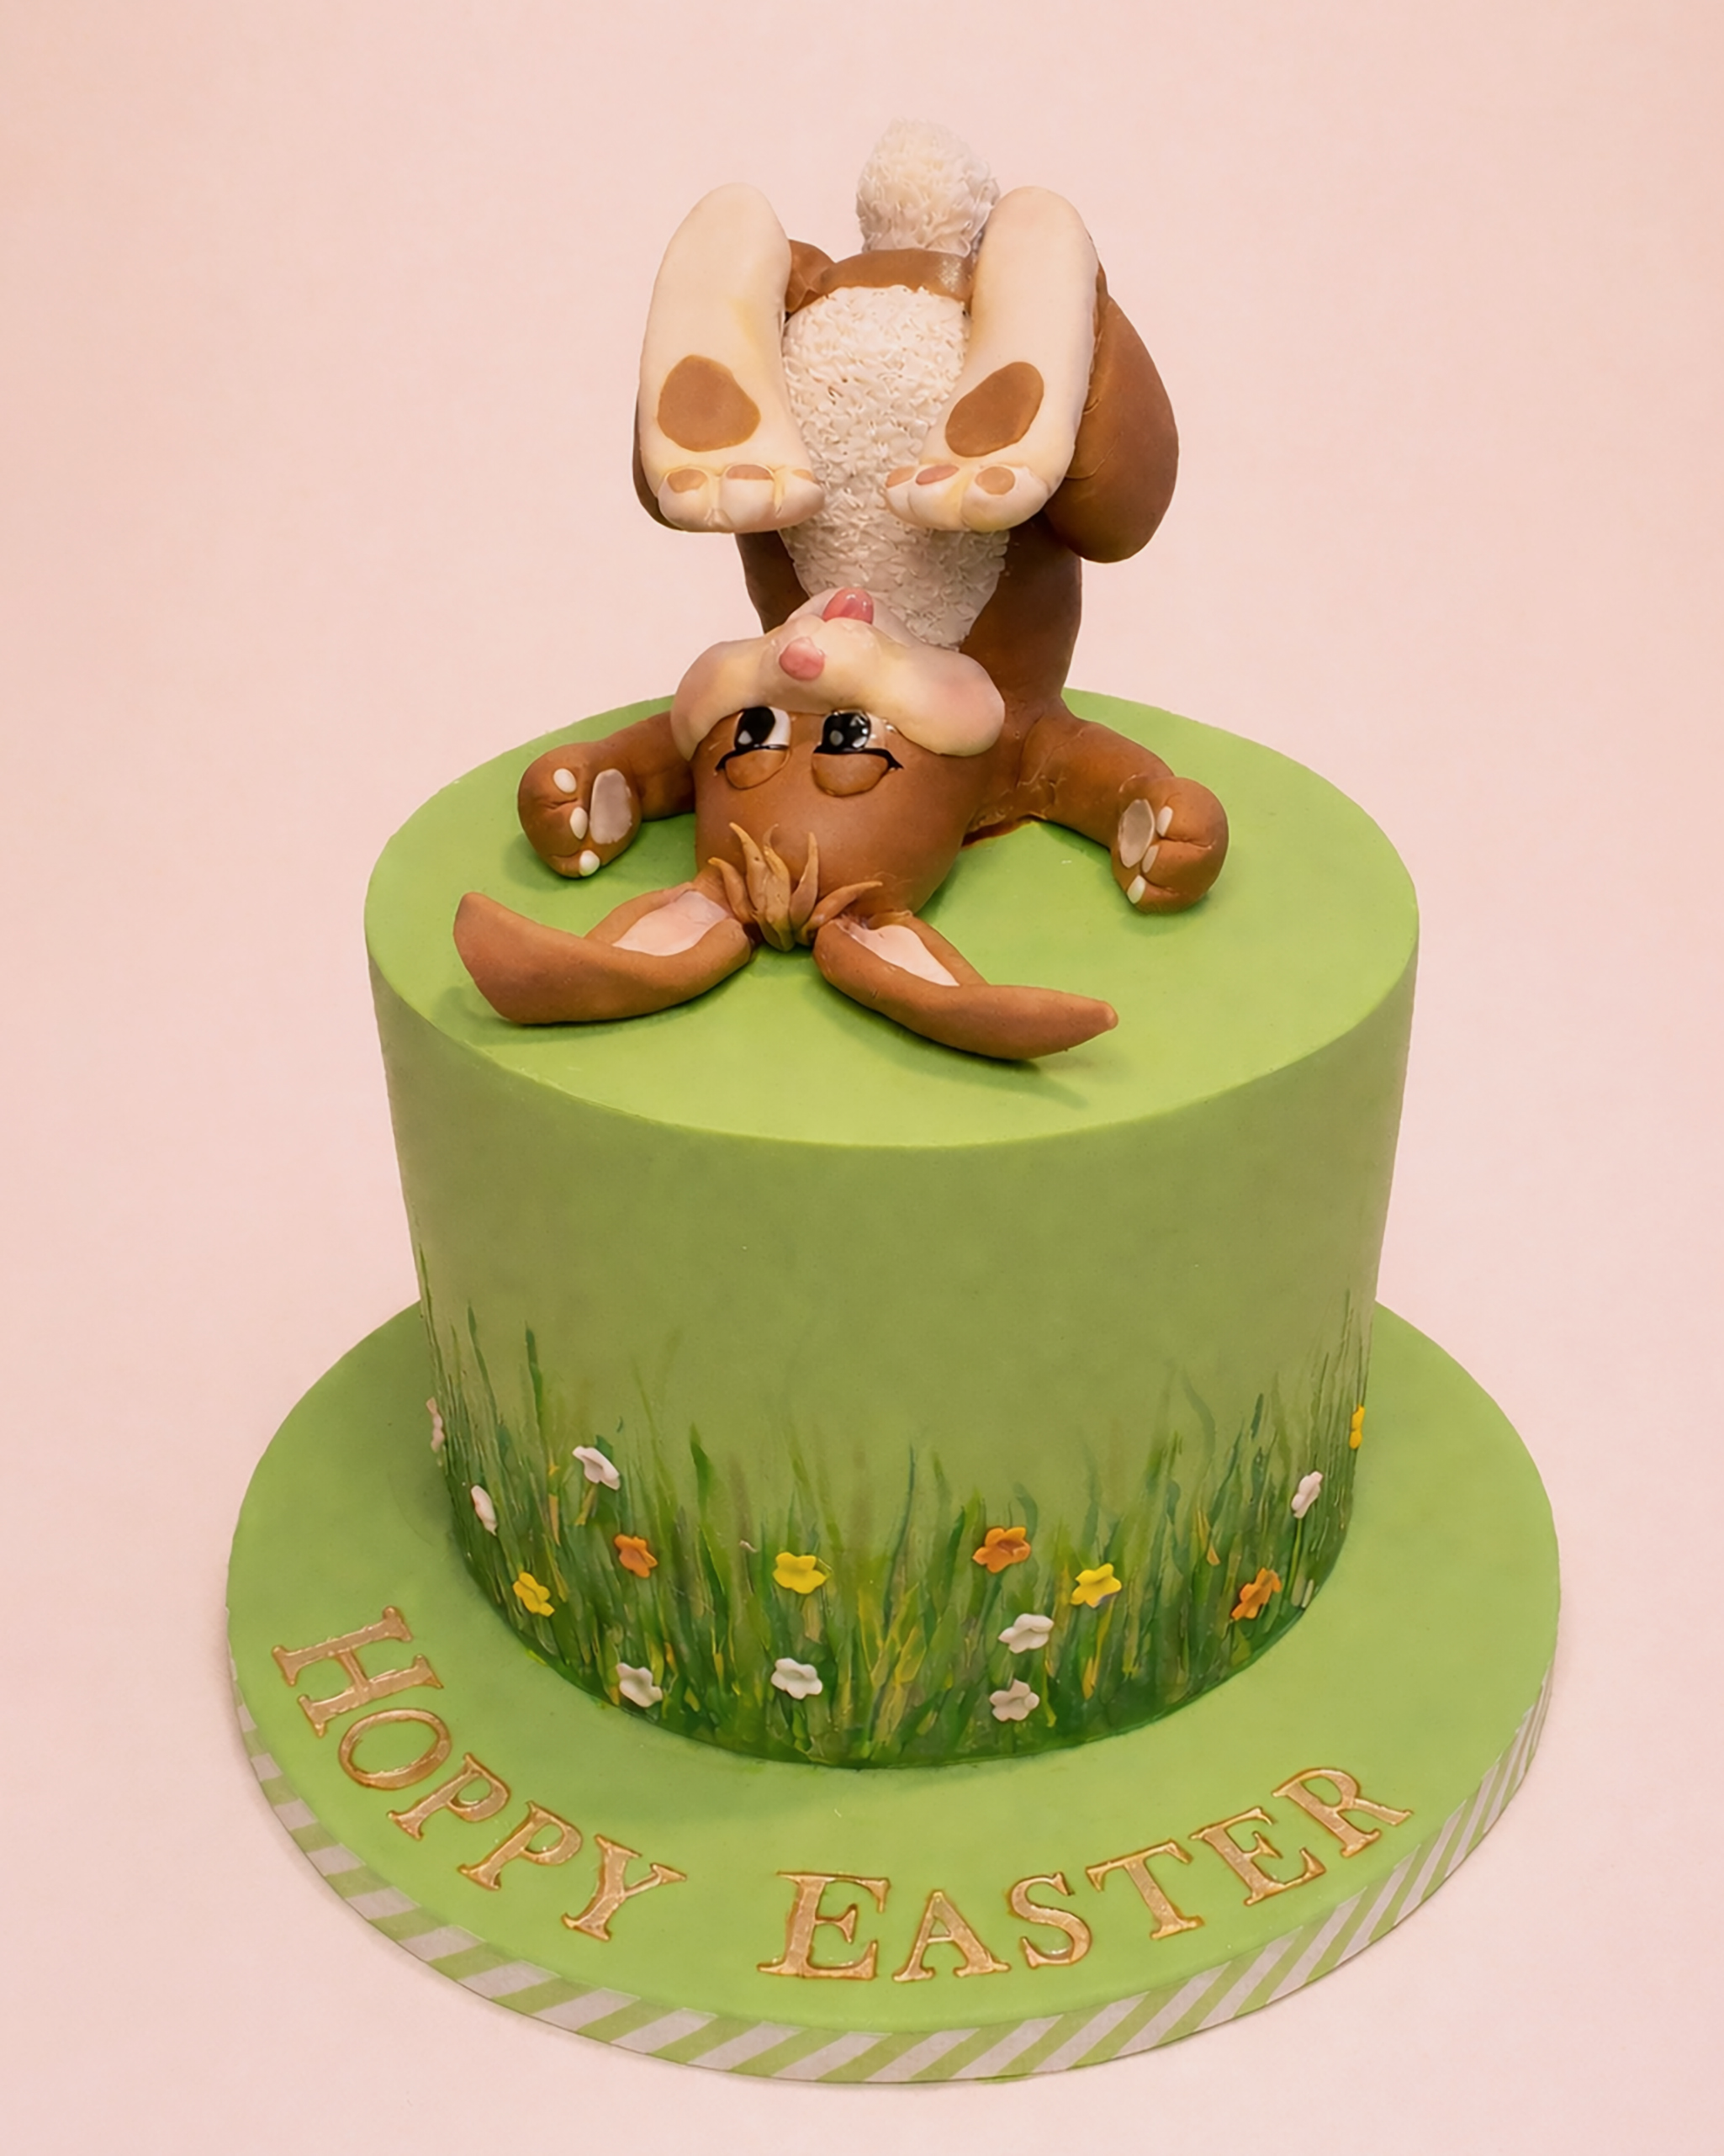
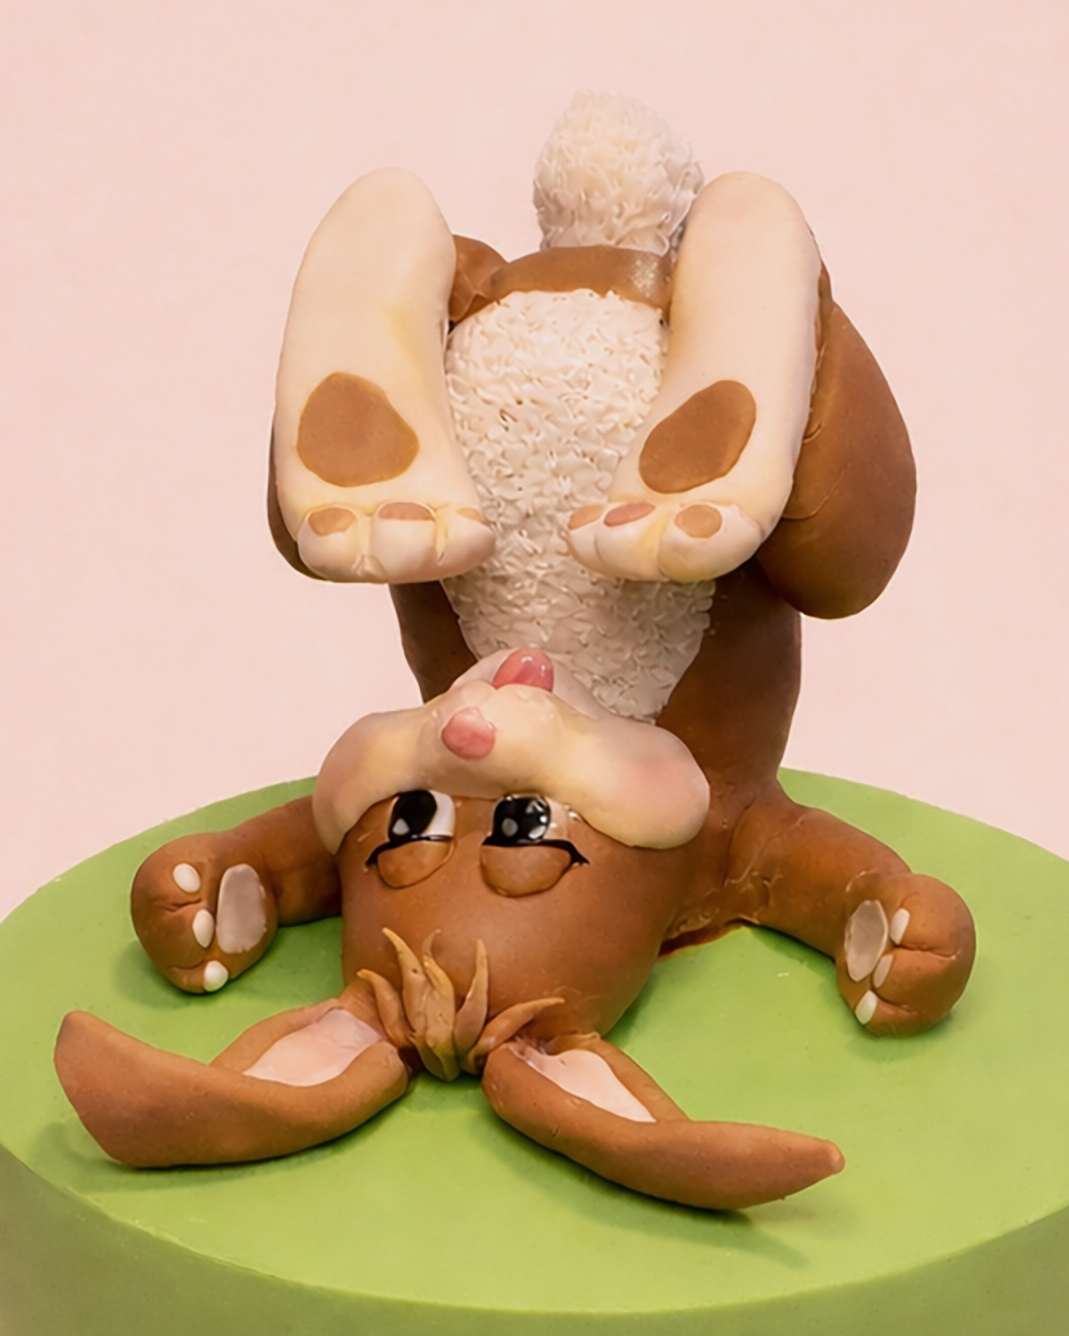
Spread oodles of spring cheer with this darling handcrafted roly poly Easter bunny cake topper tutorial. It’s so easy when you know how!
Edibles:
- Rice Krispies treats (RKT)
- Fondant in your base color and a contrasting color for details
- Tylose powder
- Edible glue
Equipment:
- Cocktail sticks
- Cone tool
- Dresden tool
- Rolling pin
- Sharp knife
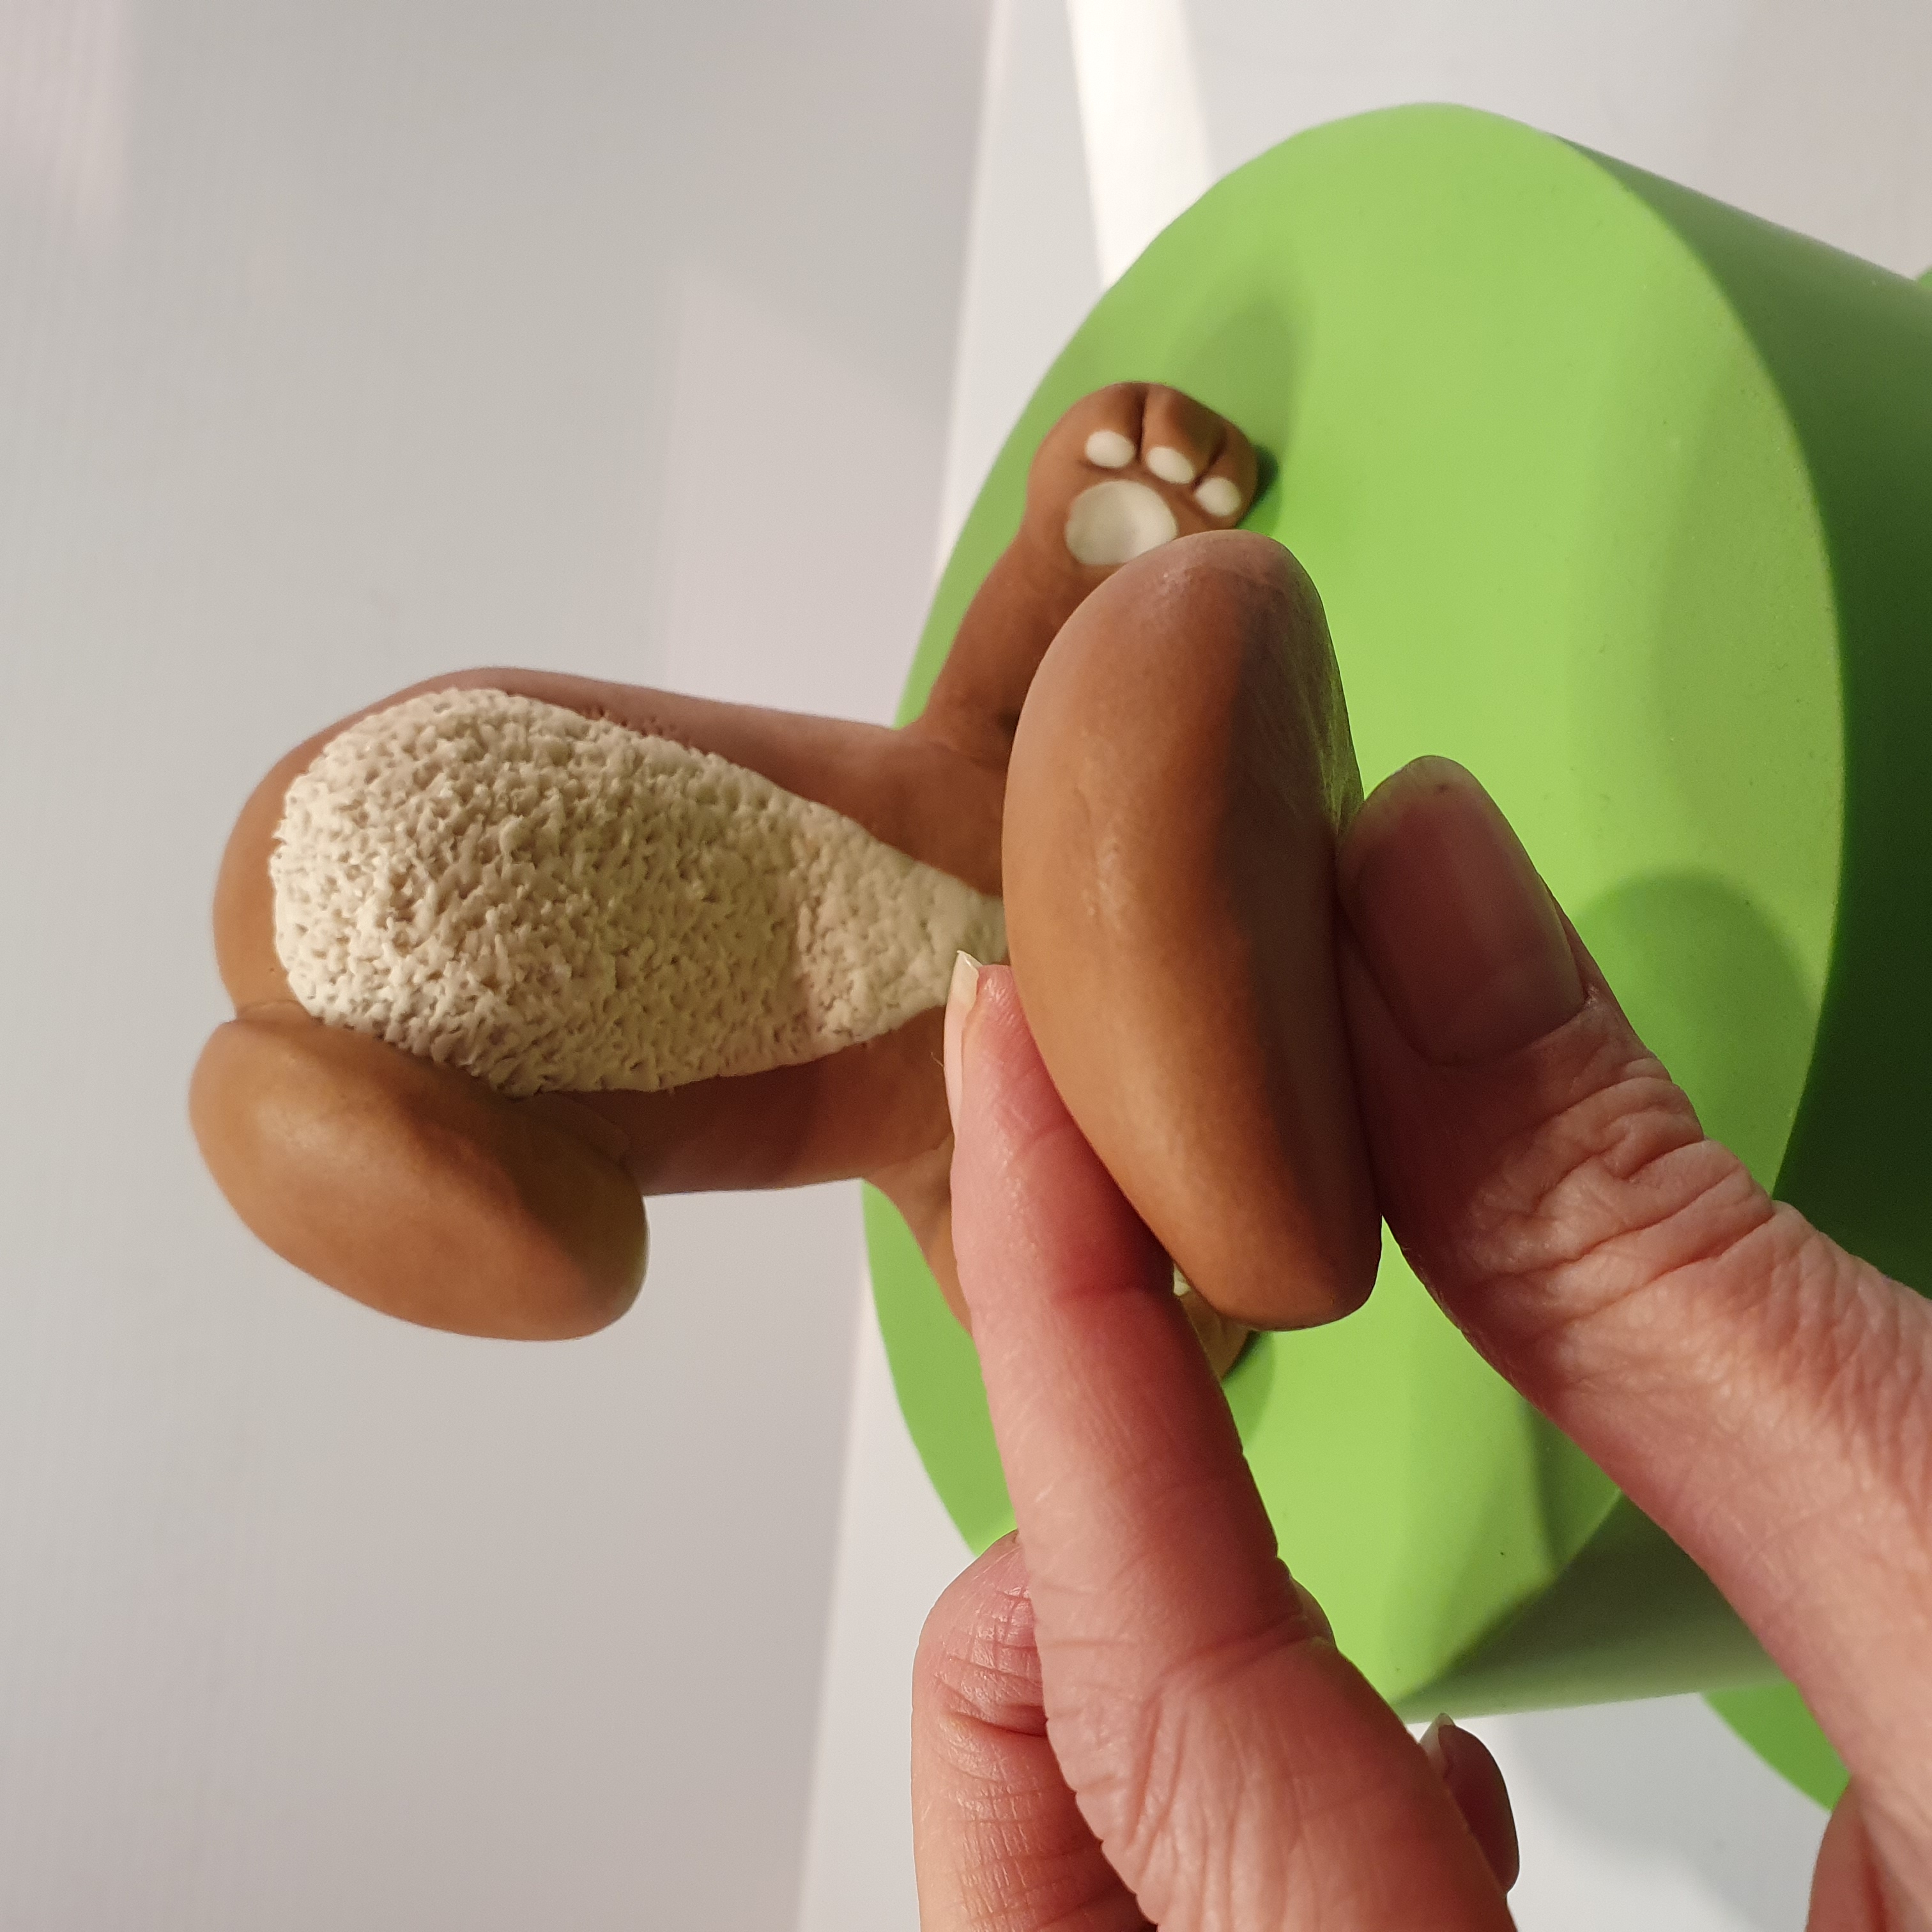
Make the Body
- Shape your RKT or fondant into a comma shape, ensuring a flat base for stability when standing. (If you are using RKT, be sure to compress it really well.)
- Cover the torso in your base color and add a contrast-colored teardrop for the belly, keeping in mind that the flat base is the “top” of the torso.
- Bunch a few cocktail sticks together, press them gently into the fondant, twist, and pull them away to give a nice fluffy texture.


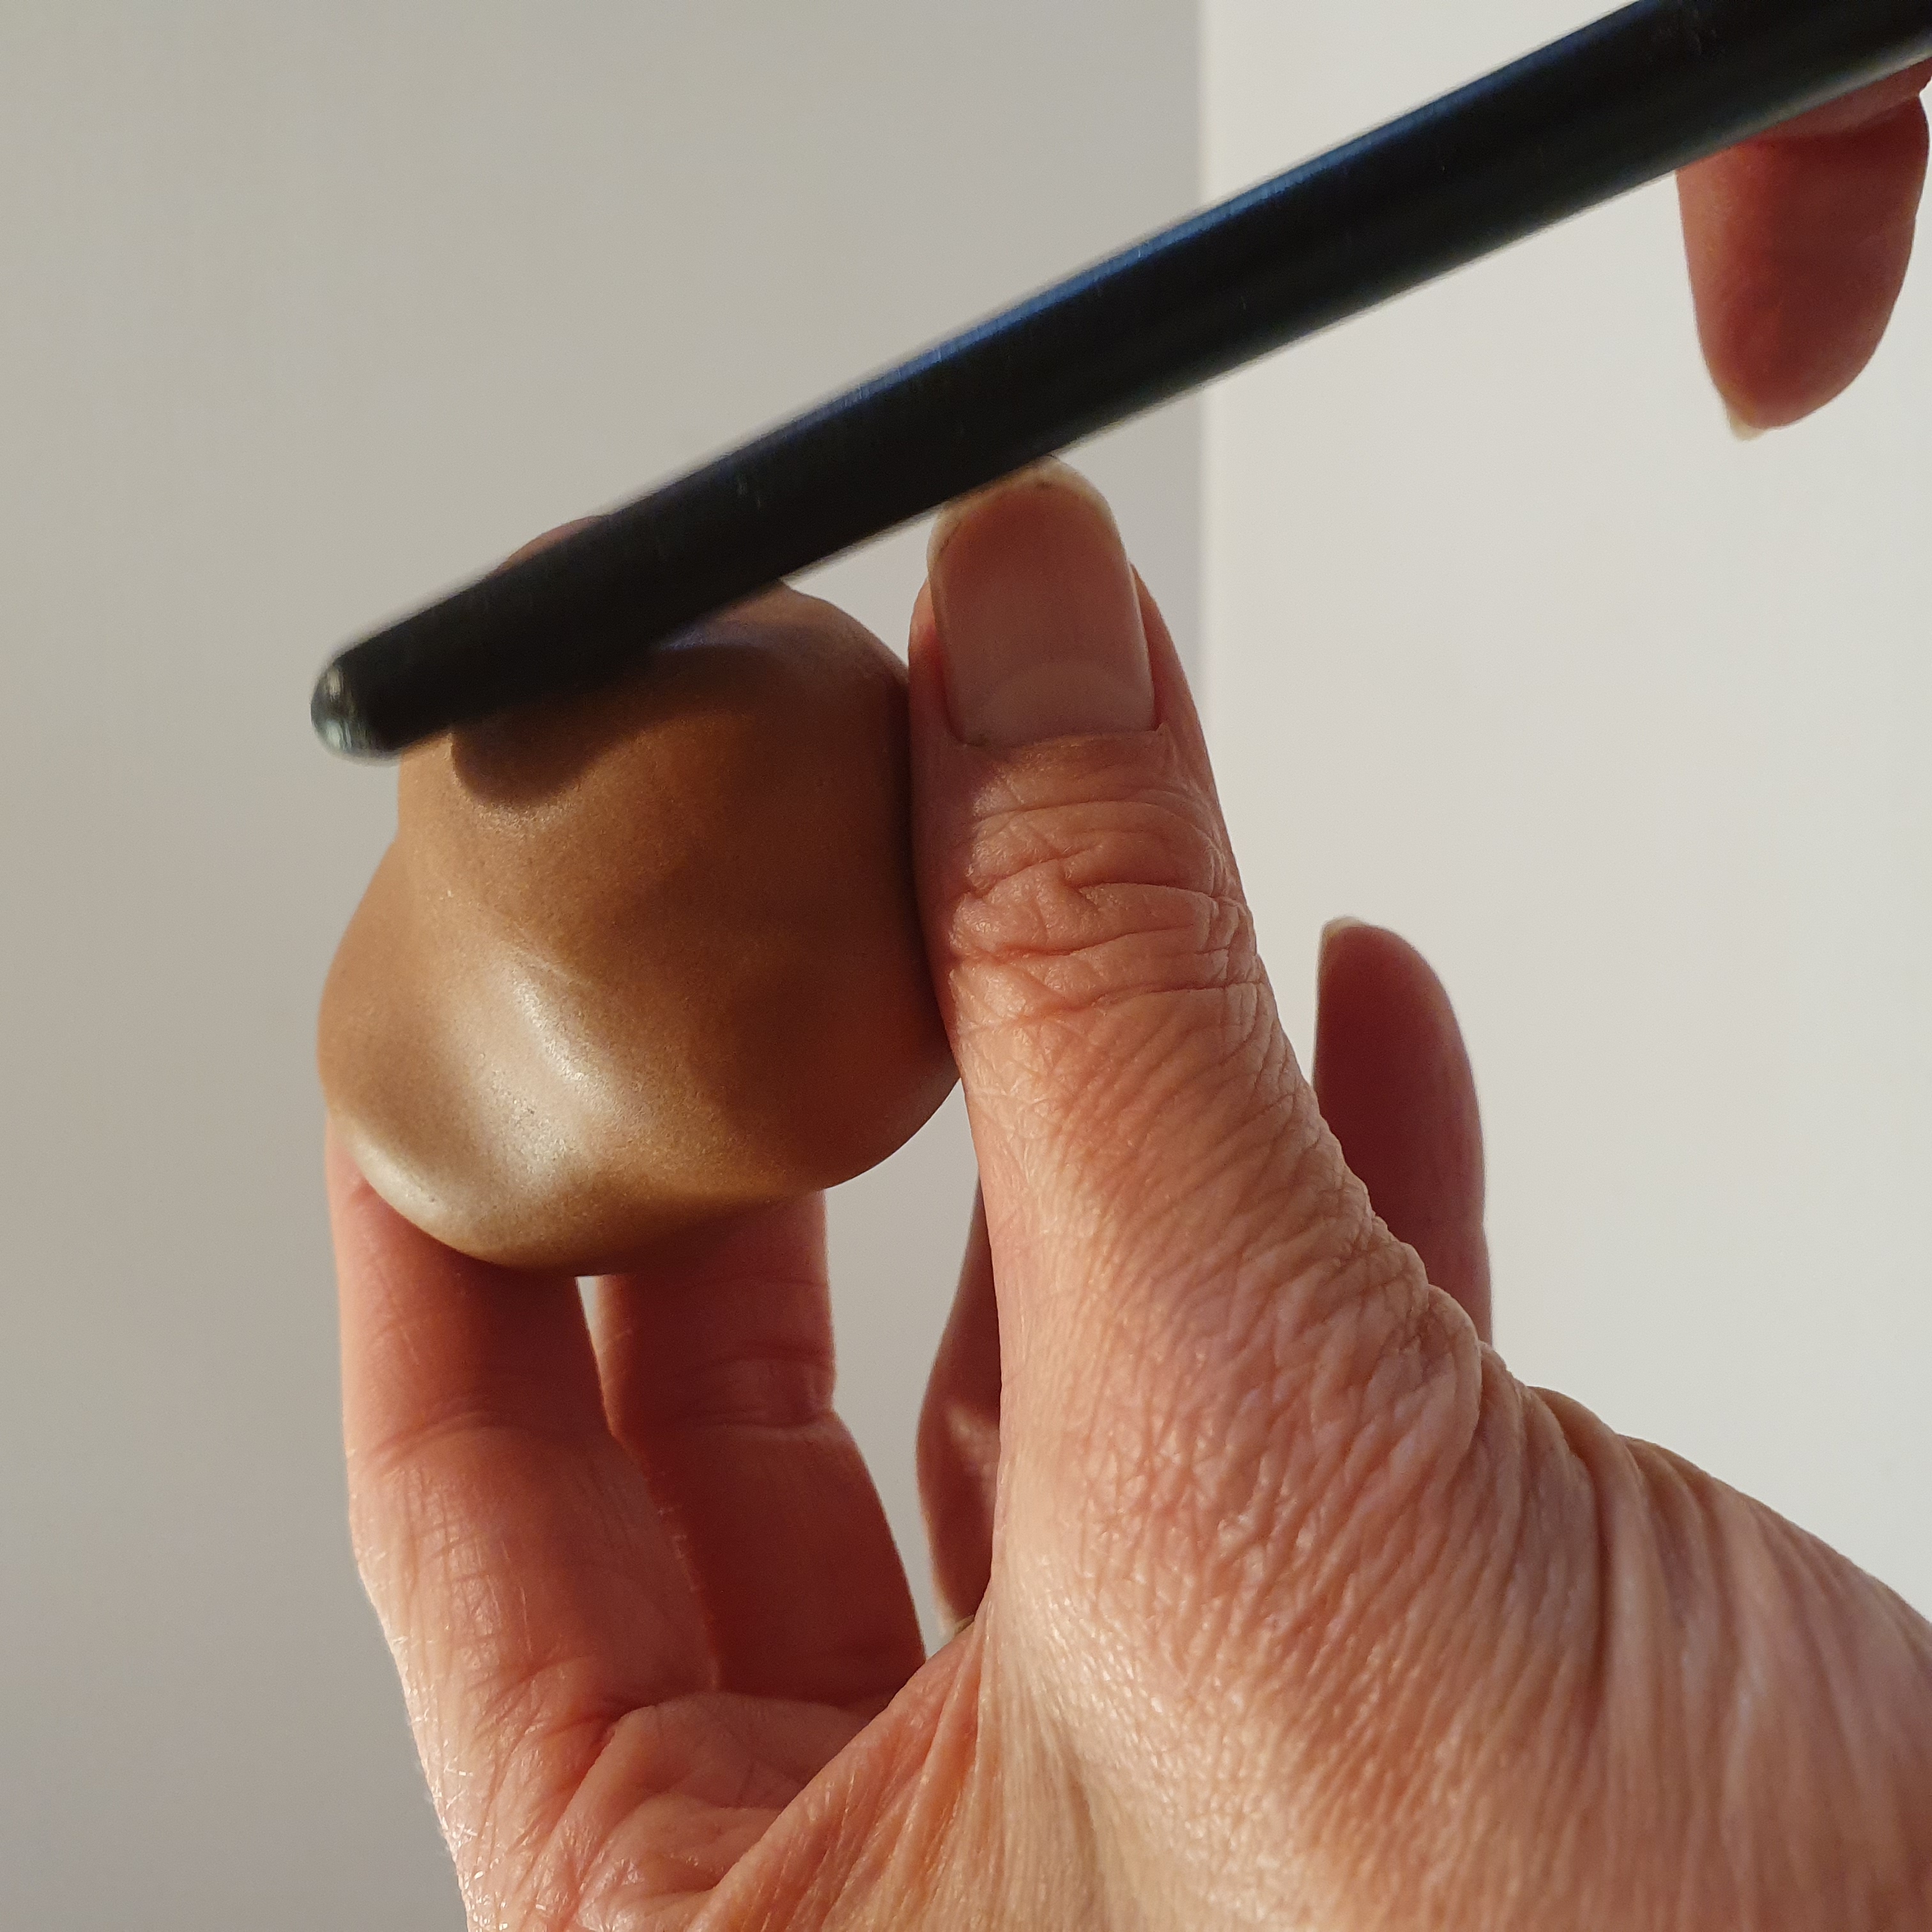
Make the Head
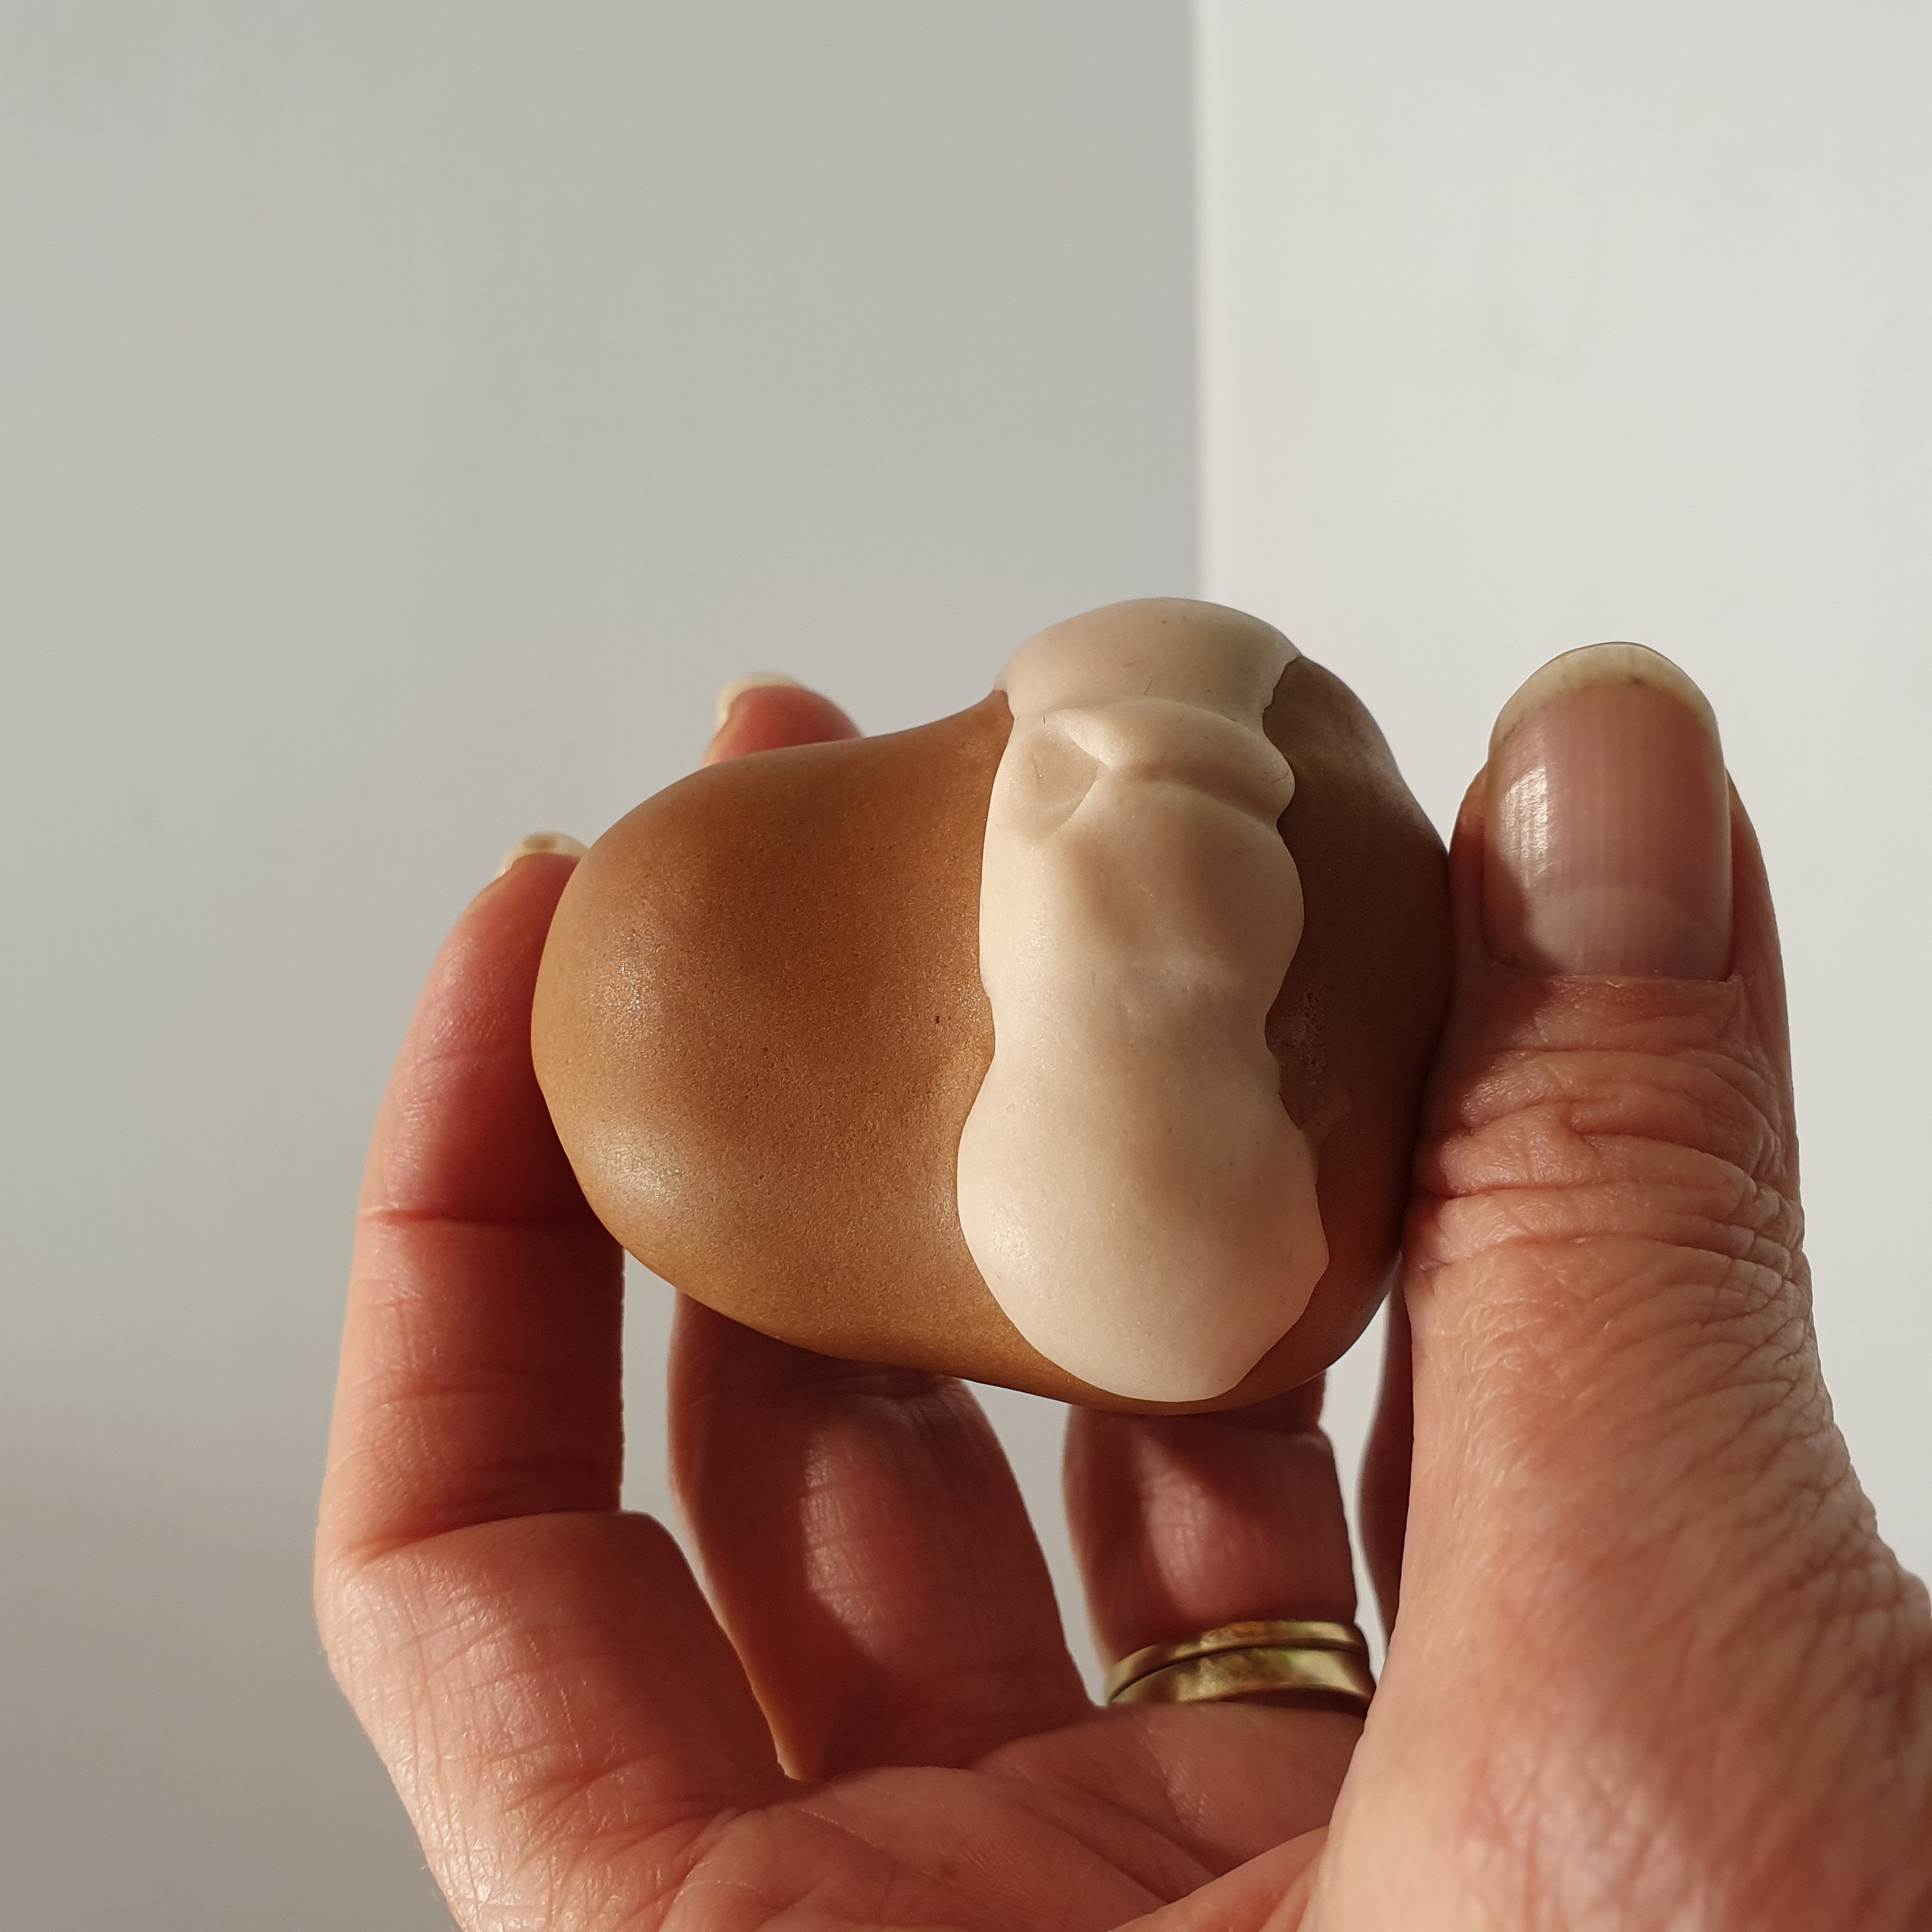
- For the head, roll the fondant into a ball, ensuring it is nice and smooth, then using your finger across the middle of the ball, rock it side to side to shape the face and cheeks.
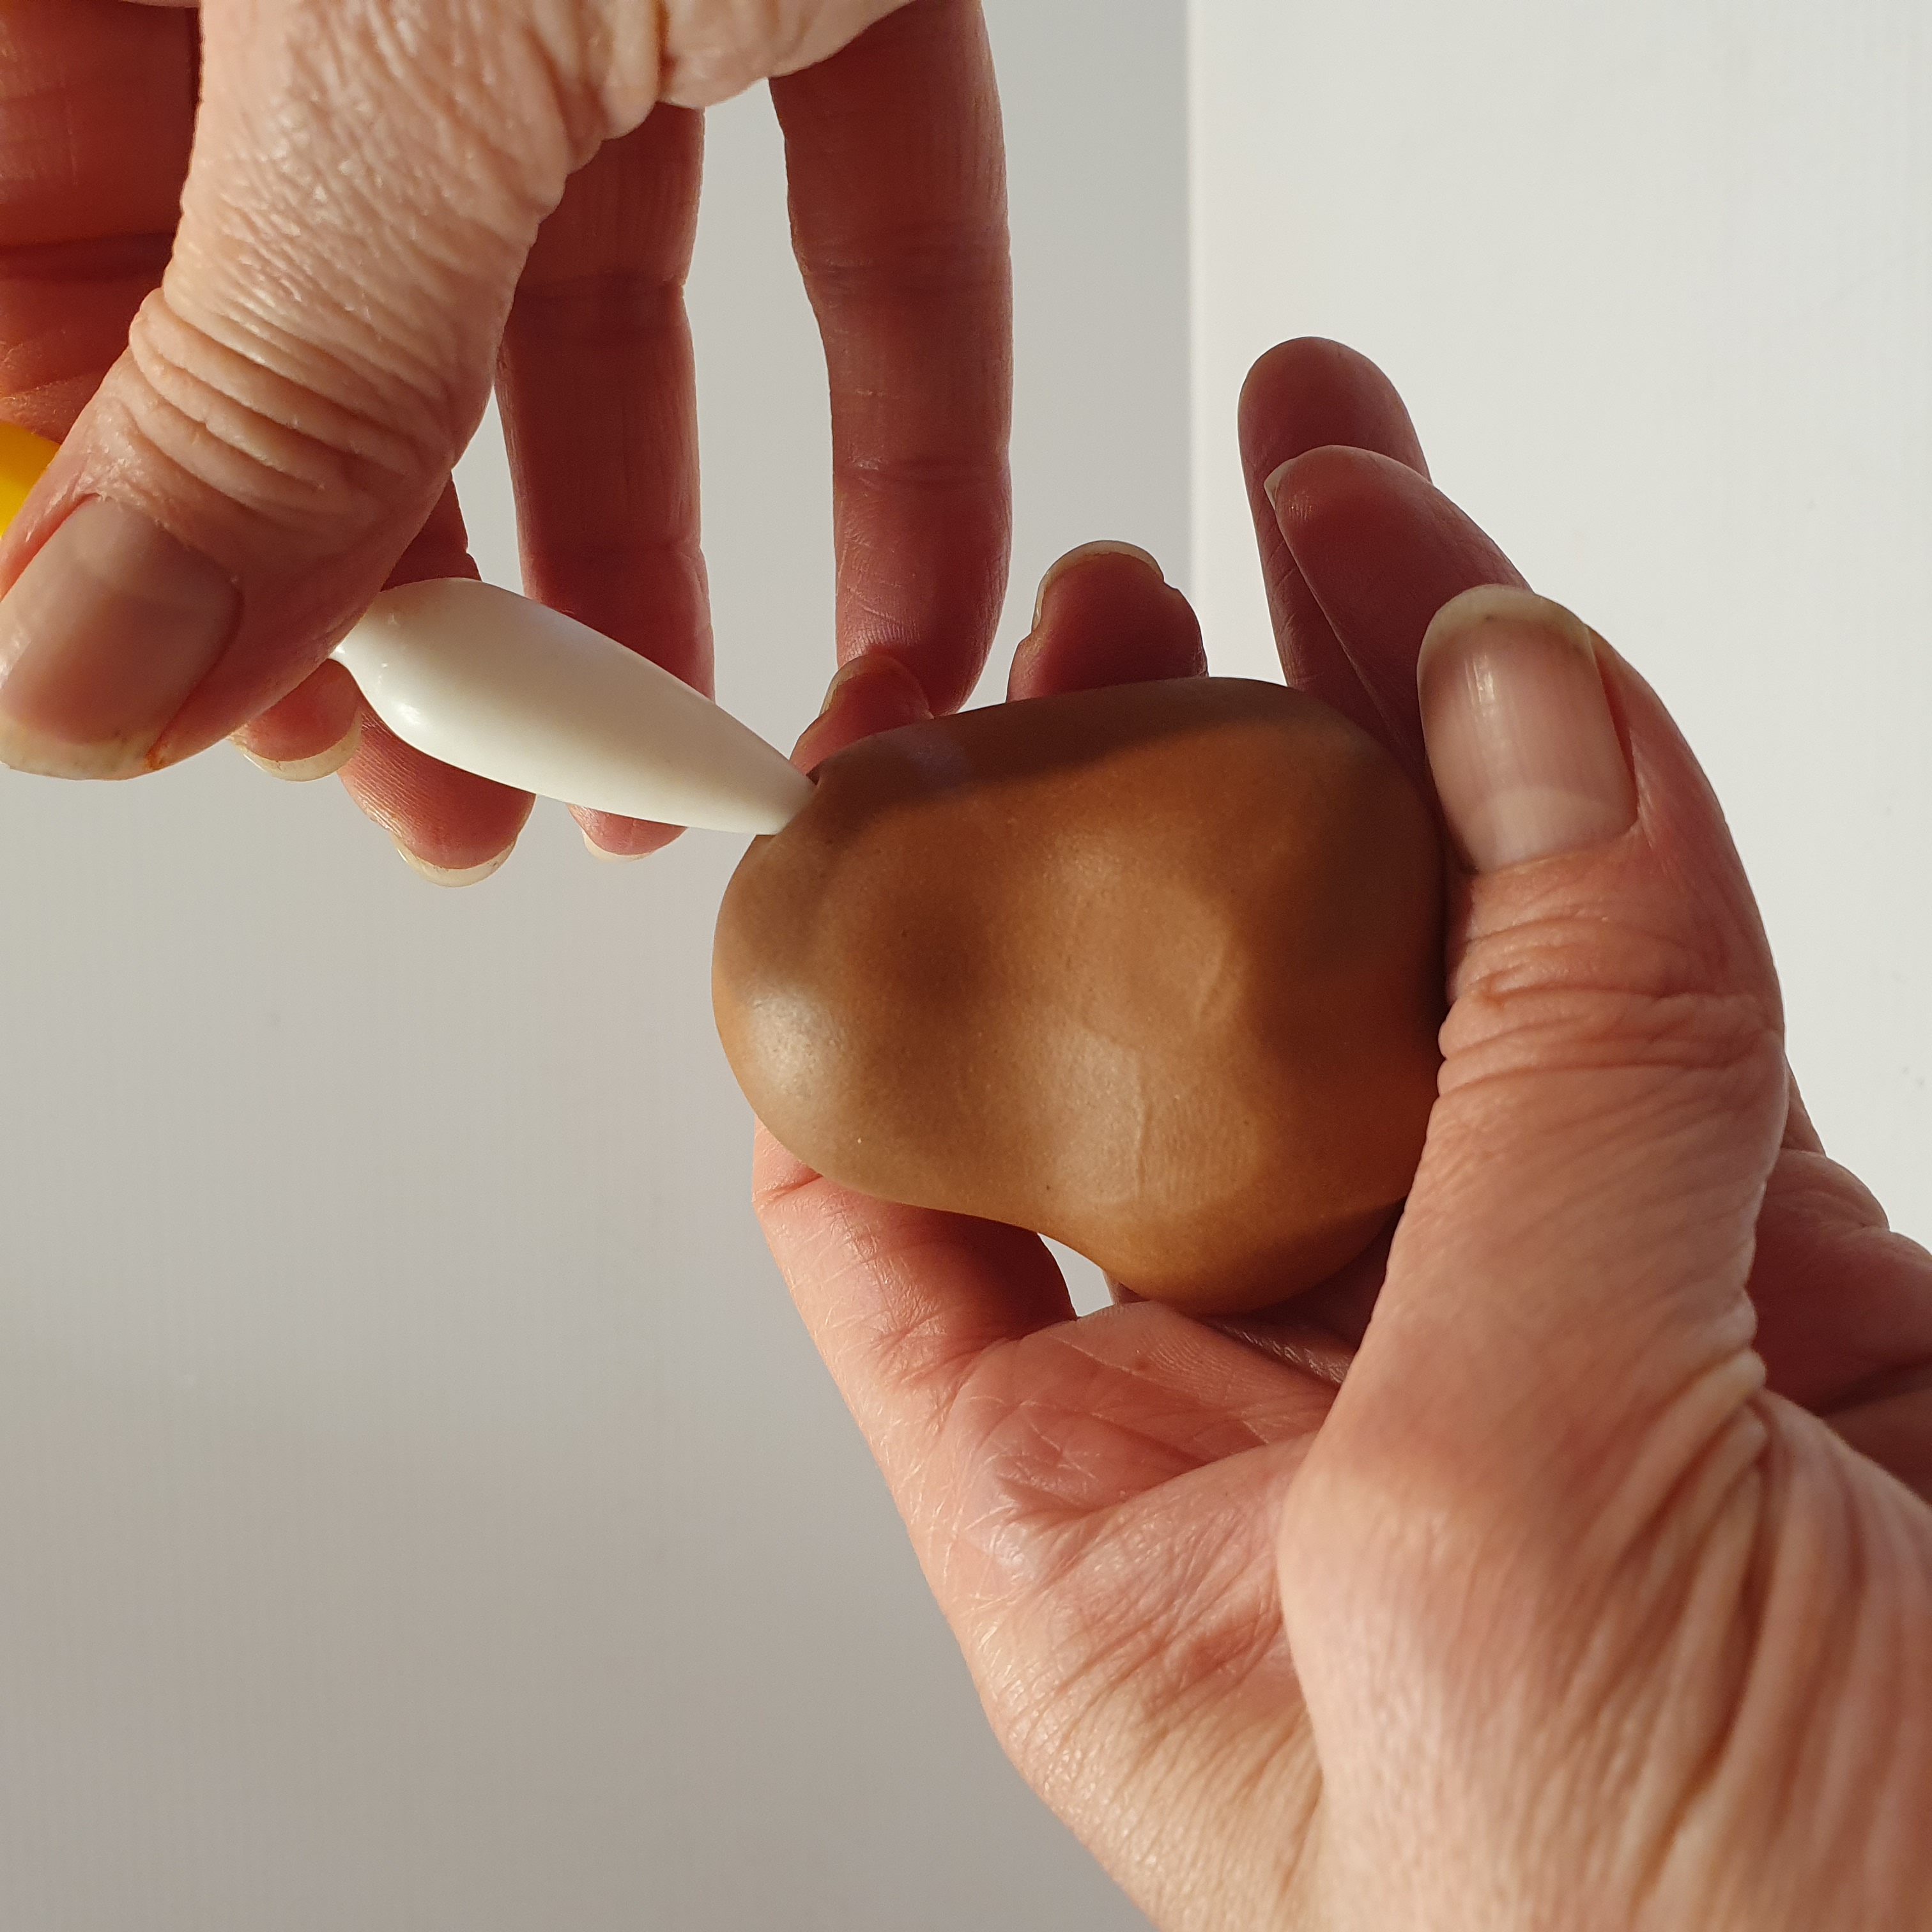
- With your finger or the rounded handle of a paintbrush, make 2 indents on either side of the chin and smooth out the shape of the cheeks nicely.
- Using your cone tool, make 2 holes where the ears will be inserted and put it aside to firm up.

Model the Arms and Legs
- For the arms, roll a sausage of fondant and cut it in half at an angle. Roll the end between your fingers to shape the wrist and paw. Use your Dresden tool to mark the toes, stick contrast-colored pads on the underside of the paw, then attach them to the torso.
- For the back legs, roll a ball of fondant, flatten it slightly—more on one side than the other with the thinner side facing toward the back—attach to the torso, and blend the join with your Dresden tool. Repeat for the other leg.
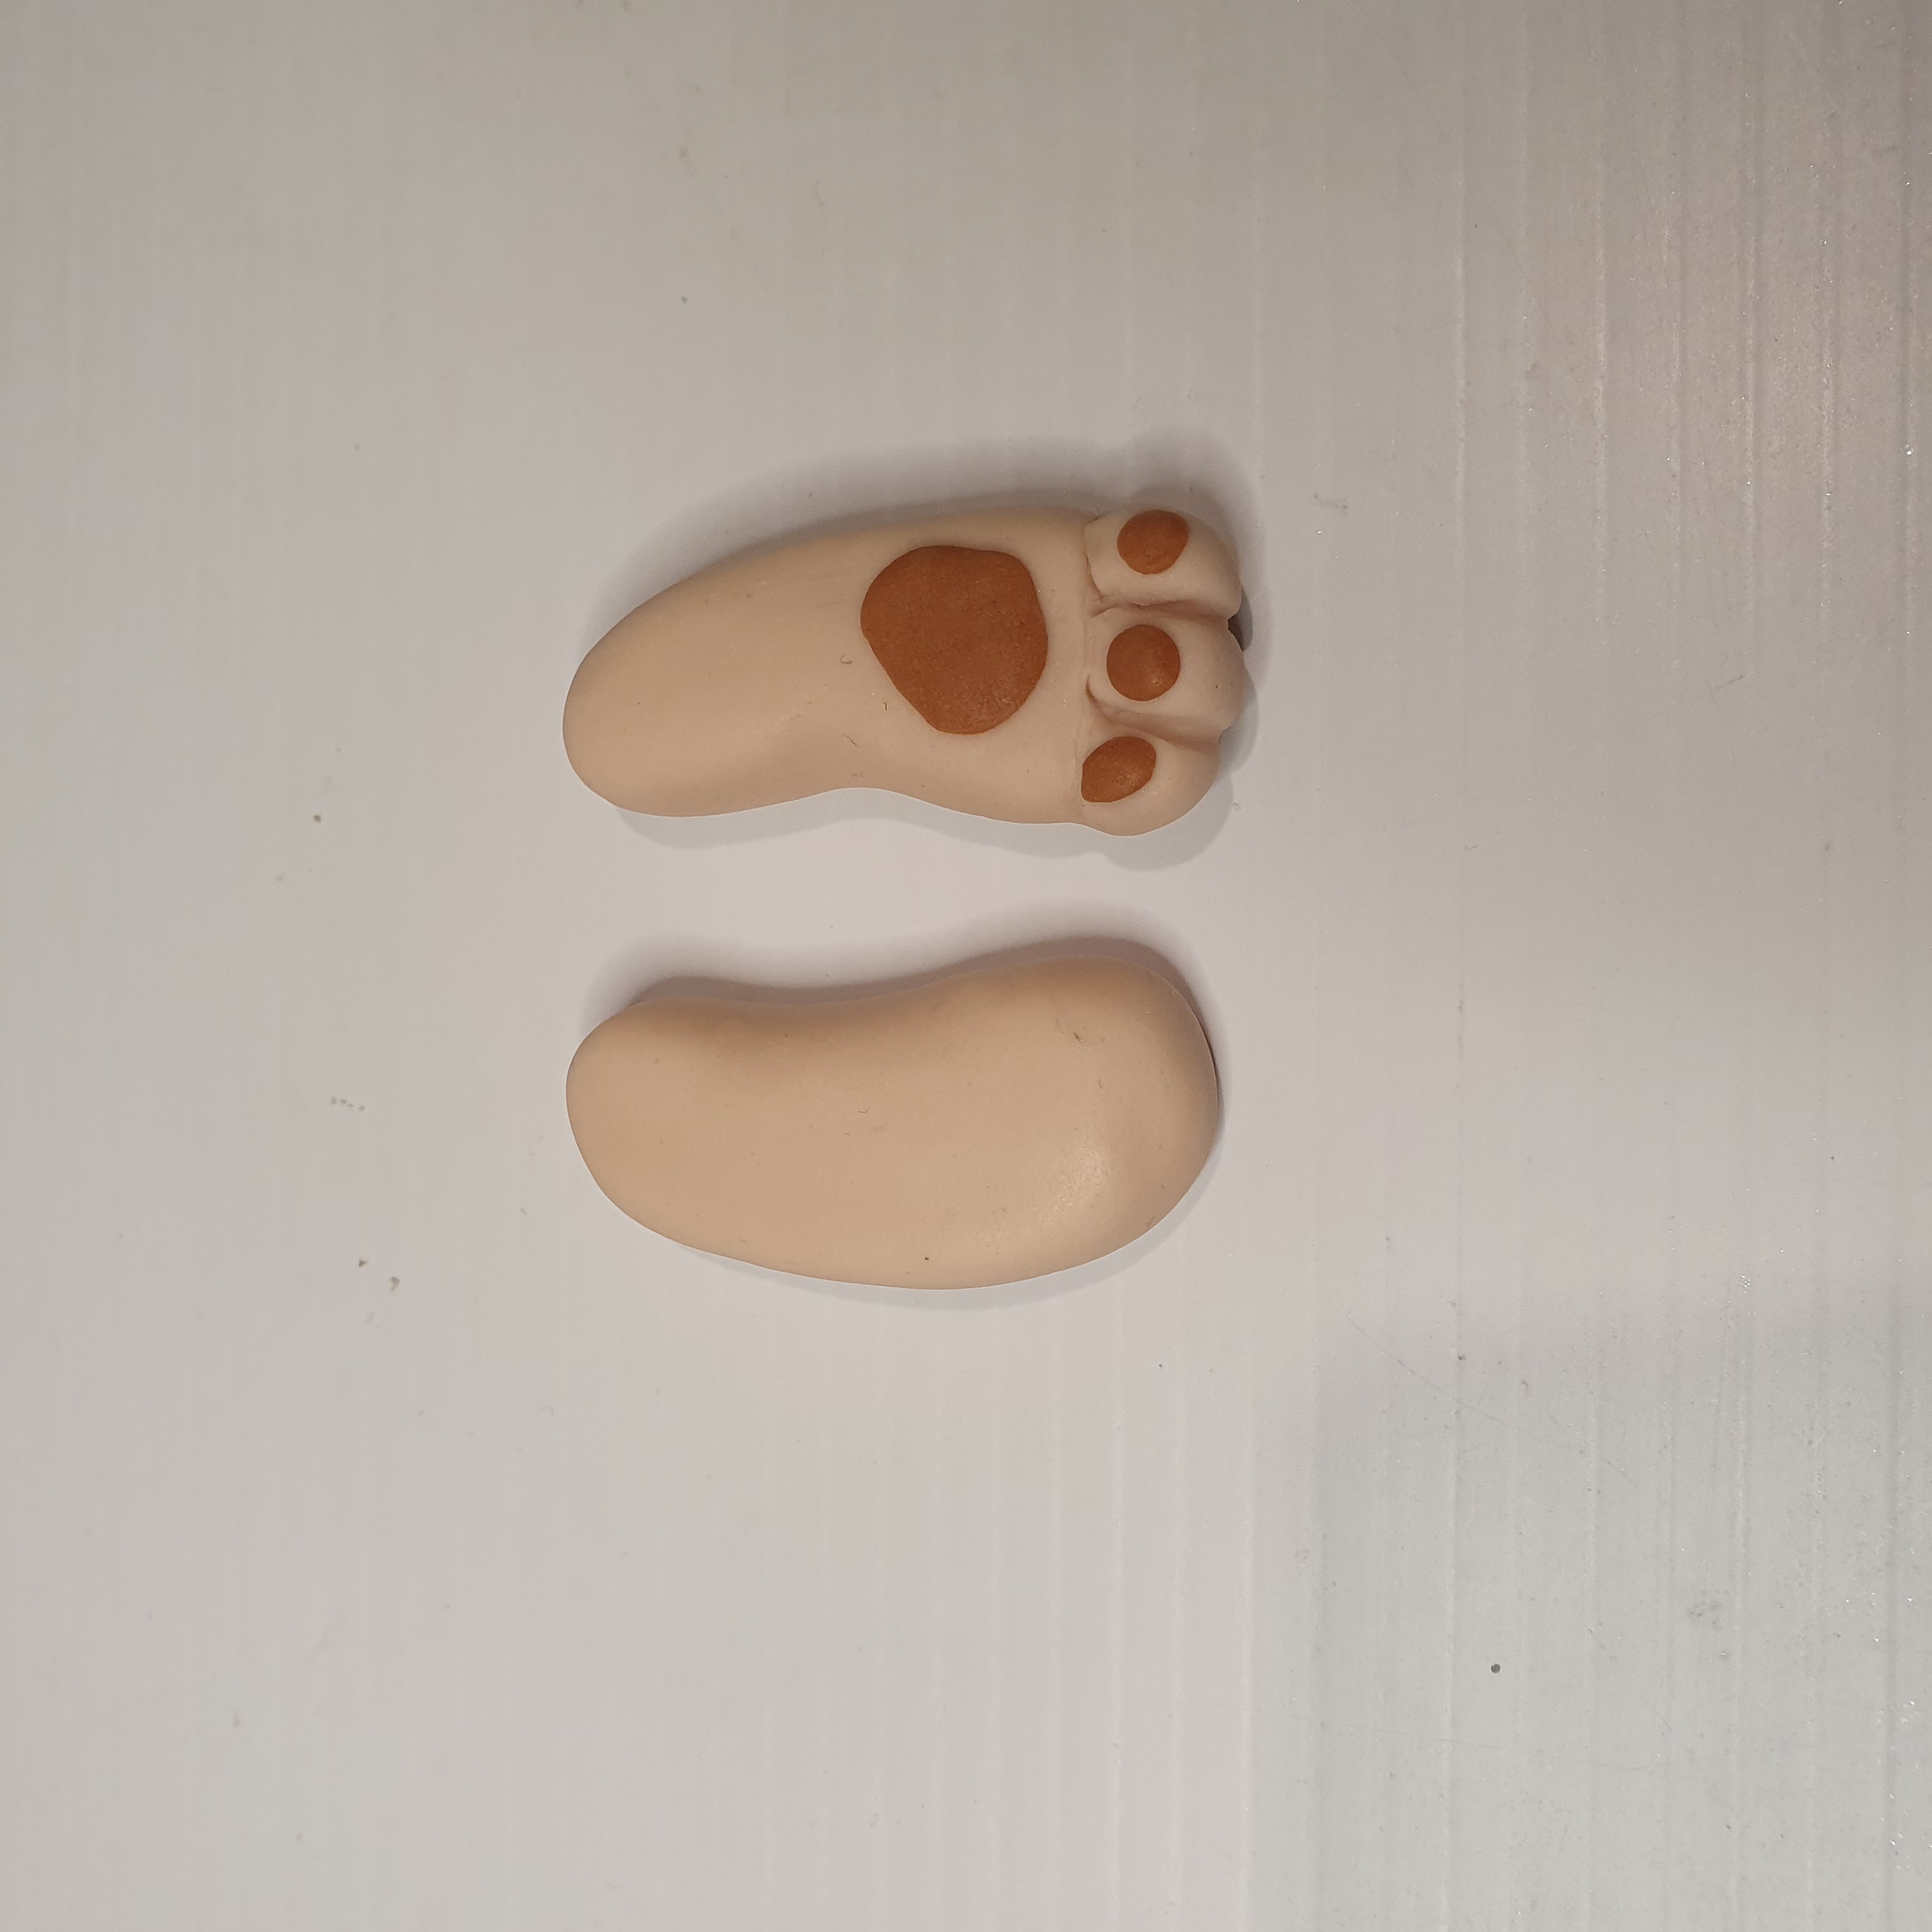
- The back paws will be in a contrasting color; you can add a little Tylose powder to your fondant to help it keep its shape if needed. Shape the feet by rolling an elongated teardrop and slightly flatten the one side to form the sole of the foot. Mark the toes and add the contrast-colored pads. Attach to the torso and blend the joins with your Dresden tool.

Define the Face
- Going back to the face, take your contrasting color, roll a small ball, then tease out 2 “arms,” keeping the thicker fondant in the center to form his snout.
- Place it on the bulge of the cheeks with the ball part where the nose will be, flatten it slightly, and blend it onto the face, keeping the muzzle protruding more than the cheeks. Mark the division and make a small triangle indentation where the nose will go on.
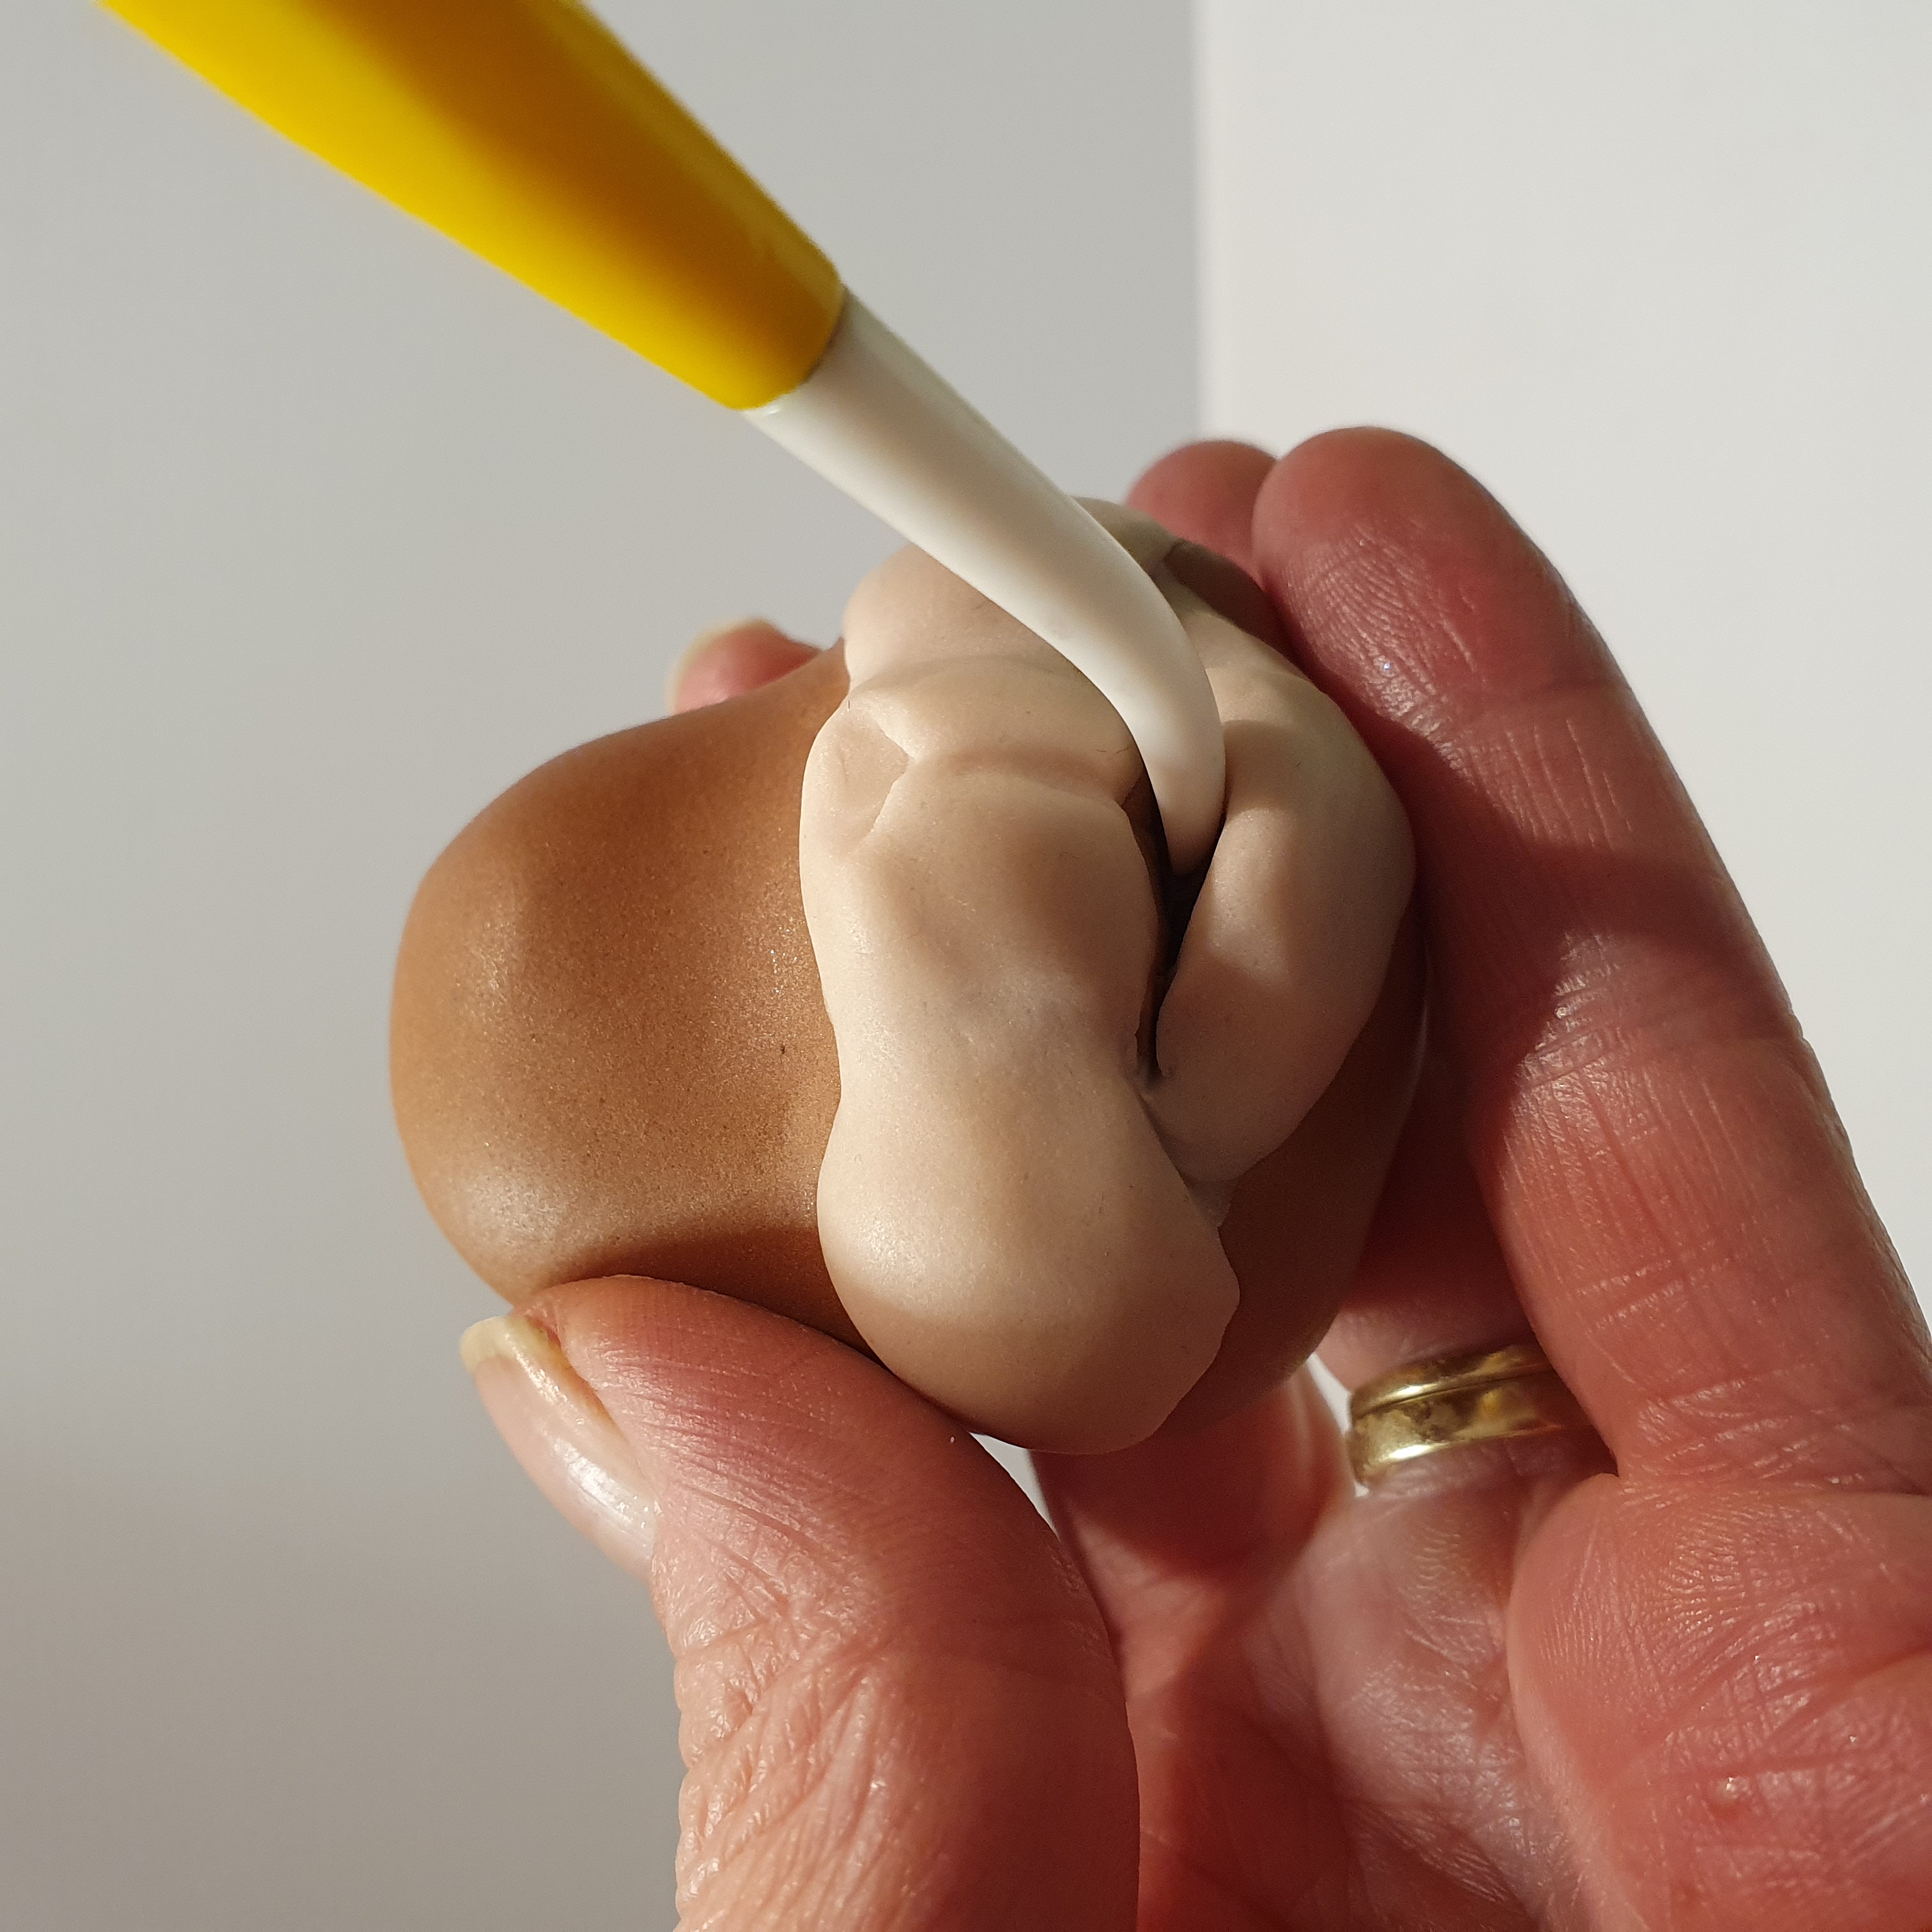
- For the chin and bottom jaw, make a smaller version of the shape used for the face, sized to fill the space below the muzzle. Blend back under the chin and back to the cheeks. Use the spoon end of the Dresden tool to hollow out and shape the mouth.
- Make a small teardrop of pink fondant, flatten it slightly, place it into the mouth, and make a line down the center with the Dresden tool.
- Cut 2 ovals in white for the eyes and 2 smaller ovals in black, keeping the fondant quite thin so the eyes don’t protrude. Stick them onto the face and add a little dot of white to each eye as a highlight.
- The eyelids can be made by cutting a circle in half and sticking over the top of the eye. Roll a small sausage of black fondant and stick under the eyelid as eyeliner. The nose is a little triangle of fondant, stuck into the indent for the nose. Use your Dresden tool to mark the nostrils.


Add the Final Touches
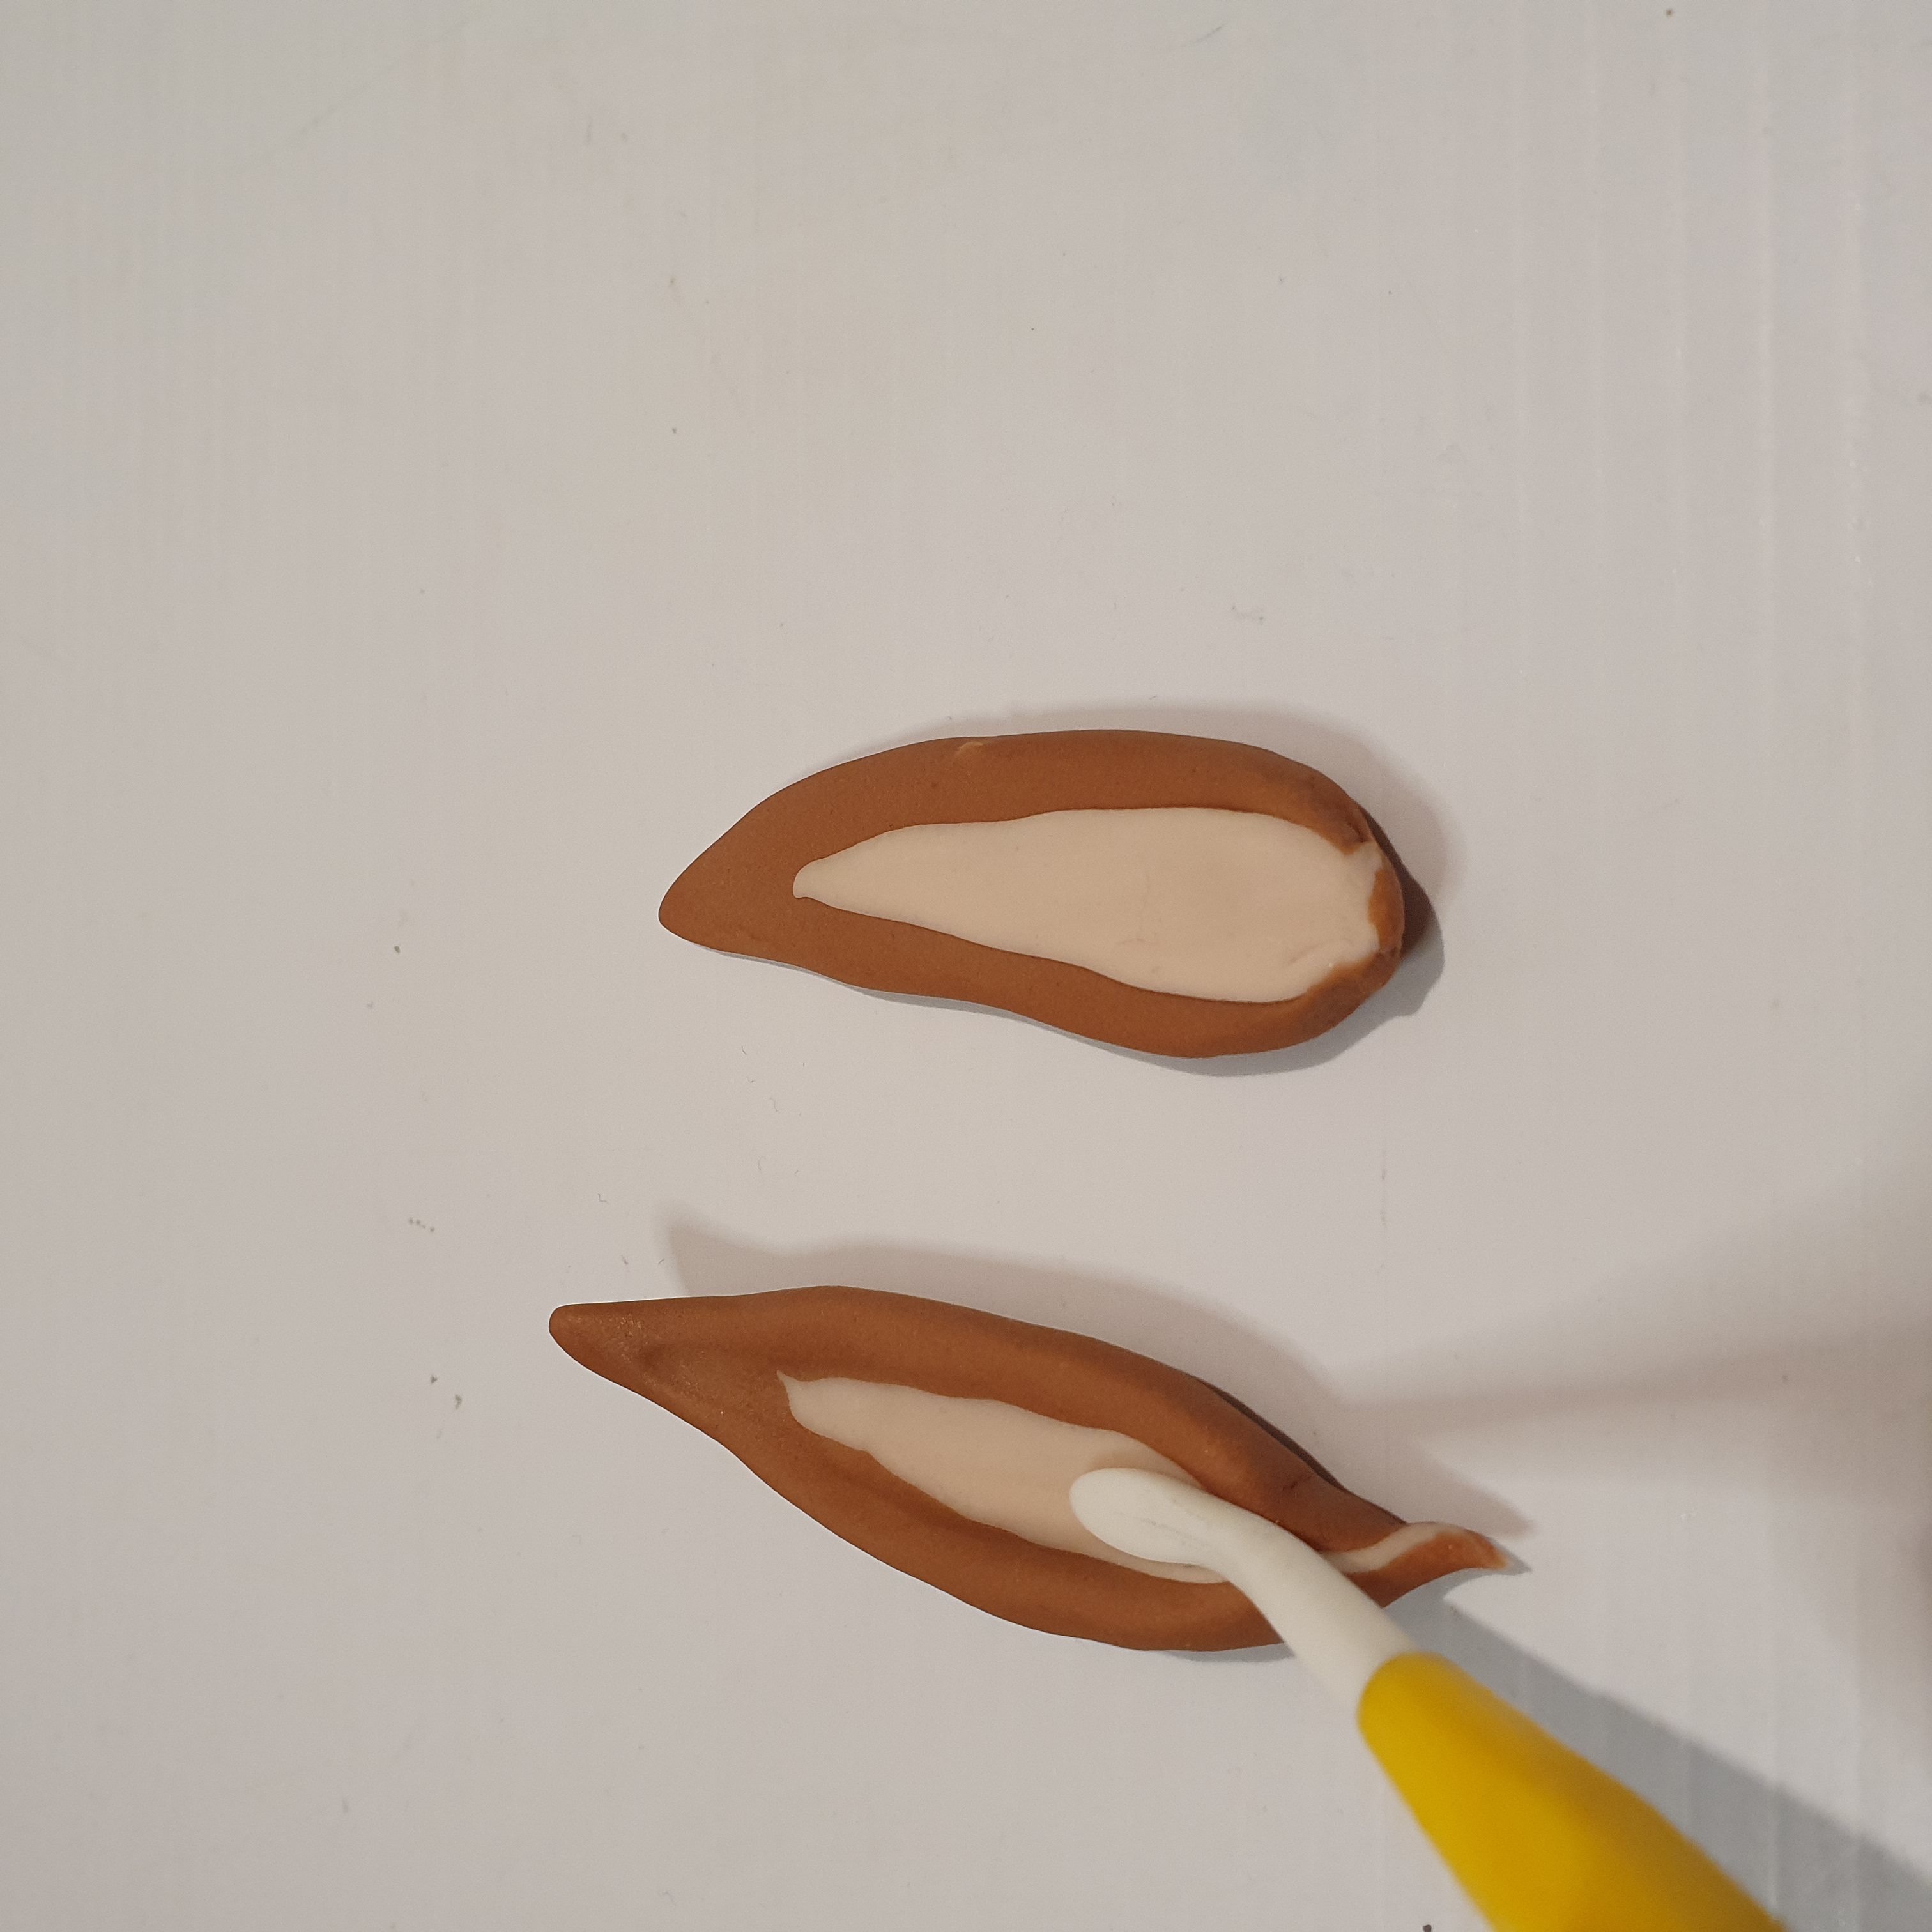
- For the ears, roll a long teardrop (the pointed end is the top of the ear), flatten it slightly, and shape the ear. Roll a smaller, similar-shaped teardrop in the contrasting color and place on the ear for the inside of the ear. Use the spoon end of the Dresden to press in the light color, curve up the outside edge of the ear, and pinch the base. Do the same for the other ear and attach them in the holes made on either side of the head.
- Roll a few little tapered sausages to make a fringe, squeeze the fat ends together, and attach them between the ears. Now you can dust his cheeks, ears, and mouth if you like.
- All that’s needed now is a fluffy tail to complete your roly poly bunny. Roll a fat teardrop in the contrasting color, stick it on his little bunny butt, and then use your cocktail sticks to add texture.

Now sit back and admire your lovely roly poly Easter bunny cake topper!
This tutorial originally appeared in the March/April 2021 issue of American Cake Decorating.
