
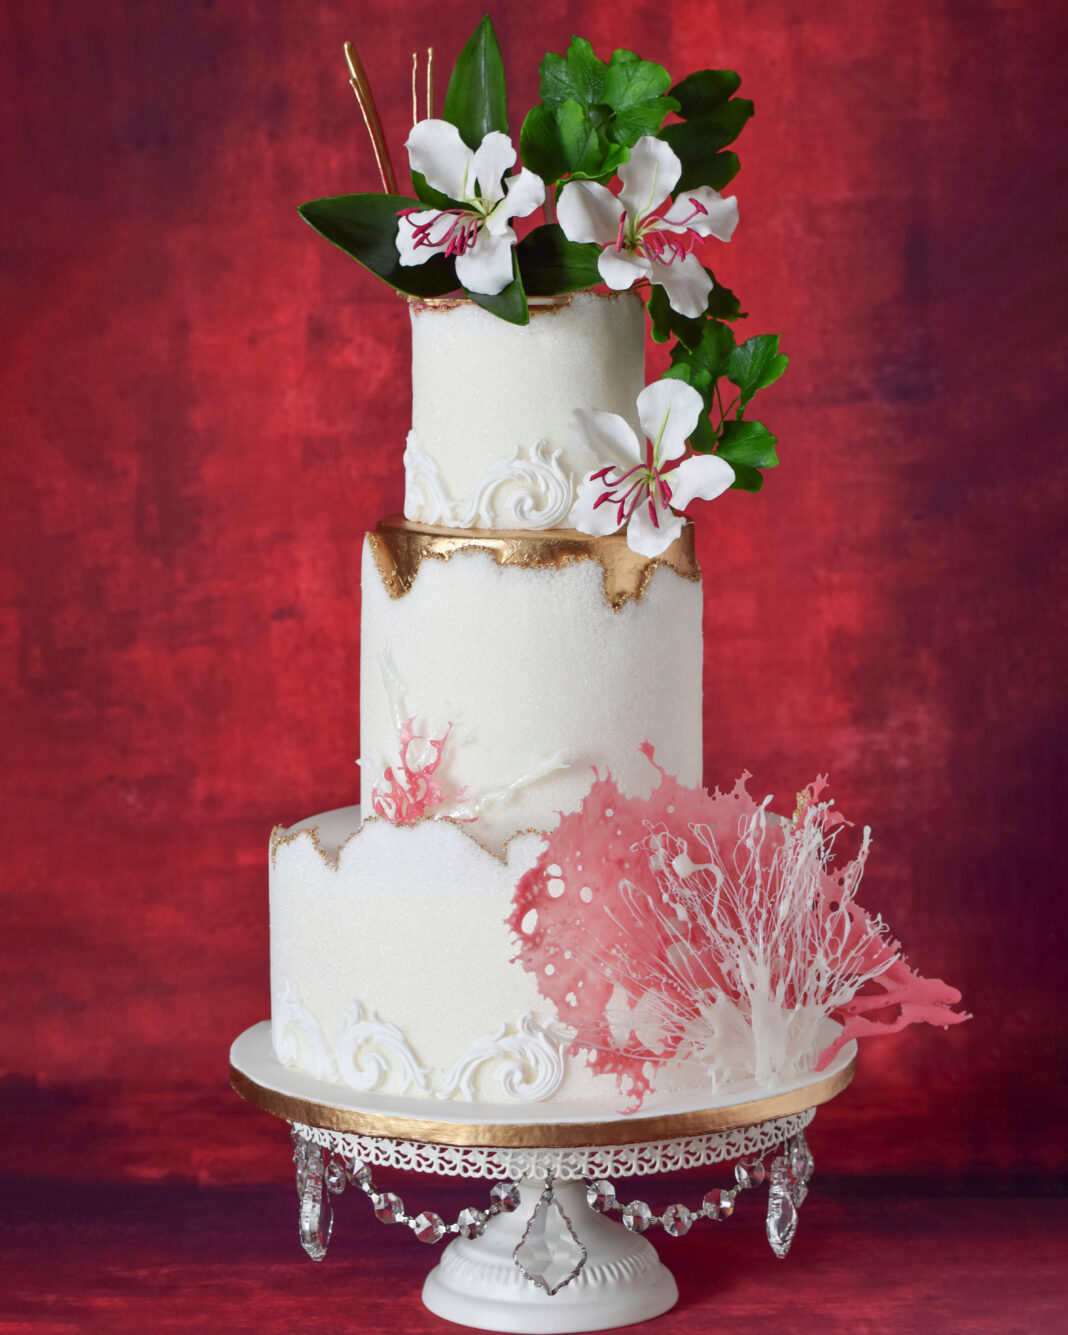
Celebrate the beauty of the Indian Ocean with this elegant cake decorating tutorial inspired by its vibrant coral reefs, tropical waters, golden sunsets, and delicate Bauhinia orchids. Combining bold isomalt coral with realistic gum paste orchids, this design creates a striking contrast of texture, color, and dimension. Follow the step-by-step instructions by Veronica Seta to learn isomalt and sugar flower techniques that come together to create a breathtaking tropical cake decoration perfect for weddings, special occasions, and showpiece cakes.

Edibles:
- 200 grams isomalt, divided
- White water-soluble food coloring
- Raspberry gel food coloring (Colour Splash)
- Alcohol
- Gum paste: white and light green (Satin Ice)
- Petal dusts: foliage green, autumn gold, pink, and plum (Sugarflair)
- Egg white
- Airbrush colors: green, yellow, and black (Cassie Brown)
- Edible glaze
Components:
- Medium saucepan
- Silicone spatula
- Candy thermometer
- Metal mixing spoon
- Parchment paper
- Silicone mat
- Rolling pin
- Rose petal cutter
- CelBoard
- Floral wire: 20, 26, 28, and 30 gauge (Hamilworth)
- Ultimate petal veiner (Flower Pro by Katy Sue Designs)
- Companion tool (Flower Pro by Katy Sue Designs)
- Paintbrushes (Cerart)
- Lily mold and veiner (Flower Pro by Katy Sue Designs)
- Pliers
- Pale green floral tape (Hamilworth)
- Leaf template or mold
- Maple leaves mold and veiner (Flower Pro by Katy Sue Designs)
- Aluminum foil
- Airbrush
Create the Isomalt Coral
- Set a medium saucepan with a small quantity of isomalt on the stove over medium heat. Once the content reaches a boil, add small quantities of isomalt until it reaches 100 grams.
- Use a silicone spatula to scrape the excess off the sides of the pan and back into the main mixture. After cleaning the side of the saucepan, attach a candy thermometer to the side.
- When the temperature reaches 280°F, add a very small quantity of white water-soluble food coloring and stir to incorporate using a metal mixing spoon.
- Cook until the syrup reaches 340°F. Remove the saucepan from the stove and let it cool a few minutes.
- Dip your silicone spatula in the white melted isomalt and let fine threads fall on a piece of greased parchment paper as to give shape to white coral. Let them dry completely before removing them.
- Repeat Steps 1 and 2 from the white coral with the remaining 100 grams of isomalt.
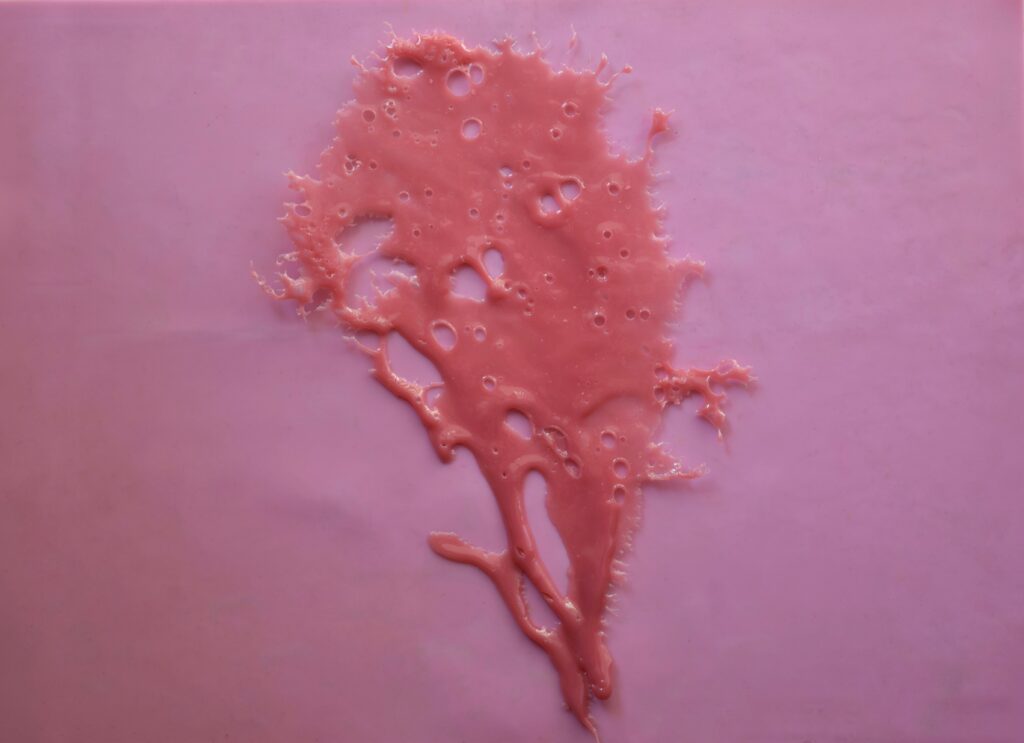
- Add a few drops of raspberry gel food coloring. Expect the mixture to bubble rapidly when you add the food coloring in!
- Spray a few drops of alcohol on a silicone mat and pour the isomalt on it. Let the isomalt slip down to the left and right on the mat as to give shape to a big piece of coral. The alcohol will make the isomalt bubble, creating beautiful holes and ridges.
- Once all the isomalt pieces are ready and dry, remove them from the paper and the silicone mat and attach them together in a shape of a reef.

Make the Orchid Petals
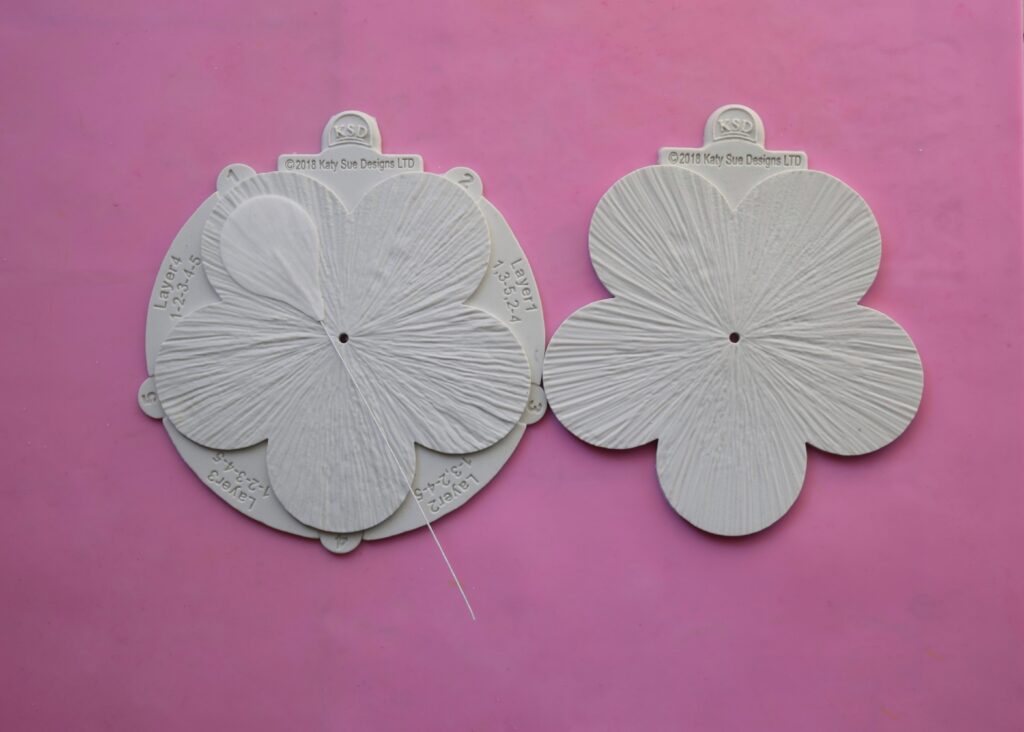
- Roll out white gum paste very thinly. Cut 5 petals with the rose petal cutter. Insert a 26-gauge floral wire into each petal on the CelBoard.
- Press the petals into the petal veiner.
- Remove the petals from the veiner and frill their edges with the companion tool. Let them dry.
- Mix foliage green and autumn gold petal dust and color the petal bases.



Create the Pistil and Stamens
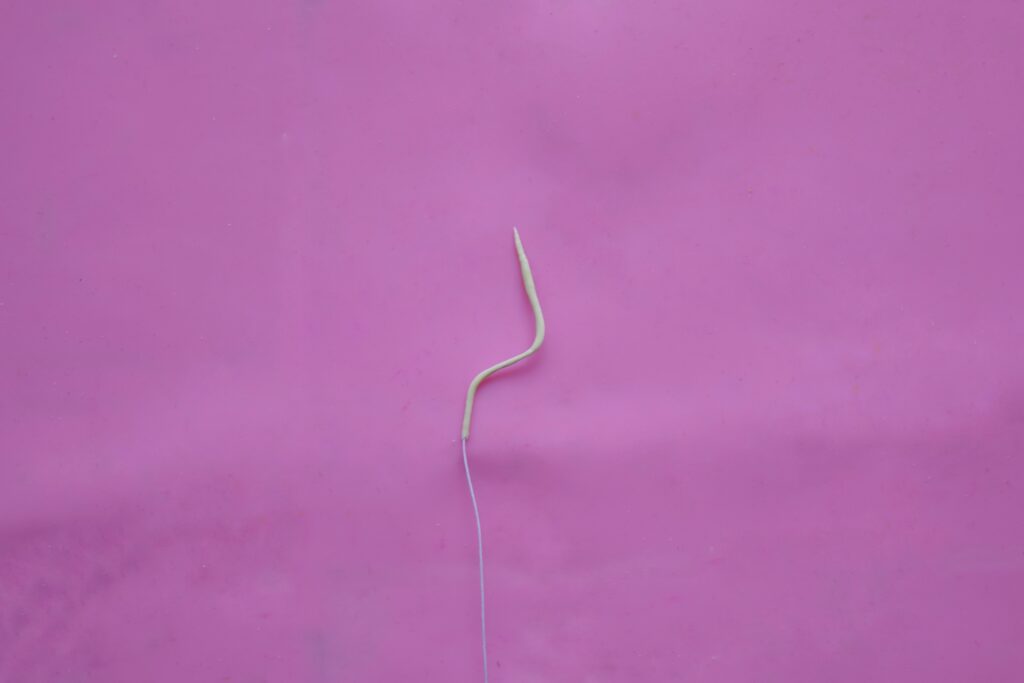
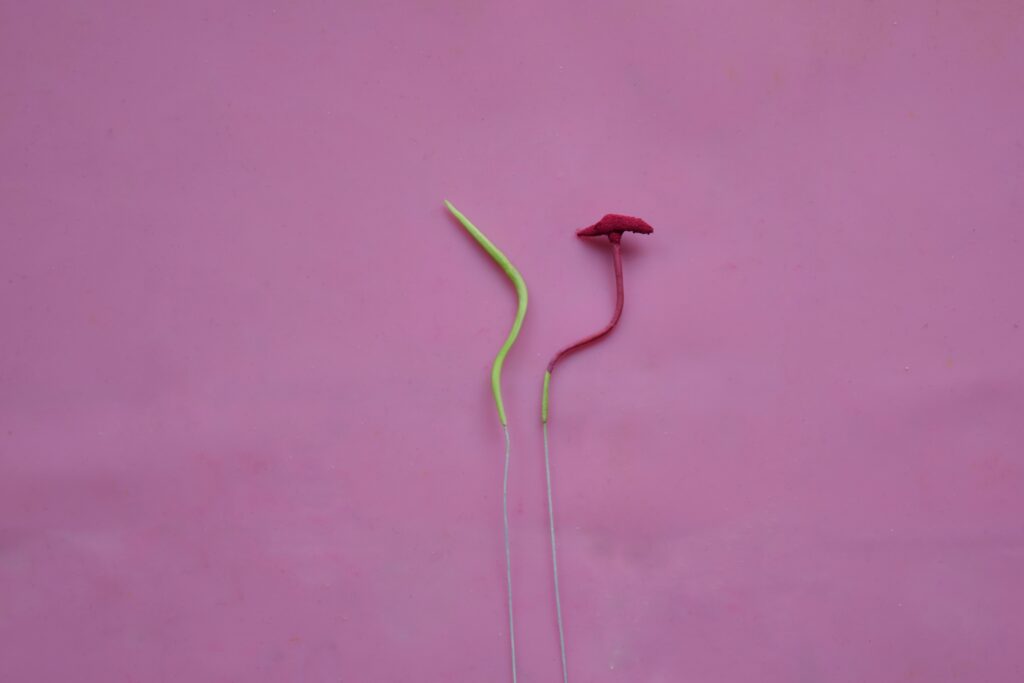
- Roll a pea-size ball of light green gum paste. Moisten a 24-gauge wire and thread the ball onto it. Work the paste with your finger and thumb to cover 1½ inches of the wire. Bend the pistil.
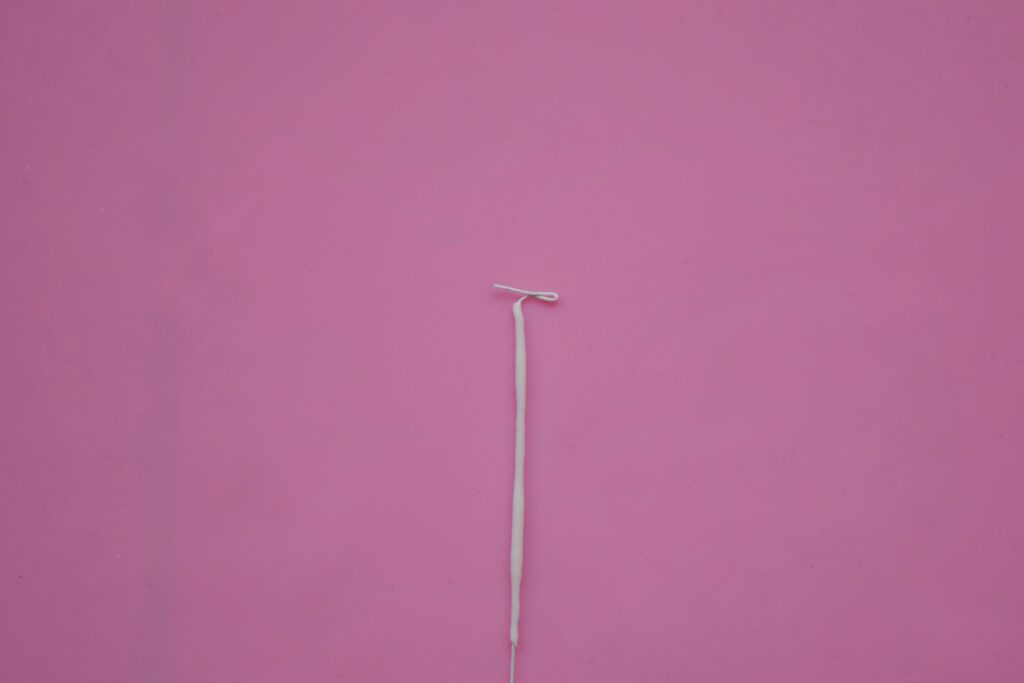
- Bend the tip of a 28-gauge floral wire to make a “T”-shape filament. Brush the wire with egg white and stretch up a small ball of gum paste to meet the “T”-shape hook. Make 5 filaments.
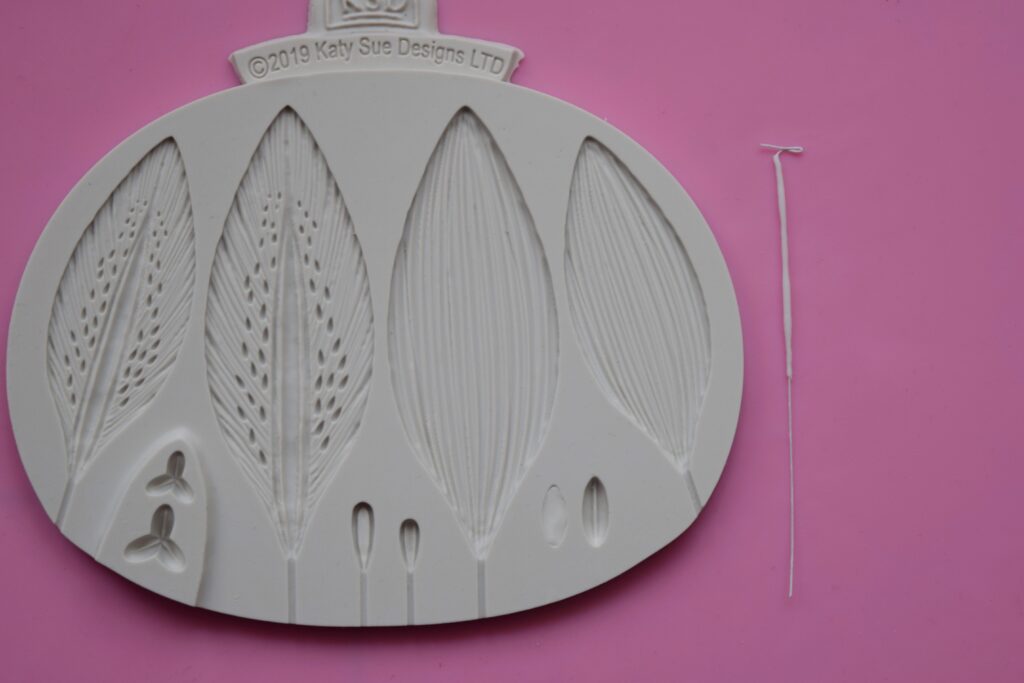
- Press a small ball of white gum paste into the lily mold. Brush egg white on the “T”-shape hook and push it into the paste. Flex the mold to remove it. Repeat with the other filaments.
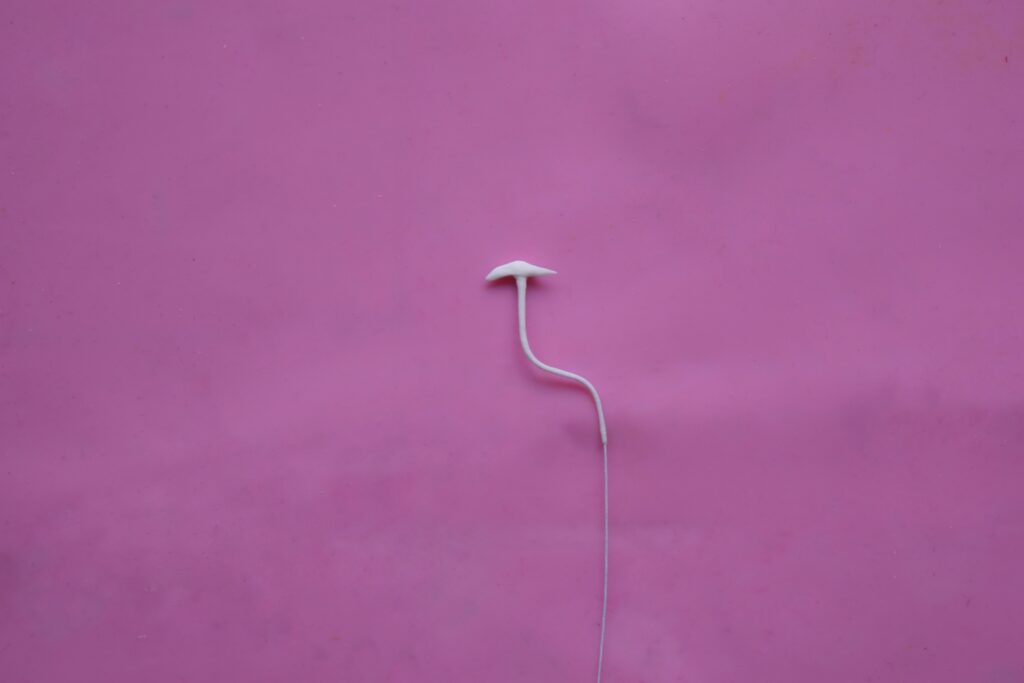
- Bend each stamen into an “S” shape, using pliers and pinching at intervals to create a gentle curve.
- Mix foliage green and autumn gold dust and color the pistil and the base of the stamens. Mix pink and plum dust and dilute in a few drops of alcohol. With a very fine brush, paint the middle and the top of the stamens and anthers. While the color is not completely dry, dip each anther into plum petal dust to form the pollen.
- Tape the stamens around the pistil, positioning them so that the pistil is slightly above the stamens.

Assemble the Orchid and Make the Leaves
- Tape the petals around the pistil and the stamens.
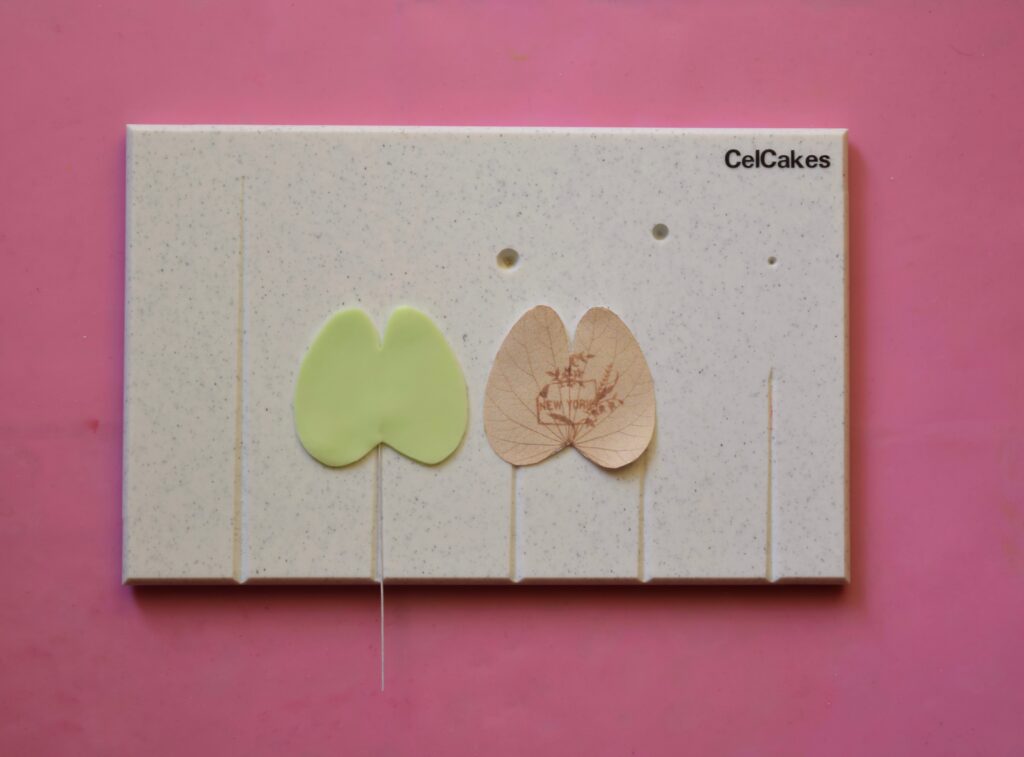
- Roll out a small quantity of light green gum paste on a CelBoard. Insert a moistened 26-gauge floral wire and cut out the shape of a Bauhinia’s leaf using a paper template or a cutter.
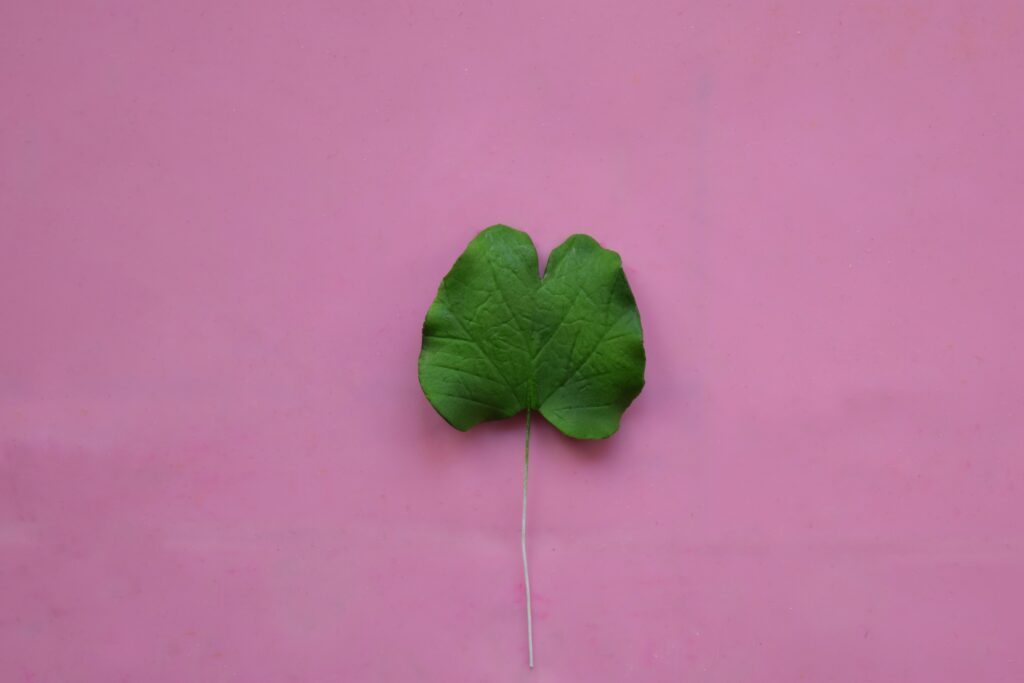
- Press the leaves into the maple leaves veiner. Let the leaves dry in pieces of aluminum foil to give them shape.
- When leaves are completely dry, airbrush them mixing drops of green, yellow, and black. When dry, glaze the leaves. Cover the wires with floral tape.
- Cover a 20-gauge floral wire with floral tape and assemble the leaves to the flowers.


This tutorial originally appeared in the July/August 2021 issue of American Cake Decorating. For more tutorials with American Cake Decorating, click here!
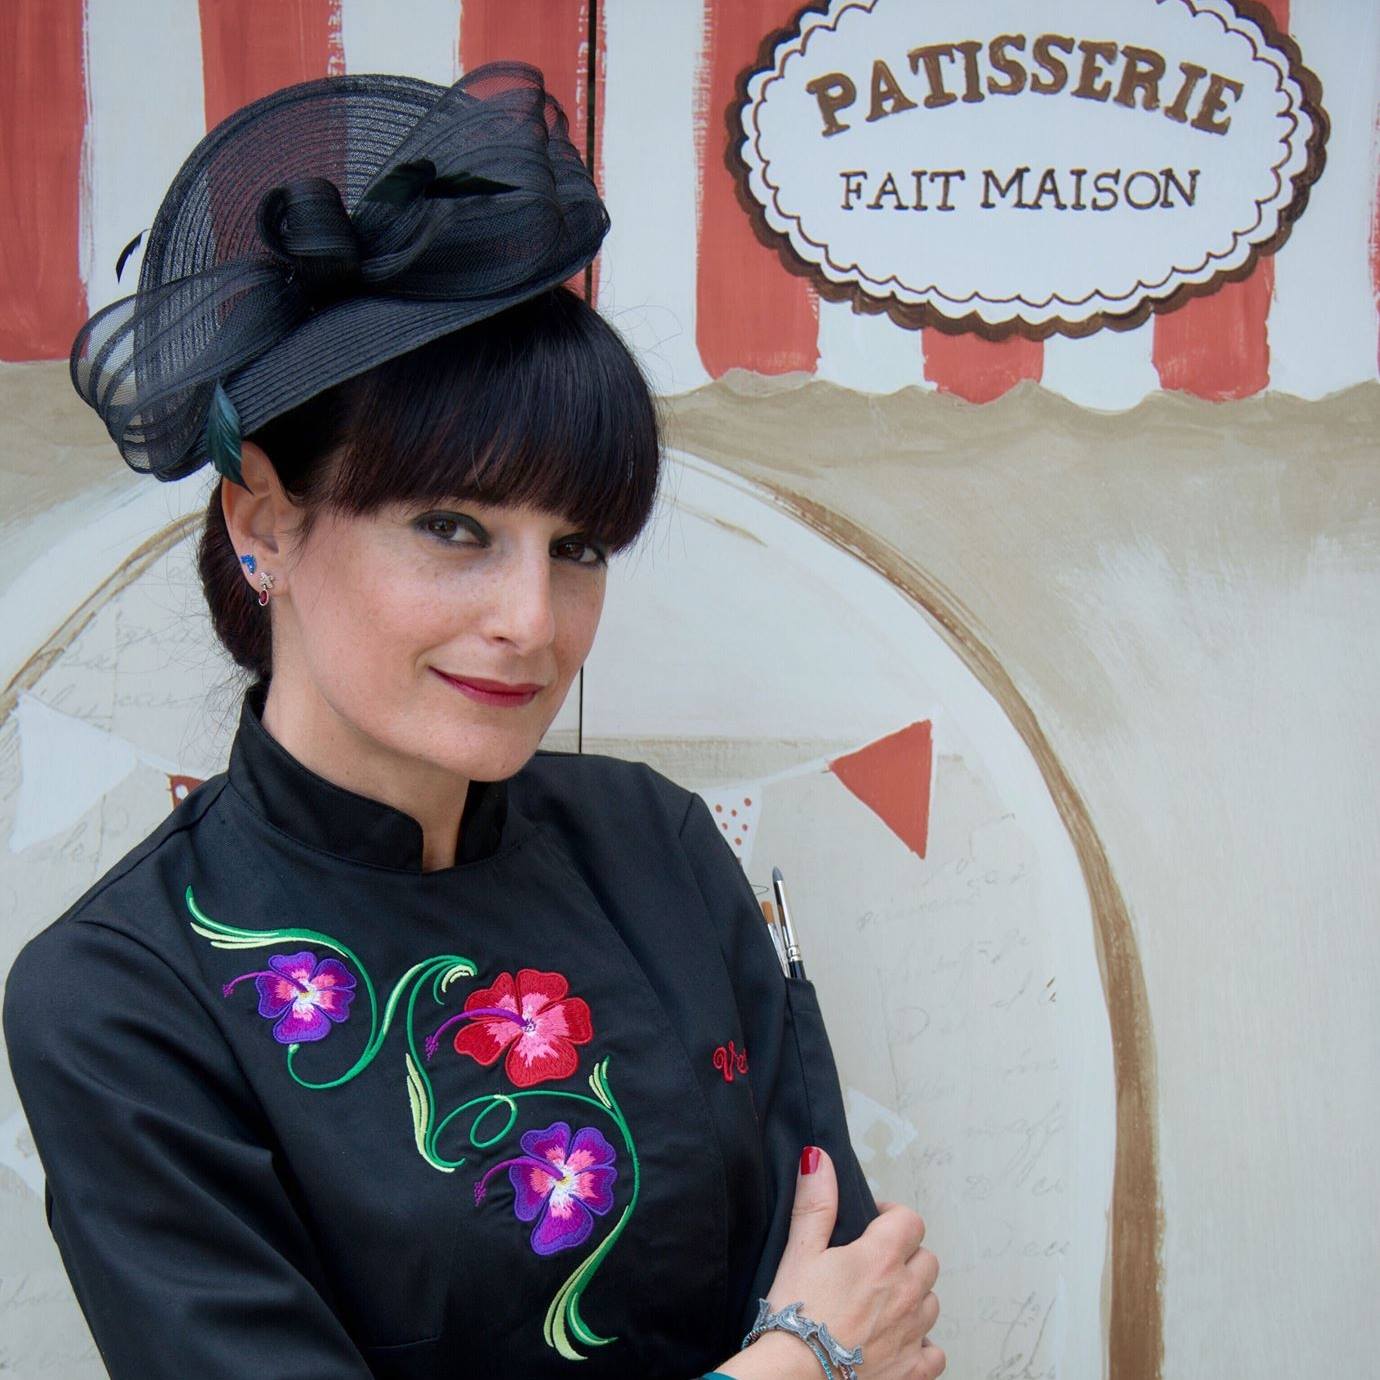
Veronica Seta
Veronica Seta is a multi-award-winning cake artist from Naples, Italy. She is most known for her stunningly realistic sugar-flower arrangements and classic design aesthetic. Veronica enjoys sharing her passion for cake artistry with others and travels internationally to teach at cake shows. She is an ambassador for many companies in the industry and has been featured in many notable cake magazines and blogs.