

Learn how to create vibrant, lifelike gum paste hibiscus flowers with this step-by-step tutorial. From shaping delicate petals and realistic leaves to assembling detailed stamen centers and adding beautiful petal dust shading, this guide by Seri Lopez walks you through every stage of creating stunning tropical sugar flowers for cakes, wedding designs, and floral arrangements.
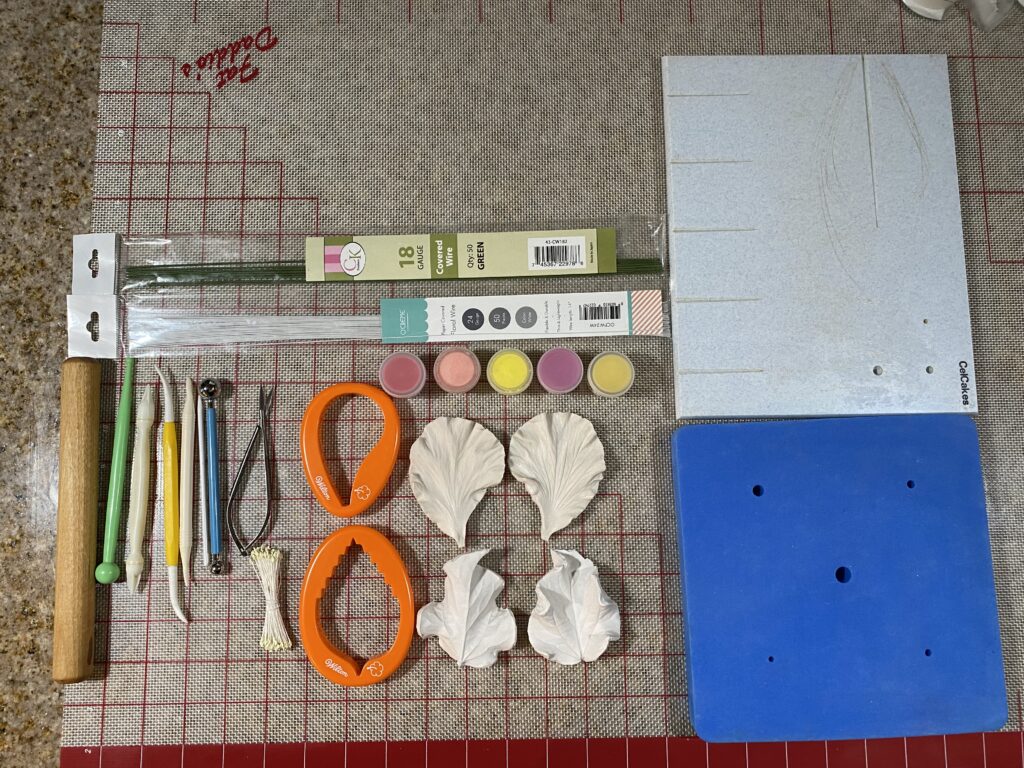
Edibles:
- Gum paste: red, yellow, and green
- Gum glue
- Petal dust: yellow, dark pink, red, and green
- Edible lacquer spray
Equipment:
- White floral wire: 18, 26, and 30 gauge
- Needle-nose pliers
- Green floral wire
- Small-seeded stamen
- Green floral tape
- Paintbrushes
- Rolling pin
- Grooved cutting board (CelCakes)
- Hibiscus petal cutter
- Foam pad
- Ball tool
- Hibiscus petal veiner
- Dresden tool
- Flower former
- Hibiscus leaf cutter
- Hibiscus leaf veiner
- Aluminum foil
Create the Stamen Centers
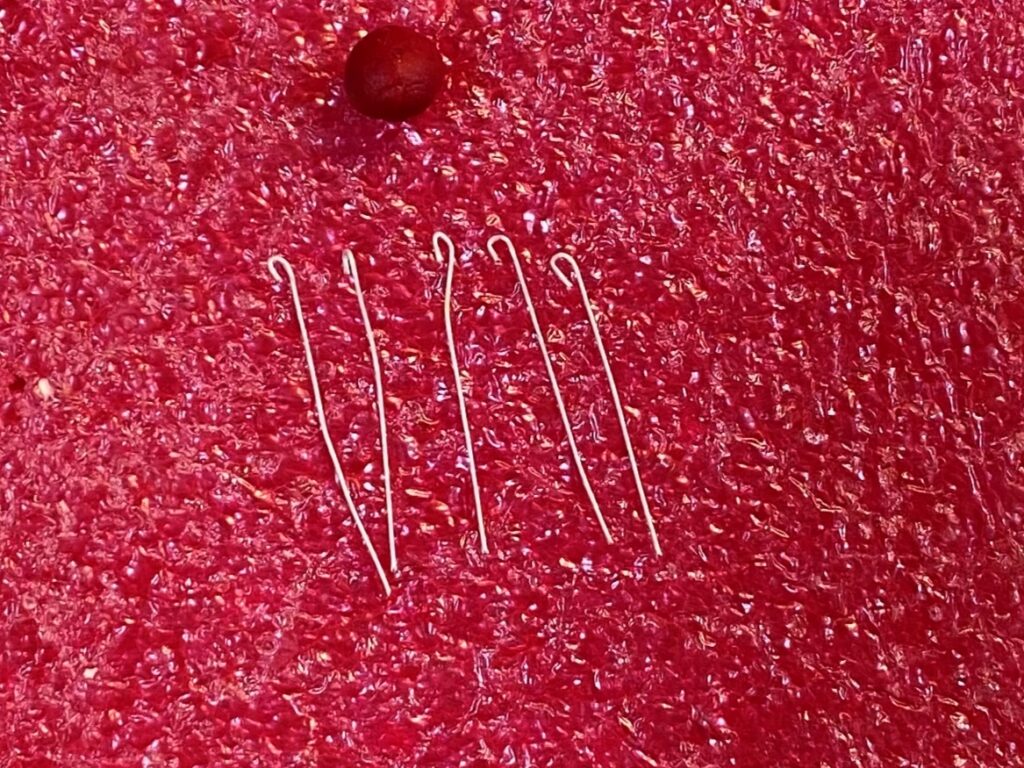
- Cut five 1½-inch pieces of white 30-gauge florla wire. Use a pair of needle-nose pliers to bend a hook at the end of each piece.
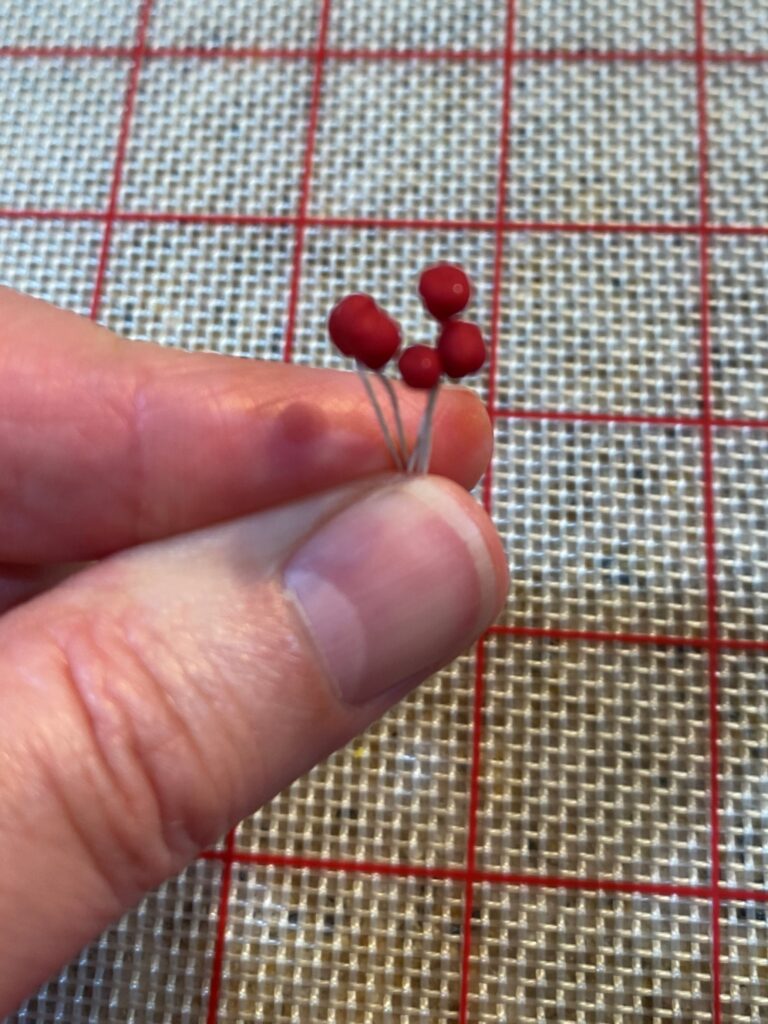
- Make 5 very small round balls of red gum paste and insert a hook into each ball. Let dry overnight.
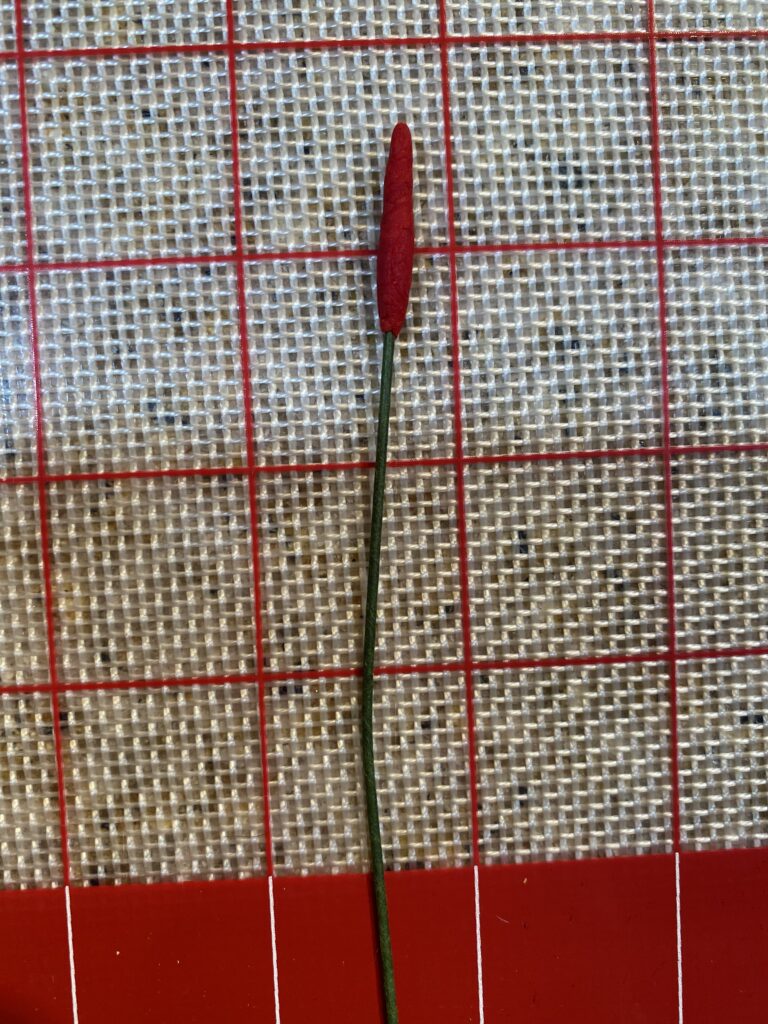
- Using red gum paste, make a small sausage. Dip your wire into gum glue and slide the sausage over a piece of green floral wire and let dry overnight.
- Take 20 seeded stamens and wrap a piece of white 30-gauge floral wire around the center. Fold in half.
- Place the 5 dried red stamens around the sausage and wrap a piece of white 30-gauge floral wire around the bottom of the stamen. Wrap floral tape around the bottom.
- Add the 20 seeded stamens and wrap them with floral tape. Brush the tops of the stamen with yellow petal dust. Set aside.


Prepare the Petals
- Roll yellow gum paste over the grooves of the cutting board as thin as possible. You should be able to see the veins and board through the gum paste. Cut 5 leaves with your hibiscus leaf cutter.
- Place a prepared petal on a foam pad with the vein facing up. Use your ball tool to thin the edges of the petal, keeping half the ball on the paste and half on your foam pad. Roll and gently ruffle.
- Dip a piece of white 26-gauge floral wire into the gum glue. Feed the wire into the vein about ⅓ of the way up the petal.
- Place the petal into the hibiscus leaf veiner and press down. Remove and thin the edges again with the ball and Dresden tools as needed for extra detail on the foam pad.
- Place completed petals into a plastic curved flower former. Let dry overnight.


Create the Leaves
- Roll out green gum paste on the grooved board and cut out leaves.
- Dip a piece of white 26-gauge floral wire into the gum glue. Feed the wire into the vein about ⅓ of the way up the leaf.
- Place the leaf into the hibiscus leaf veiner and press down. Remove and thin the edges again with the ball and Dresden tools as needed for extra detail on the foam pad.
- Place the completed leaves onto crumpled aluminum foil. Let dry overnight.


Complete the Gum Paste Hibiscus Flowers
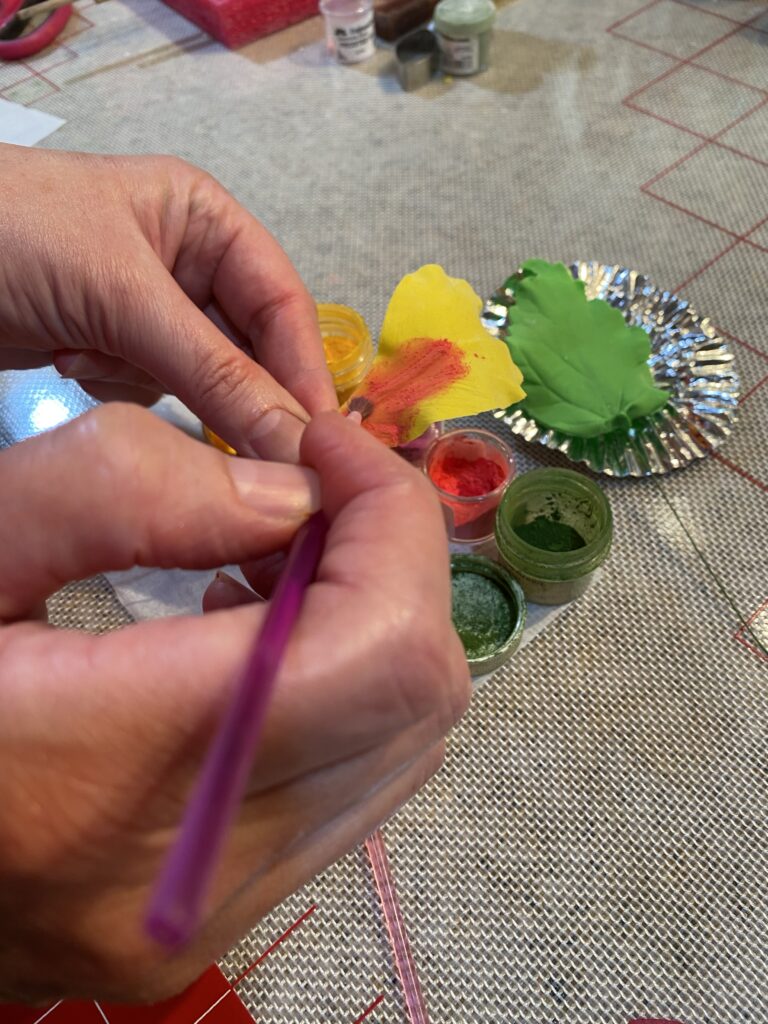
- Using different petal dust colors, brush ⅔ of the way down, mixing and layering your petal dust colors. I used 3 colors on the floral petals and a darker green on the leaves to create dimension. Spray your petals and leaves with edible lacquer spray to set the color.
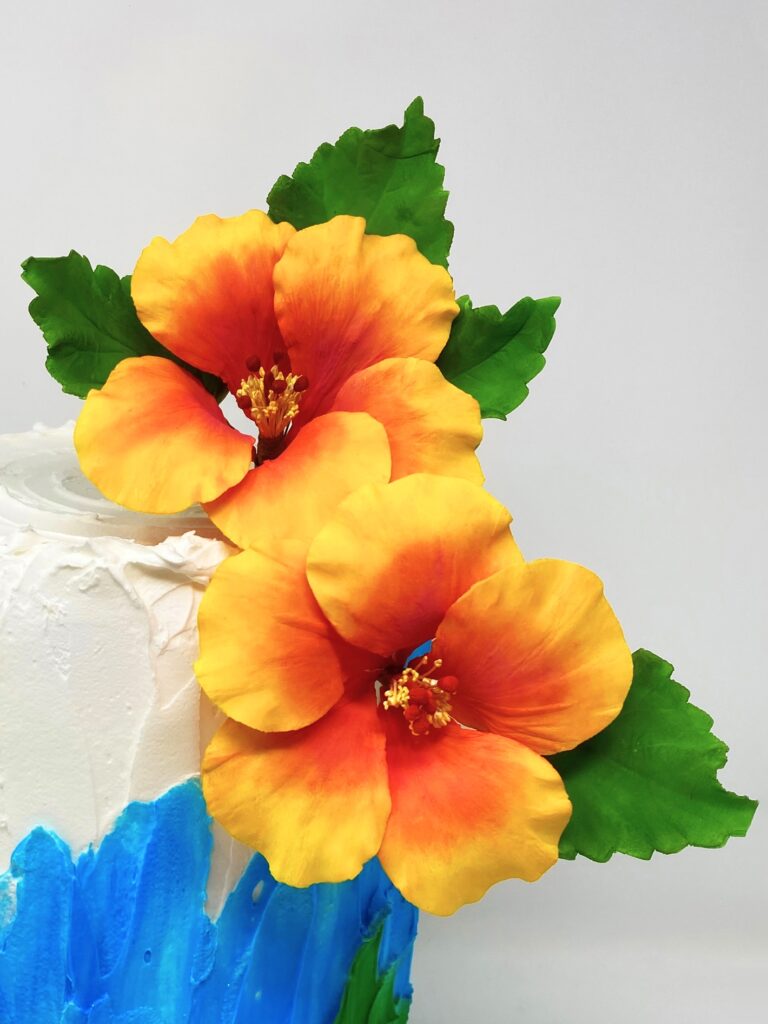
- Attach the petals, 1 at a time, around the stamen stem going clockwise. Wrap with floral tape and then attach the next petal. Gently move the petals into position. Using floral tape to secure them into place, add your leaves last. Use 1 to 3 leaves per flower.

Seri’s Gum-Paste Hibiscus Flower Tips
- Make gum glue by mixing gum tragacanth with water.
- Place gum-paste petals under plastic wrap to keep them from drying out while you work.
- You can also use a steamer instead of lacquer spray to set the petal dust colors.
- Want to make your own gum paste? Try Nicholas Lodge’s recipe, found on nicholaslodge.com.
This tutorial originally appeared in the July/Aug 2022 issue of American Cake Decorating. For more tutorials, click here!

Seri Lopez
After years of working in environmental engineering and education–IT careers and running her own Pampered Chef business, Seri Lopez took a cake decorating class and decorating class and her new career began. She was certified by taking classes at local cake-decorating supply shop in 2002, made her first wedding cake in 2004, and started her business in 2006. Se honed her skills in sugar art through master classes under very well-known sugar artists over the years. She has been a Food Network competitor and a winner at both the Oklahoma State Sugar Art Show and Oregon State Fair. She loves making cakes and working with her hands to create.