
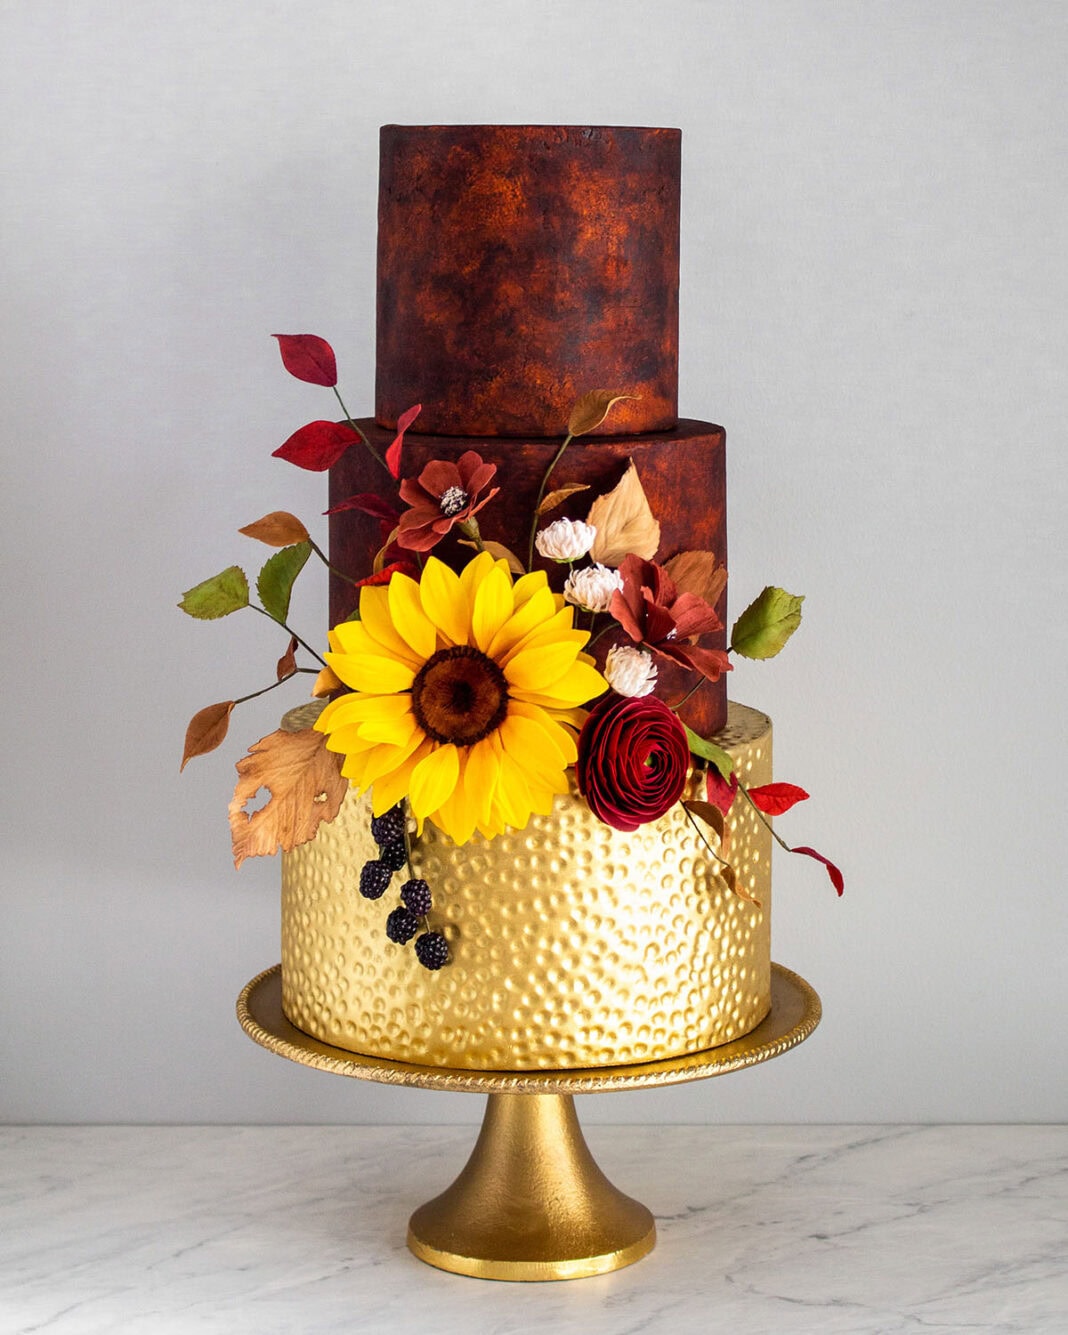
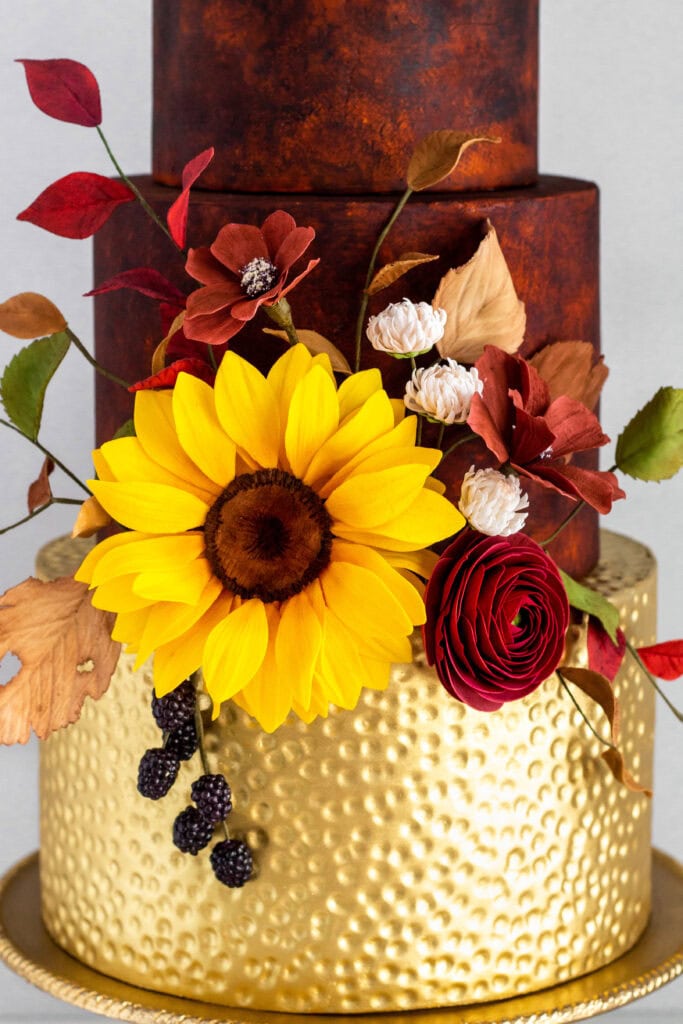
Shiny hammered metal and moody rust techniques add texture and contrast to simple fondant-covered tiers. They create the perfect backdrop for a spray of sugar flowers, completing a stunning autumnal cake. Learn just how easy it is to create in this metal textured fondant tutorial. While this cake uses gum-paste flowers, you can also use wafer-paper flowers or even real flowers, as long as they are pesticide-free and edible.
Edibles:
- 10-inch cake freshly covered in fondant
- 6-inch and 8-inch cakes without fondant
- Edible gold paint
- Airbrush colors: brown and orange
- Alcohol
- Cocoa powder
- Orange petal dust
Equipment:
- Ball tool
- Aluminum foil
- Paintbrushes
- Paper towels
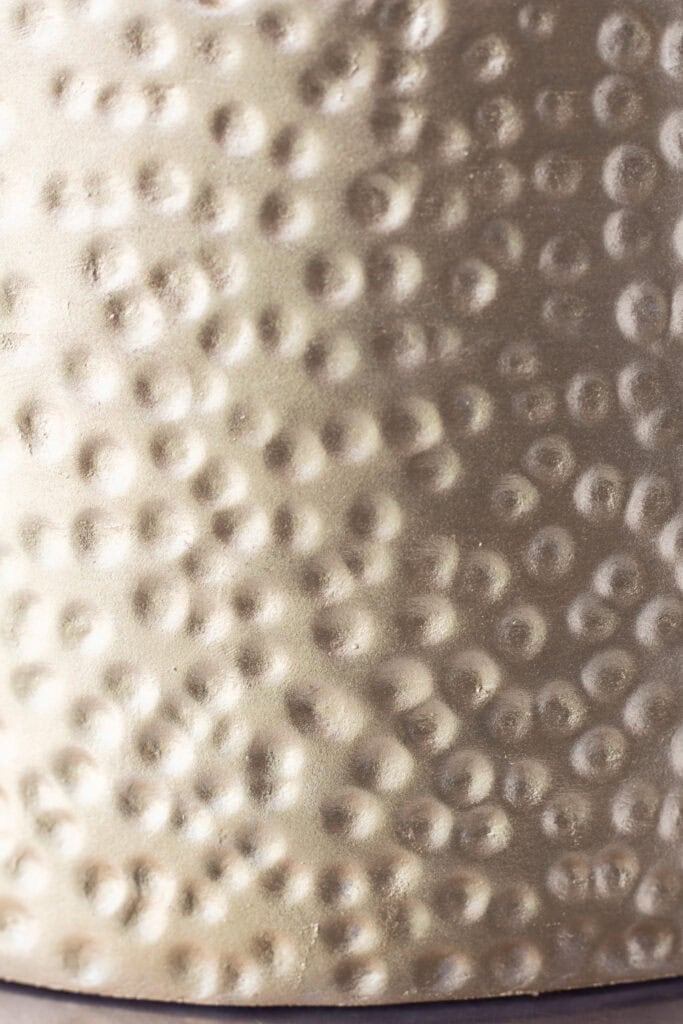
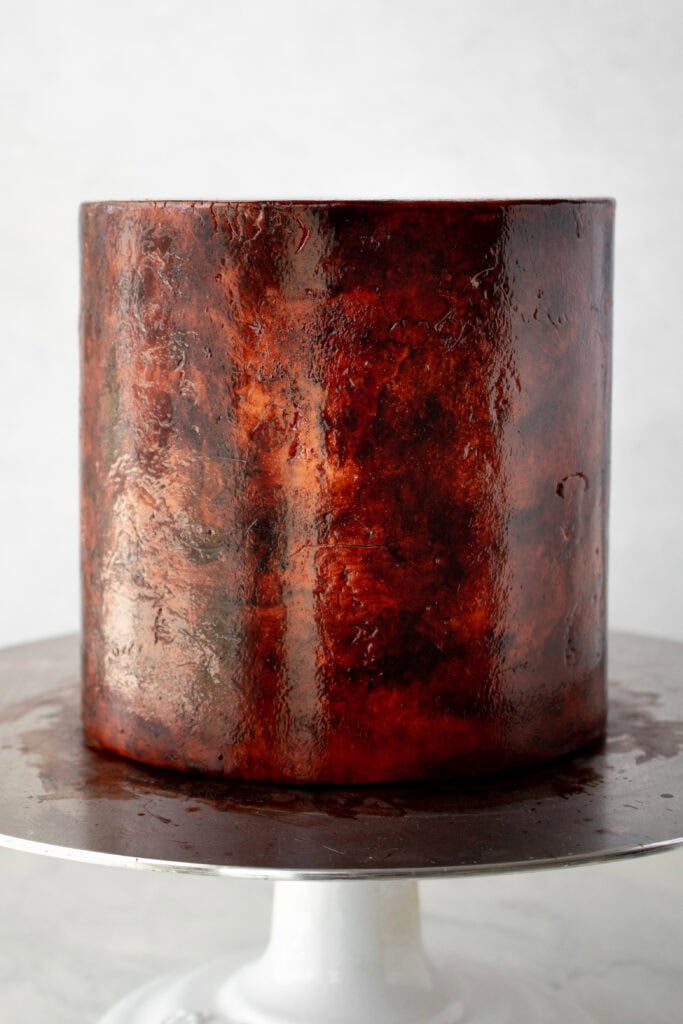
Create the Hammered Metal Textured Fondant
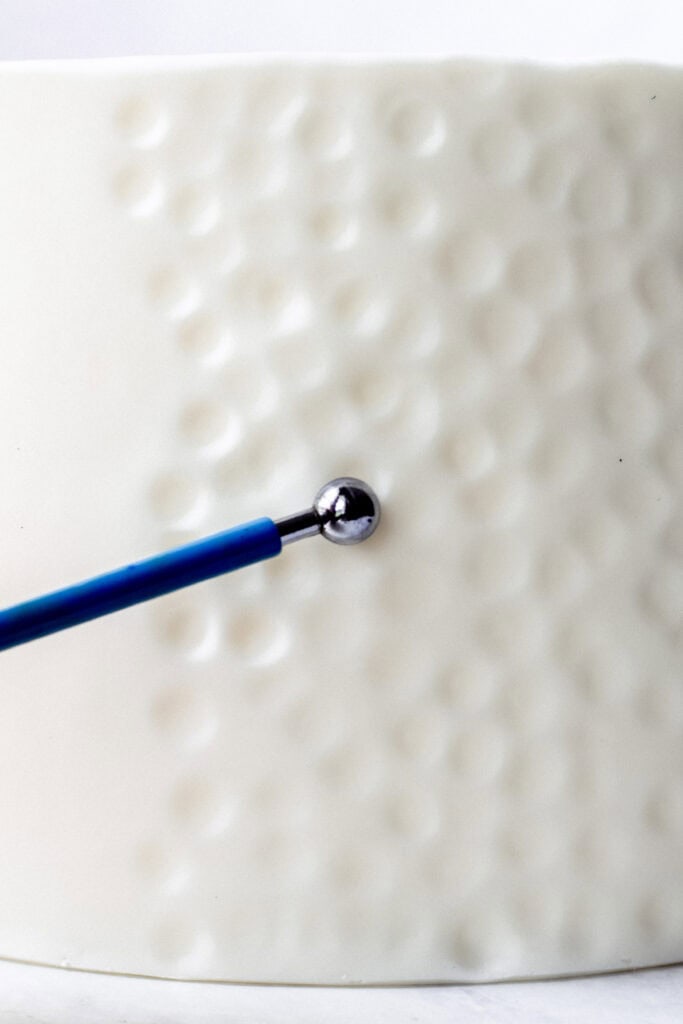
- Using a medium or large ball tool, press firmly into the 10-inch cake to make rounded indentations on the sides of the tier. Note: The cake should be freshly covered in fondant for this technique.
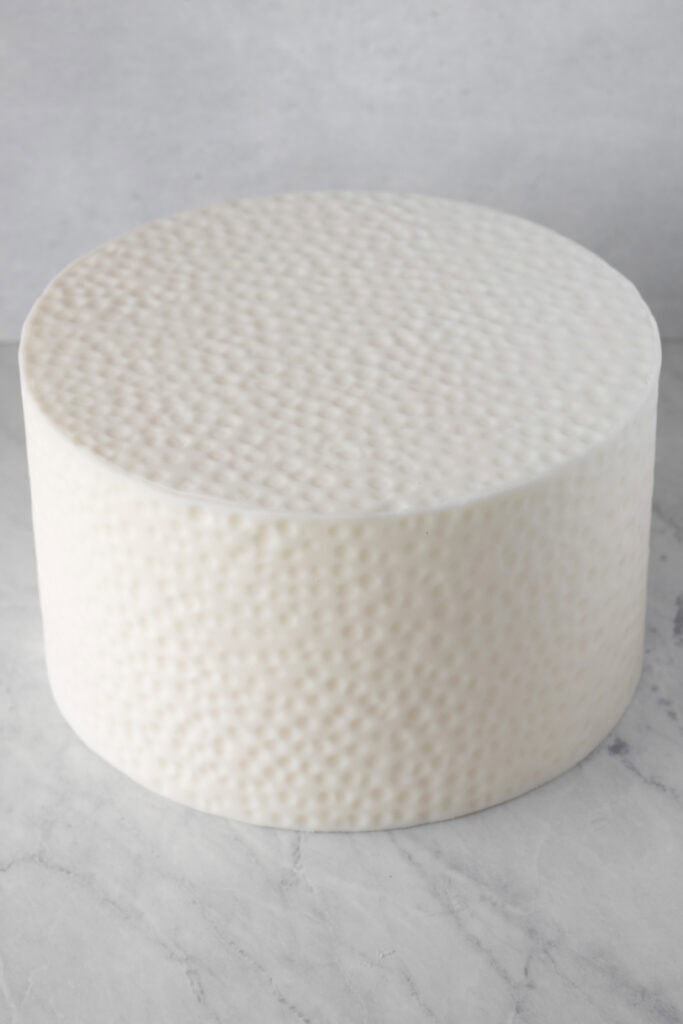
- Make indentations on the top of the tier. Overlap some of the indentations to ensure the hammered effect doesn’t look too uniform.
- Paint the hammered metal tier with edible gold paint. Let the paint dry completely.
Make the Rust Metal Textured Fondant
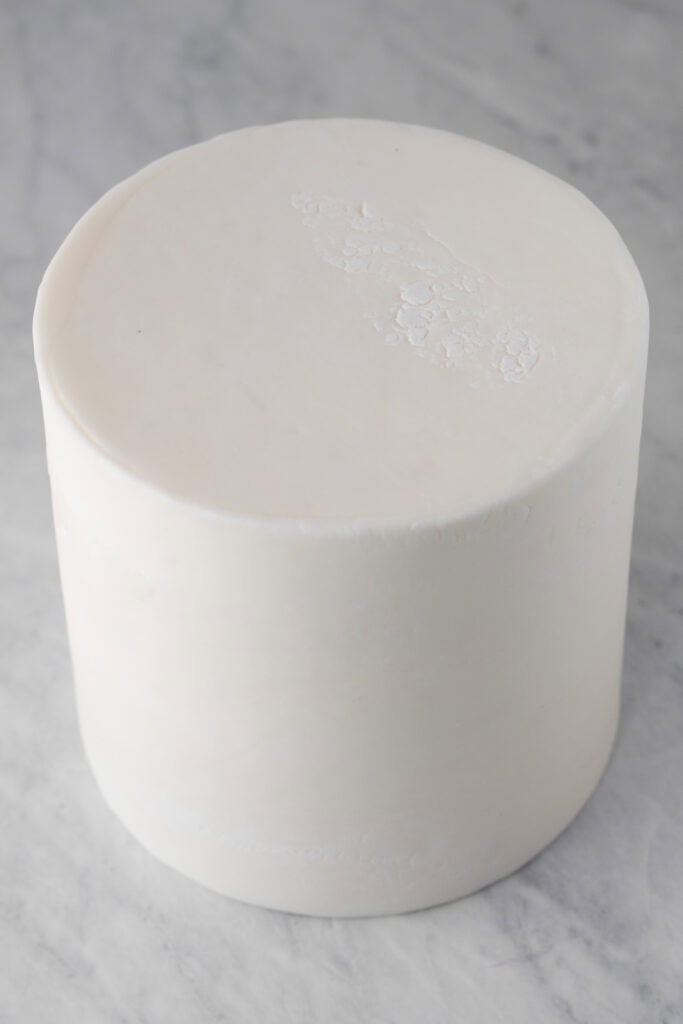
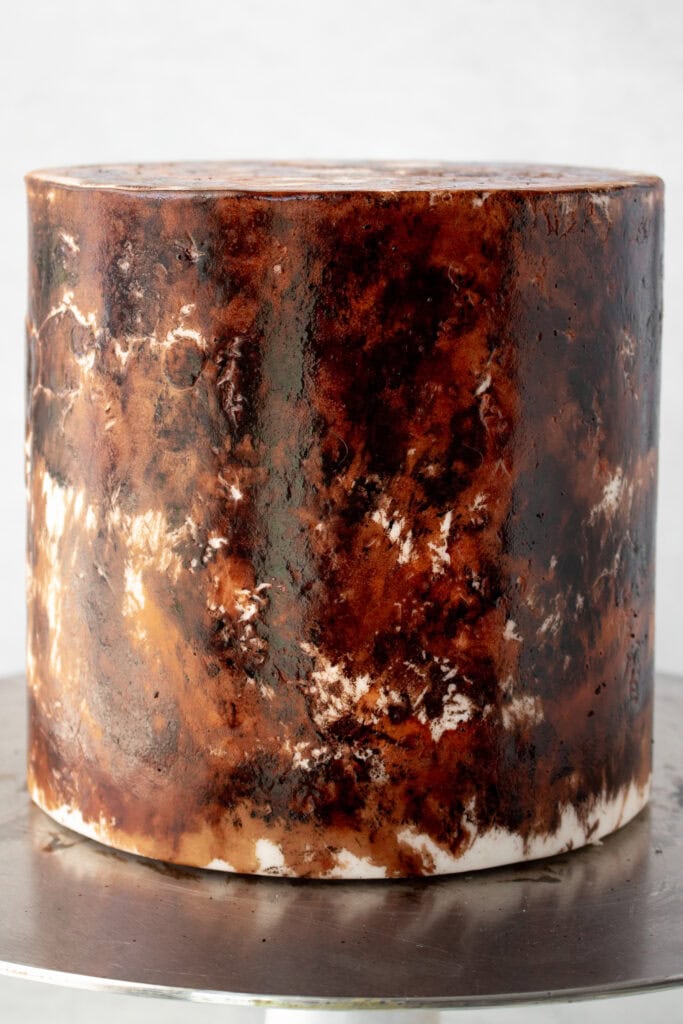
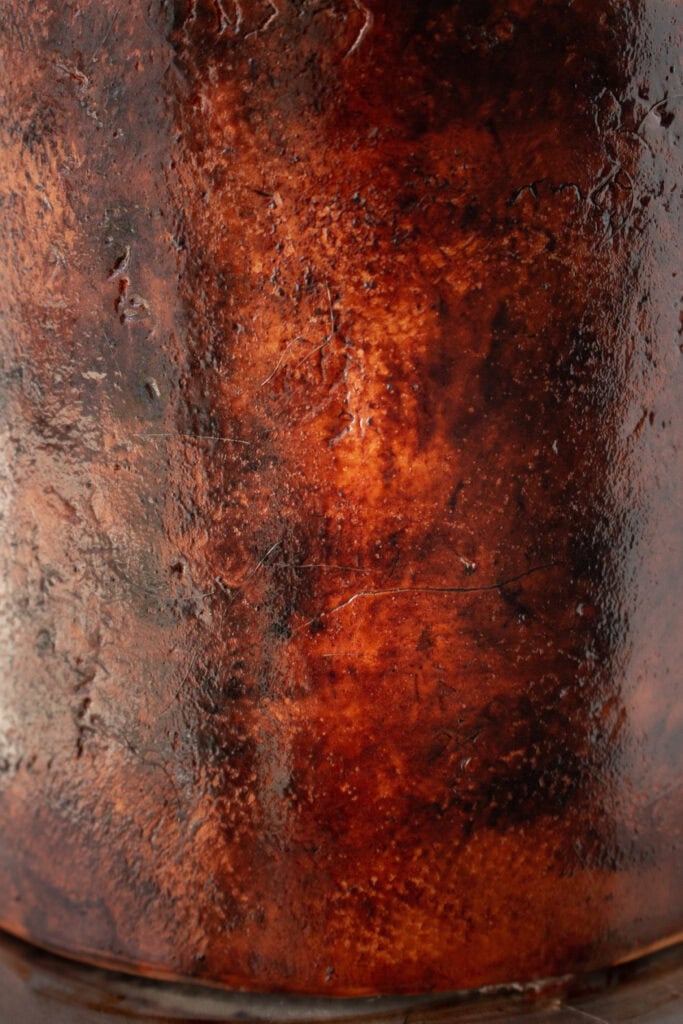
- Cover or panel the 6- and 8-inch tiers with a mixture of dried-out and fresh fondant. The dried-out fondant will add texture to the rust tiers. The more texture, the better the rust effect will look.
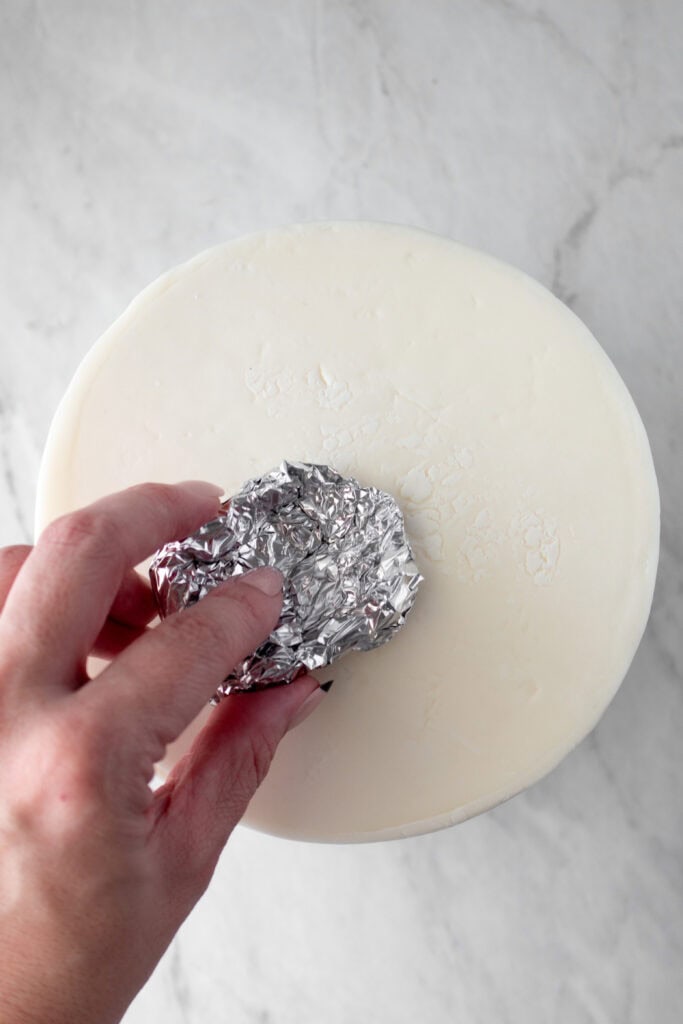
- Crumple up a piece of aluminum foil. Press the foil into the fondant to add more texture. This will give it more of an aged look.
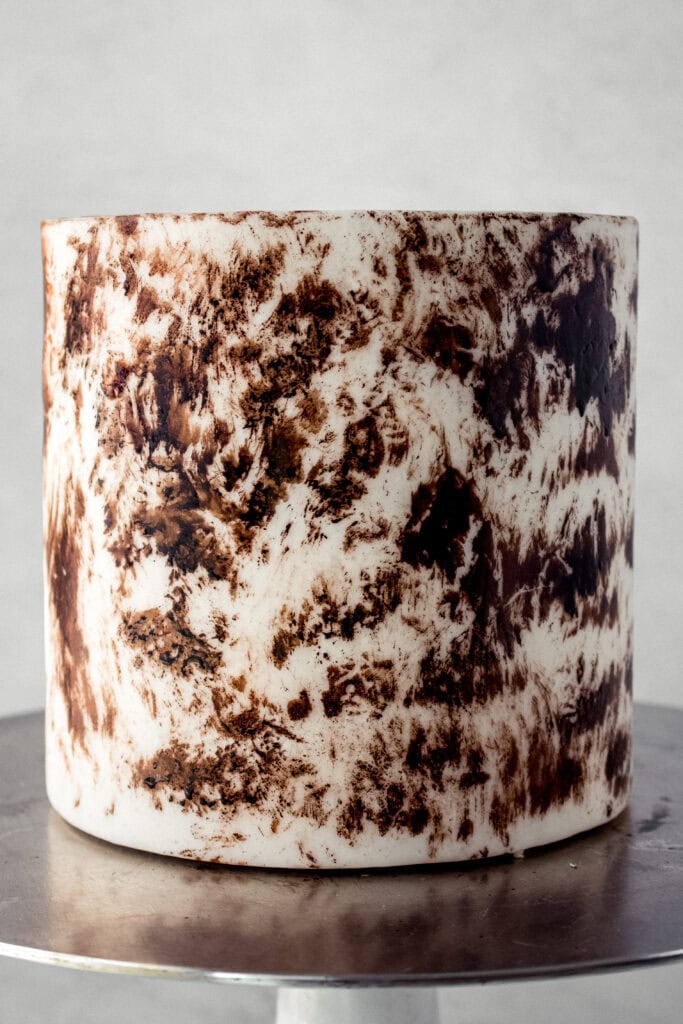
- Pour a small amount of brown airbrush color into a bowl. Add a few drops of alcohol to thin it out. Using a large paintbrush, dab the brown airbrush color onto the cake, spacing out the color.
- Add some orange airbrush color to the remaining brown color until it resembles burnt orange. Paint some of the burnt orange color all around the cake, same as the brown. Make sure to add more burnt orange paint onto the cake than the brown, filling in some of the gaps. Wipe off any paint left on the brush with a paper towel.
- Using the orange airbrush color, paint in any remaining exposed fondant. Blend the paint colors on the cake by painting back and forth in large sections. You want the paint to be blended and well distributed.
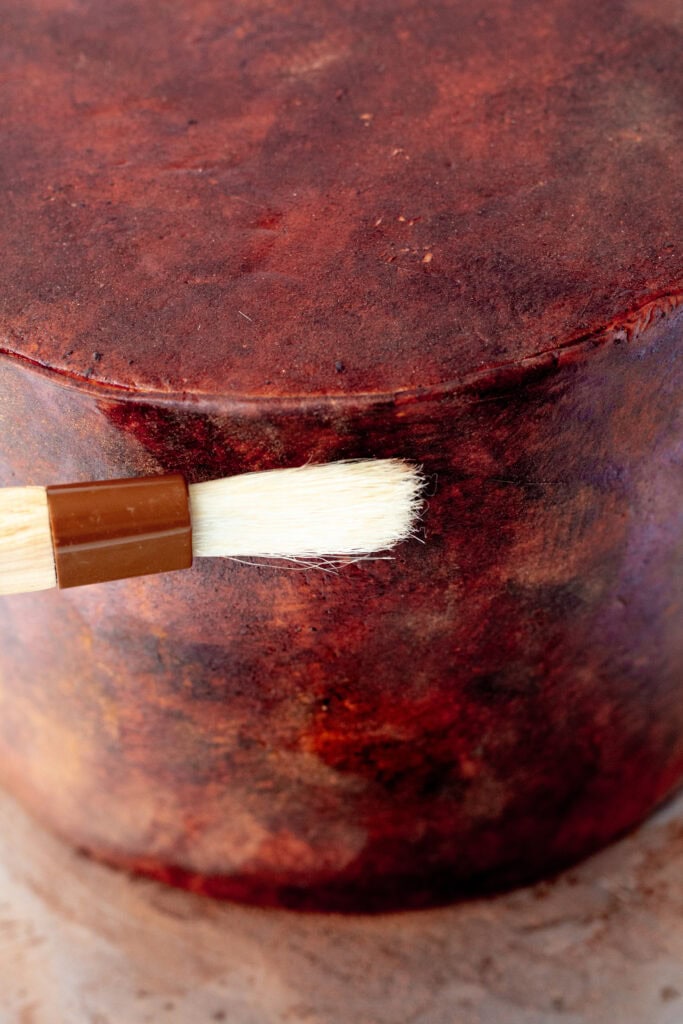
- Dab a paper towel onto the cake to remove excess moisture and paint. Depending on the brand of paper towels, they may leave an imprinted design. You can leave it or buff it out with the paintbrush.
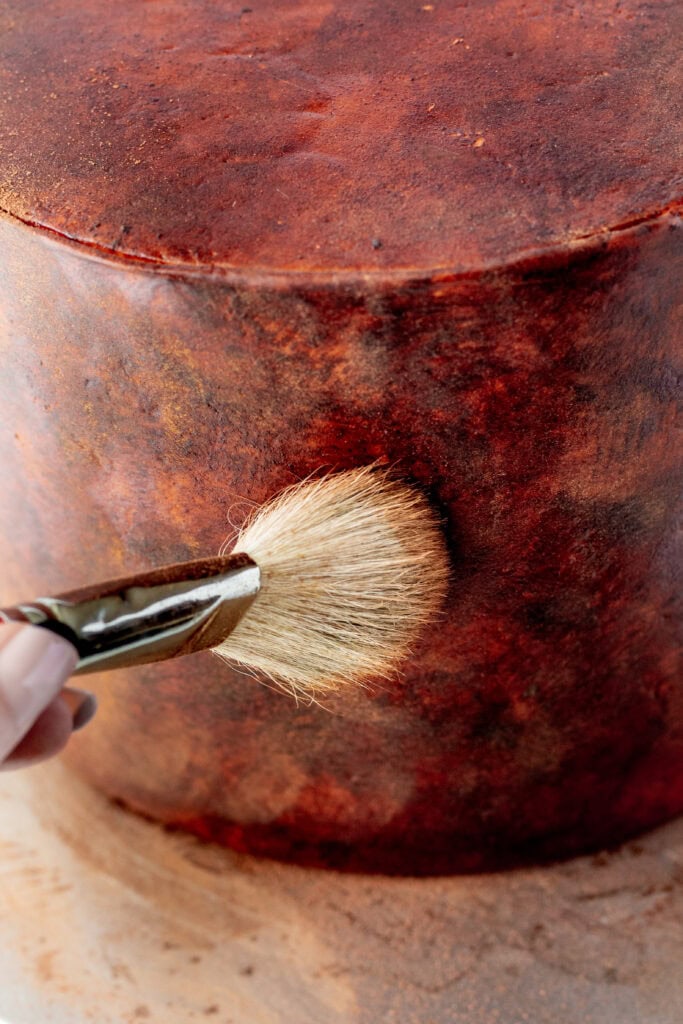
- In a bowl, make a 2:1 ratio mixture of cocoa powder and orange petal dust. Liberally dust the cake with the mixture by using a fluffy brush, pressing lightly to ensure it’s adhering to the cake. Leave the cake to sit for 3 to 5 minutes to absorb some of the dust.
- Use a separate fluffy brush to remove any remaining dust. The cake should be mostly matte.
- Let the cake dry for a few hours so that it will fully matte and dry. Then, place any flowers.
Tip: Instead of airbrush color, you can use gel food color mixed with alcohol.
This tutorial originally appeared in the September/October 2021 issue of American Cake Decorating.

Ashley Barbey
Ashley Barbey is an award-winning cake designer, sugar-flower artist, and food blogger located in St. Louis, MO. Her cake tutorials can be found on Sugar Geek Show, Sugar Street Studios, and on her blog. Ashley is the food stylist, photographer, and baker behind littlevintagebaking.com, where she shares recipes, cake, cookie, sugar-flower tutorials, and lots more.