
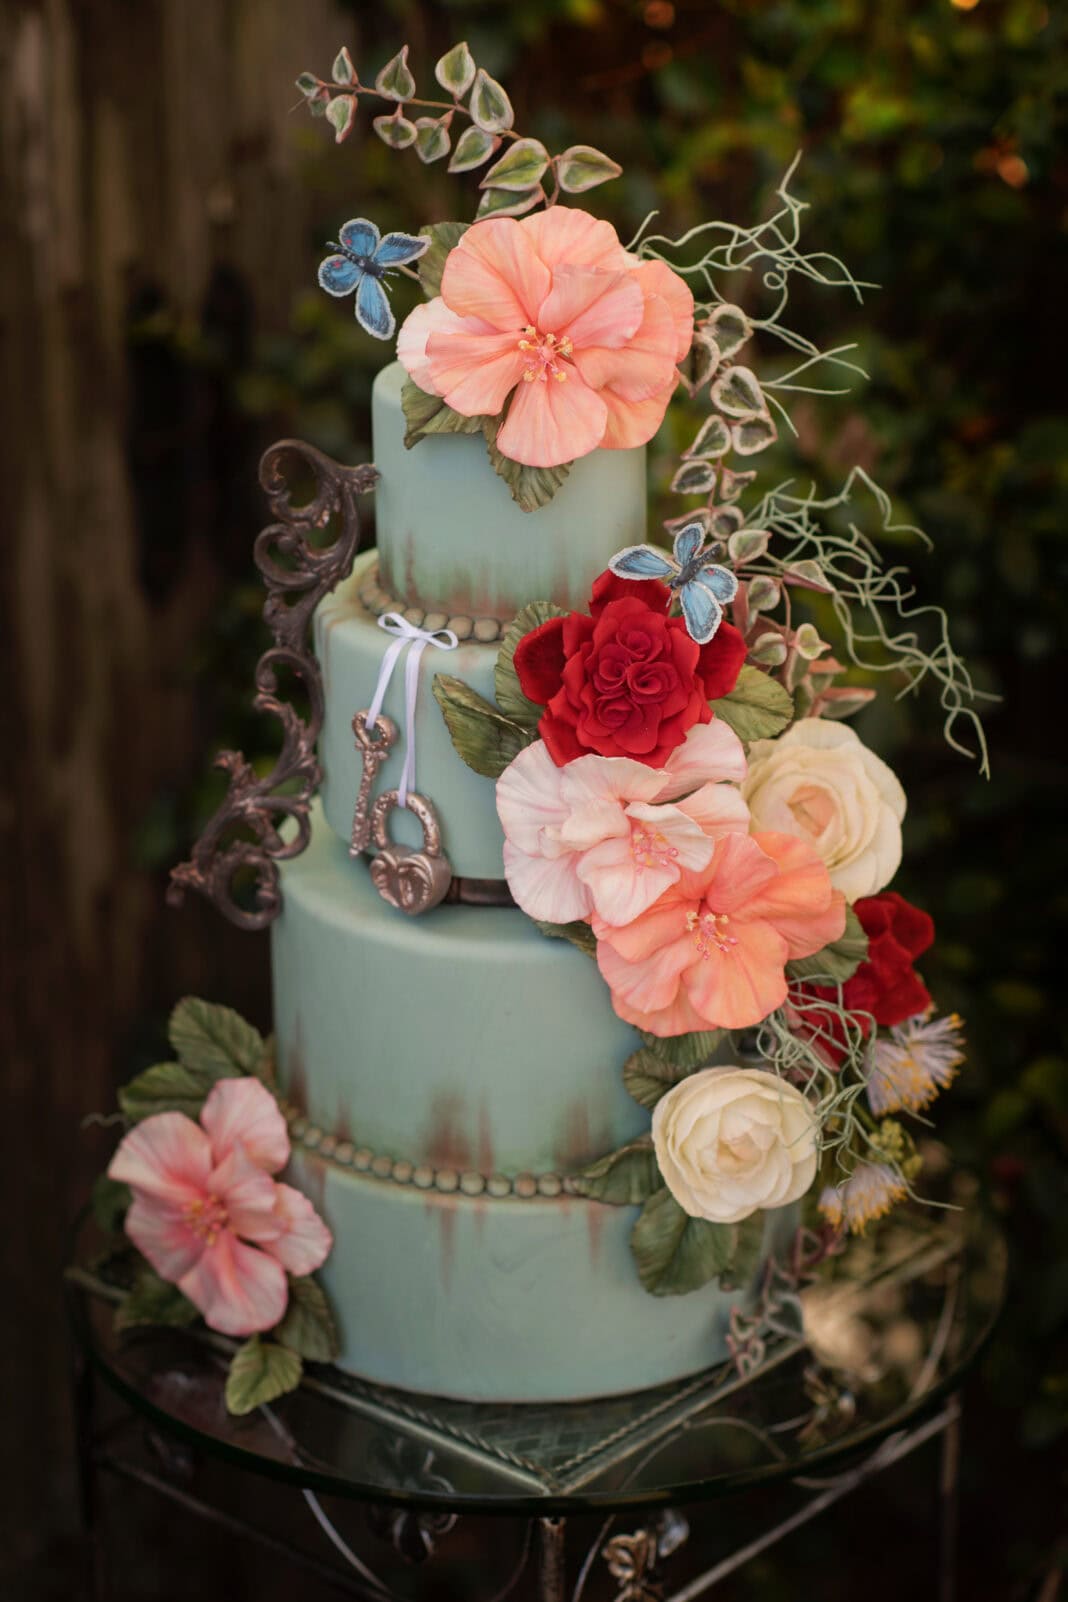
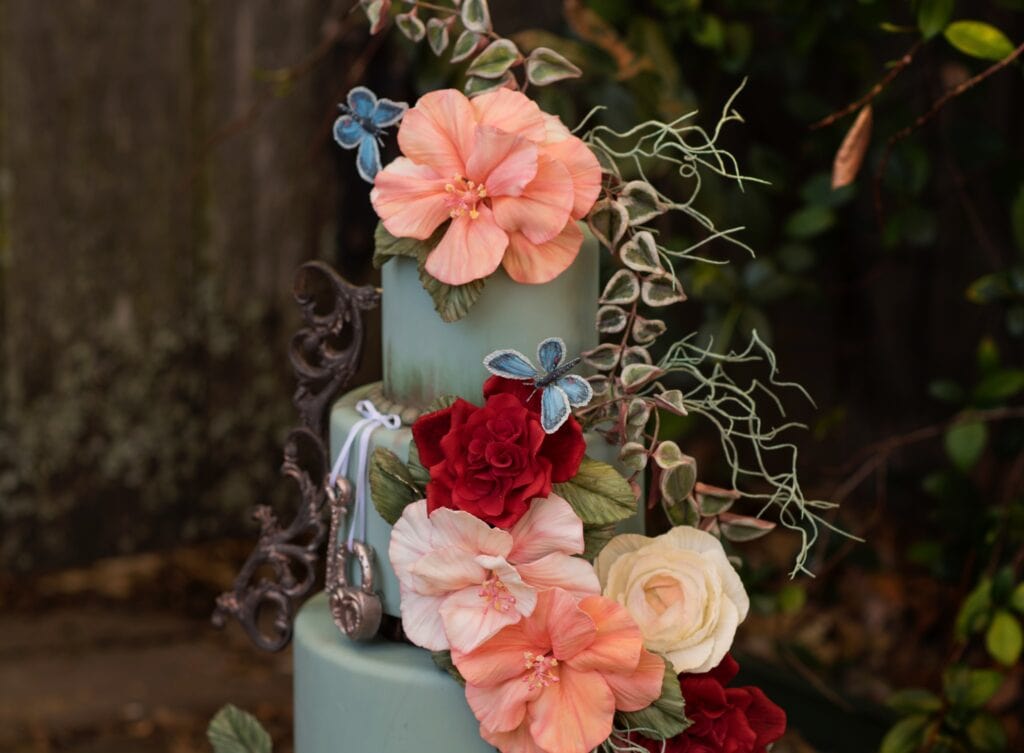
Give your cake an aged and gothic-inspired finish in this rusted garden cake tutorial by creating realistic wrought-iron details, weathered verdigris fondant, and an antique lock and key. Using fondant, gum paste, metallic dusts, and simple molding and painting techniques, Tamatha Chain shows you how to build decorations that mimic the look of aged metal and bring dramatic texture and dimension to your cake.
Edibles:
- Cornstarch
- Fondant: black, pale green, and white
- Black gum paste
- Petal dust: black, deep green, and light brown
- Highlighter: silver, copper, and pearl
- Vodka or lemon extract
- Tylose
- Edible glue
Equipment:
- Filigree mold
- Painbrushes
- Paper towels
- Rolling pin
- Heart cutter
- Dresden tool
- Modeling tools
Create the Wrought-Iron
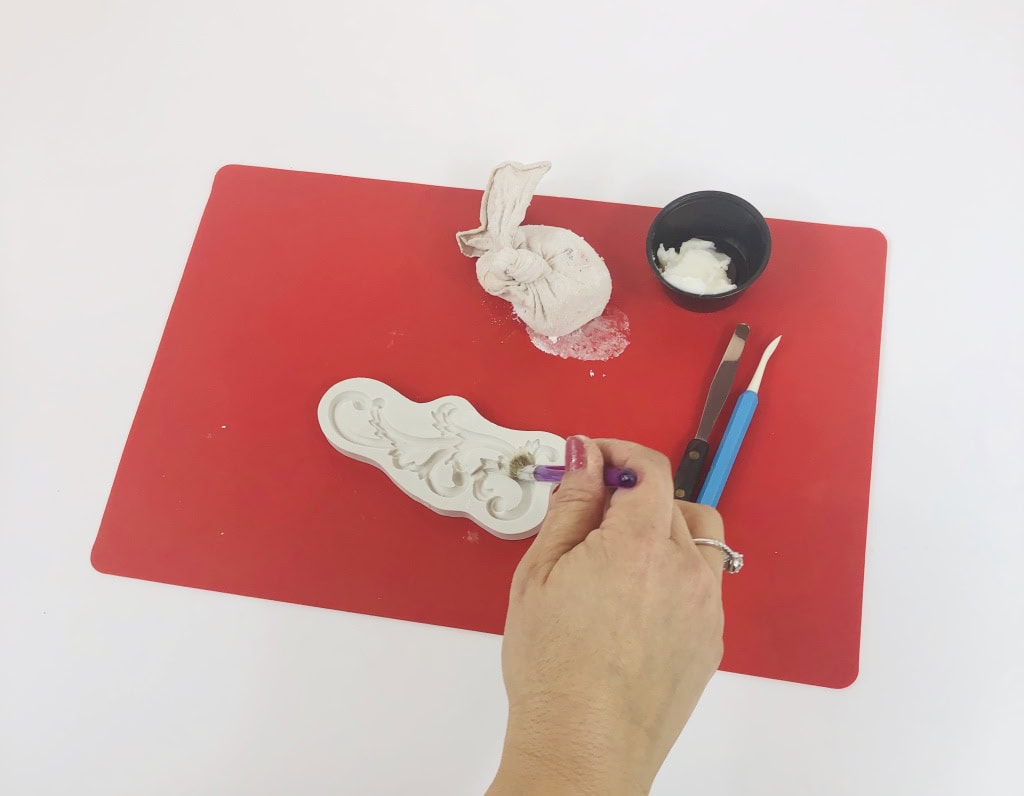
- Lightly dust mold with cornstarch to prevent sticking and brush away the excess.
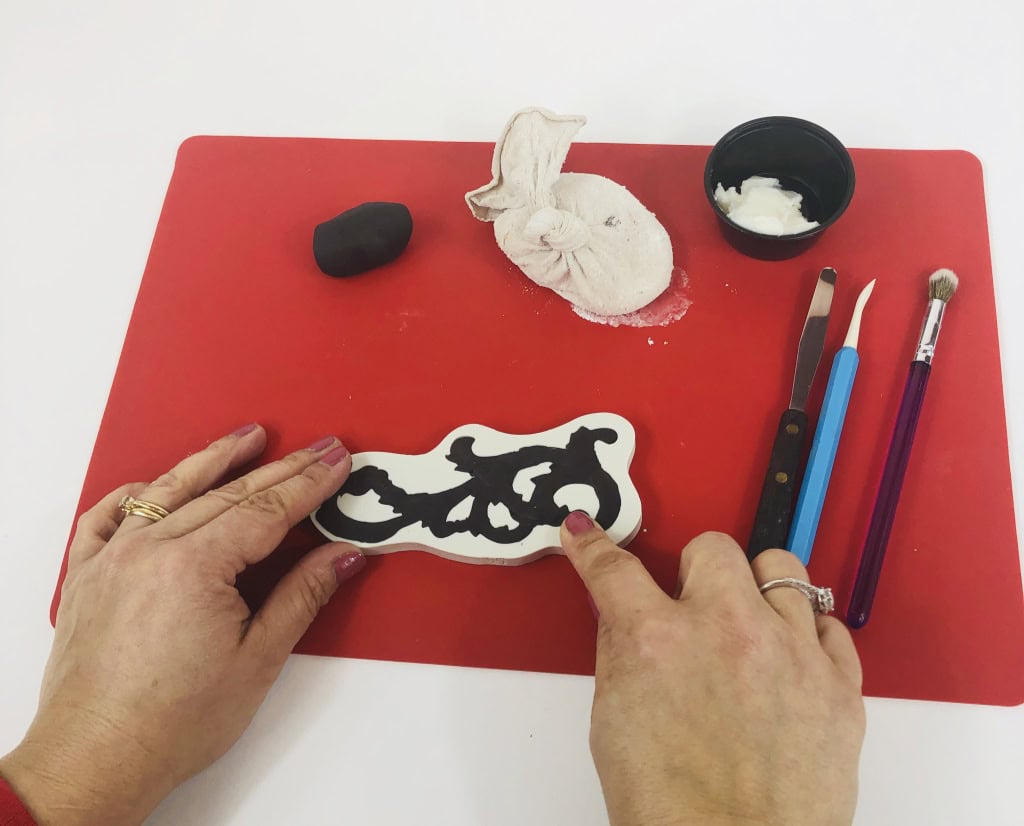
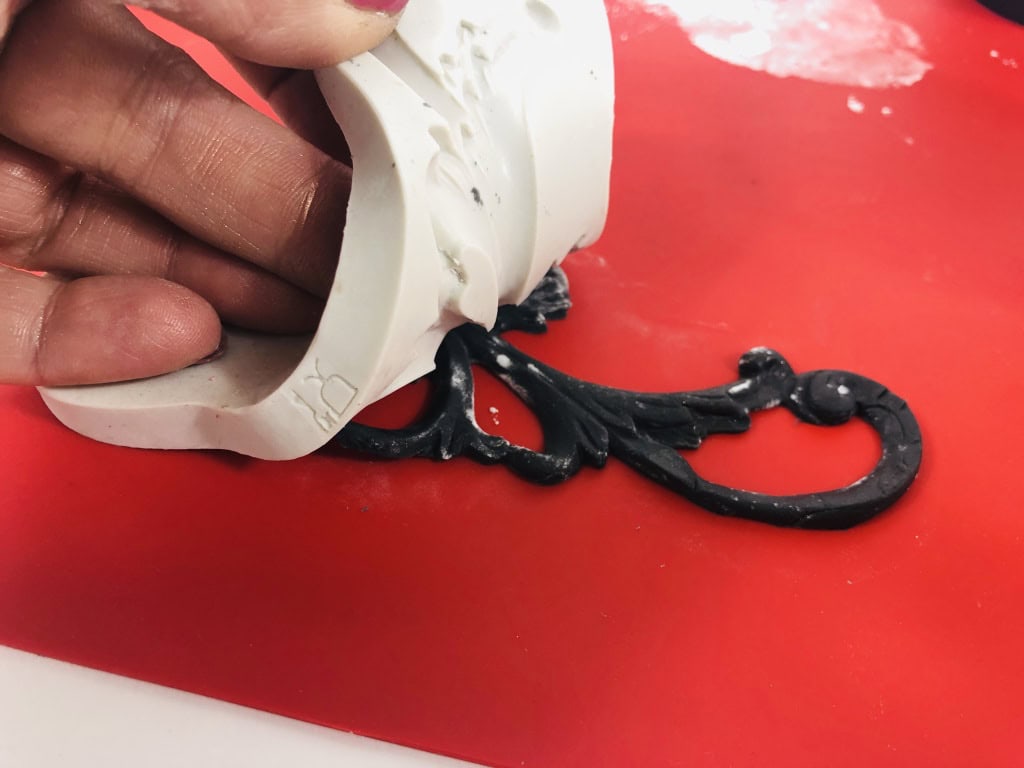
- Combine the black fondant and gum paste in a 2:1 ratio and knead thoroughly to combine. Press the fondant/gum-paste mix into the mold making sure to fill the cavities completely. Remove the excess paste.
- Release the design from the mold and dust off the excess cornstarch.
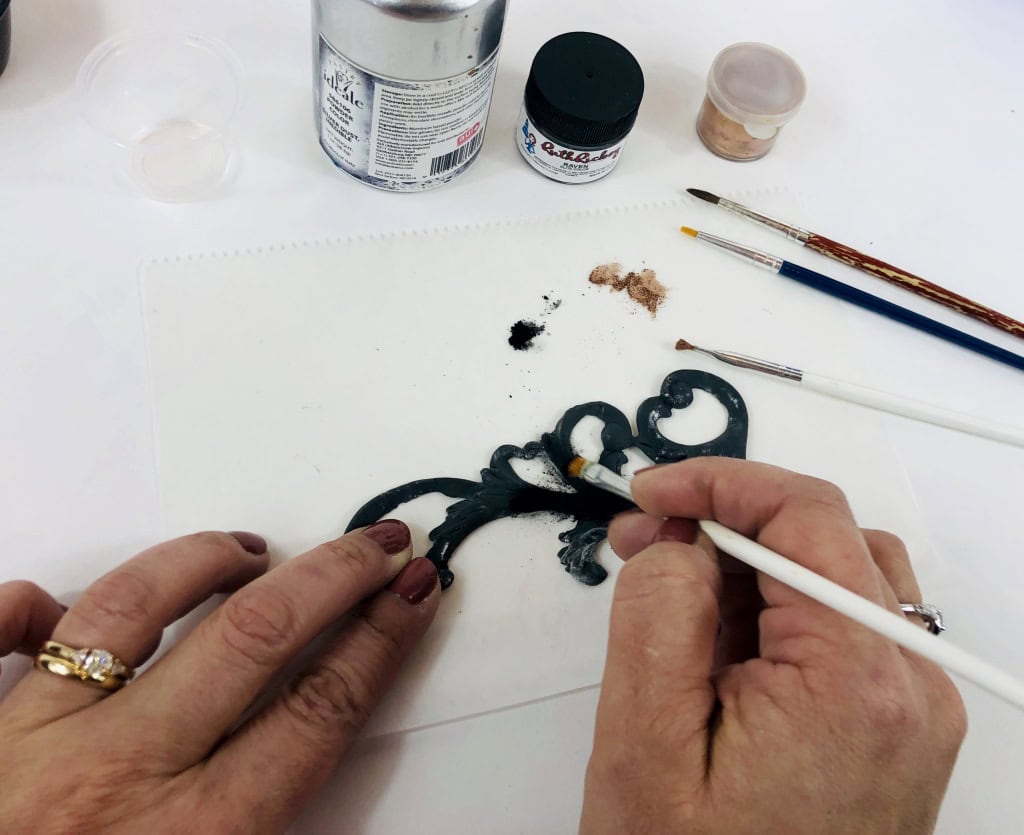
- Dust the molded piece liberally with black petal dust.
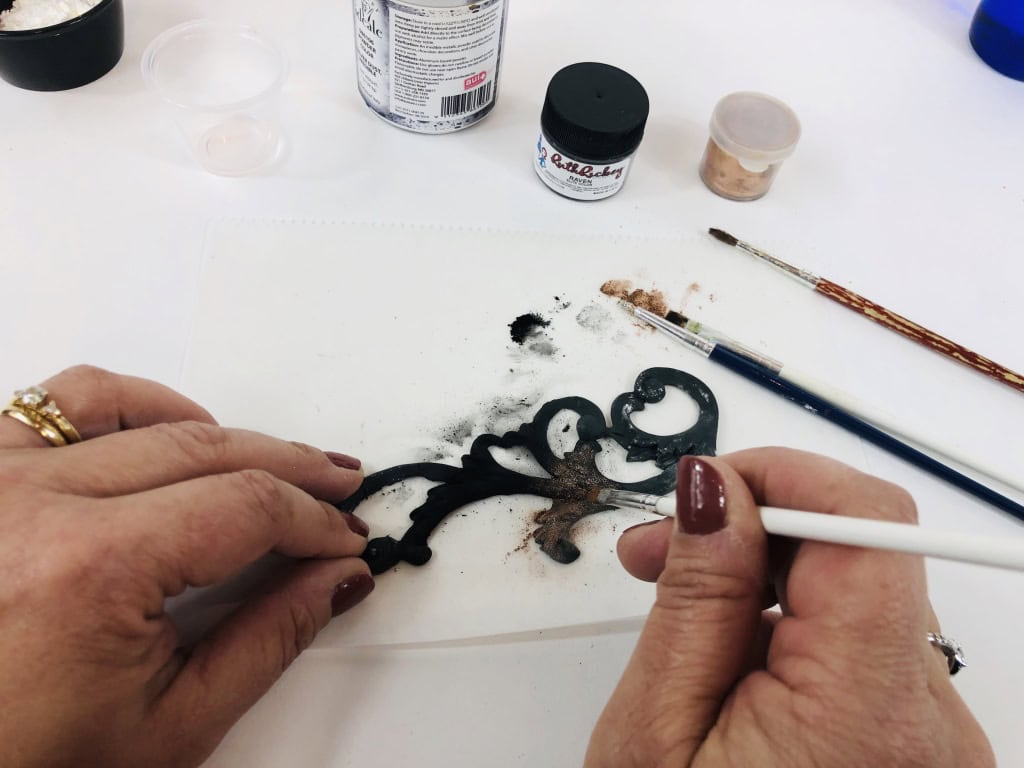
- Using a smaller detail brush, add highlights of copper and silver to add dimension and patina to the design. Work the copper and silver into all the detail areas of the mold to bring out the pattern of the design. Optional: You can also dampen the brush with a small amount of gum glue and use sparingly in small areas to create a more textured and realistic final product.
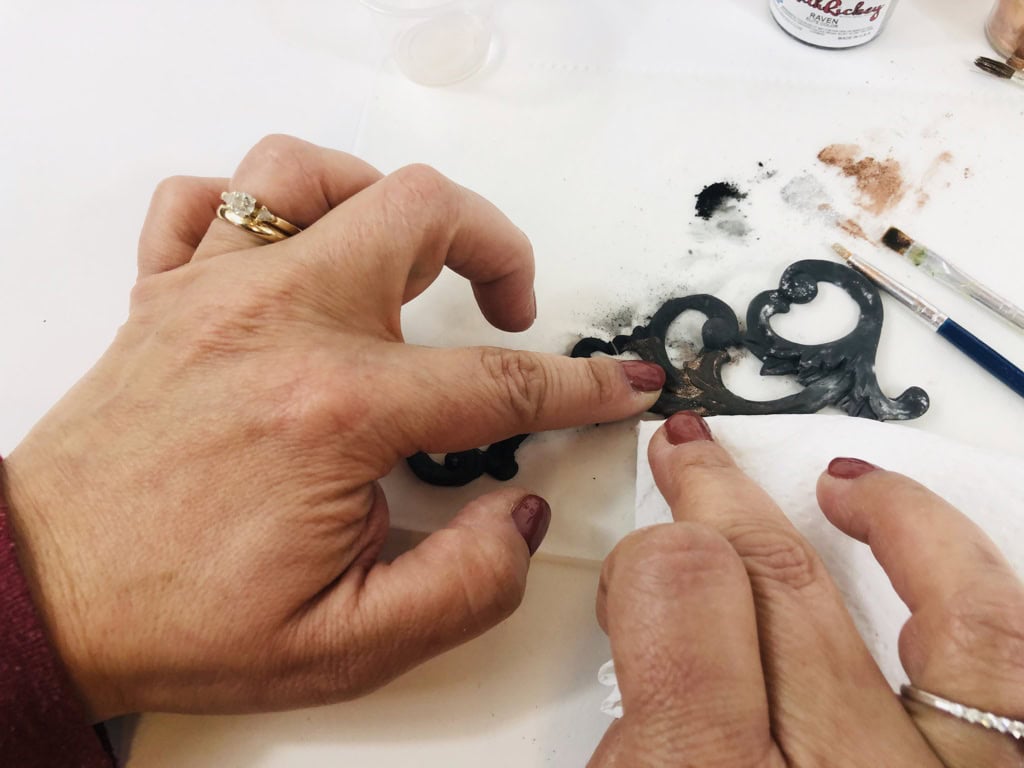
- Rub the surface gently with a dry paper towel to create aged effect.
Tip: You can make several of these filigree pieces and use a variety of molds. Use very small amounts of heated isomalt to attach the pieces to the cake. Larger pieces can be attached using covered floral wire or toothpicks/food-grade wooden skewers.
Create the Rusted Fondant Effect
- Cover your prepared cakes with a pale green fondant and allow to set firm.
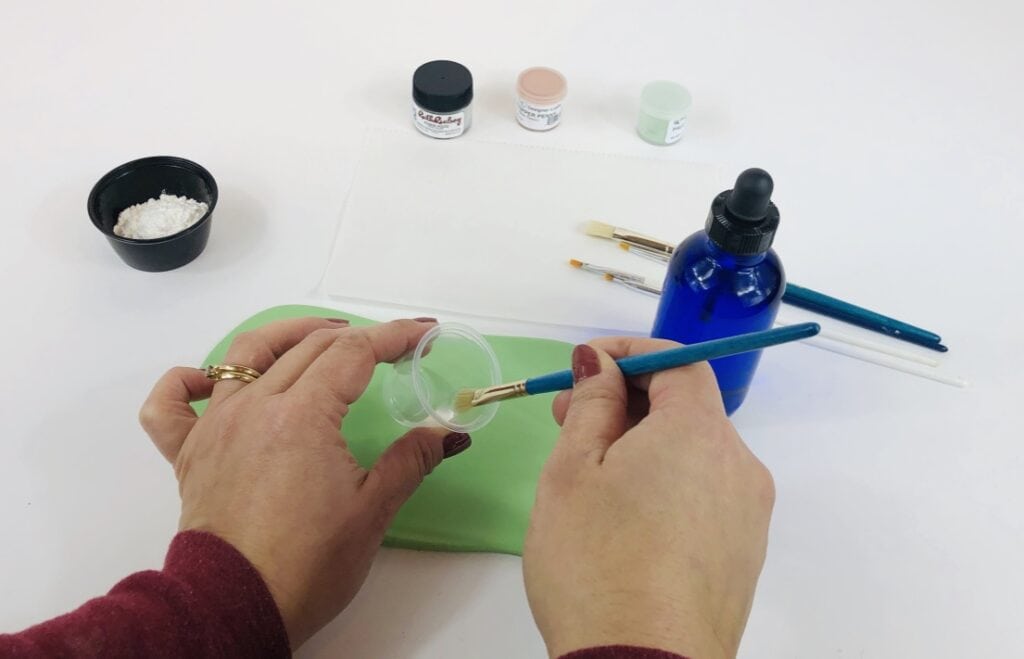
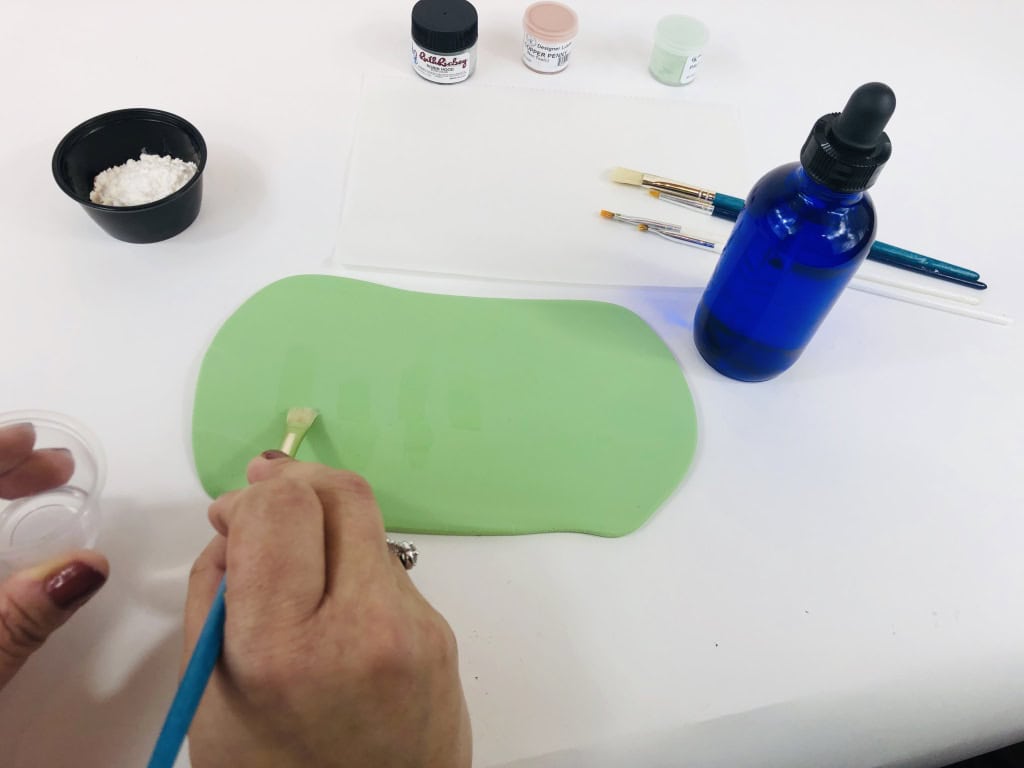
- Start by brushing vodka or lemon extract very lightly in areas where you want to create the “rust” streaks. Try sweeping upward and downward with a very small amount of the alcohol. This will create a “sticky” but not wet base which will eventually add to the textured nature of the rust effect.
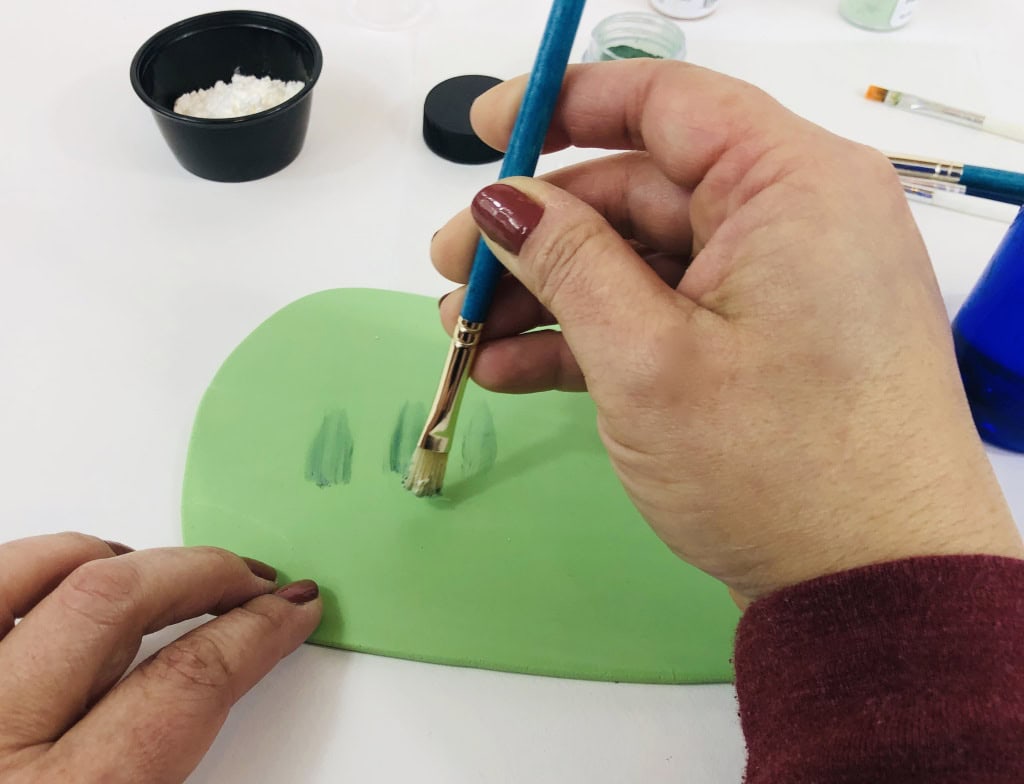
- Combine a small amount of cornstarch with a deep green petal dust. Brush this combination over the tacky areas you created earlier with the alcohol. This forms the textured base of the “rust” streaks.
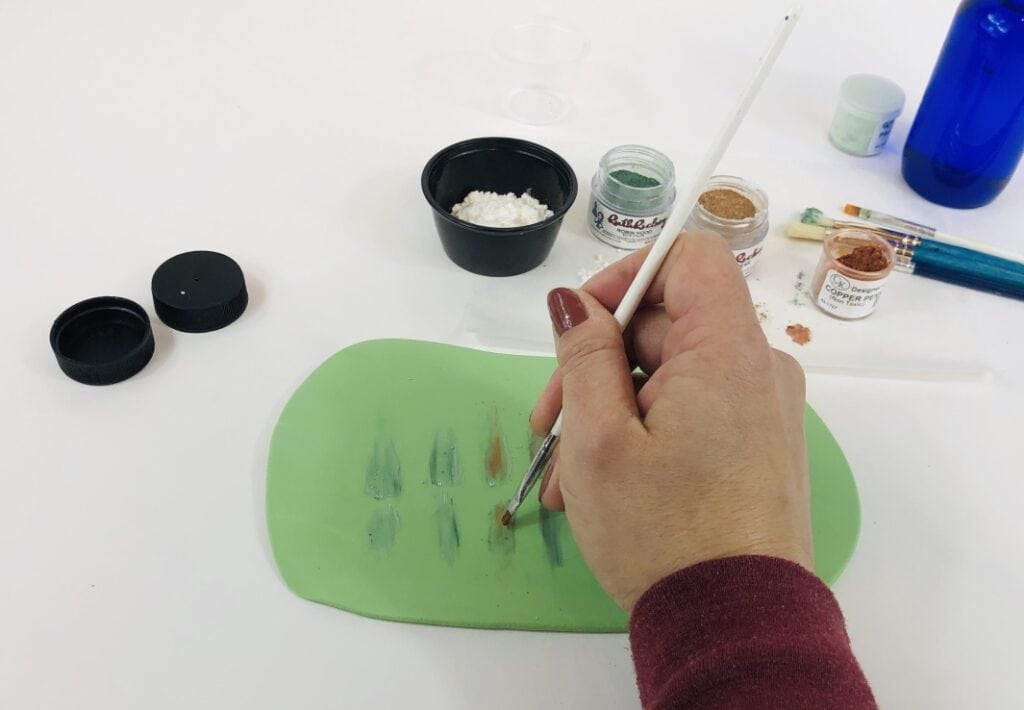
- Use small amounts of light brown dust, pearl highlighter, and copper highlighter to create a buildup of colors, then brush over with the original cornstarch and green to blend everything together. You can also use a brush with more alcohol at any time in the painting process to blend colors and edges. The bluish-green shade of verdigris varies in real life depending on whether it is the oxidization of copper, bronze, or brass. Use a shade that works for your design.
Make the Lock and Key
- Combine a small amount of the black fondant/gum-paste mixture from the wrought-iron tutorial with some white fondant to create a gray. Add tylose to stiffen the fondant and knead.
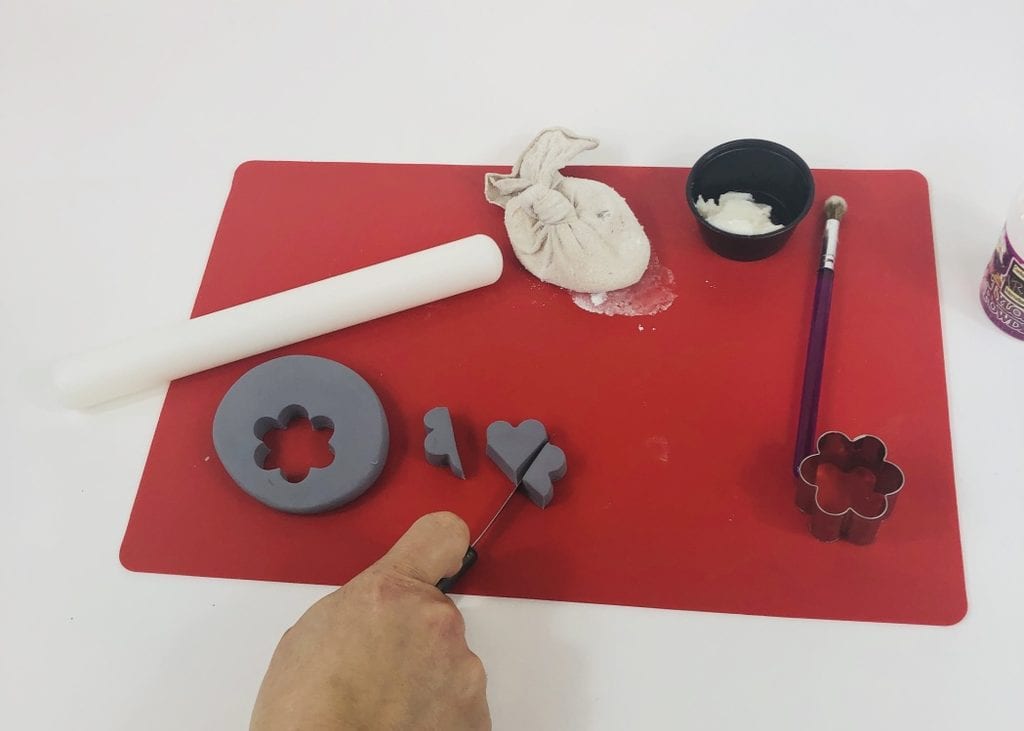
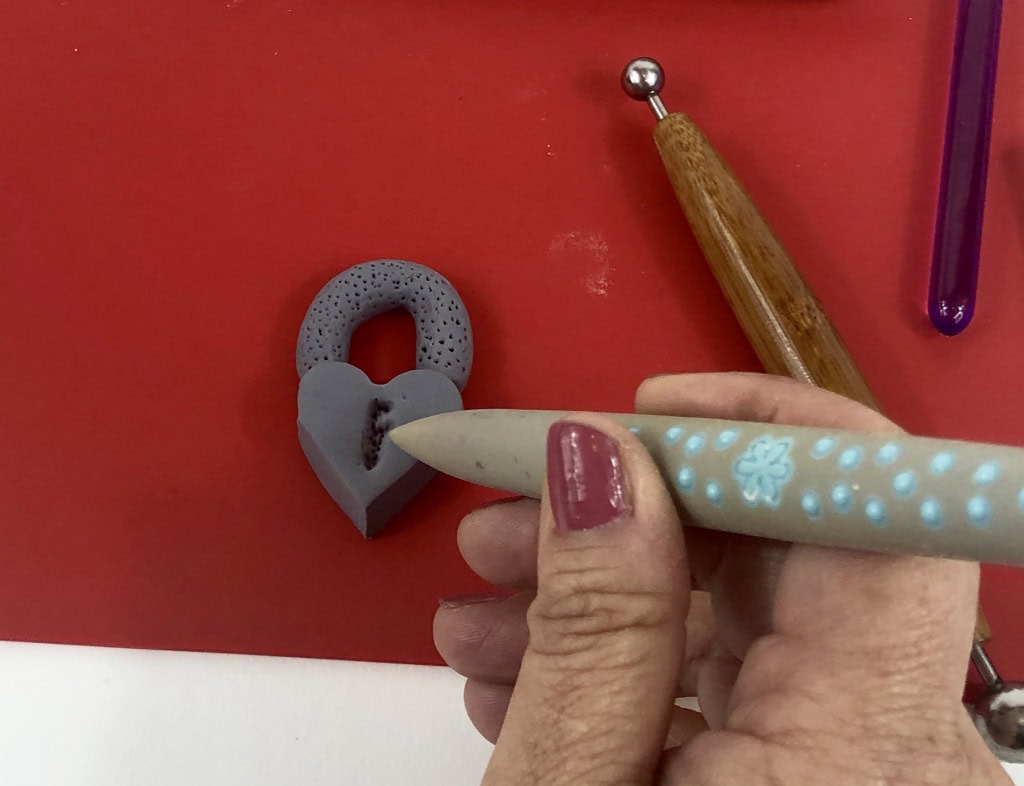
- Roll out the fondant to ½ inch thickness. Cut out a heart shape as shown and smooth the edges with your hands.
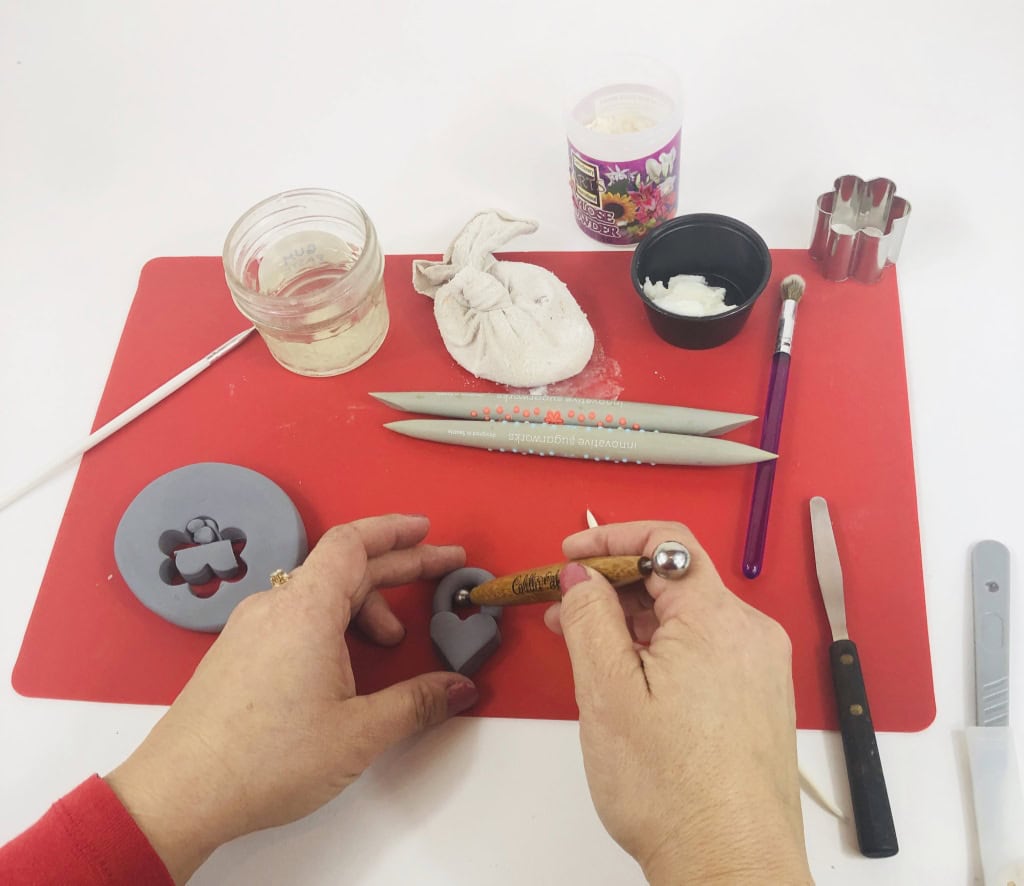
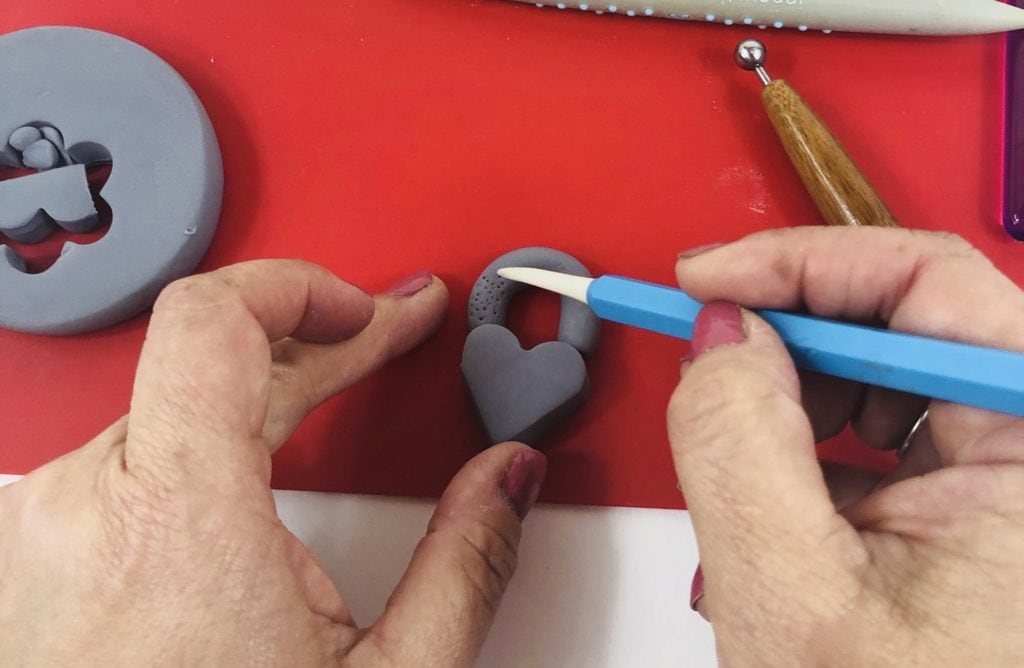
- Roll a smooth log for the top of the lock and trim the edges flat. Apply some edible glue to the top of the heart where you’d like to attach the lock and bond both pieces together. Texturize the lock with a Dresden tool.
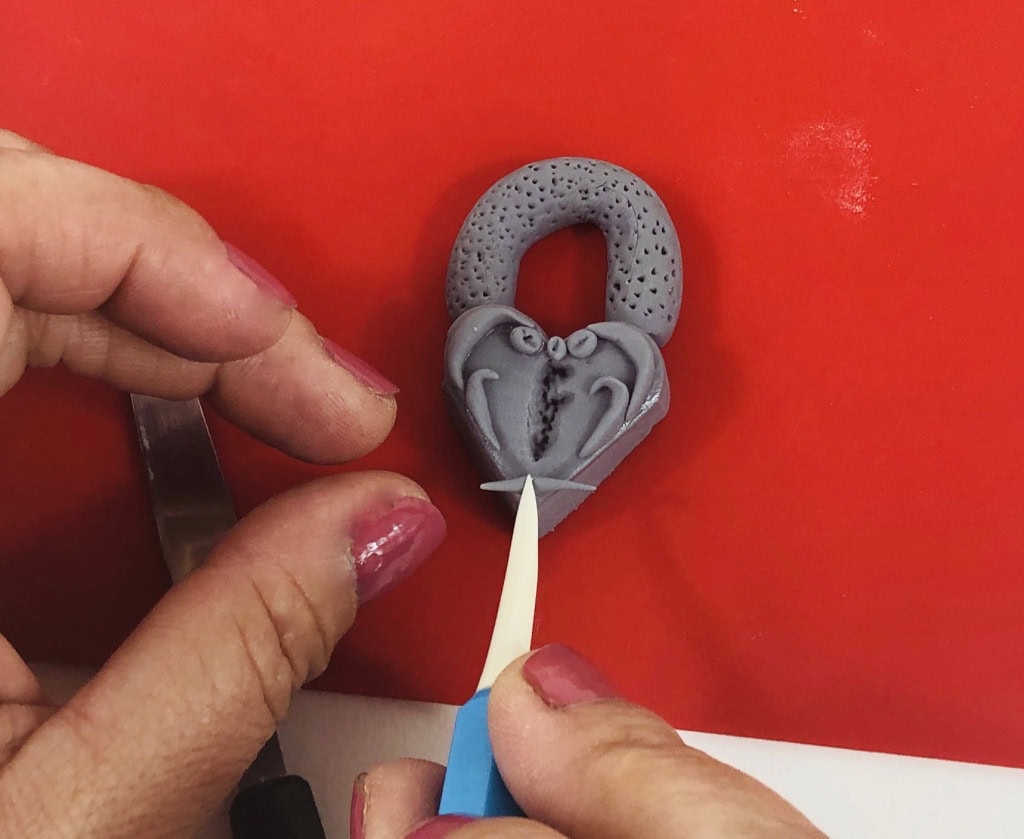
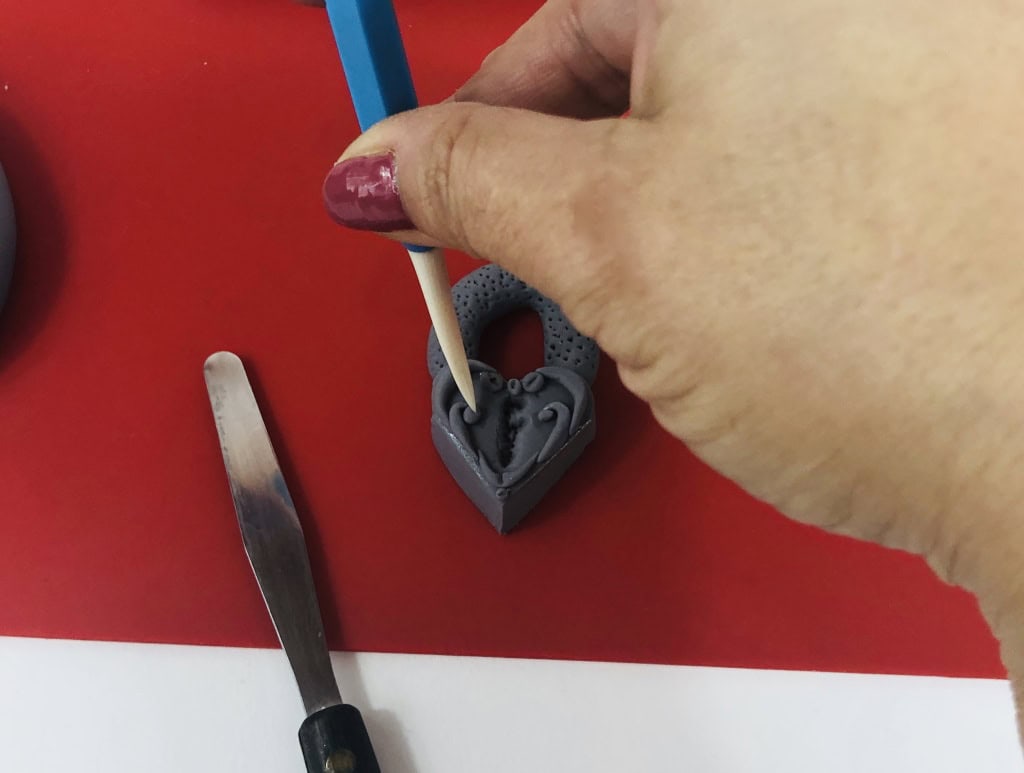
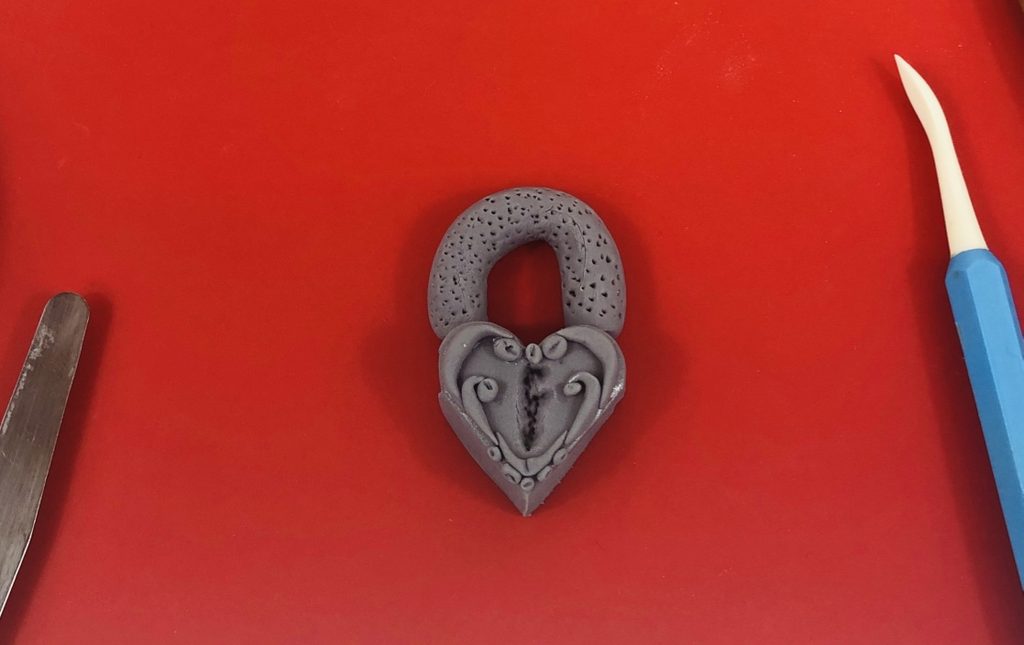
- Use modeling tools to create indentations to mimic the appearance of carved metal and to carve out the lock shape.
- Create small teardrop shapes from some of the fondant and apply to the lock-face edges with edible glue to give a decorative appearance.
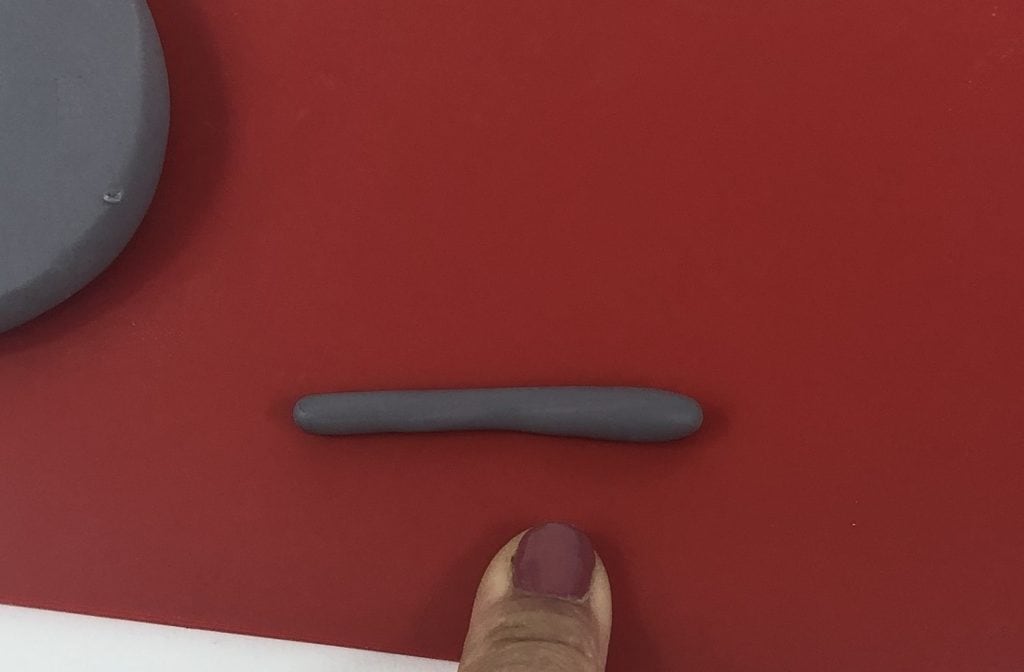
- To make the old-fashioned key, start by rolling out a thin log that is just slightly fatter on 1 end
- Using modeling tools, press out the beginning of the key blade. Add details to the key blade and handle with a Dresden tool.
- Apply glue to the top end of the key and create two elongated teardrops. Attach the tapered ends of the teardrops to the top of the key. Bend the larger ends of the teardrops around toward each other and attach with edible glue.
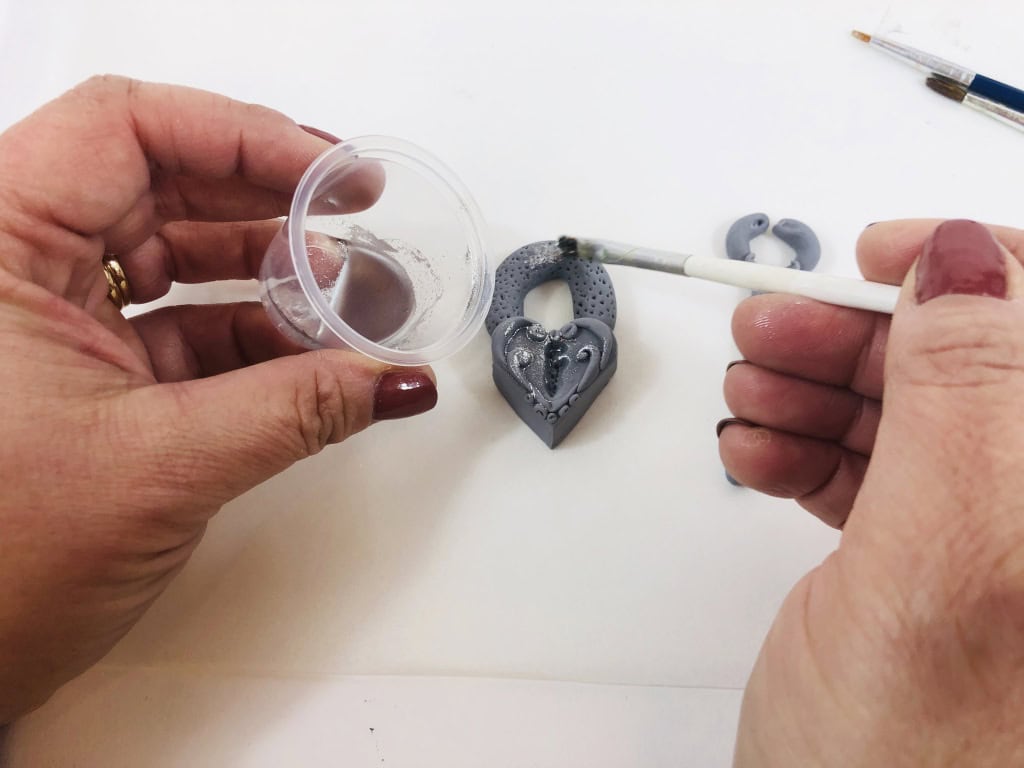
- Paint the key and lock with a thin mixture of silver highlighter and allow to dry completely.
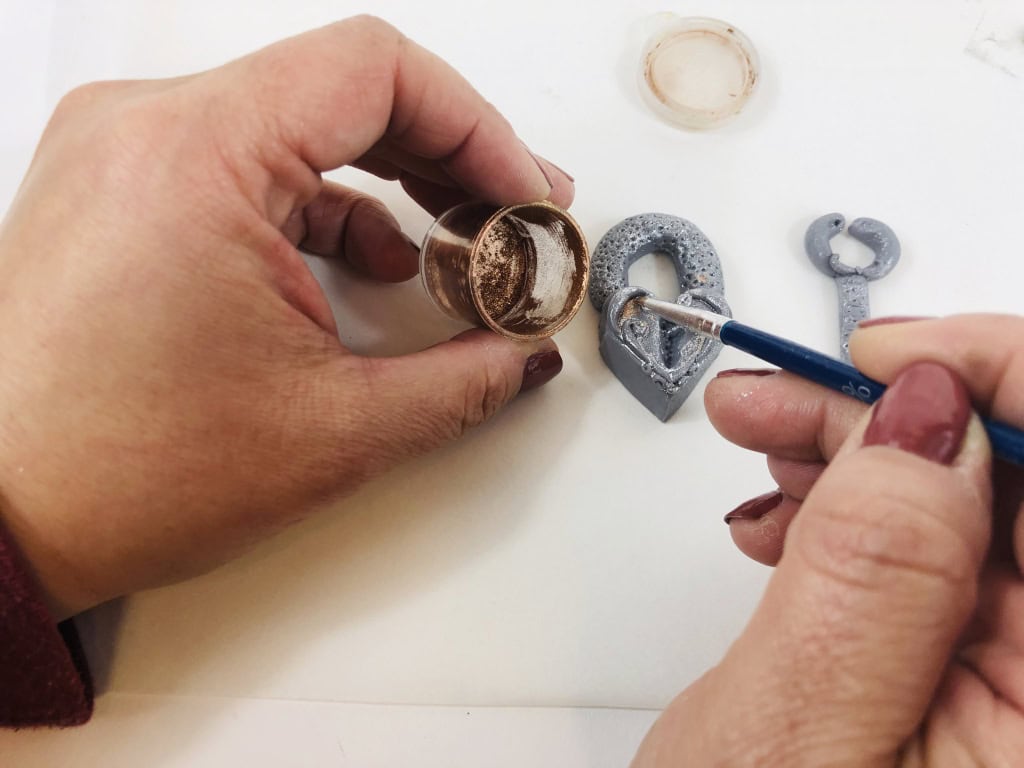
- Once both pieces have dried completely and the parts are firmly attached, add copper or other metallic highlighter to add dimension and realism of color.


This tutorial originally appeared in the May/June 2019 issue of American Cake Decorating. For more tutorials, click here!

Tamatha Cain
Tamatha has owned Choux Cake Studio in Jacksonville, Florida, for 12 years. She has always loved cake decorating and sugar art, and after buying every cake-decorating book she could get her hands on, she moved on to classes with Ron Ben-Israel, Nicholas Lodge, Colette Peters, and the Winbecklers. Tamatha has had her work featured in several magazines, and she loves competing in decorating competitions where she’s had the privilege to win several awards. She and her husband raised three awesome kids who have all grown and flown, so now they enjoy fixing up their 100-year-old house and traveling.