

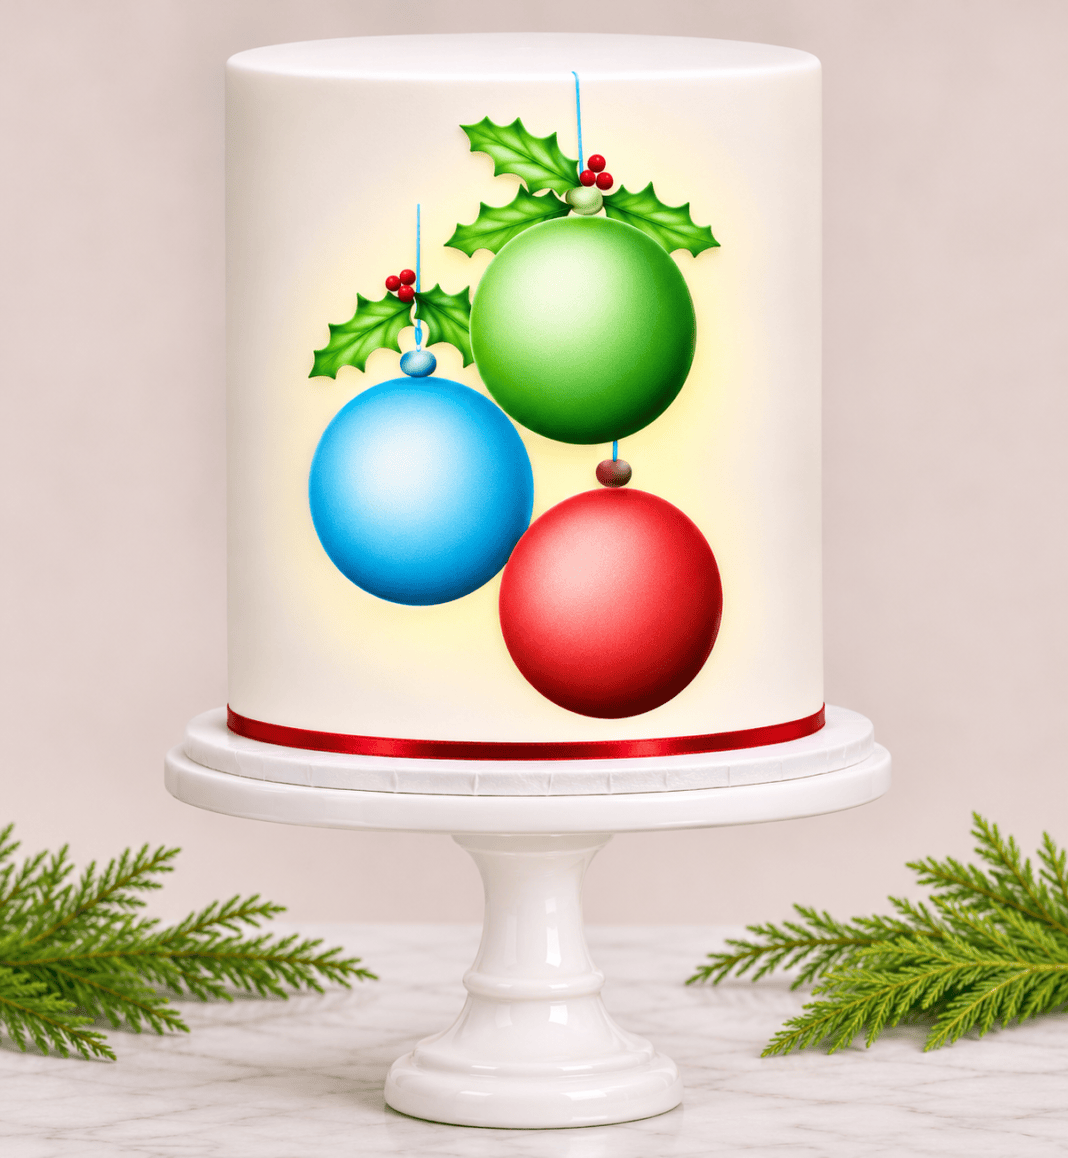
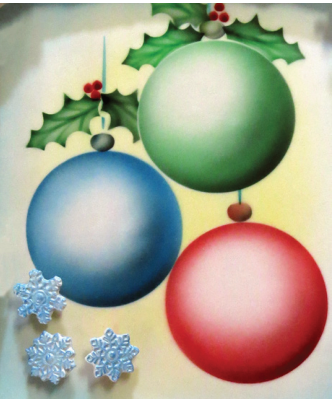
With just a simple stencil and a few basic airbrush techniques, a flat circle can be transformed into a collection of beautiful holiday ornaments. This easy airbrush ornaments cake from Roland Winbeckler is a clean and modern twist on a Christmas cake, but it still feels festive. You can airbrush directly on the cake, or make the ornaments on fondant or gum paste first, then attach them to the cake.
The trick to airbrushing is to use a smooth hand motion. You should nearly always start the hand movement before pulling or depressing the color control on the airbrush. This will make for a smooth spray at the start of the pattern with no dark blotches. Also, by stopping the color before stopping the hand movement, you’ll get a smooth, even end to the spray pattern.
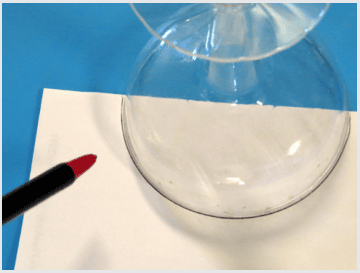
The stencil used in this tutorial was made with an electronic cutting machine, but you can easily fold a sheet of copy paper in half and use a round object to draw a half circle. Then carefully and smoothly cut out the shape with sharp scissors.
Edibles:
- Airbrush colors: green, black, blue, red, and yellow
Equipment:
- Airbrush
- Circle stencil
- Magnetic hooks
- Medium-weight paper for additional stencils
- X-Acto knife or sharp scissors
Spray the Airbrush Ornaments Cake
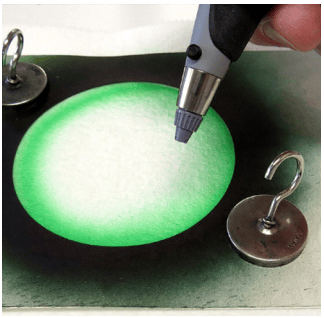
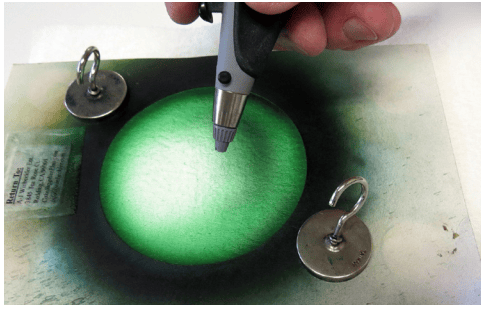
- Start by spraying a very smooth circle of color to establish the shape. Be sure to move the airbrush with a smooth hand motion and position the airbrush 3 to 4 inches from the surface of the cake. It is a good idea to weigh the stencil down tightly to the cake surface. I use small magnetic hooks that are not too heavy and will not dent even soft icing.
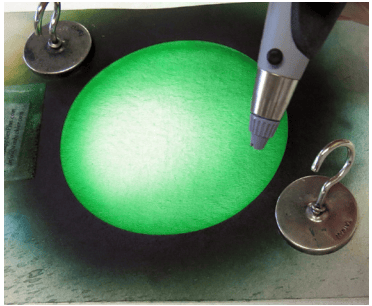
- Keep adding color, moving your hand continually and smoothly in a circular pattern. The color should be a little darker at the edges and grow lighter and lighter as you come to the highlight. Leave the highlight completely white.
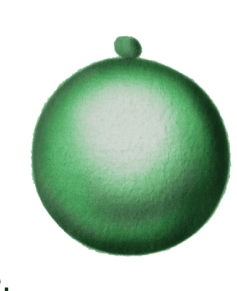
- To achieve a bit more dimension, spray a little black color around the outside edge and slightly inside the circle opposite the highlight.
- Cut a few sizes of smaller circles for the ornament neck. Place one of these at the top of the first sphere and spray color, then accent with a little black on the darker side.
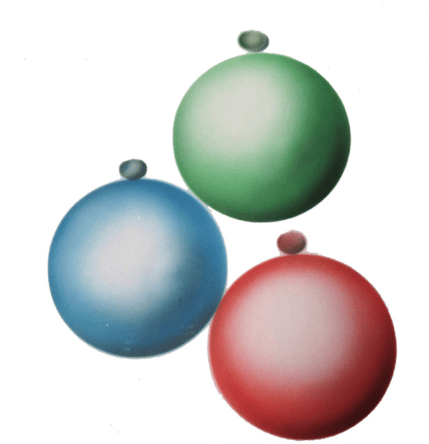
- Repeat steps 1-4 in various colors, shapes and sizes for as many ornaments as you want.
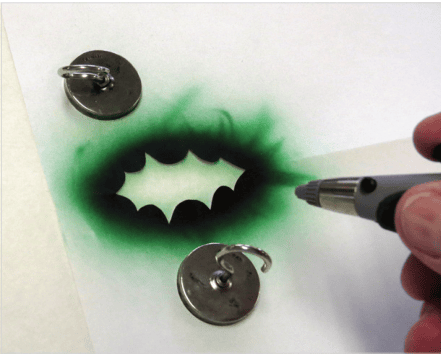
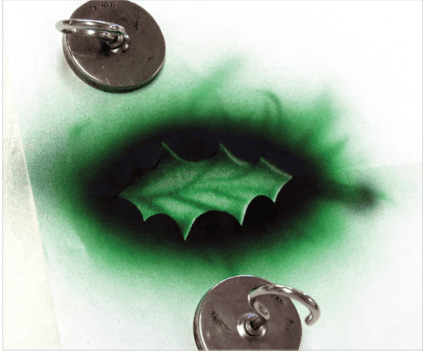
- Cut out some holly leaf templates.
- Place the templates on the cake and weight it as before. Spray with green, using a smooth hand motion, hitting the edges and leaving the center a little lighter.
- Add some veins by drawing harder lines, achieved by getting closer to the surface. Move the airbrush smoothly and quickly for this. Then use a little black on the edges to add shadow.
- Spray yellow smoothly at the center of the design, letting it fade as you go out. When you add the yellow, it will add a yellow glow to the ornament’s highlight, which is fine for a warm look. If, however, you wanted to keep the highlights white, place a mask over the whole ornament before spraying the yellow.

This tutorial originally appeared in the November/December 2014 issue of American Cake Decorating.

Roland Winbeckler
Roland Winbeckler is known for both his buttercream piping skills and his ability to create life-size sculpted cakes. The author of several books on cake decorating, Roland has competed in cake challenges on both TLC and Food Network programs. He is a highly respected instructor, having taught at the Culinary Institute of America, the Sugar Arts Institute, ICES national conventions and many other locations throughout the world. With his wife Marsha he runs A-J Winbeckler Enterprises, a cake and candy-making supply store.