

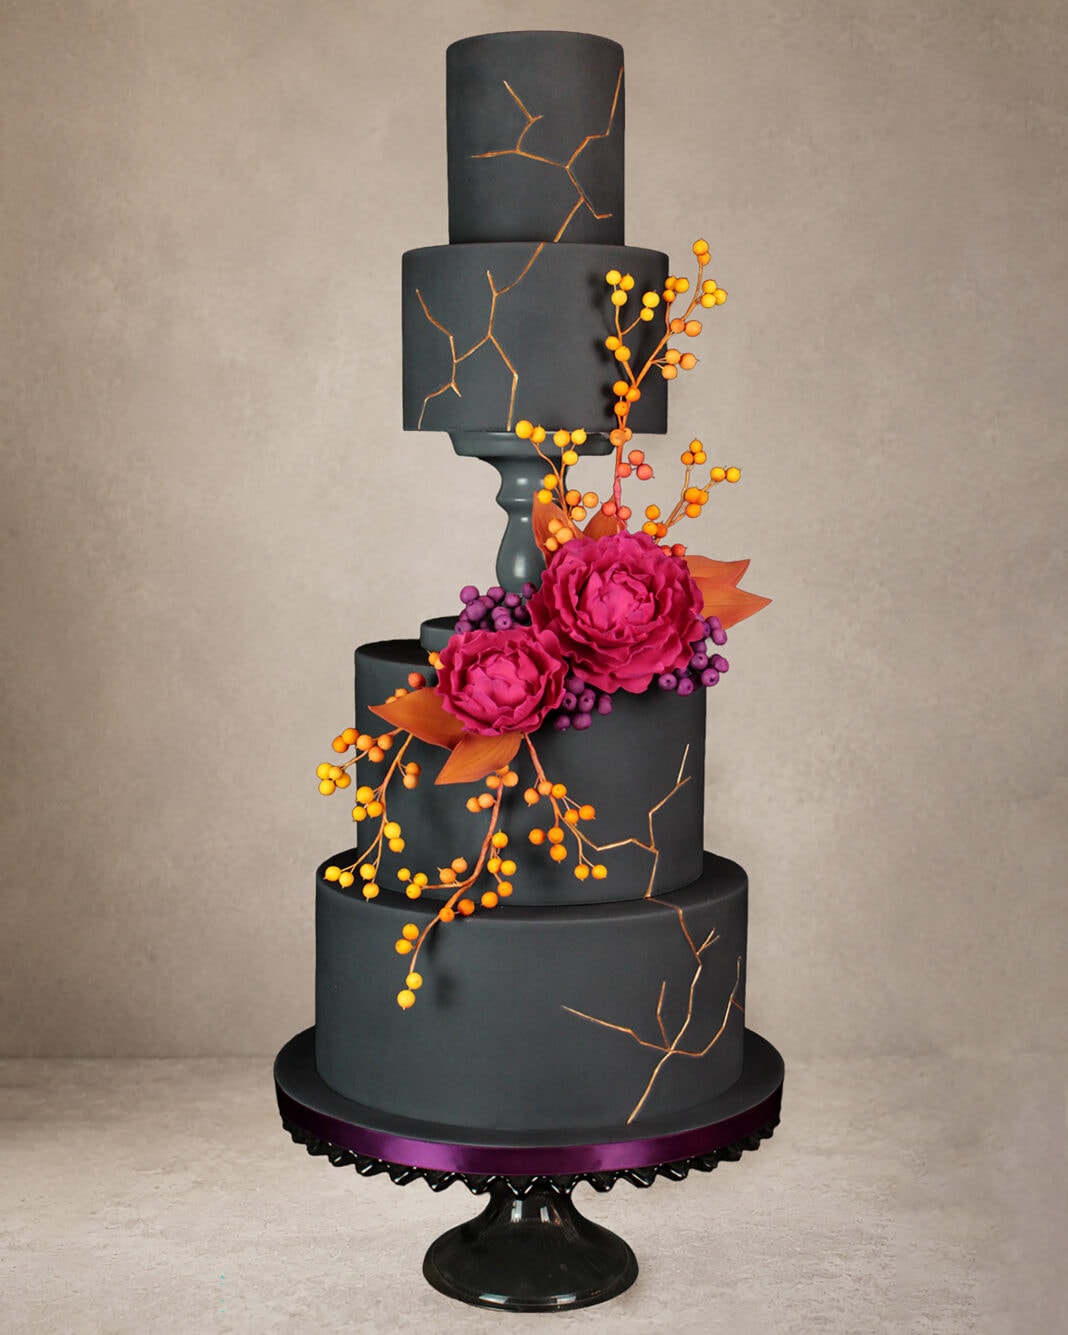
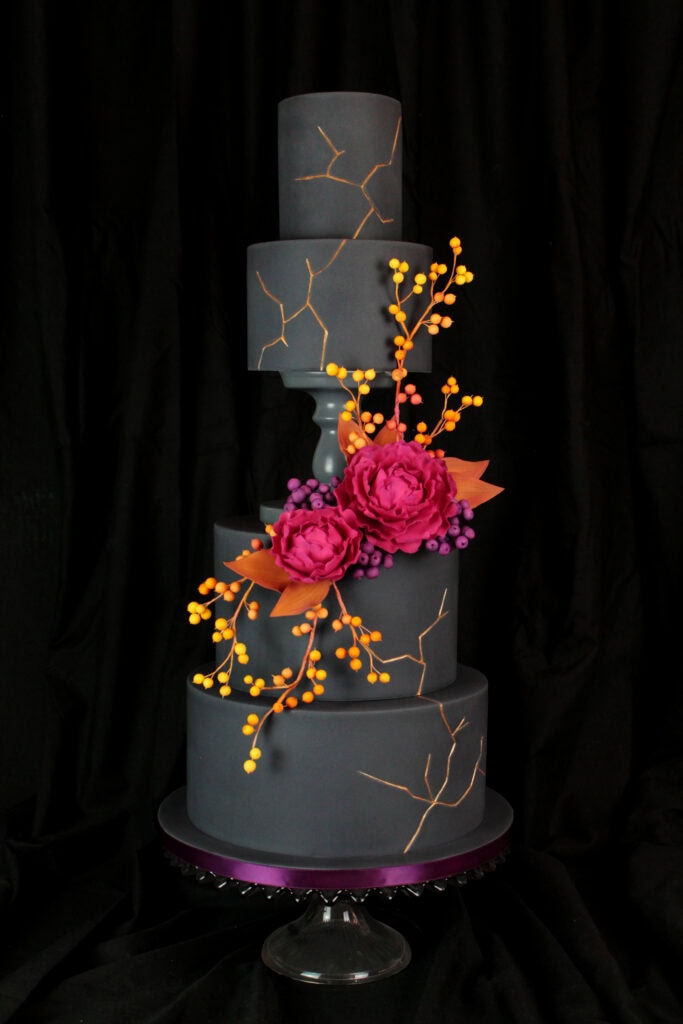
Bring an artistic touch to your cake designs with this stunning autumn kintsugi cake with gum paste peonies tutorial by Natalie Porter. Deep gray tiers are accented with hand-painted golden cracks, colorful gum paste berries, delicate peonies, and a dramatic floral arrangement that creates beautiful contrast and movement. The design also incorporates negative space with a cake stand placed between the tiers, creating a bold and unexpected showpiece. Follow the step-by-step tutorial to learn how to create the autumn berries, gum paste peonies, leaves, and Kintsugi-inspired details that bring this striking design together.
Edibles:
- Gum paste
- Gel colors: yellow, egg yellow, pink, grape, claret, chestnut, canary yellow, orchid purple, and antique gold
- Water
- Petal dust: canary yellow, marigold, tangerine, orchid purple, copper, claret, plum, African violet, lilac, antique gold, and golden sands
- Cake: 4, 6, 8, 10 inches covered in dark gray fondant
- Rejuvenator
Equipment:
- White floral wire: 24, 26, and 28 gauge
- Candle
- Star tool
- Rolling pin
- Circle cutter
- 40 mm Styrofoam balls
- 120 mm 5-petal peony cutter
- Knife
- Foam pad
- Ball tool
- Veining stick
- Rapid rose support pad
- Grooved board
- Cutting wheel
- Dresden tool
- Paintbrushes
- Floral tape: white and green
Make the Berries
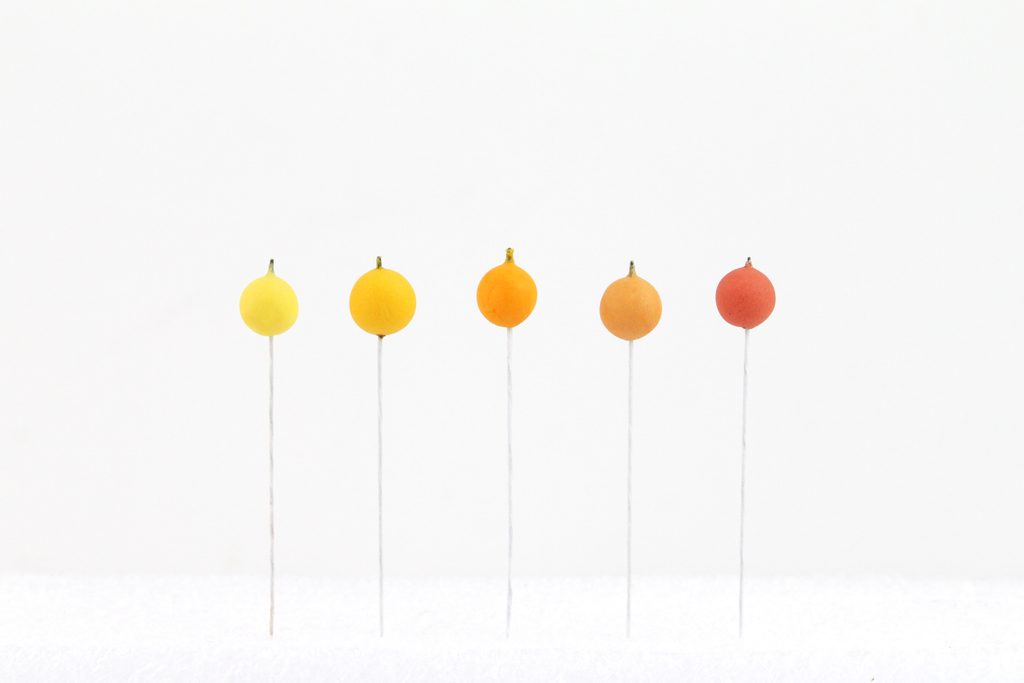
- Mix approximately 20 grams of bright warm yellow gum paste, made from mixing a little of the yellow with the egg yellow. Roll a small ball of paste, about the size of a pea.
- Heat a length of 28-gauge floral white in a candle flame, holding it in place until the wire changes color.
- Quickly insert it into the berry so that the burnt top of the wire sticks out just a little—if you get a little puff of smoke, it’s worked! The heat melts the sugar, attaching the berry to wire firmly and immediately.
- Make approximately 30 berries of each color, mixing the yellow, egg yellow, and pink to achieve the varying shades from warm yellow to warm orange.
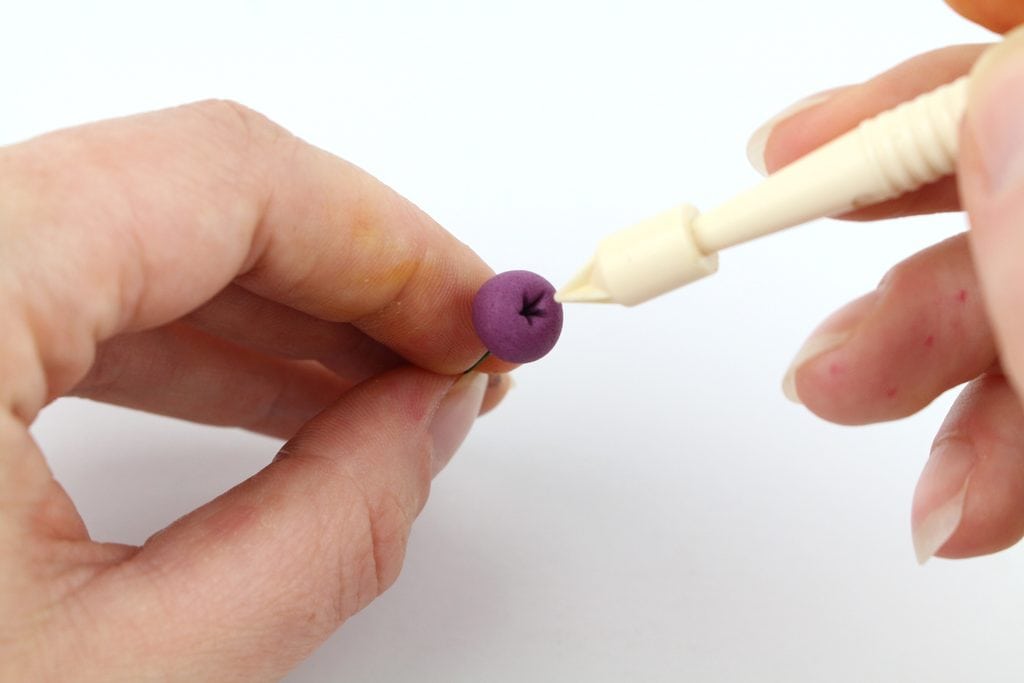
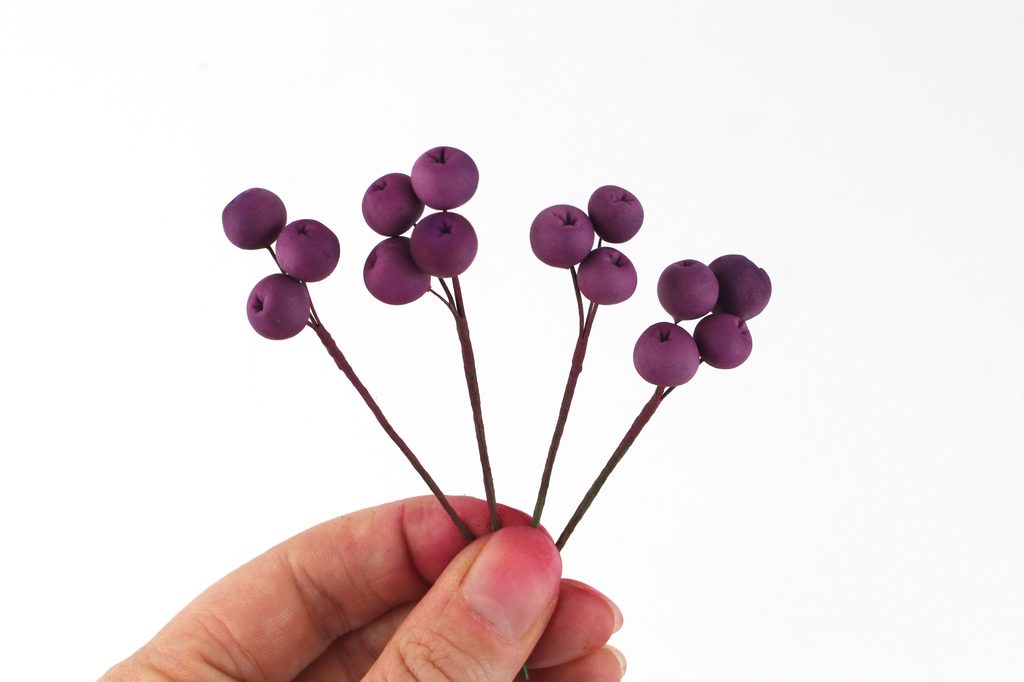
- Make 30 grams deep purple gum paste by mixing the pink and grape together. Roll larger berries, about the size of a chickpea, and attach to wires using the candle, but don’t push the wire all the way through. Use a star tool to impress a small star shape into the top of each berry. Make 40 of these.


Make the Peonies
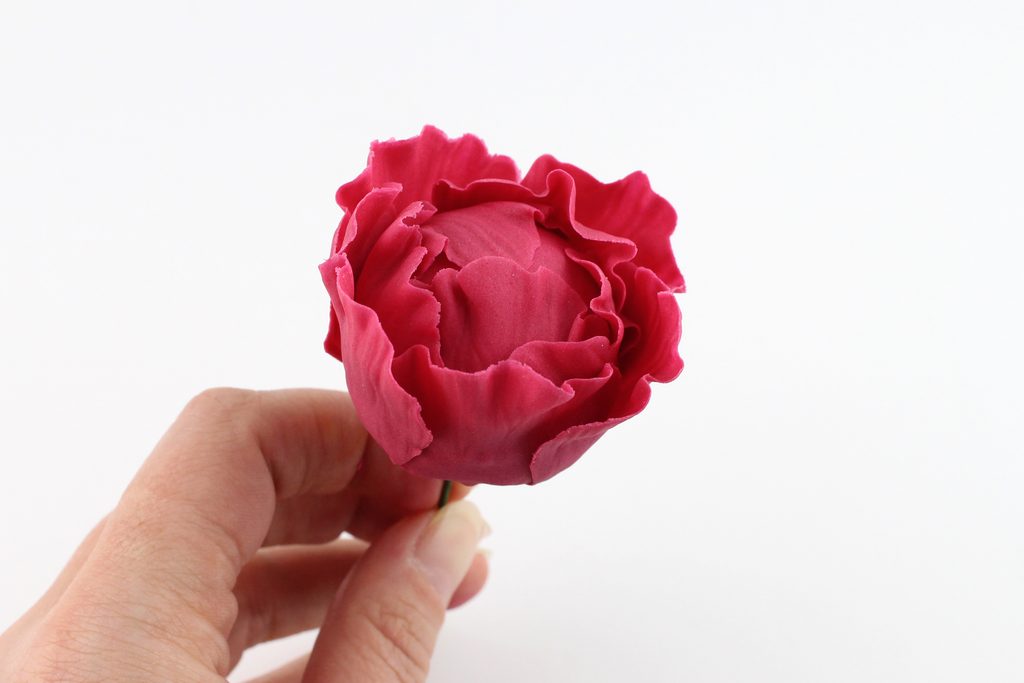
- Mix up 100 grams of deep pink gum paste, combining the pink gel with a little claret to intensify the color. Roll the gum paste out to just about 1mm thick and cut a small circle to cover to the top of a Styrofoam ball, affixing it with a little water. Cut out peony petals with a 5-petal cutter. Use a knife to cut a short slit in between each petal.
- Place the peony petals onto a foam pad and use a ball tool to soften and frill the edges.
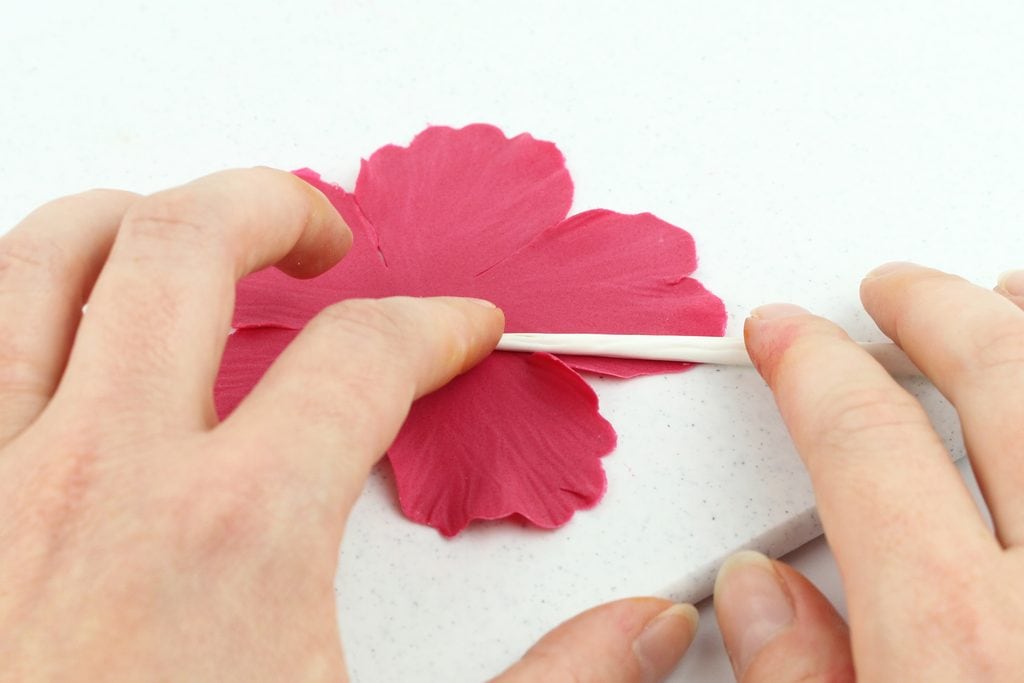
- Placing the petals back onto your work board, roll the veining stick with a firm pressure over each petal in an arc shape, adding detail to the petals.
- Pop the petals back on the foam pad and work round the edge once more with the ball tool to re-create the frill. Use the ball tool in small circles in the center of each petal, to cup it a little and give the petal some shape.
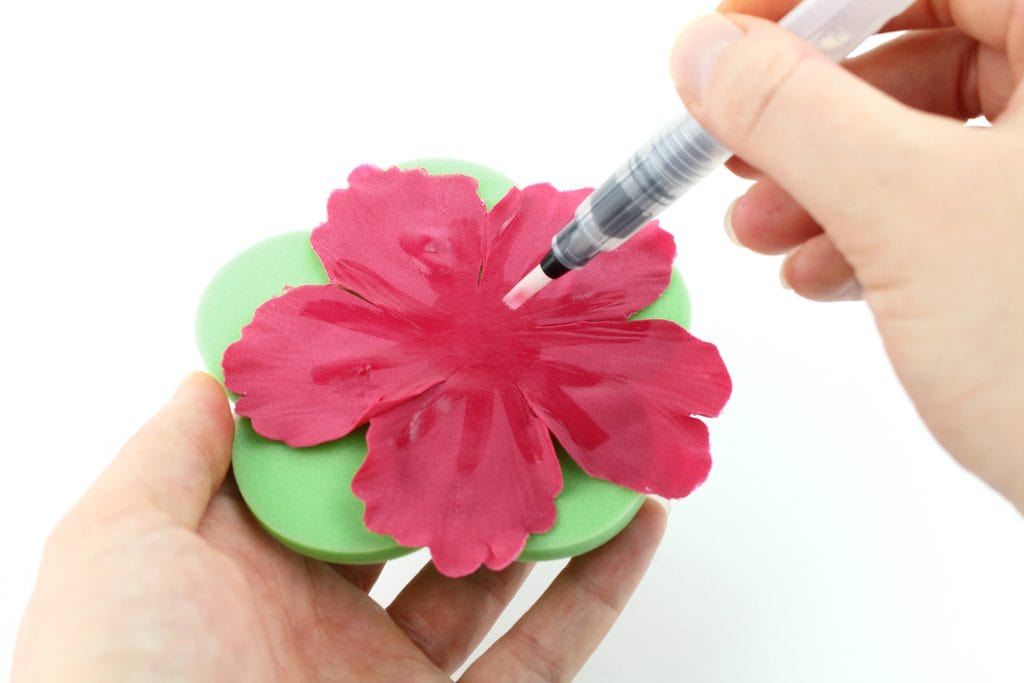
- Transfer the shape onto the rapid rose support pad. Wet the center of the shape and a line up the center and edges of each petal.
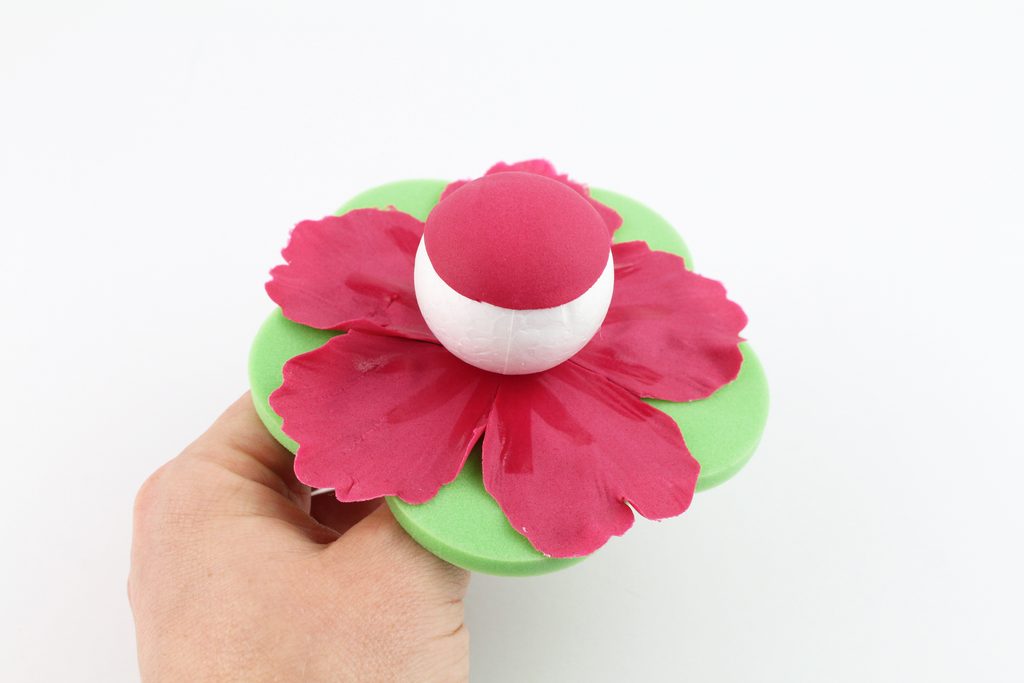
- Place the prepared Styrofoam ball into the center of the gum paste and the hole in the support pad, holding the bud firmly underneath.
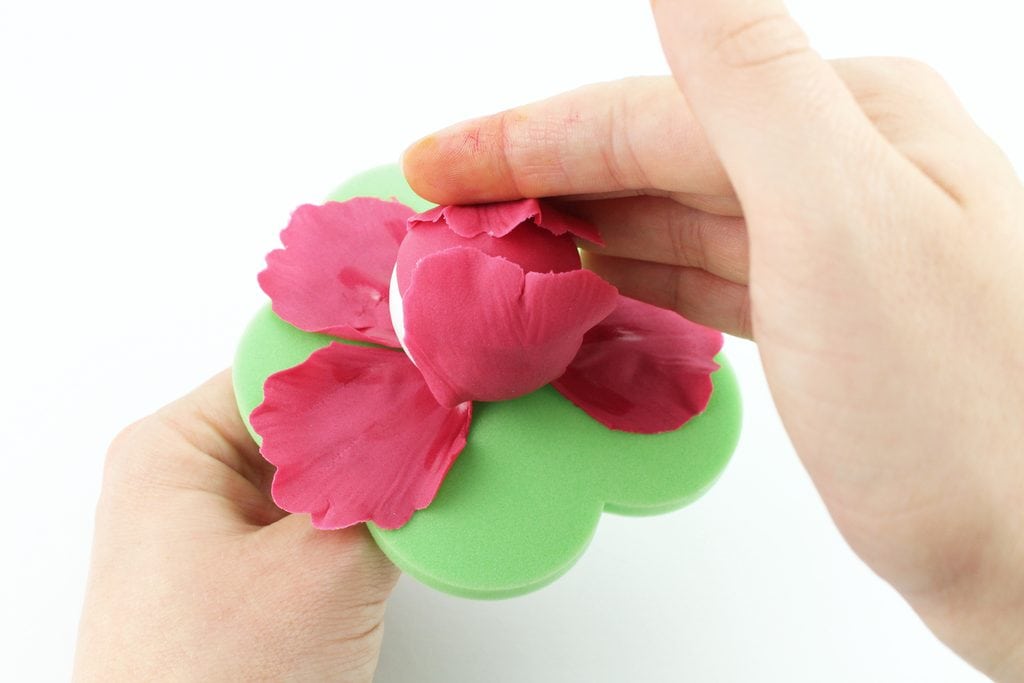
- Lifting each petal in turn, attach it to the ball. If needs be, stretch the petals a little, as you want to cover as much of the top of the ball as possible.
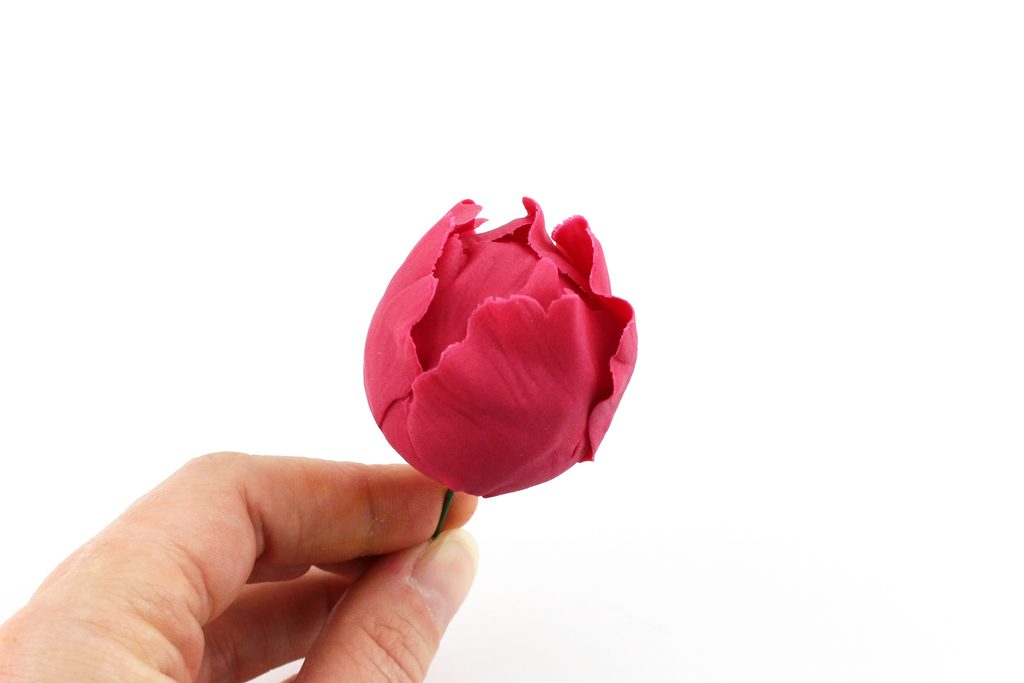
- If needed, use a little extra water to affix the top of the petals so each one is curled in and over the poly-ball, forming a tight central bud.
- Repeat steps 1 through 5 adding another layer of petals, allowing them to remain a little more open than the previous layer.
- Repeat again, adding another layer of petals and once more allowing them to sit a little more open than the previous row, as if blooming.
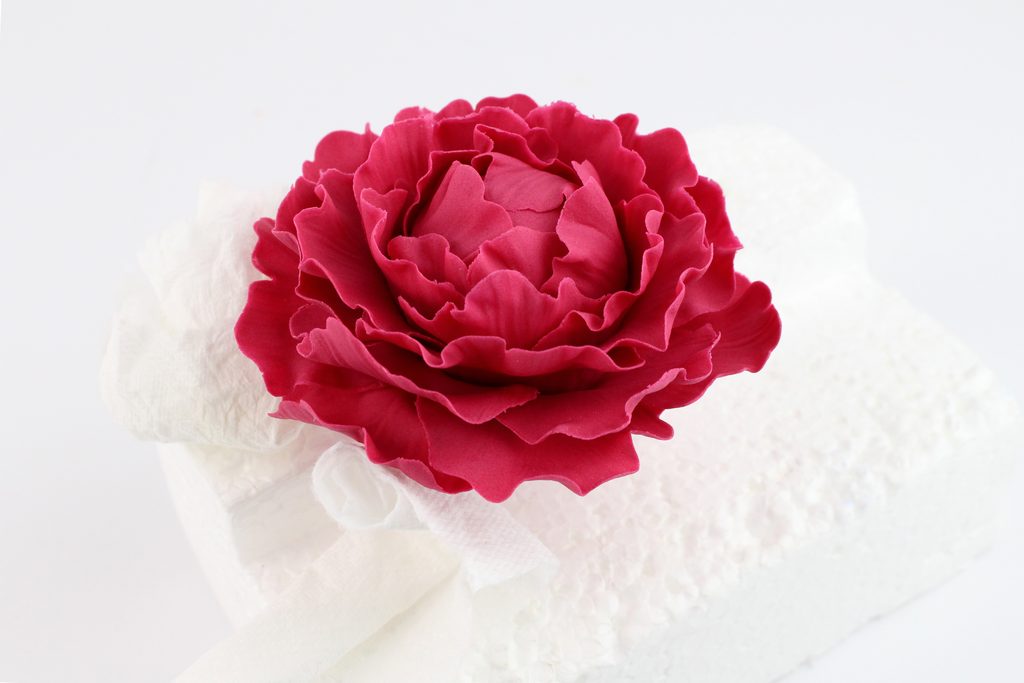
- Add another 2 rows of petals to 1 of the peonies (making 5 in total), allowing a little drying time after each one. Position the petals so they are open and the peony looks fully bloomed. If the petals flop back, you can use small pieces of sponge or some rolled-up kitchen paper to prop them up, holding them in place until set.
Tip: Sometimes the peonies can look a little “pentagonal” having use the five petal cutters. If this happens to your one, simple cut an extra single petal (by trimming away the excess to leave just one), ball tool and vein in the same way and attach it to the final row, it’ll round off the peony’s silhouette nicely!




Make the Leaves
- Mix up 20 grams of tan gum paste—a combination of egg yellow and chestnut. Roll this out on the grooved board and use the cutting wheel to cut out a basic leaf shape, roughly 7 centimeters long.
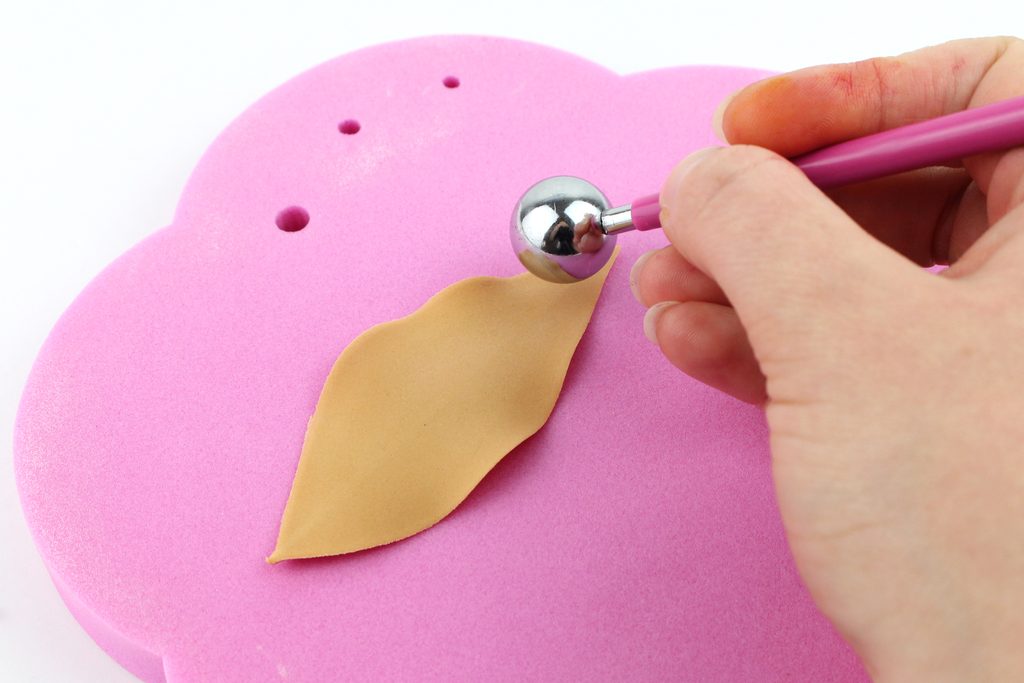
- Place the leaf onto the petal pad and use a ball tool to soften and give some shape to the edges.
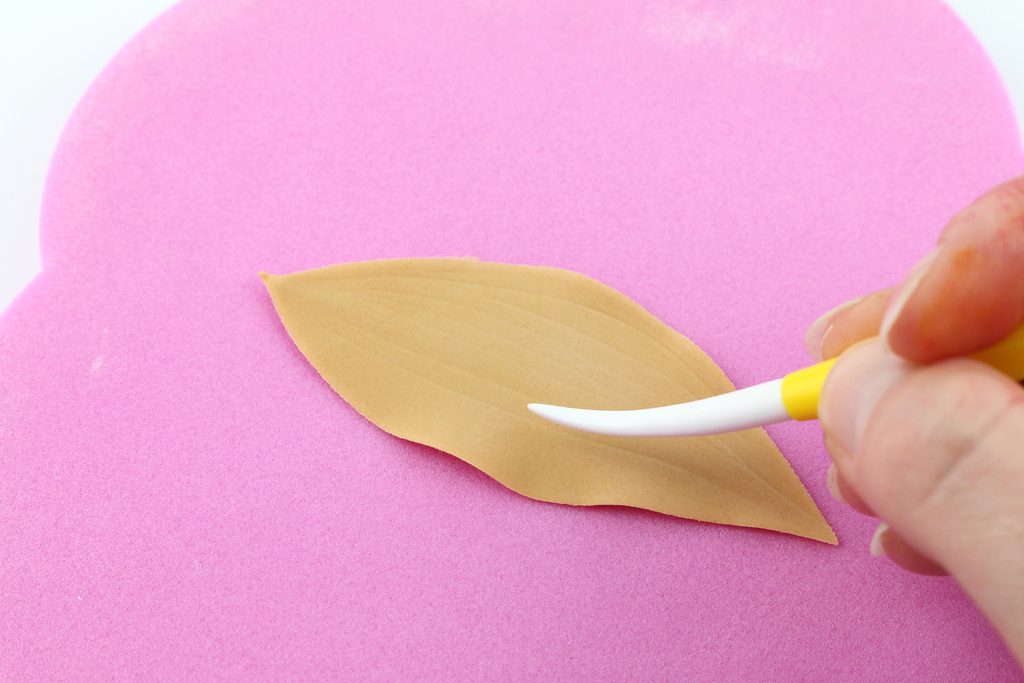
- Use a Dresden tool to scribe long veins in the leaf, running tip to base. Be careful not to press too hard and cut through the leaf.
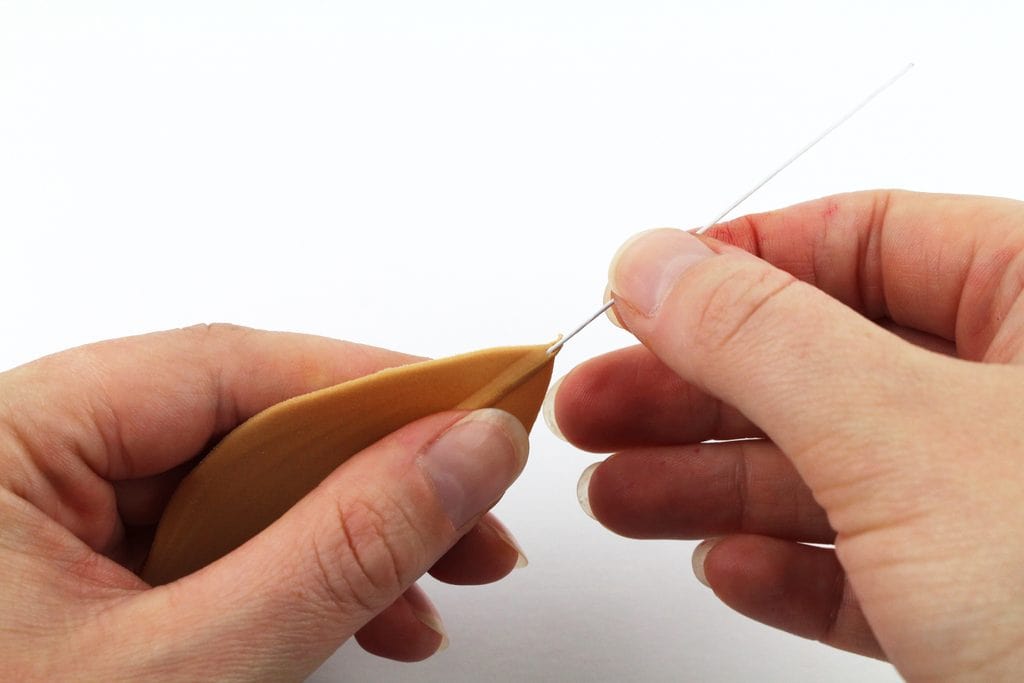
- Moisten the end of a piece of 24-gauge floral wire and, holding the leaf carefully, insert the wire, pinching the leaf closed at the base. Make about 6 leaves, varying the length from 7 to 9 centimeters.

Dust with Color
- Use a medium brush to dust the berries using the canary yellow, marigold, tangerine, orchid purple, copper, and claret. Use the lighter colors on the lighter berries, darker on the darker ones, creating an overall ombré effect, from shades of bright warm yellow, through orange, to rusty ochre. The idea is to give each berry a little color variation and interest, rather than to charge its color entirely.
- Similarly dust the purple berries, using the plum, African violet, and lilac to give color variation, highlights, and lowlights.
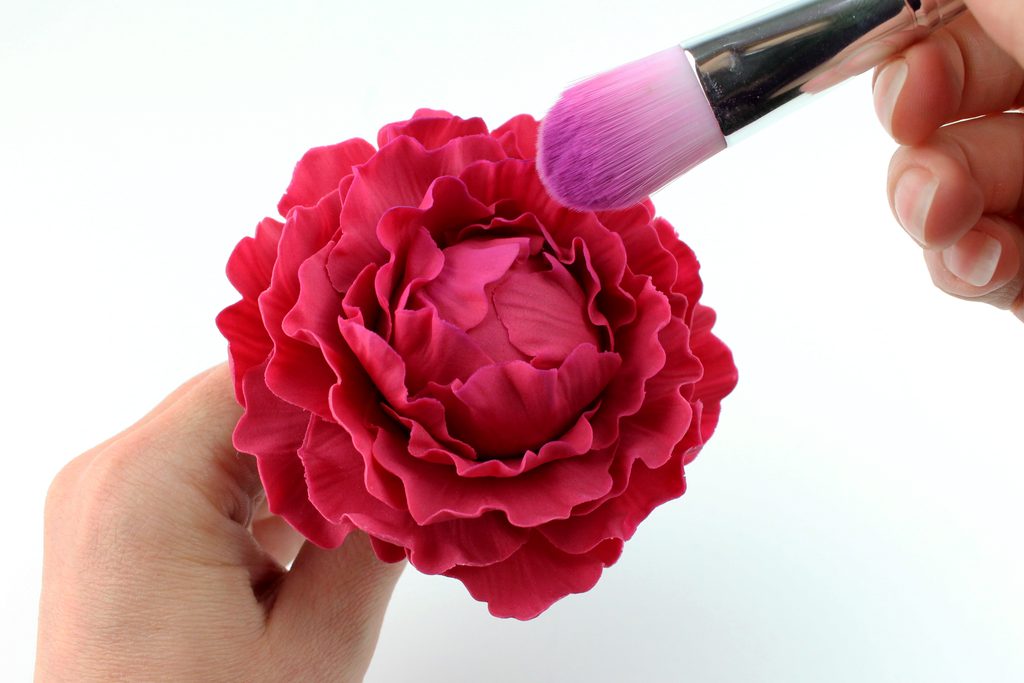
- Use a wide soft brush to dust the edges of the peony petals with the plum, working from the outside towards the center. This will intensify the color and begin to show the veining and detail.
- Repeat with a little African violet and lilac, highlighting the edges of the petals and showing off the veining here and there. Be careful not to use too much—this is just an accent, not an attempt to turn the peony purple!
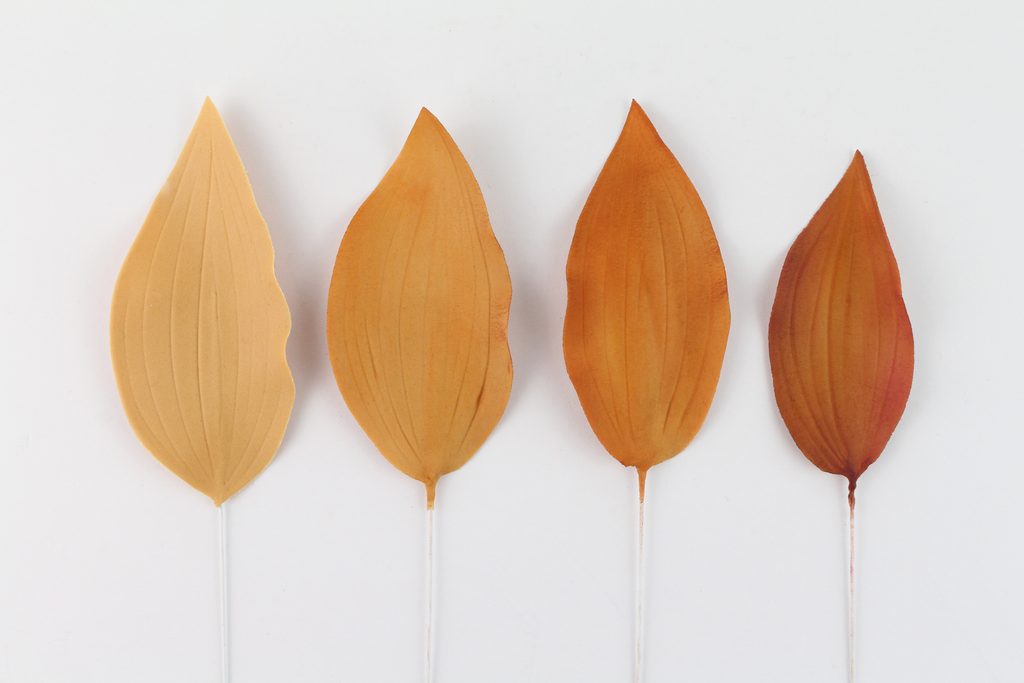
- For the leaves, begin by dusting all over with a little marigold and tangerine, to lift and lighten the color. Add some copper to the edges, drawing the color towards the center. Finish with some orchid purple and lilac around the edges, deepening the color and giving a dusky, rusty autumnal effect to the leaves.

Tape Your Blooms
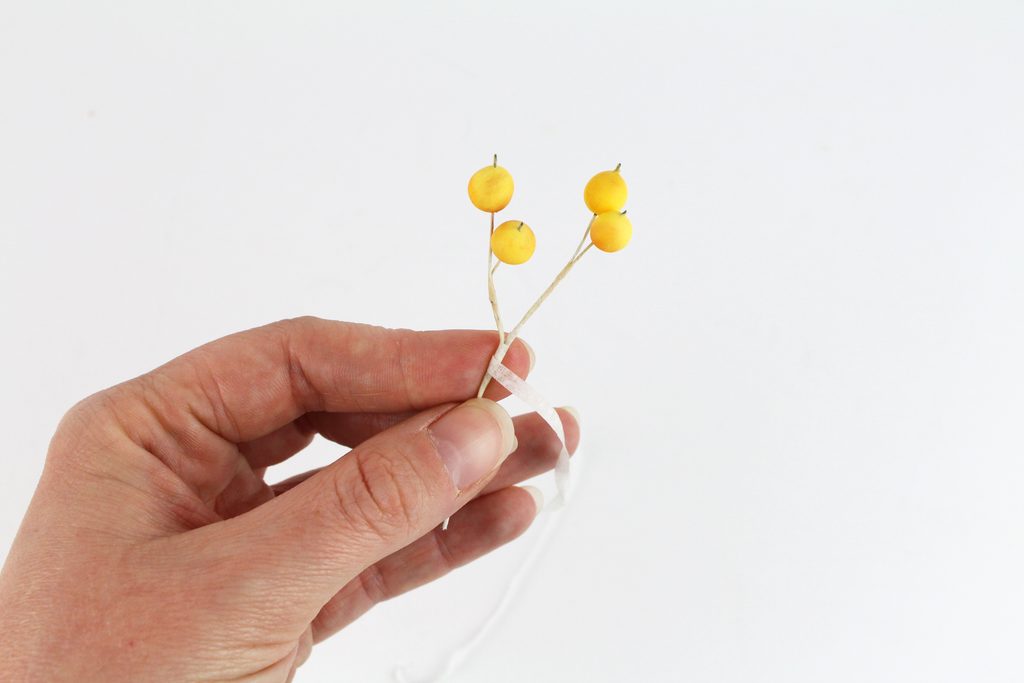
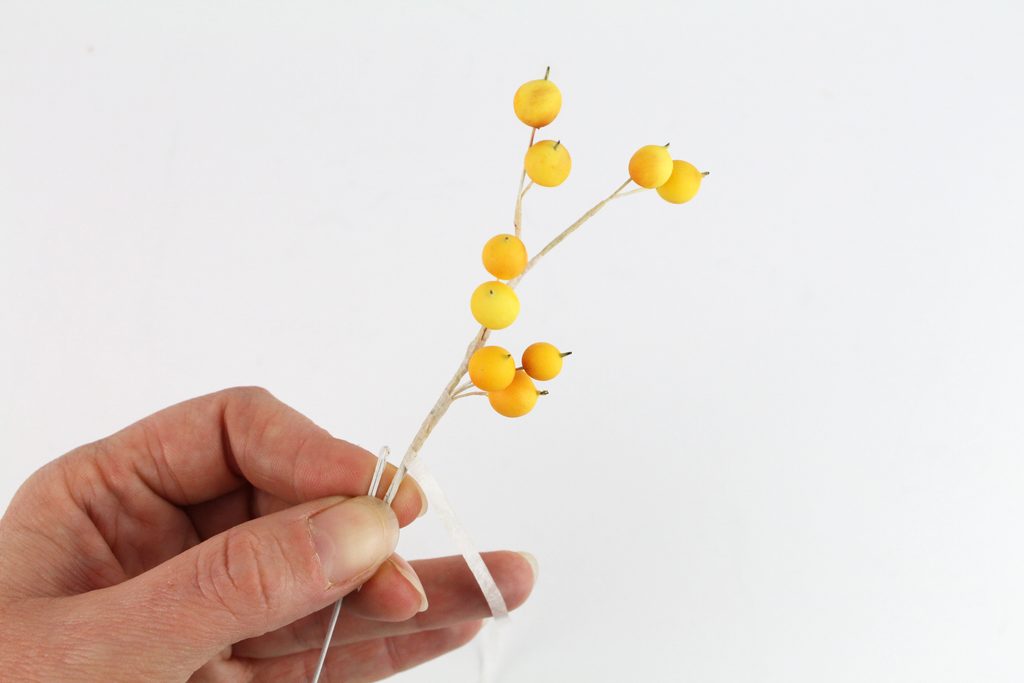
- Trim some white floral tape down to third or quarter width. Keeping within the colors, tape the yellow/orange berries into little groups of 2, 3, or 4, varying the height and position of the berries so they look interesting and natural.
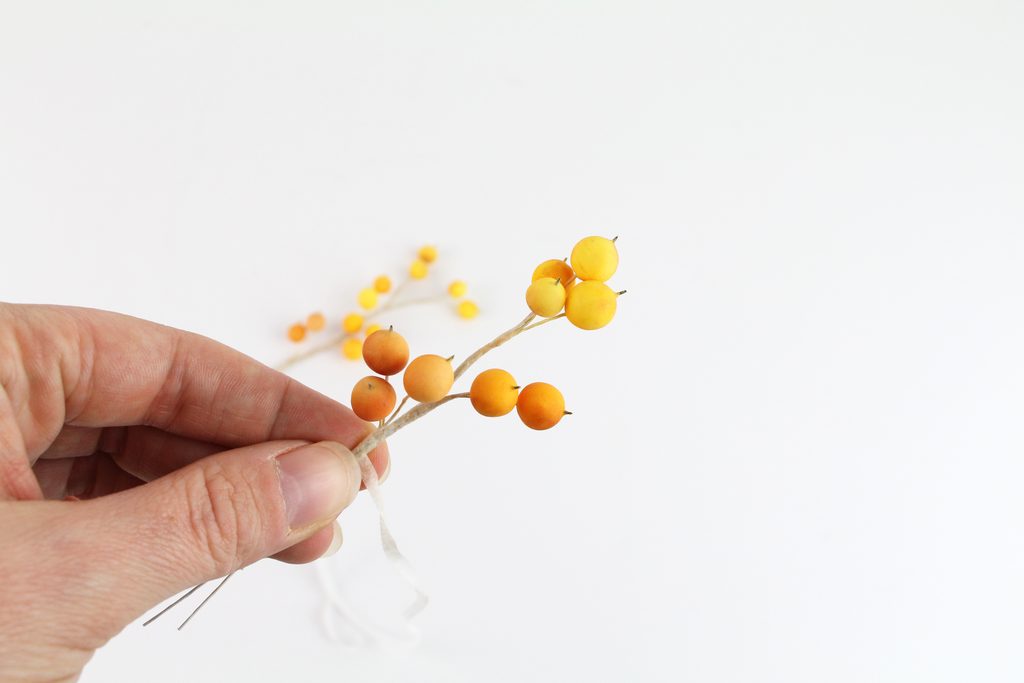
- Take 2 sprigs of yellow berries and tape them together, again not at the same height. Bend the wires to create a twisted shape for a more interesting shape than leaving them straight.
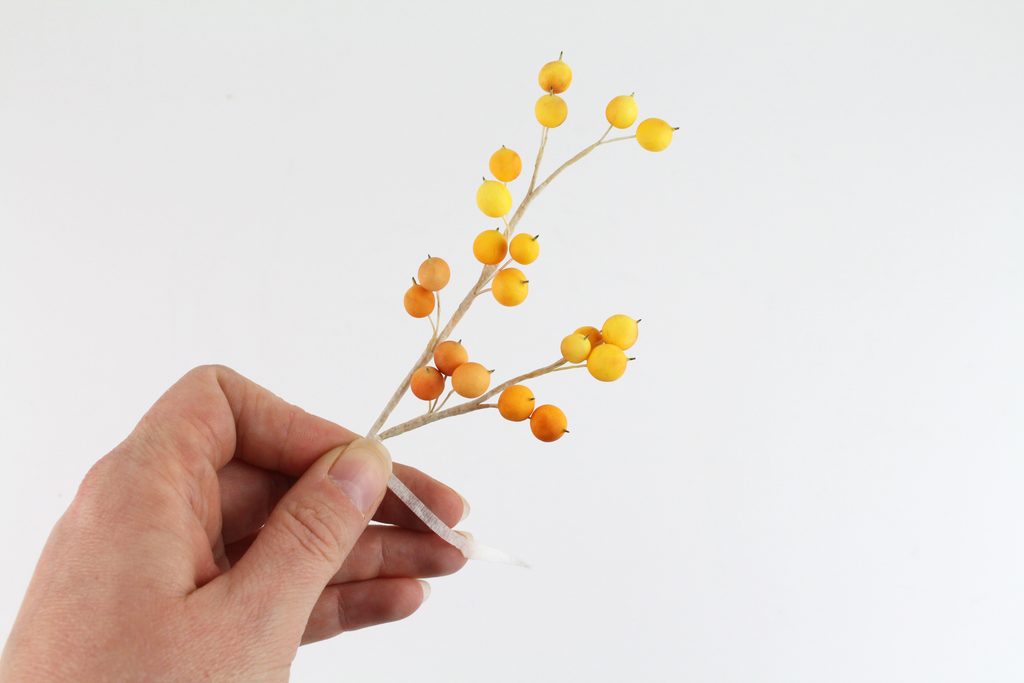
- Work the tape down the stems, adding more berries at irregular intervals, working through the colors from light to dark. If you feel the stem is becoming a little thin and/or weak, splint in a doubled-over piece of 26-gauge wire to add strength and rigidity.
- Once you have 3 to 5 clumps of berries on the twig, start another shorter twig, which will be attached to the first one. Use appropriate colors to maintain the look, fading from light to dark.
- Attach the second twig to the first, wrapping the tape securely around both stems and bending them into a pleasing, natural-looking shape.
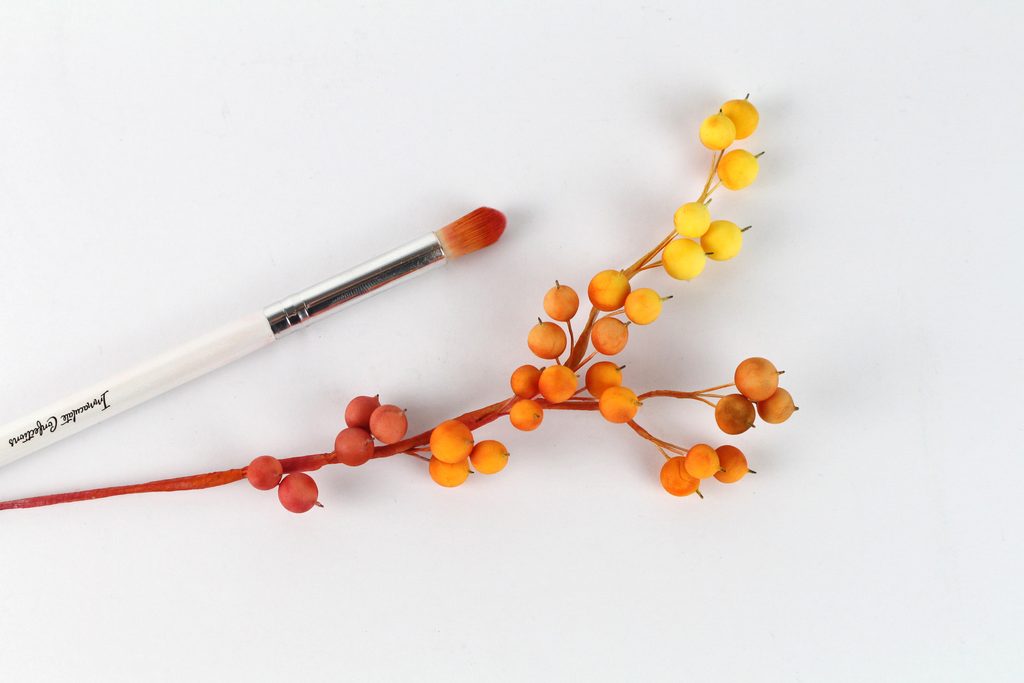
- Add a few more clumps of berries, working through the colors to the darkest rusty ochre shade.
- Finish by dusting the twig itself with the same colors used to dust the berries, again working from light to dark to achieve an overall ombrée effect.
- Make 6 or 7 branches of varying lengths and berry-density, bending and shaping the stems and branches for an interesting and natural shape.
- Use third- or quarter-width green floral tape to create bunches of 2, 3, 4, or 5 purple berries. Tape close to the berries so they’re tight together and dust over the tape with plum and African violet.


Paint the Autumn Kintsugi Cake
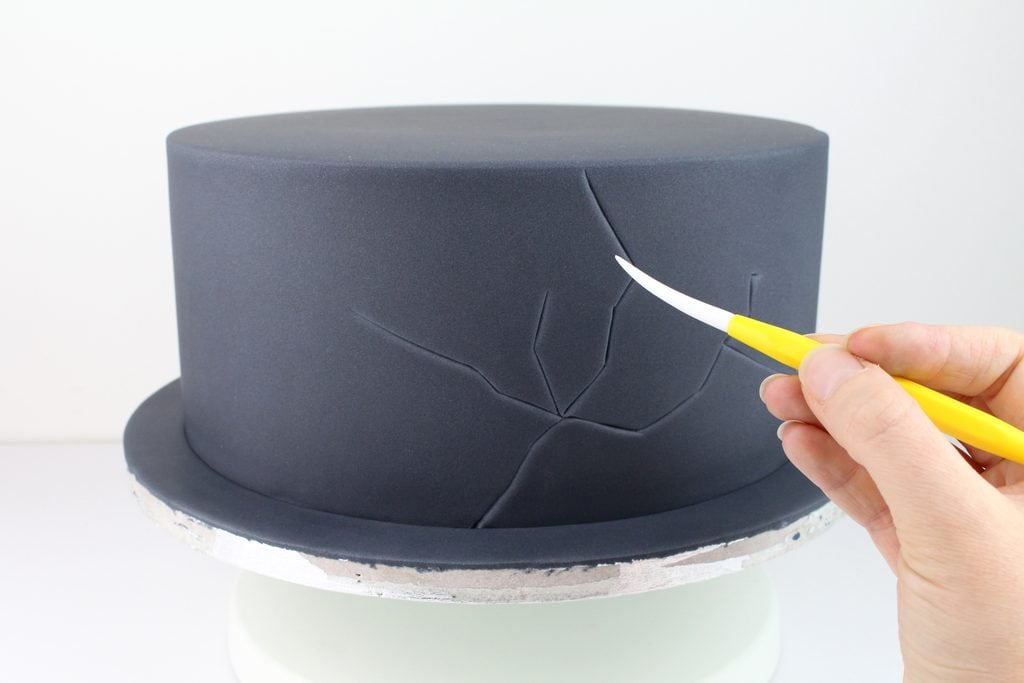
- Use a Dresden tool to incise a pattern of cracks into the side of the cake. Use straight angular strokes, emulating the way that porcelain cracks and breaks. Consider if you want to the cracks to span more than 1 tier, and if so make sure to start/end the cracks so you can line them up.
- Mix a fairly loose paint with the rejuvenator and mixture of the antique gold and golden sands to make a bright golden copper color. Very carefully paint inside the cracks—this requires a steady hand so take it easy and don’t rush.
- Stack the first two tiers as normal. Measure the size of the base of your stand and cut out a circle of paper about 1cm less in diameter. Place this on the second tier and trace round it with the Dresden tool.
- Make eight evenly spaced marks and dowel like a normal cake, cutting the dowels level to create a level support—you can even check this by placing a cake board on the dowels and testing it with a spirit level.
- Pipe a blob of royal icing over each dowel in addition to generously piped larger blobs—this will hold the stand in place so do not skimp! Place the stand on top, making sure it’s centered and press firmly. Give it a little while to set and then using plenty more royal icing on the top of the stand, carefully place the next tier, having doweled it first. Leave this to set half an hour or so and then finally place the final tier.

This tutorial originally appeared in the September/October 2019 issue of American Cake Decorating. For more tutorials, click here!

Natalie Porter
Natalie Porter is a multi-gold-award winning artist and owner of English cake company, Immaculate Confections. A regular sellout for her classes and a natural teacher, Natalie has recently published her first book, which unpacks her brilliant use of color and flair for design. Natalie is an international artist to watch!