


This envelope cookie from cookie artist Olga Goloven is such a cute way of expressing your love to someone. Make this Valentine’s Day envelope cookie tutorial in just a few easy steps. Here are a few tips and tricks from the artist to get you set up for success.
Olga’s Cookie Tips
- I used sugar cookie dough colored with gel food color.
- If you use dough from the fridge, knead it until soft before assembling the cookie design.
- For suitable work, roll dough on a flexible mat or any additional table space, not on the baking sheet.
- Check that all rolled dough pieces don’t stick to the flexible mat/table, because you will need to move and rotate them later.
- Assemble the cookie design on the baking mat and don’t remove the design (it can break or lose its desired shape).
- If the dough tears apart during moving (it happens with fresh mixed dough), sprinkle it with additional flour and knead by hand to make it dense (repeat as many times as necessary).
- To keep one thickness of the different colors of the dough, roll all pieces together.
- To get one solid cookie after baking, be sure that all parts of the cookie design cross or are spaced tightly to each other, and there are no gaps between the elements
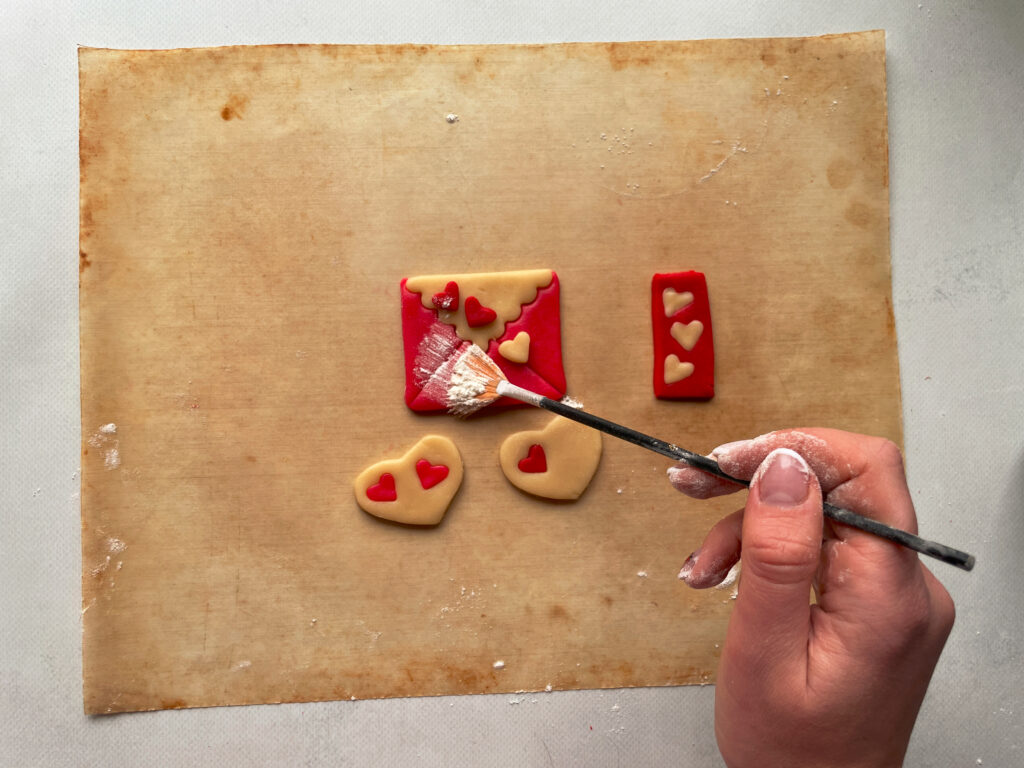
- To make the cookie surface smooth after baking, always smooth the dough surface with flour. Use your fingers or a flat brush.
Edibles:
- Cookie dough: uncolored, red, and pink
- Flour
Equipment:
- Rolling pin
- Scalloped square cutter
- Square cutter
- Small heart cutter
Create the Valentine’s Day Envelope Cookie
1. Roll out uncolored and red dough. Cut a scalloped square from the uncolored dough and a regular square out of the red dough.
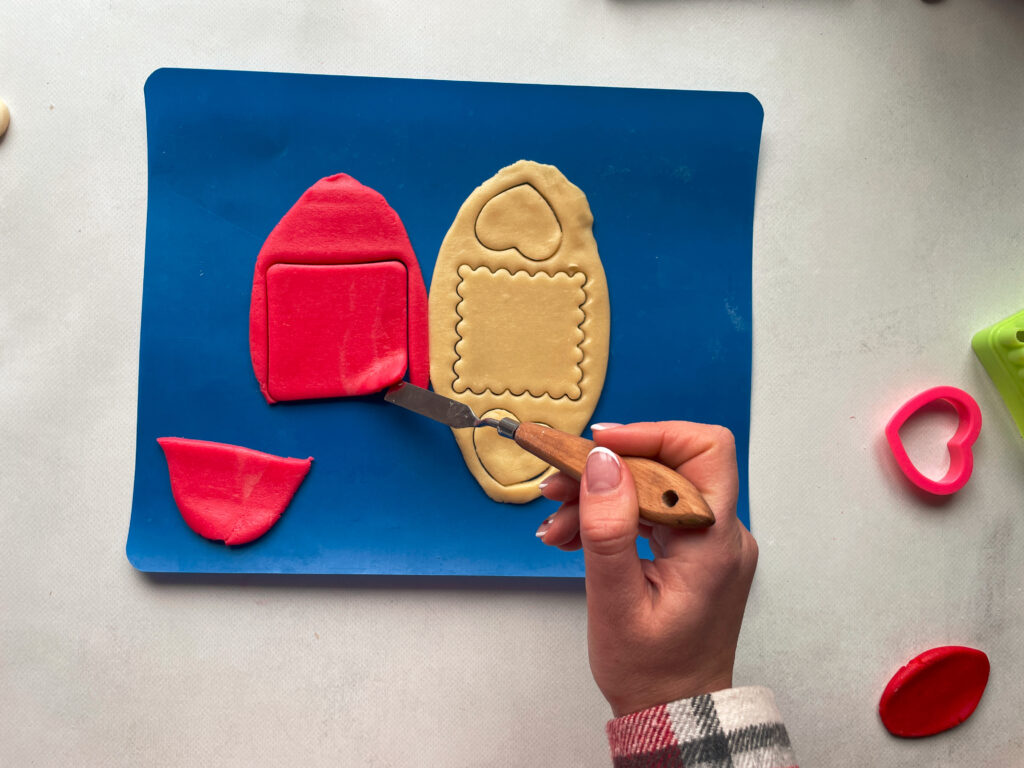
2. Place the red dough on a baking sheet. Use the scalloped cutter to crop off the top into a V shape.
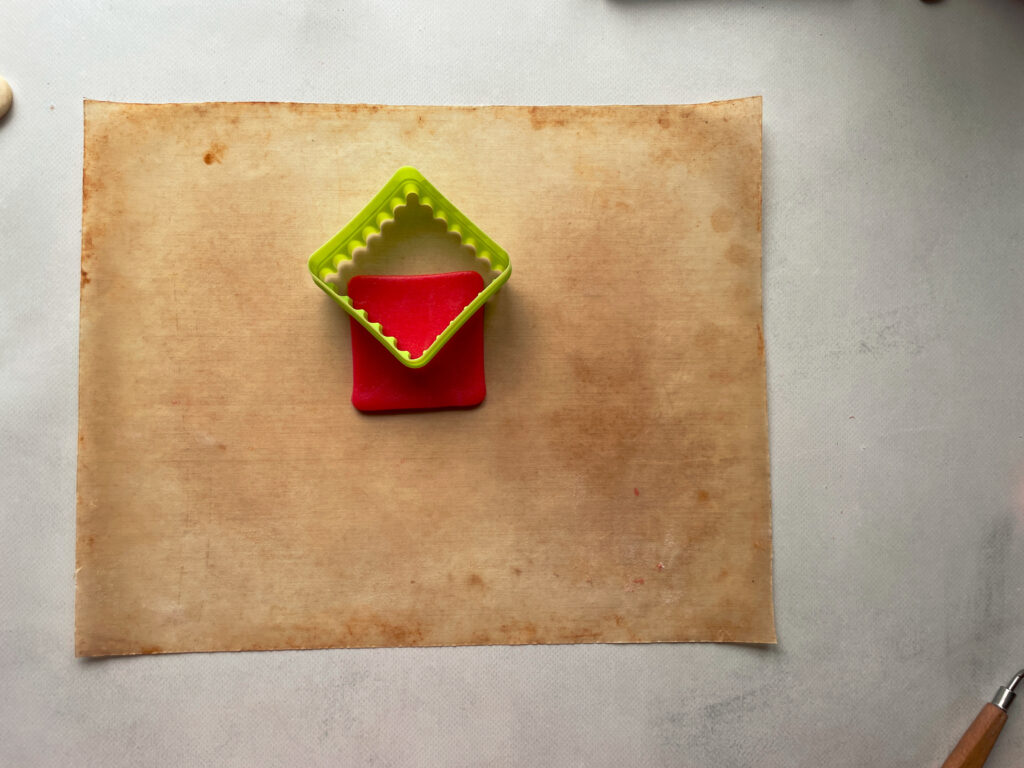
3. Place the uncolored scalloped square into the V shape just created. Press the dough together to connect.
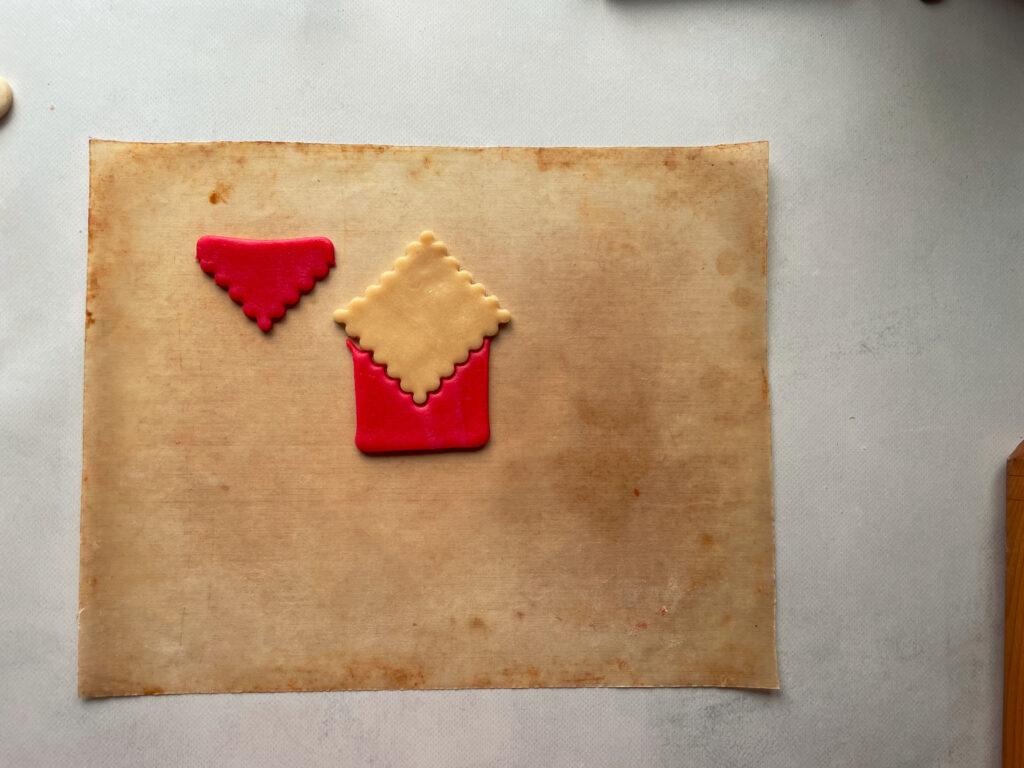
4. Cut away the uncolored dough to create a square.
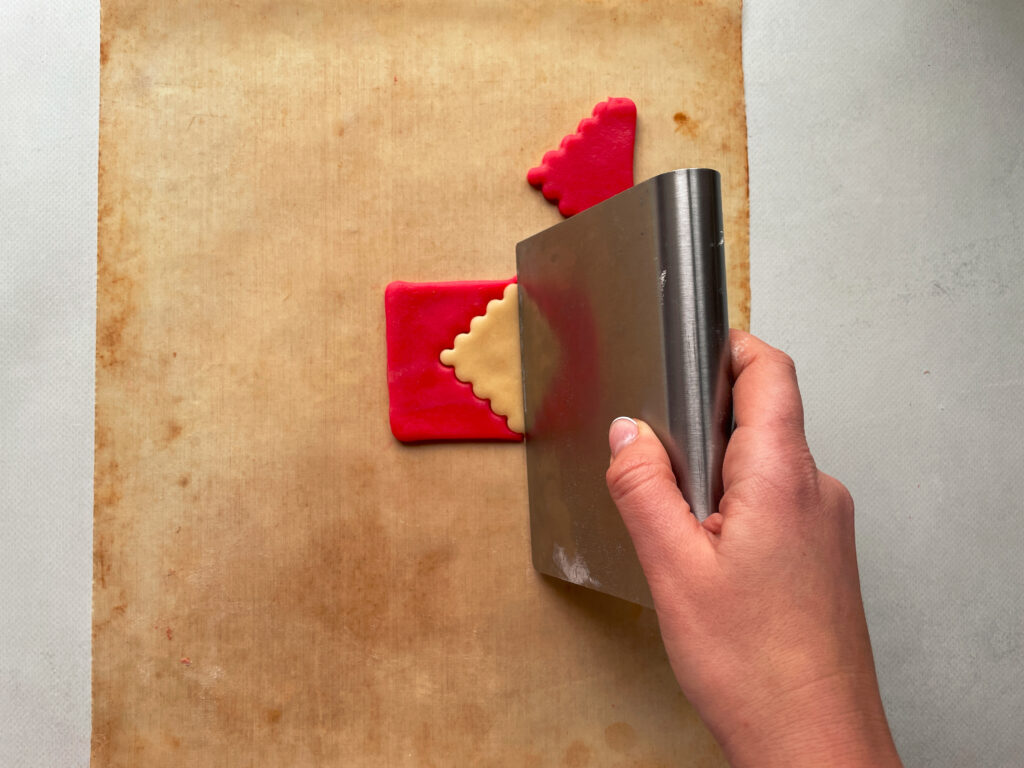
5. Use the small heart cutter to cut away hearts in the envelope.
6. Cut uncolored and pink dough with the heart cutter and place them in the holes in the envelope.
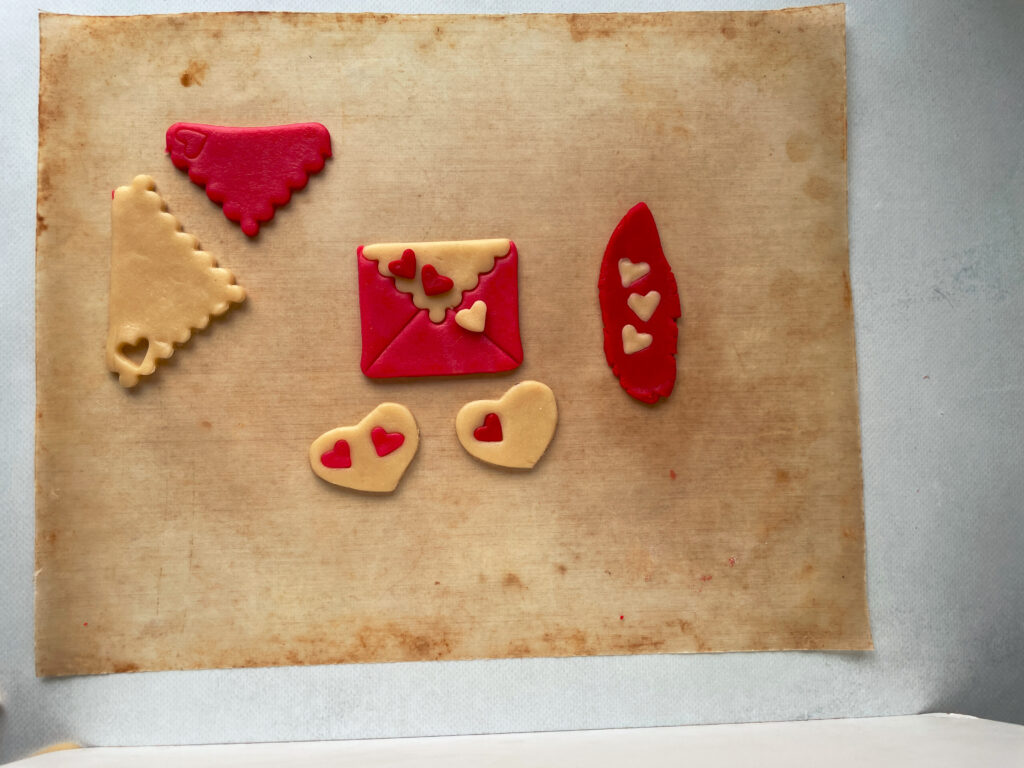
7. Smooth the dough with flour and bake.
You can find the tutorials of the rest of the cookies pictured in the January/February 2025 issue of American Cake Decorating.

Olga Goloven
Olga Goloven worked full-time as a cookie decorator in Ukraine, sharing her passion for the art form through online classes. She made the difficult decision in 2022 to leave and start a new life in Chicago. She still continues to pursue her passion for cookie decorating while working full-time in a new role, offering custom designs and cakes to her new local audience in her spare time. Chicago, with its rich tapestry of cultures and traditions, gives her endless inspiration and helped her win third place at Julia M. Usher’s competition in 2022 and 2024. She hopes that one day she will return to her previous path, creating the art of cookie decorating full-time.