

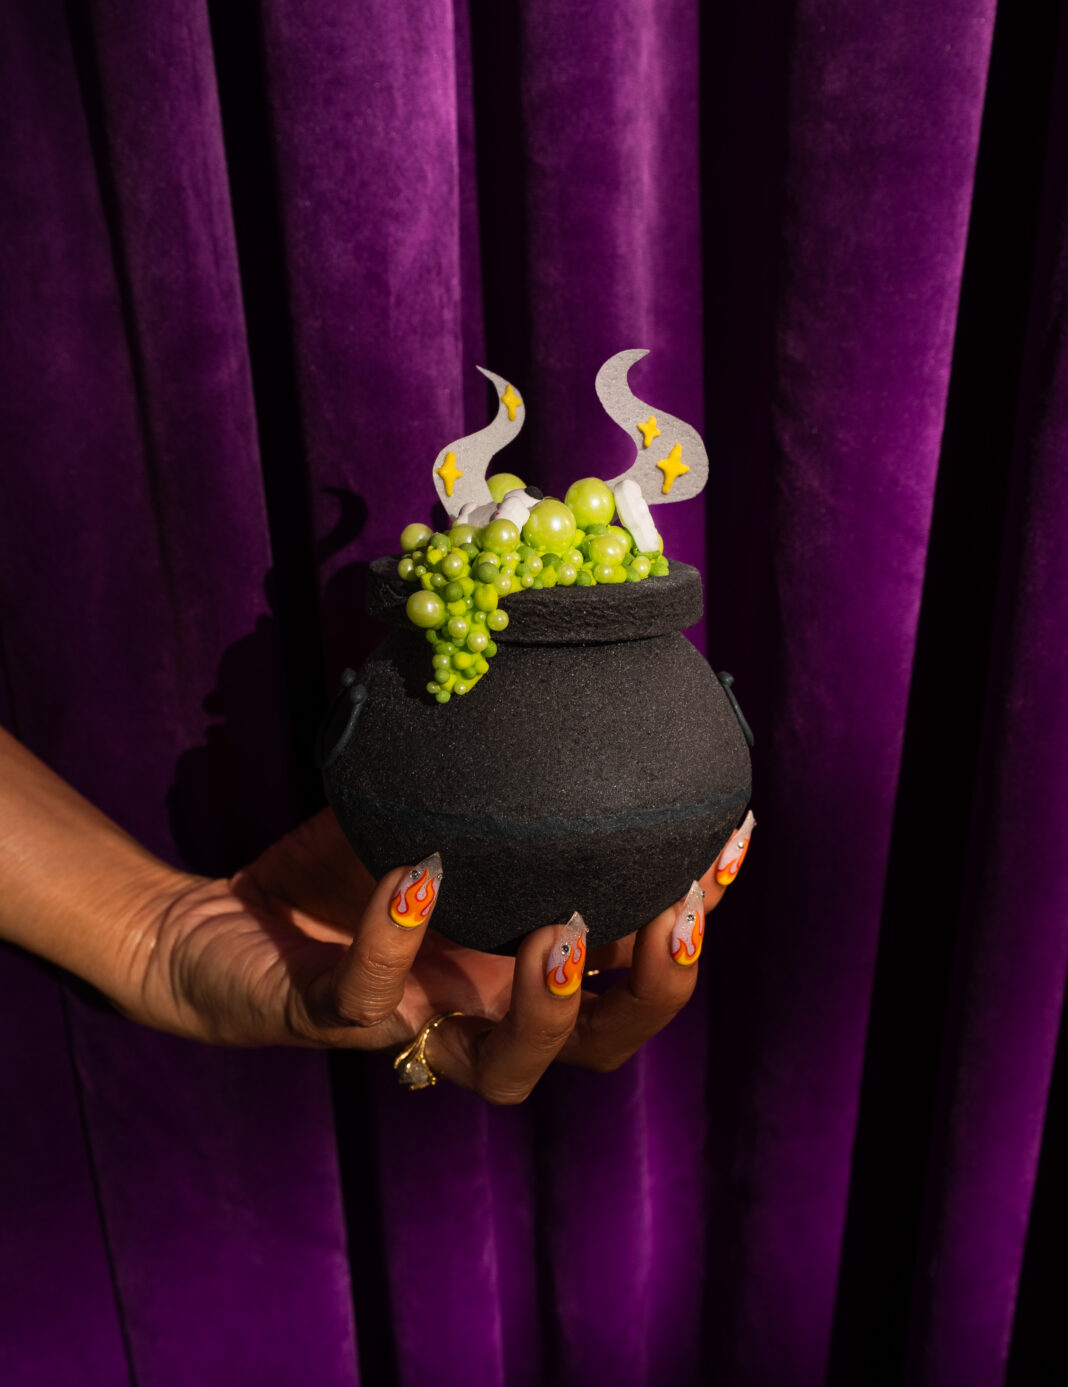
Decorated cookies have officially entered their spooky era! In Spookie Cookies: Next-Level Decorating to Make Your Treats Come Alive (Page Street Publishing), Food Network champion and cookie artist Karen Thi invites readers to go far beyond traditional cookie decorating. Welcome to a world where cookies become gothic chandeliers, bubbling cauldrons, haunted bookshelves, and other edible works of art. Create Halloween treats that are as impressive to display as they are to eat, like this 3D cauldron cookie. Here’s what Karen has to say about it:
Double, double, toil and trouble, it’s a chocolate cauldron with sprinkle bubbles. What’s Halloween without a cauldron, witch’s brew, and a little mystical tune to go along with it? I love this cookie because it doesn’t require intricate decorating, yet it’s a spectacle to look at. This design calls for the Black Cocoa Chili recipe, but you could also dye your sugar cookie dough black.
What You’ll Need
- 1 batch of Black Cocoa Chili dough
- 4-inch (10-cm) circle cookie cutter
- 2¾-inch (7-cm) circle cookie cutter
- 1⅞-inch (5-cm) circle cookie cutter
- 3 x 1½-inch (8 x 4–cm) half-sphere mold
- ½ batch of royal icing
- Microplane
- Wafer paper
- Light green pearl sprinkles (variety pack)
Colors & Consistencies
- Yellow: hybrid
- Electric green: stiff, flood
- Moss green: stiff
- Black: stiff
Baking Instructions for the Cauldron Cookie
- Each cookie is comprised of two half-sphere cookies and one cauldron lip cookie for a total of 15 cookies you need to bake.
- Roll the dough until slightly less than ¼ inch (6 mm) thick. (Thinner cookies are less likely to crack on the sphere mold.) Cut out ten half-spheres that are 4-inch (10-cm) circles. Re-roll the scraps to the normal ⅜ inch (1 cm) thickness and cut out five cauldron lids that are 2¾-inch (7-cm) rings with 1⅞-inch (5-cm) centers. Freeze all the pieces for 10 minutes.
- Preheat your oven to 350°F (177°C).
- Place your molds upside down on a baking sheet. Place your ten frozen 4-inch (10-cm) circle cookies on top of the spheres. Center them as much as you can. Stagger the cookies to avoid any touching. You may need to bake in batches depending on how many molds you have. Bake these for 11 to 12 minutes. Then, bake the five 2¾-inch (7-cm) cauldron lip cookies for 7 to 9 minutes. Let the cookies cool completely before removing them from the molds.
Tip: The molds may deflate and deform the cookies right out of the oven as they create a suction to the baking sheet. Simply gently lift up the mold to let air back in.

Decorating Instructions for the Cauldron Cookie
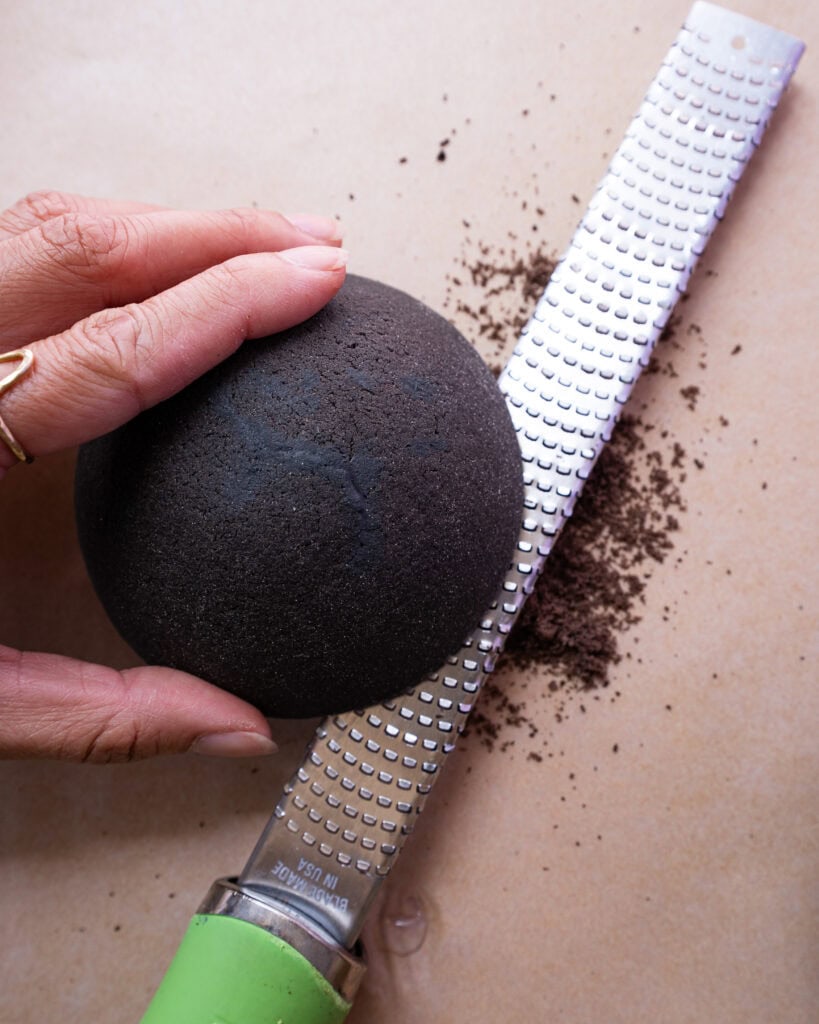
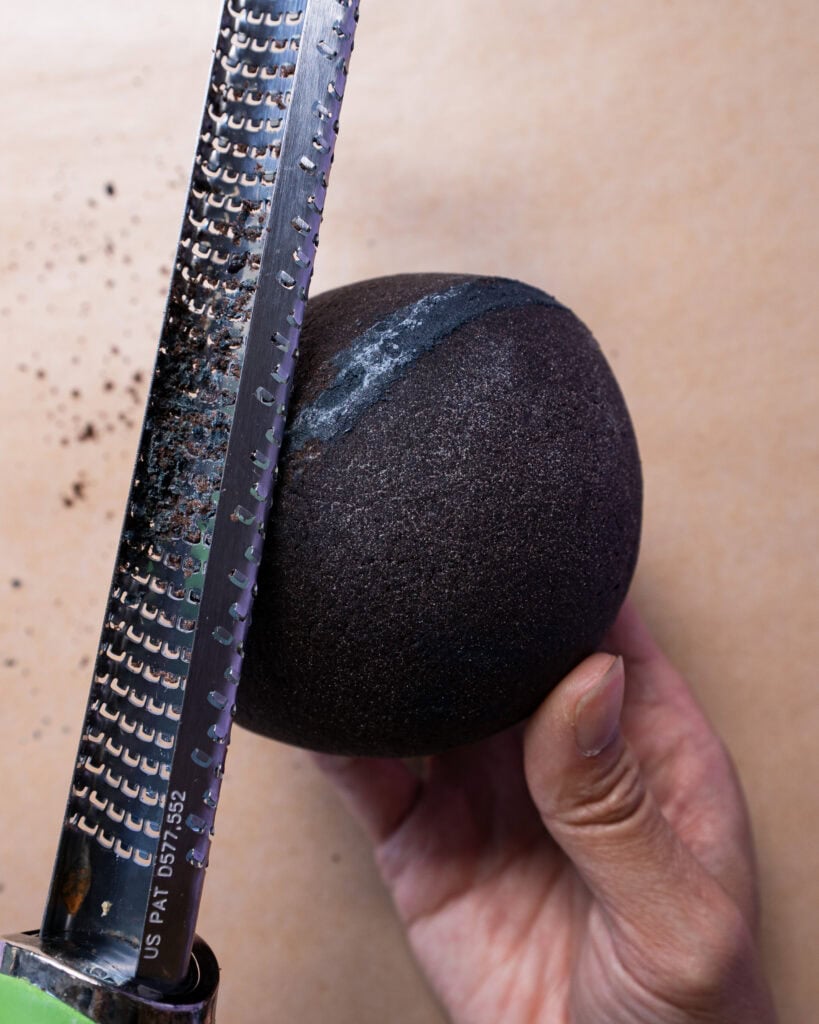
- Fill any cracks in the half-sphere cookies with black stiff royal icing, scraping off excess with your finger. Microplane the rims of the half spheres until they’re flat and even so they fit together nicely. Generously glue them with black stiff, and then pipe more icing around the seam and smooth it over with your finger. Let this dry for 15 minutes. Microplane the seam to clean it up and round it out some more. Finally, choose which side will be the bottom and gently microplane it flat so the cauldron can sit on its own.
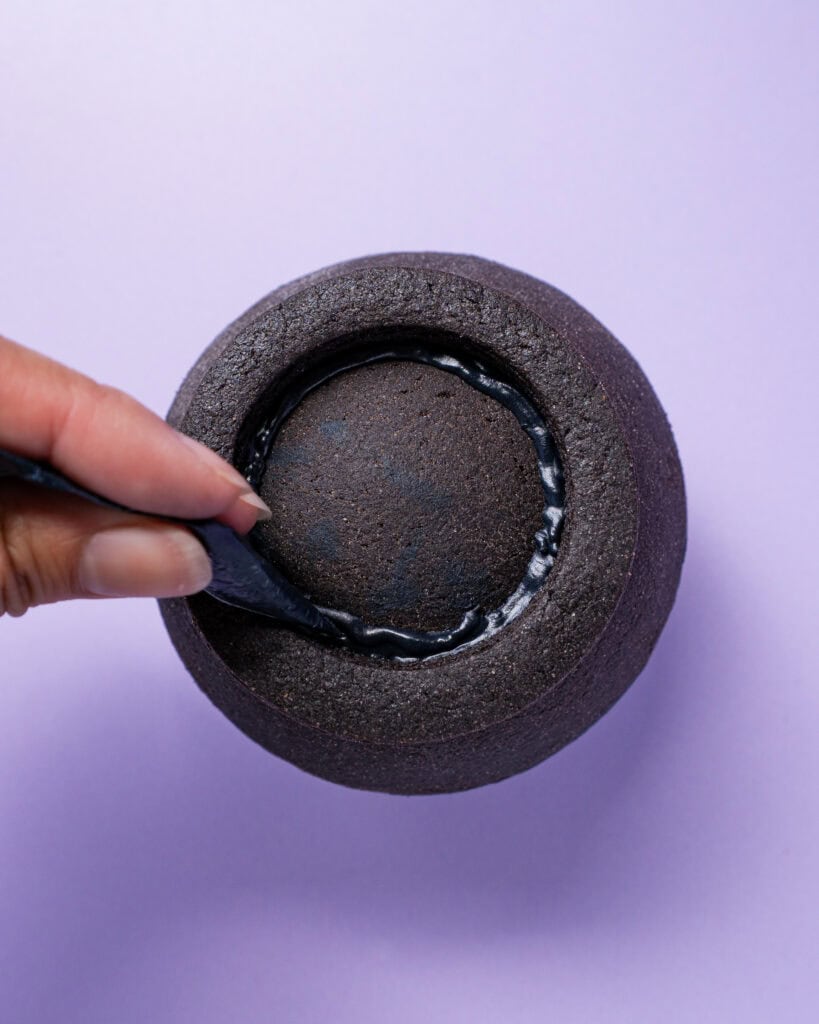
- Place a cauldron lip cookie on top. Pipe a generous amount of black stiff around the inside of the ring and underneath to secure it to the cauldron. Let this dry for 10 minutes. Pipe two large U-shaped handles on the sides of the cauldron with black stiff. Pipe a large dot at each end of the handle. Fill the cauldron nearly to the top with electric green flood royal icing. Drag the icing off the edge of the lip to make it look like the witch’s brew is dripping out. Let this dry for 30 minutes.
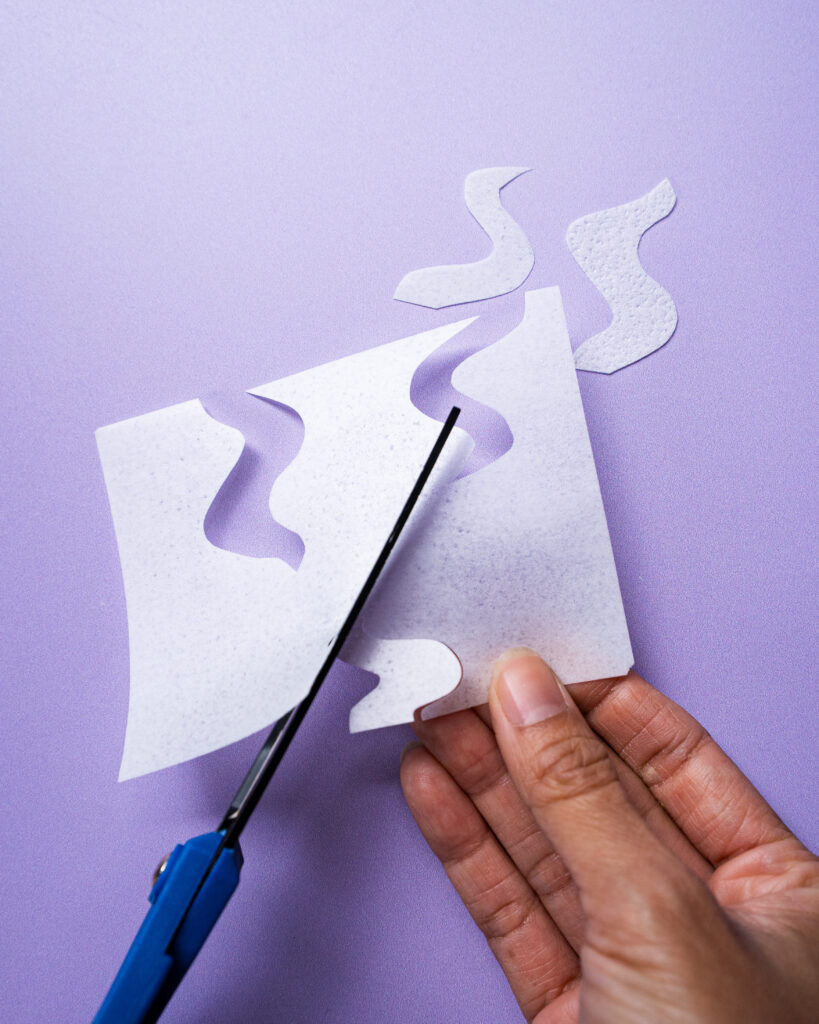
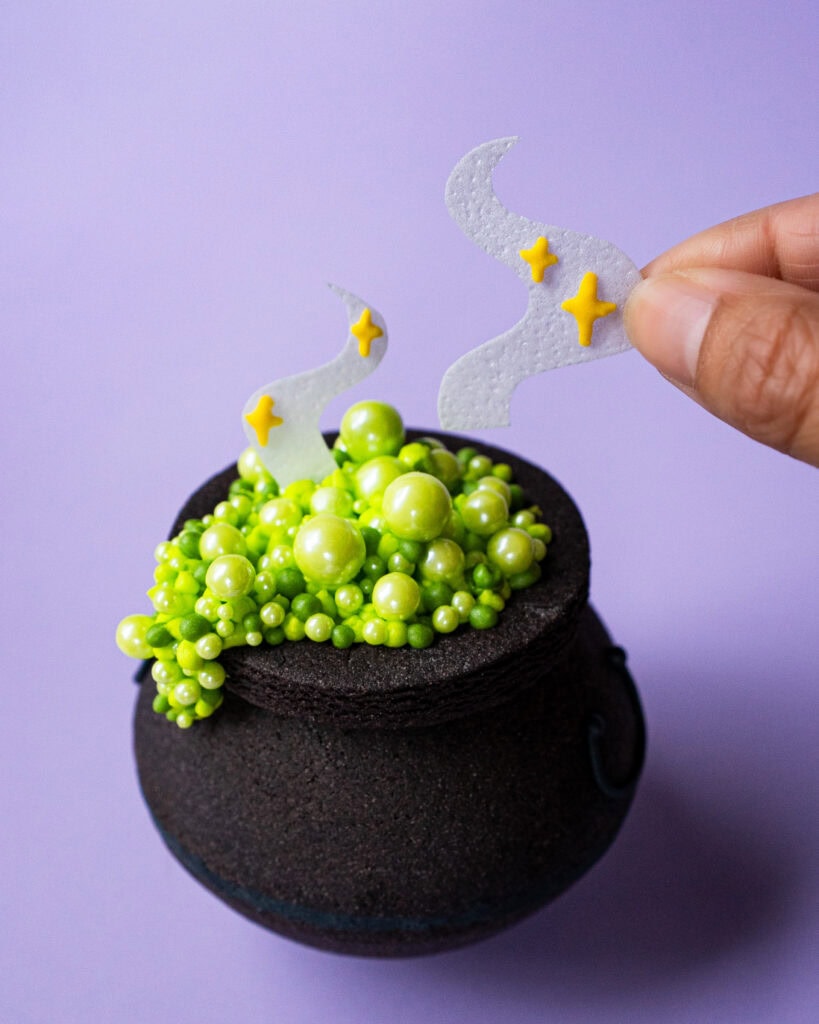
- Meanwhile, cut steam shapes from the wafer paper. Each cauldron needs two pieces that are 1¼ to 1¾ inches (3 to 4.5 cm) tall by 1 inch (2.5 cm) wide. Pipe one or two yellow hybrid royal icing diamonds on each of them, keeping the lower third clear. Let this dry.
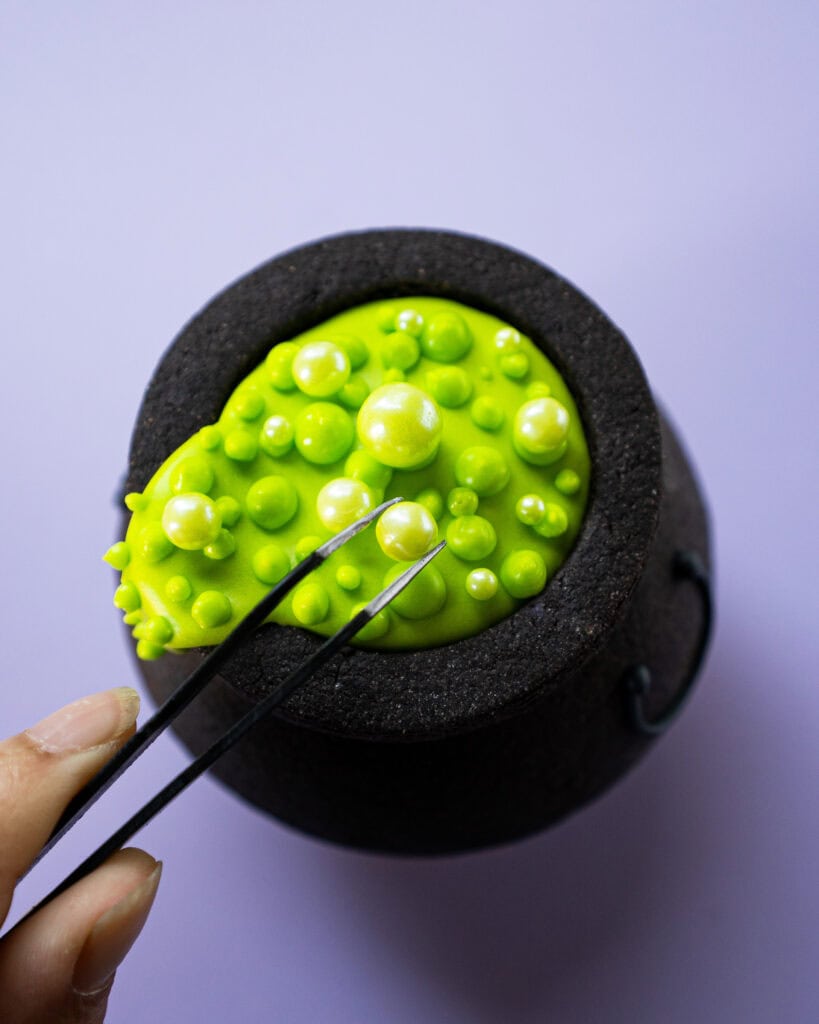
- To make the brew look like it’s bubbling, rotate between piping bubbles with electric green stiff and moss green stiff, while gluing on light green pearl sprinkles. Vary the sizes of the bubbles. Pipe large bubbles closer to the center and smaller ones along the edges. There should be more bubbles in the center to form a hill. Decorate the drippings as well. Before the bubbles fully set, identify two areas where you can place your steam. They should be slightly staggered. Use your scribe tool to help make room for them. Gently stick the steam decorations into the icing until they can stand on their own. Pipe some bubbles at the base to help secure them. Let this all dry for at least 6 hours.


Click here for more tutorials from American Cake Decorating.

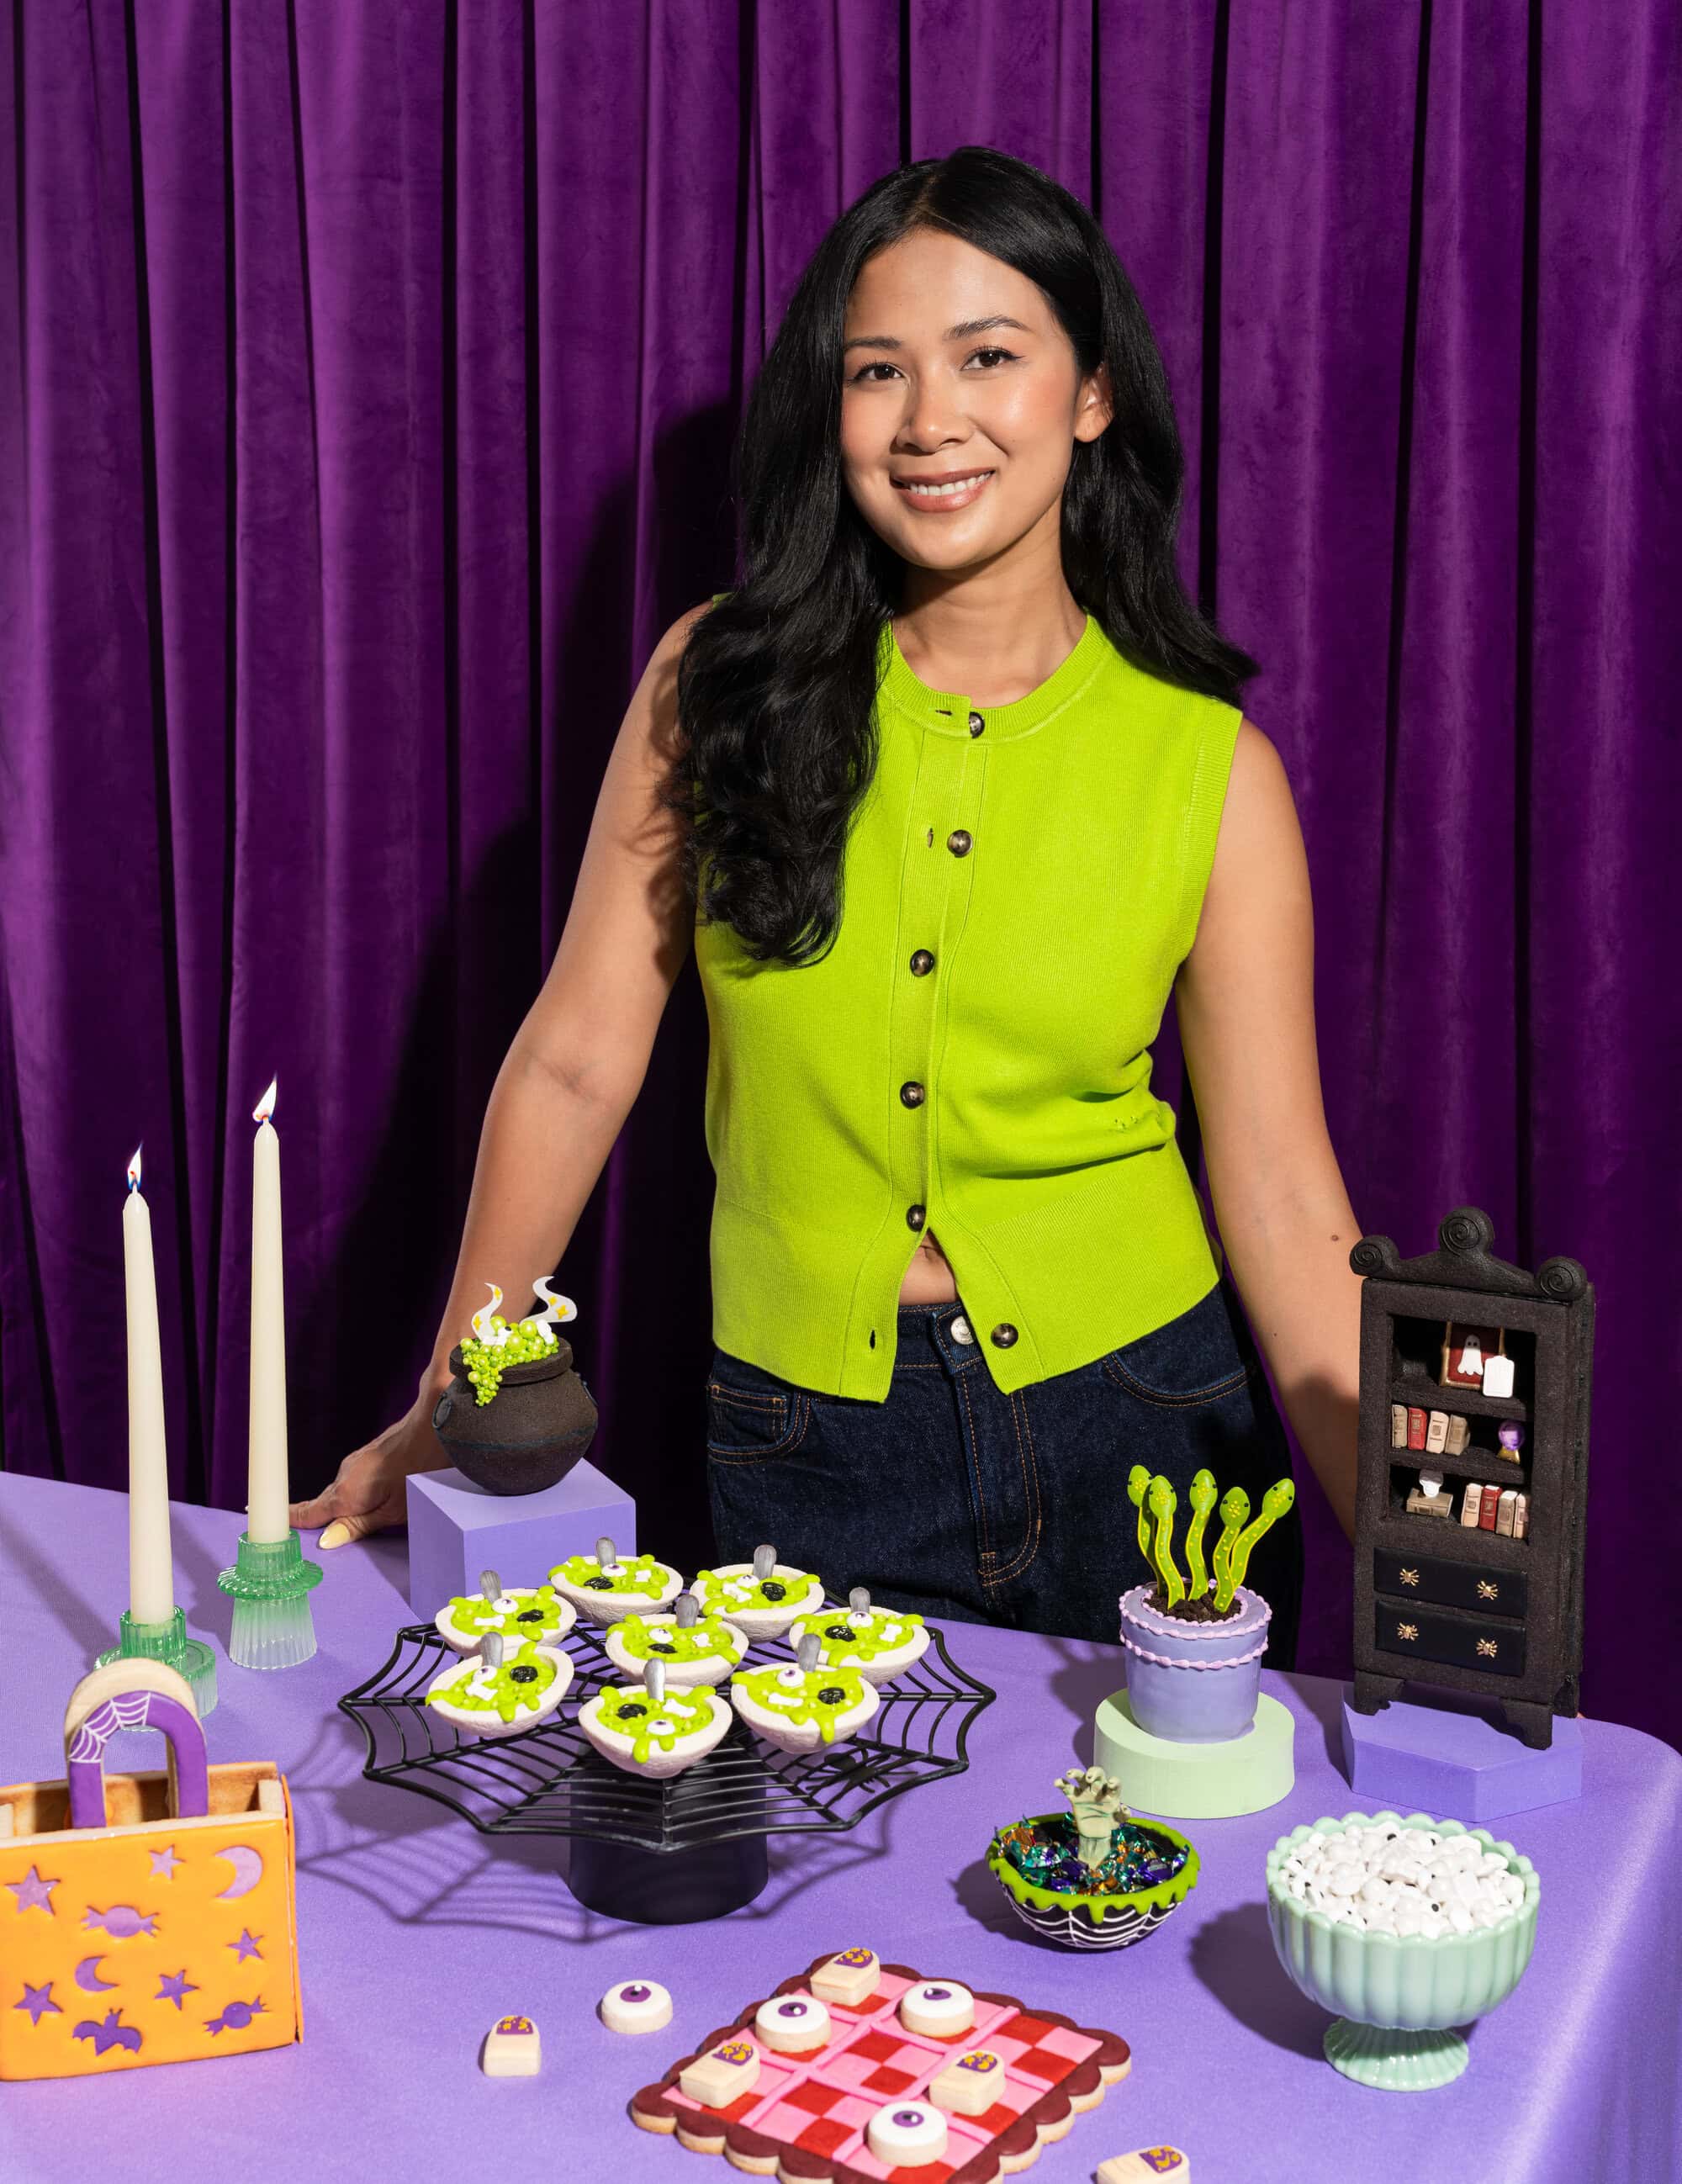
Karen Thi
Karen Thi is a Food Network-winning baker, cookie artist and content creator known for her imaginative, highly detailed cookie designs. Through her viral videos and creative tutorials, she has inspired bakers worldwide to see cookie decorating as a form of artistic expression. She is the creator of the popular Cookies & Crime series and the author of Spookie Cookies.