


Bring a fresh, modern look to your cake decorating with this fondant terrazzo cake tutorial. Inspired by contemporary terrazzo designs and tropical colors, this eye-catching technique combines handcrafted fondant tiles with shimmering gold accents to create a bold geometric finish. Follow this easy step-by-step tutorial by cake decorator Jenna Jenkins to learn how to make terrazzo pieces, assemble a seamless fondant panel, and decorate a stylish cake that’s perfect for birthdays, weddings, and special celebrations.
Edibles:
- Hexagon cakes: 8-by-8, 6-by-4, and 4-by 6-inches
- Fondant: green, black, red, yellow, white, and shimmer gold ( Satin Ice)
- Water
- Edible gold paint
Equipment:
- Rolling pin
- Roller blade
- Ruler
- Steamer
- Fondant smoother
- X-Acto knife
- Paintbrush
Create a Color Palette
- To create the shades of green, start with bucket green. Use a small amount of yellow and red to mute the undertone and cancel out any blue hues. Use a small amount of black or white to deepen or lighten the shades of green. Satin Ice gold shimmer was used for the 4th color.

Make the Fondant Terrazzo Pieces
- Roll out fondant colors to 1/8 inch. Let the fondant sit for a few minutes before moving on to avoid any sticking.
- Using a roller blade, cut across fondant in a random pattern to create small tile pieces. The more random the pieces, the better the overall terrazzo will turn out.
- Lay the terrazzo pieces out to partially dry for 30 minutes. This will help you scatter them easily.


Assemble the Fondant Terrazzo Panel
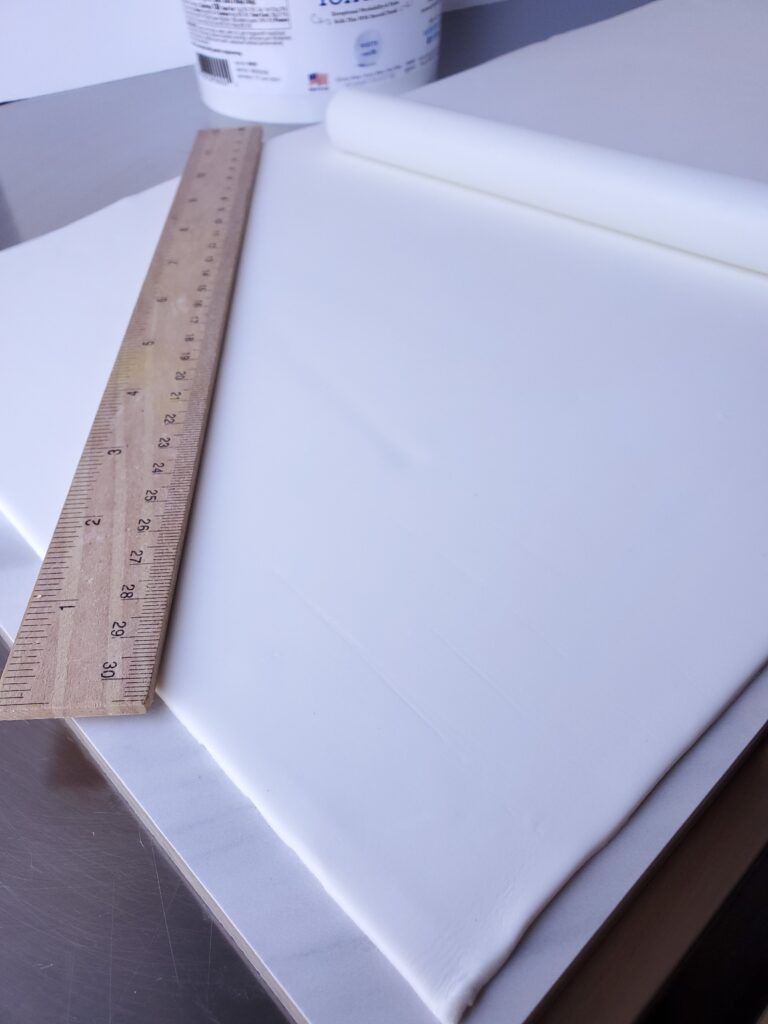
- Roll out a large piece of white fondant 1/8 inch thick to the measurements of the cake. Cut a straight line across the width of the panel for the top edge. Leave a bit of wiggle room for yourself. It can be trimmed later.
- With a steamer, lightly go over the fondant. Very lightly. You want a bit of tackiness.
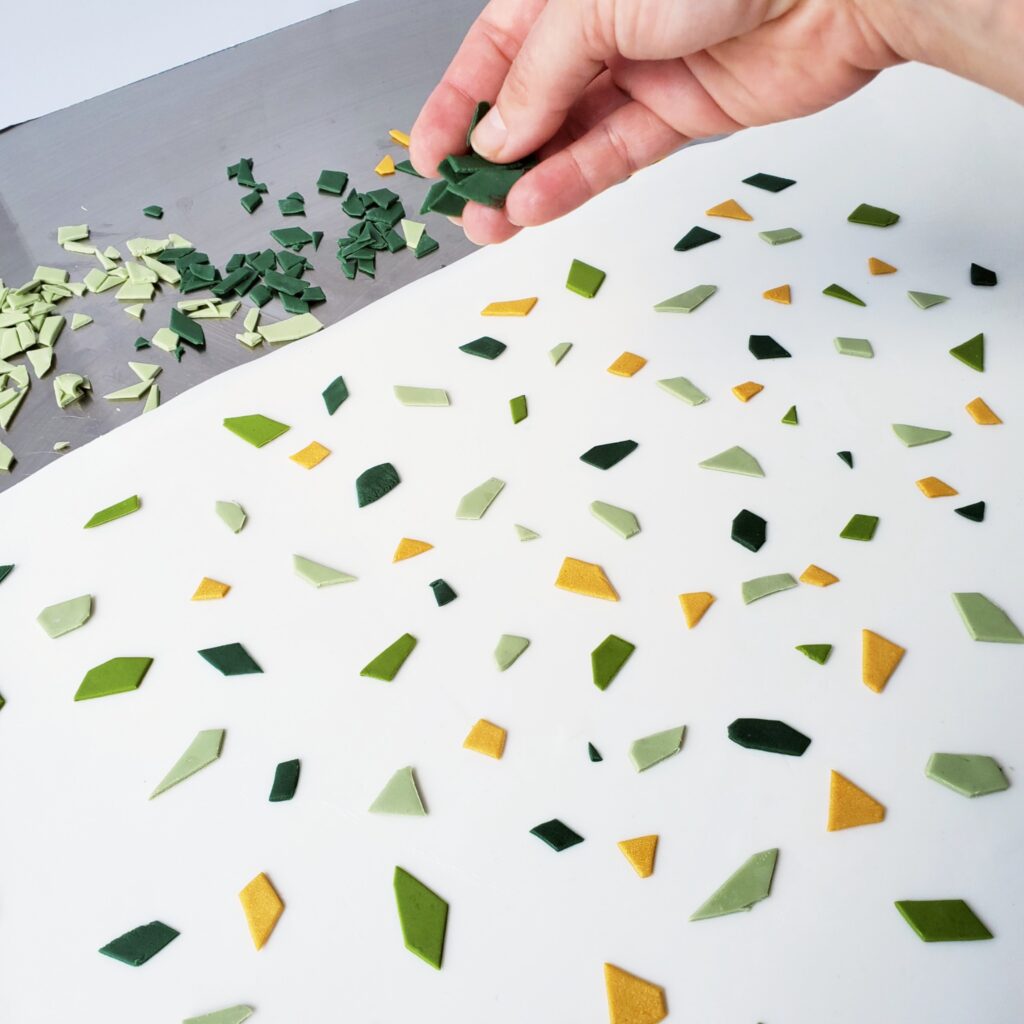
- Sprinkle the terrazzo pieces on the panel. You can go in and place some by hand if there are bare spots or some need a little more. Set the remaining pieces aside for finishing.
- Using a fondant smoother, press the terrazzo pieces into the fondant further. If some of them do not stick, simply use a bit of water and reapply the piece.


Apply the Panel and Finishing Touches
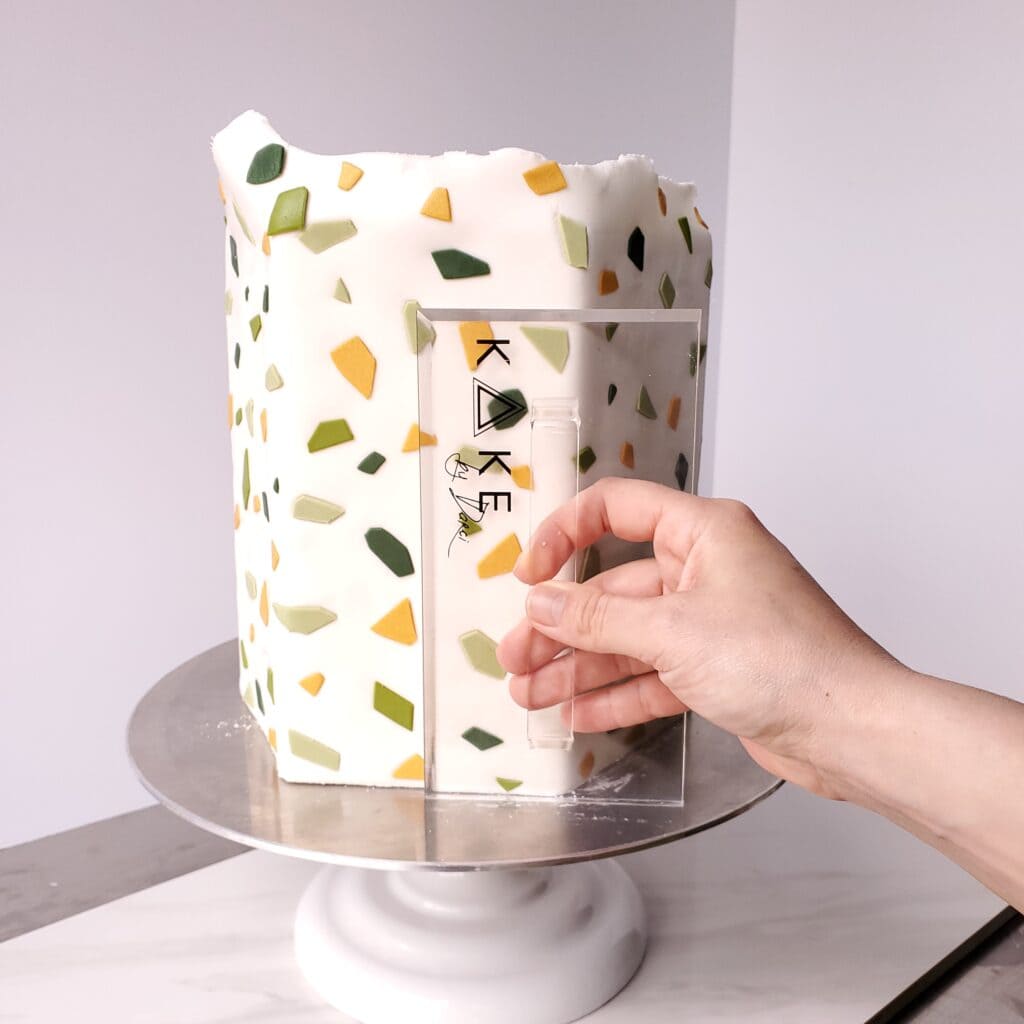
- Wrap the terrazzo panel around the cake. I like to panel the topside of my cake down. This way, your top edge is flush and clean. Smooth around your sides with a fondant smoother.
- Trim excess fondant with an X-Acto knife. You can finish the backside seam with the remaining terrazzo pieces.
- Place any extra terrazzo pieces in places you feel may need more. You can always trim pieces using an X-Acto knife.
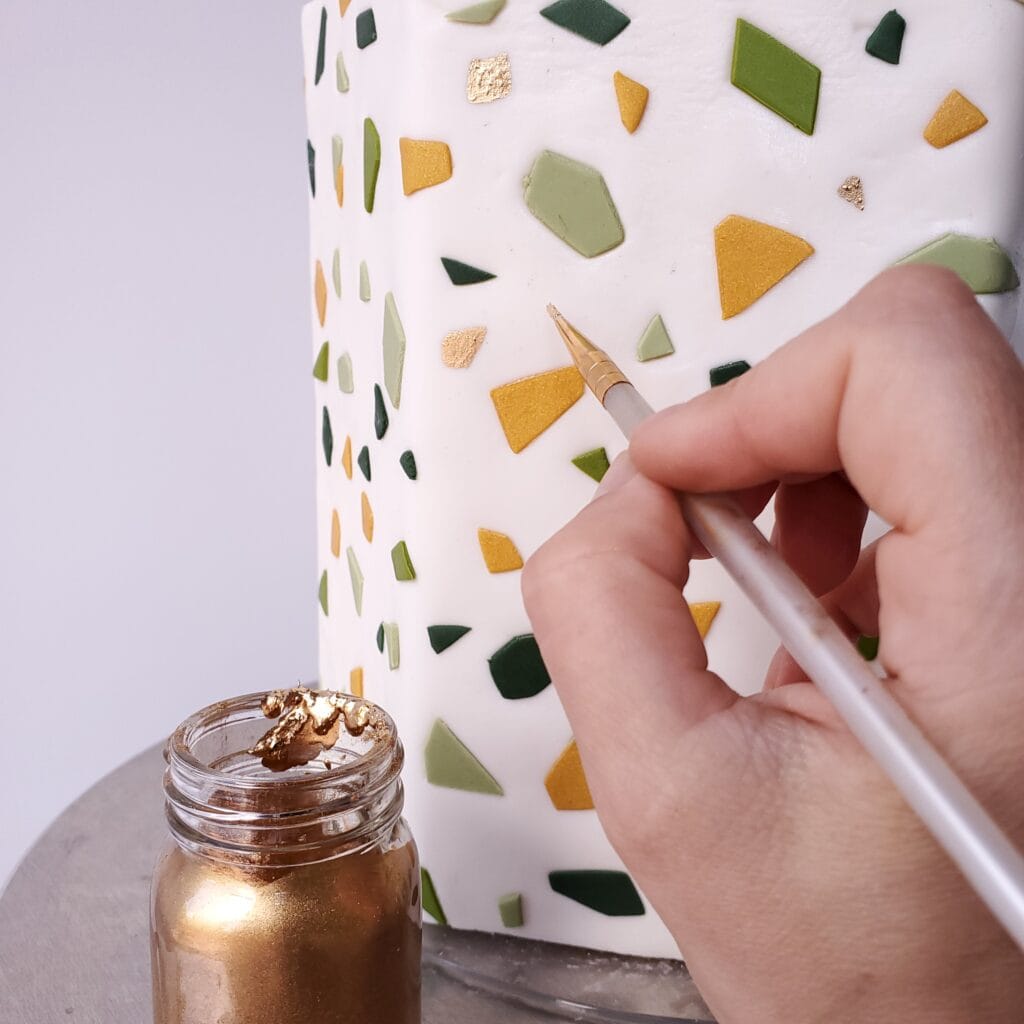
- To add a bit of metallic, you can paint small tile pieces with edible gold paint. I like to add a few speckles as well for more interest.


This tutorial originally appeared in the July/August 2020 issue of American Cake Decorating.

Jenna Jenkins
Jenna Jenkins is from Philadelphia, PA. Self-taught, she’s been working in the industry for over 10 years. Currently, she creates luxury wedding cakes for one of the top Event Groups in Philadelphia. Her focus has revolved around sugar flowers as well as unique color and texture combinations.