

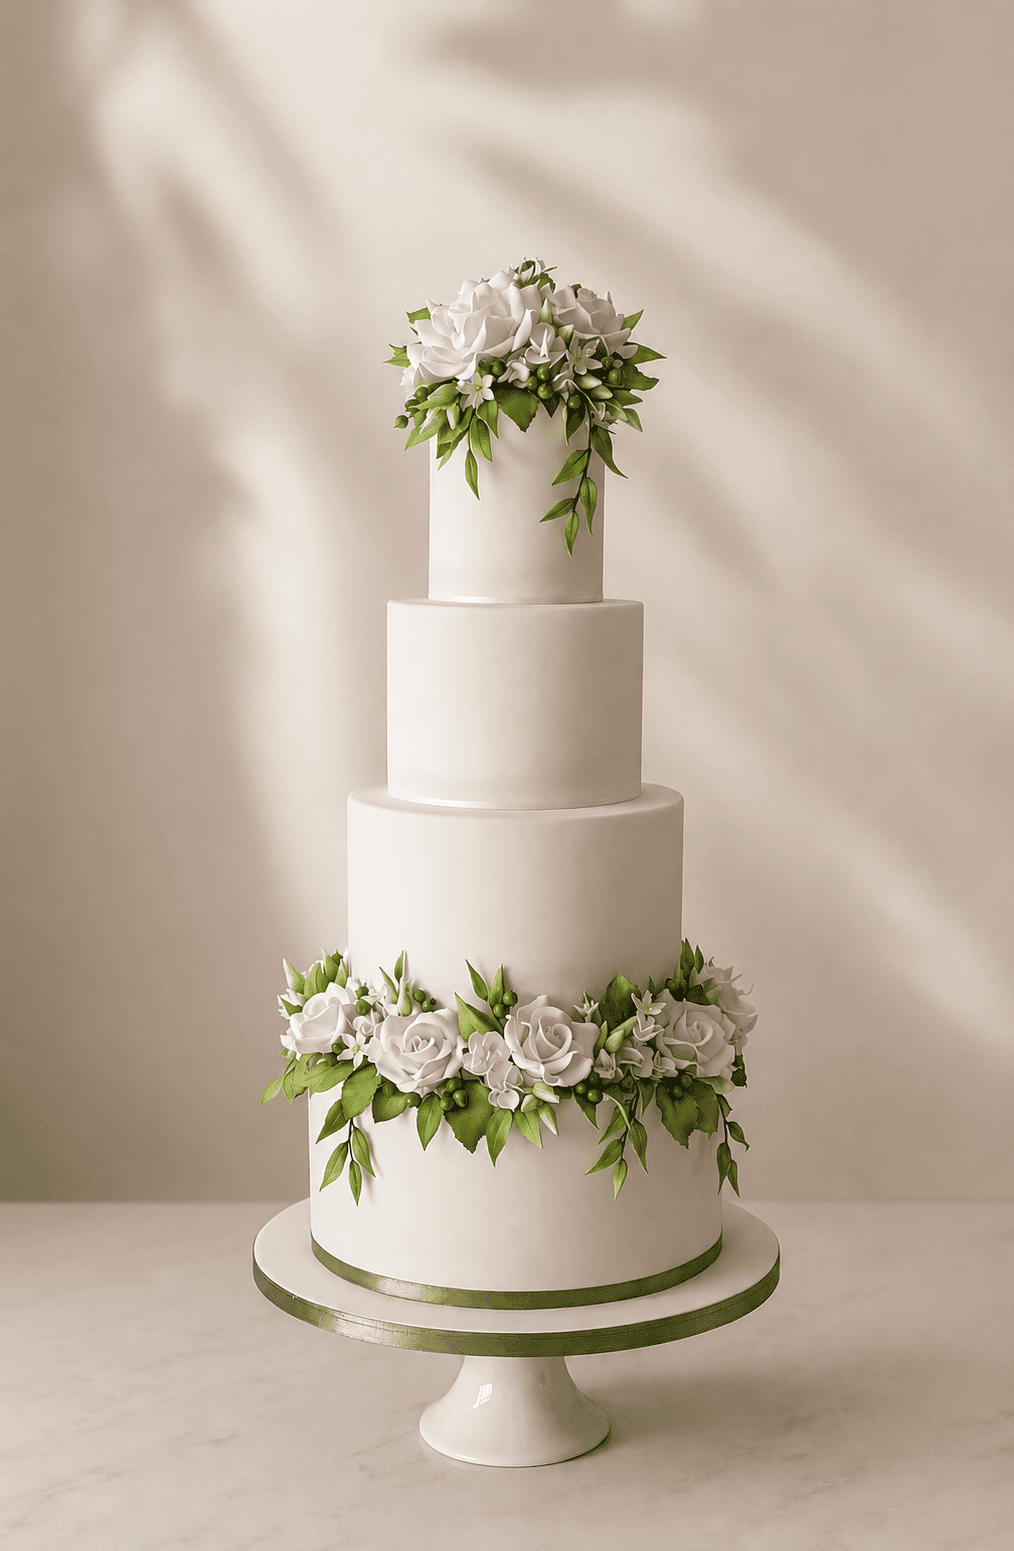
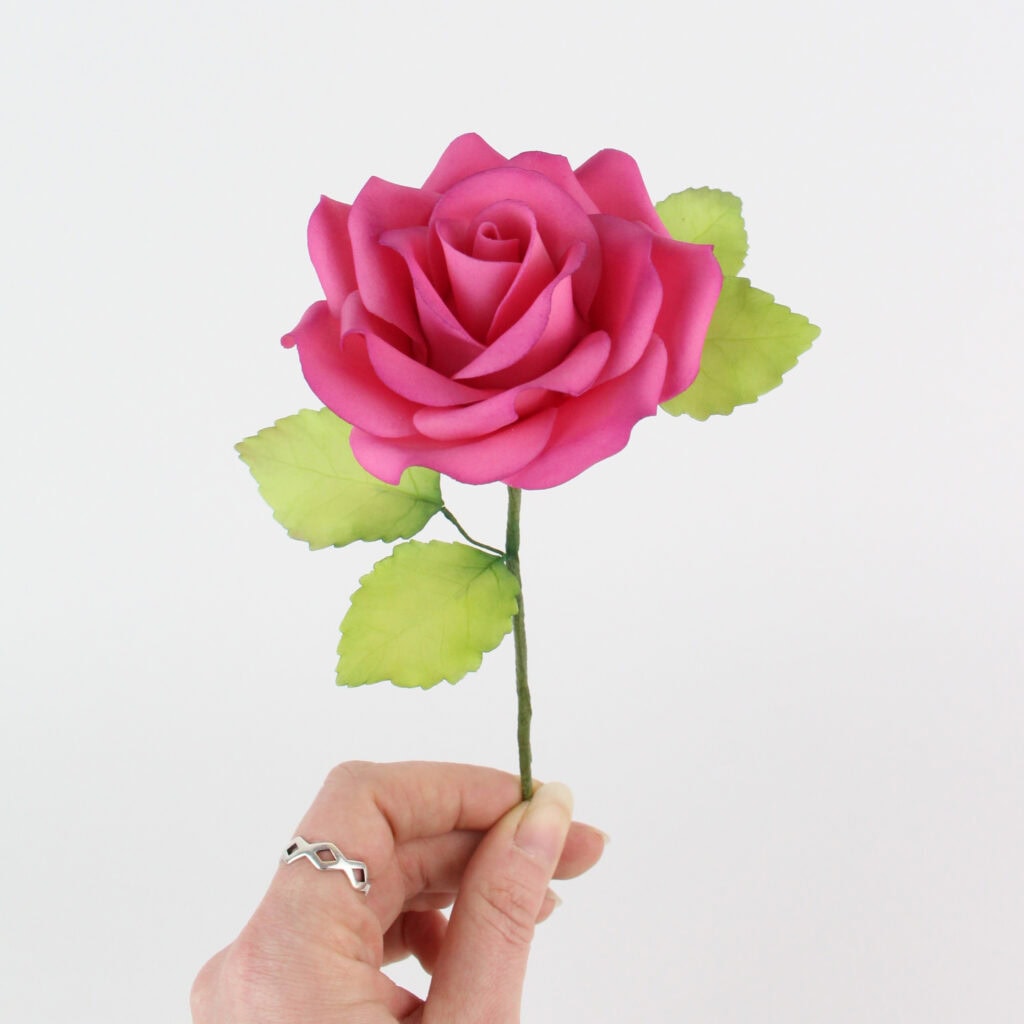
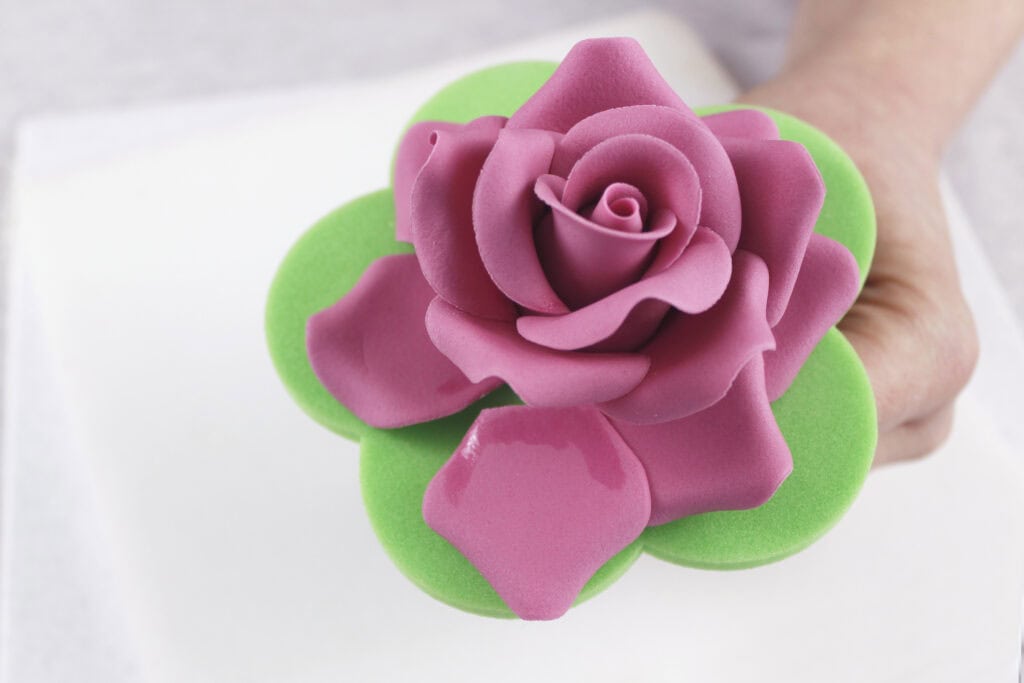
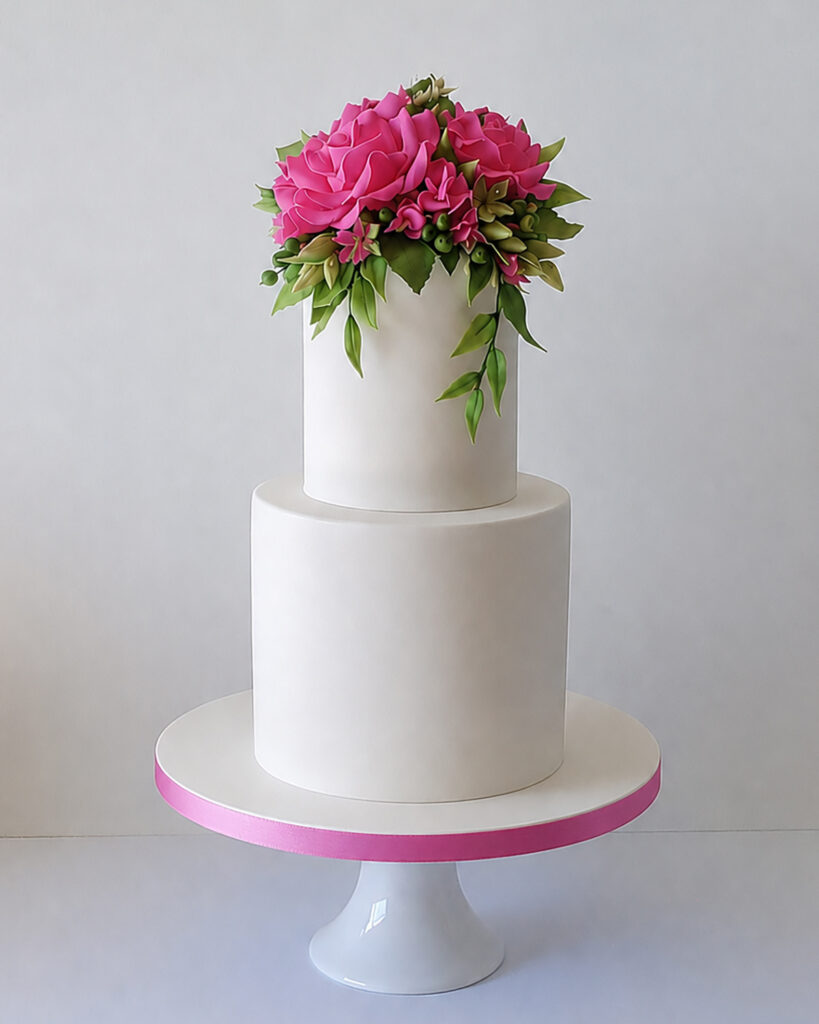
“A rose by any other name would smell as sweet,” wise words indeed from Shakespeare, but “a rose made rapidly would look as beautiful” are equally wise words from Natalie Porter of Immaculate Confections, and we have to agree with both! Sometimes, a cake design demands consistency in the size and shape of its adorning decorations, and sometimes, to make a profit (because time is money), a cake demands you find a fast and fabulous way to create enviable blooms. Enter the rapid rose technique! This gum paste rapid rose tutorial is beginner-friendly and also speeds up production for more advanced cake decorators.
By using a five-petal cutter, you not only cut down on the time it takes to create each individual petal, but you’re also reducing the risk for breaking or ripping the delicate petals as you attach them. The less you have to fiddle with gum paste as you assemble the flower, the better. And that’s why Natalie developed her five-petal cutter system. Here, she shows you just how easy it is to create your own rose in a few simple steps.
Edibles:
- Gum paste
- Water or edible glue
Equipment:
- 20mm polystyrene ball
- Toothpick or wire
- Glue
- 90mm 5-petal rose cutter (Immaculate Confections)
- Ball tool
- Rapid Rose Support Pad (Immaculate Confections)
Make the Bud
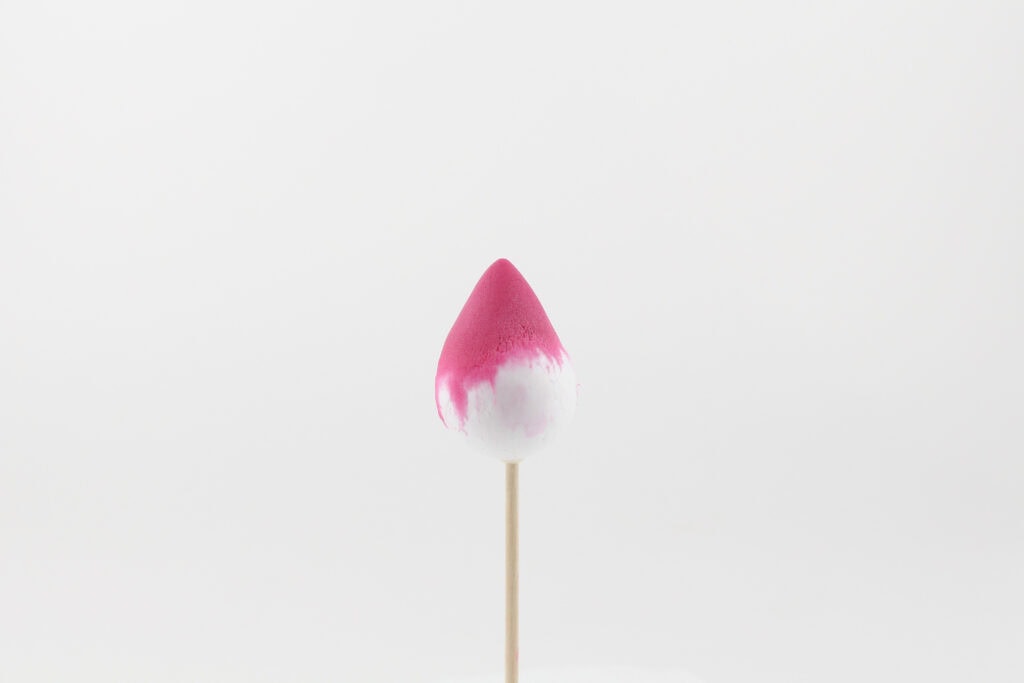
- Attach a 20mm polystyrene ball to a toothpick or wire, using glue or a glue gun. Add a small piece of gum paste to form a cone on top, creating a bud shape. Alternatively, make a bud from gum paste, but be sure to let it dry at least overnight.
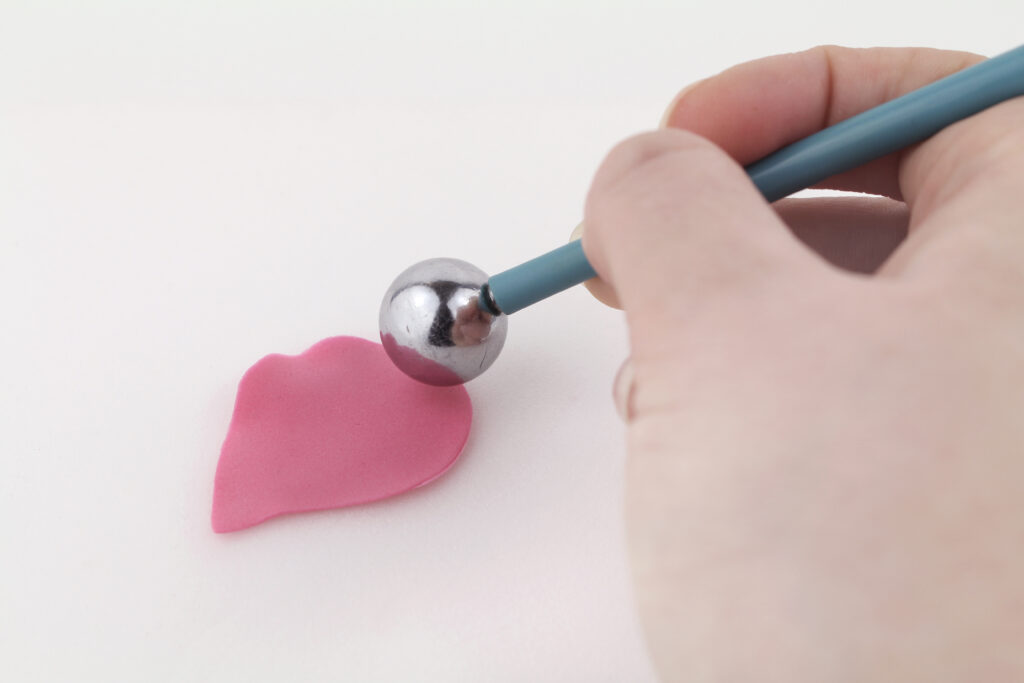
- Use a 90mm 5-petal rose cutter and trim away the excess to leave just 1 rose petal. Use a ball tool to slightly thin and soften the edges.
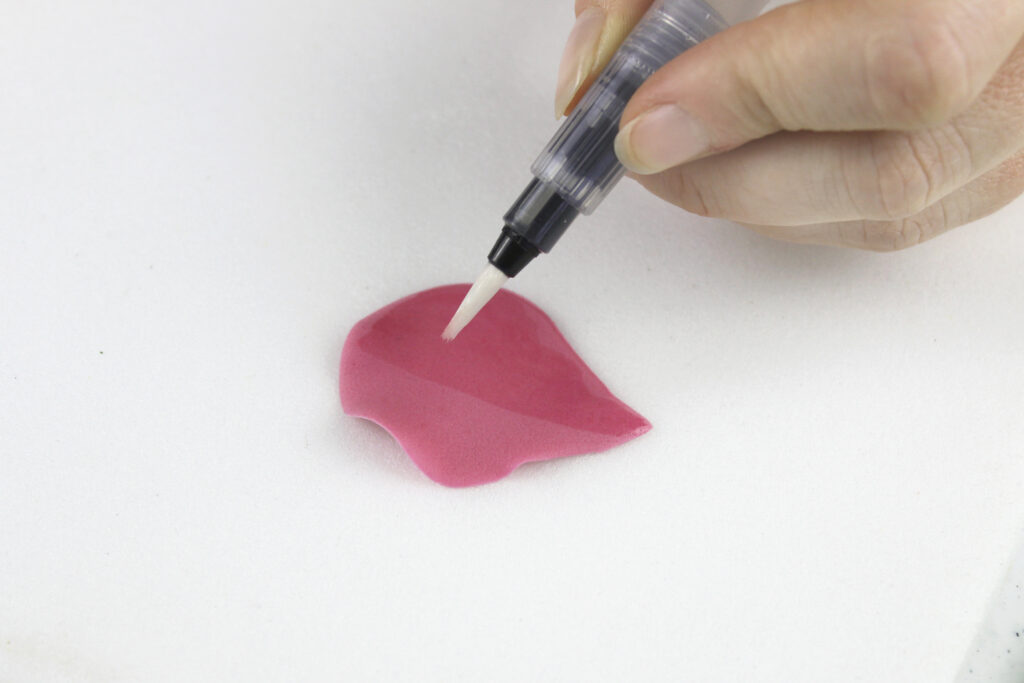
- Flip the petal over and wet half the petal horizontally with a little water or edible glue.
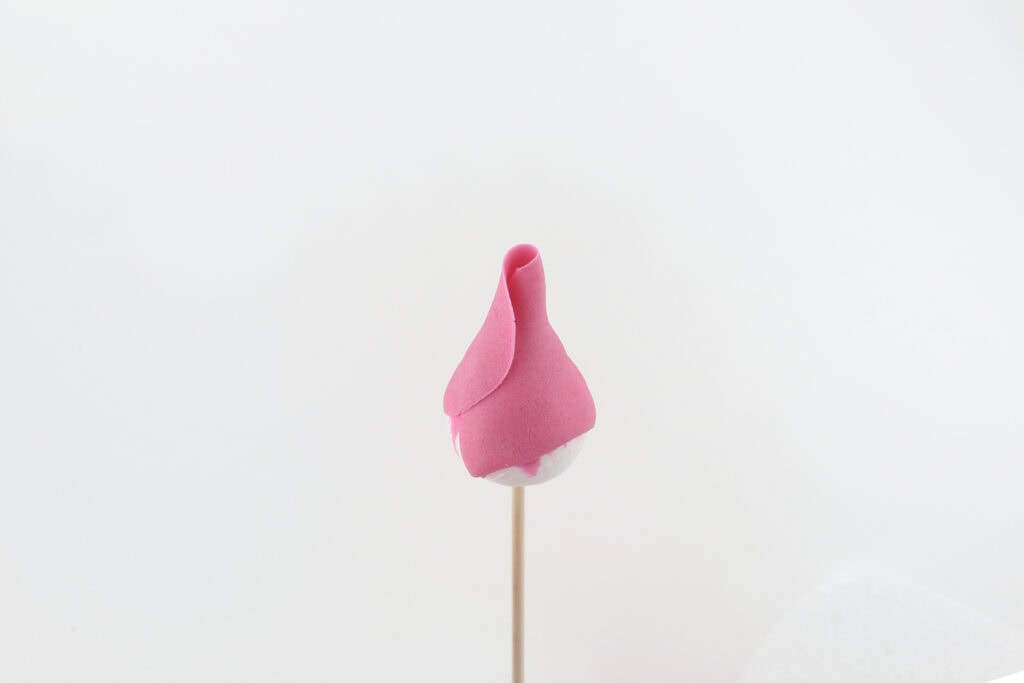
- Place your bud on the petal, with the petal sideways, and fold in the pointed bit, tucking the edge in nice and tight to form the center of the inner spiral.
- Carefully stretch and fold over the other side of the petal to complete the inner spiral. If the paste tears at the bottom, it doesn’t matter, as only the top part will be visible.
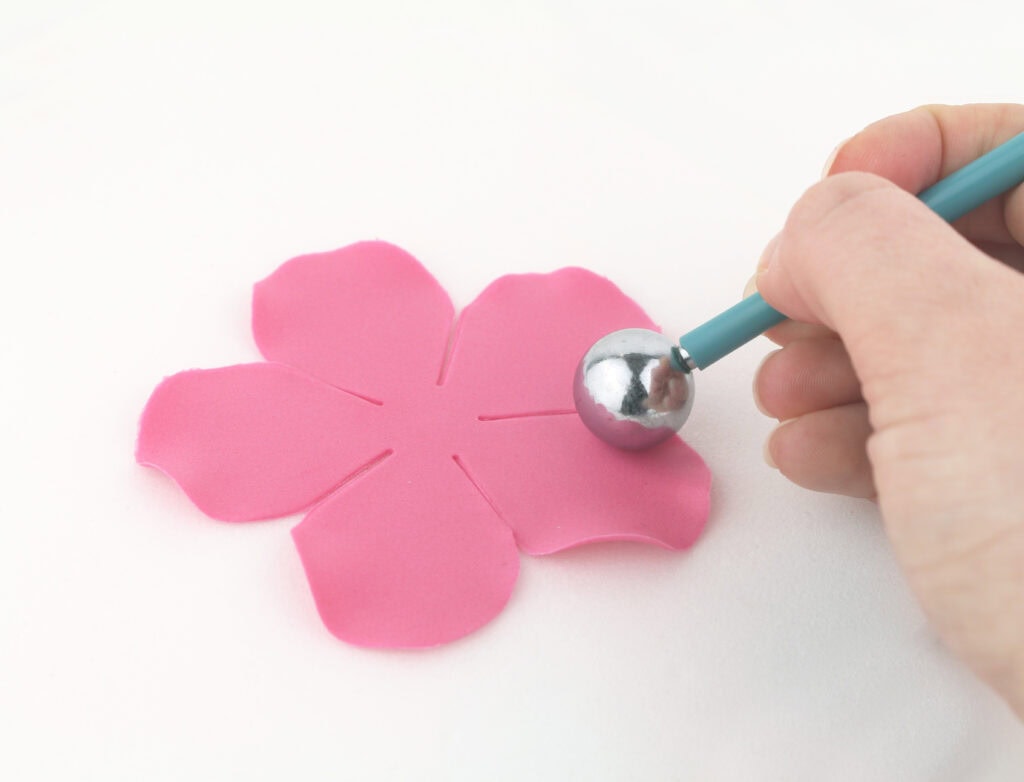
- Cut a 5-petal shape with the 90mm cutter and use a ball tool to frill and soften the edges.
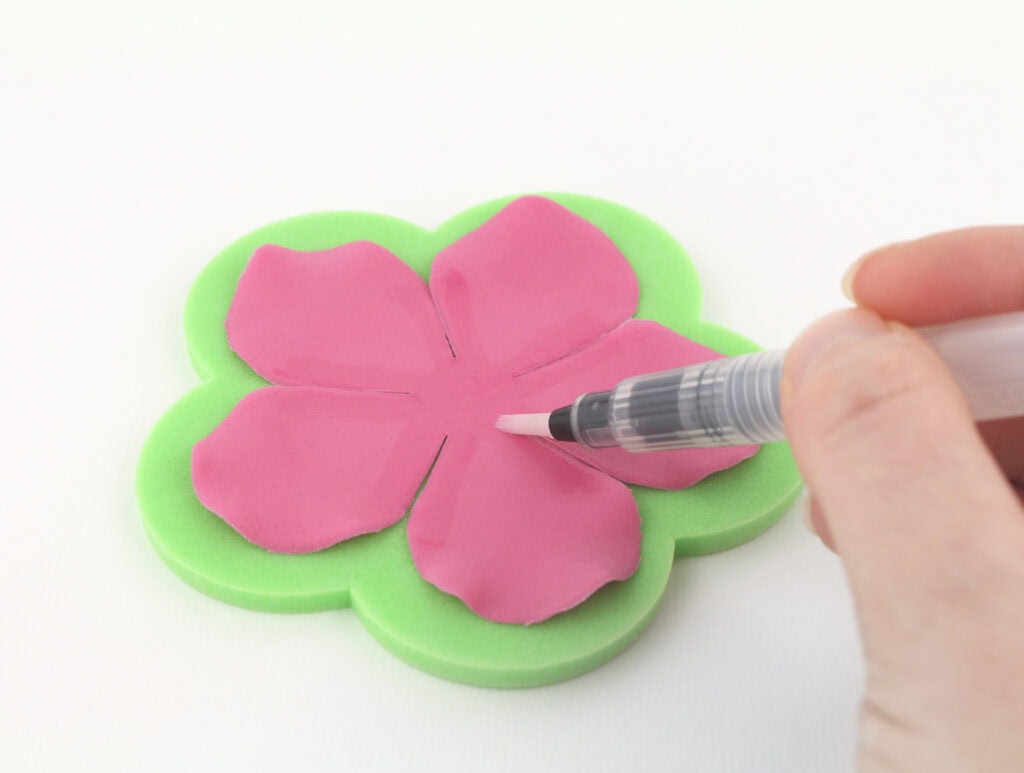
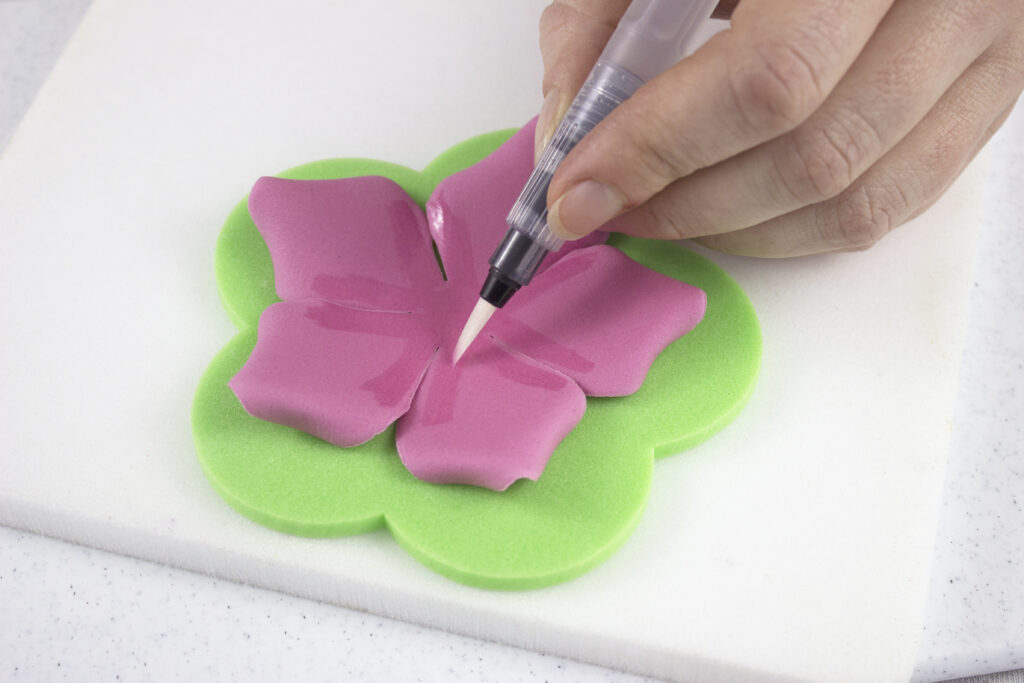
- Flip the shape upside-down onto the Rapid Rose Support Pad. Wet the center and a “V” onto the edges of each petal.
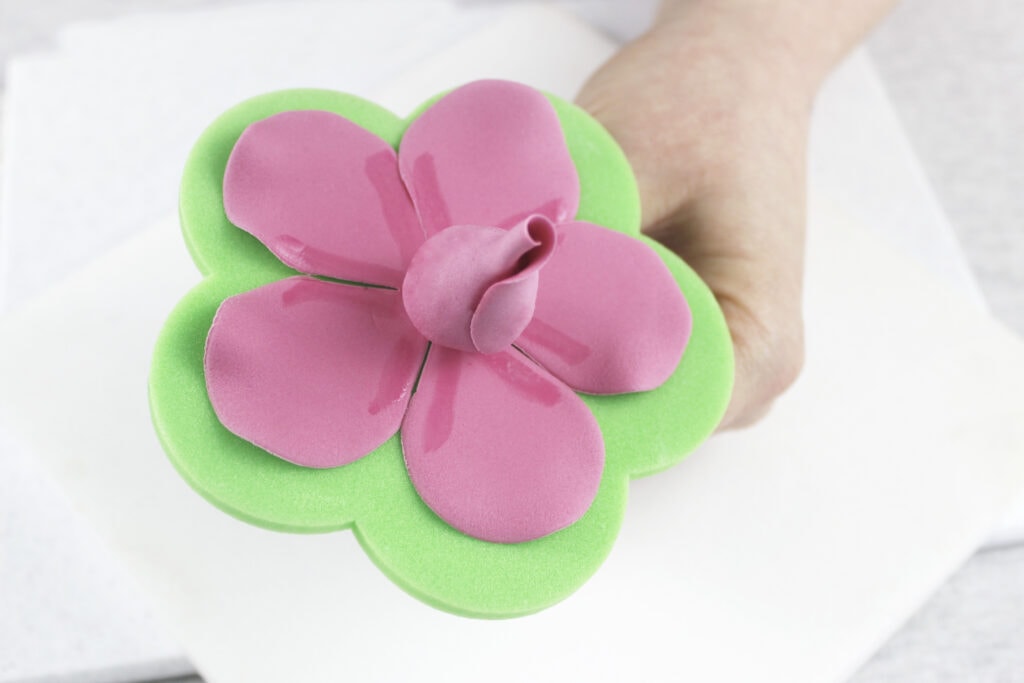
- Insert your rosebud through the center of the gum paste and the Rapid Rose Support Pad.
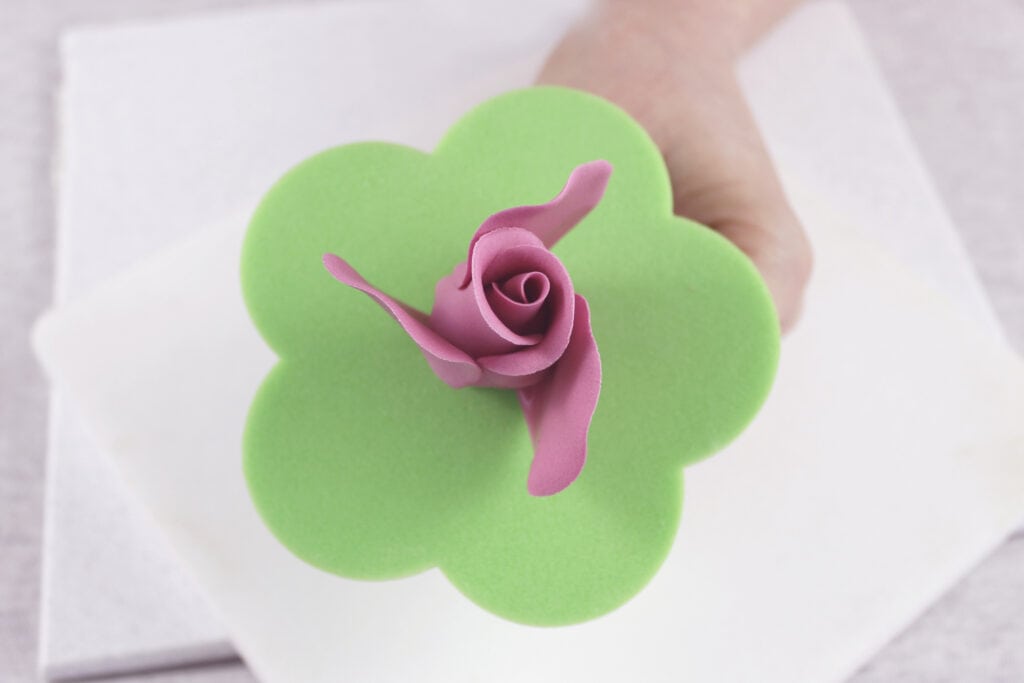
- Begin by attaching 1 side of 2 opposing petals. It doesn’t matter which you start with; just make sure they’re aligned opposite one another.
- Attach the remaining side of the petals so that the edges overlap the first side you stuck down. Pinch and adjust the petals as necessary so they look natural.
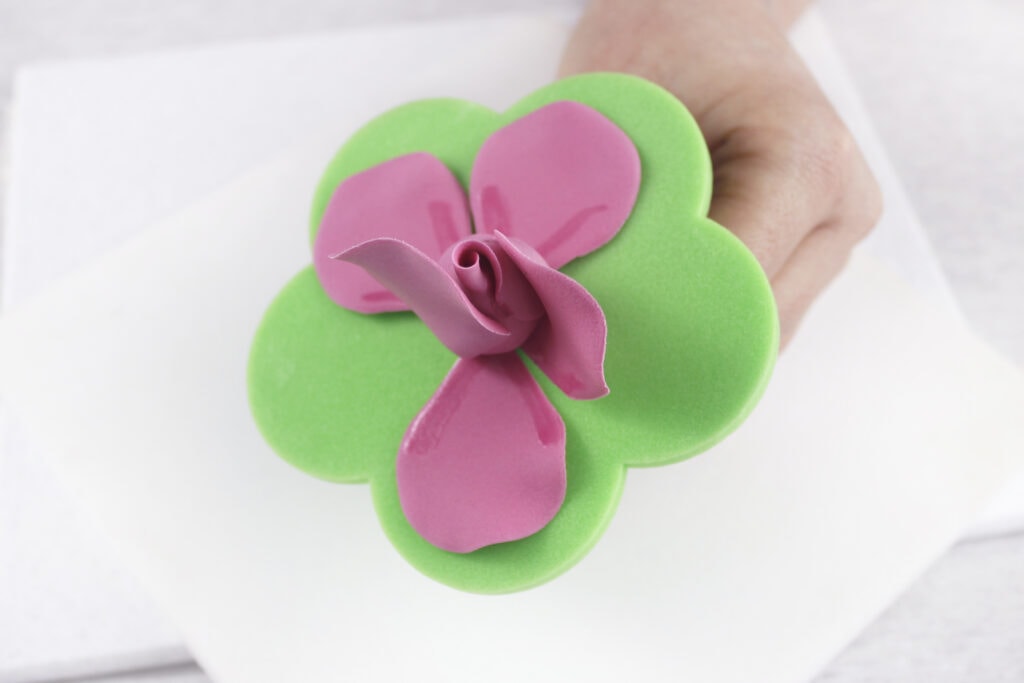
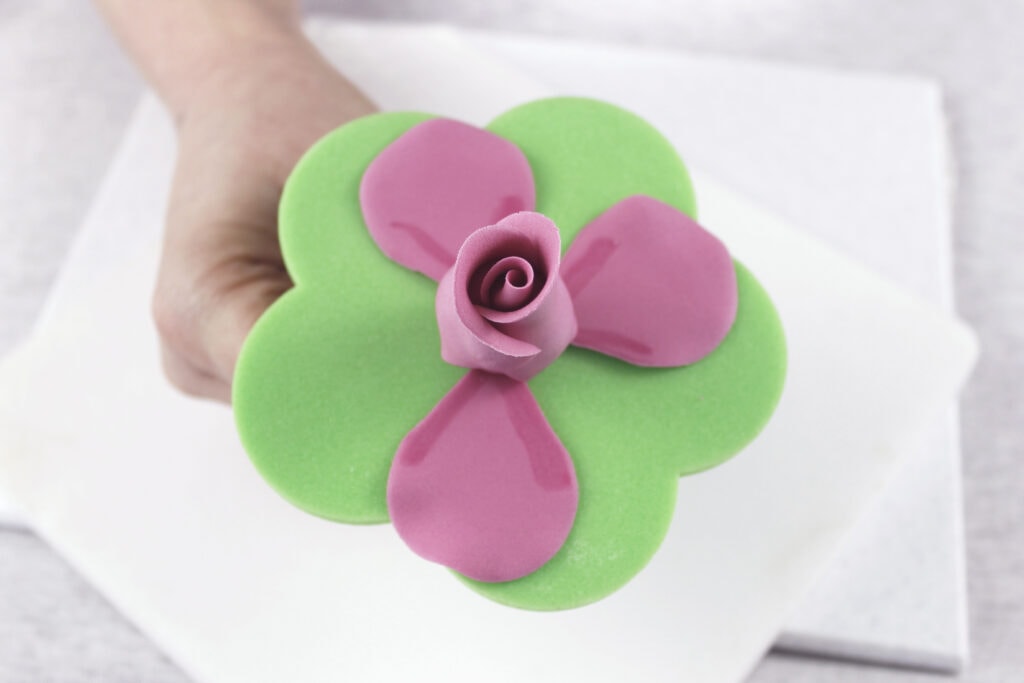
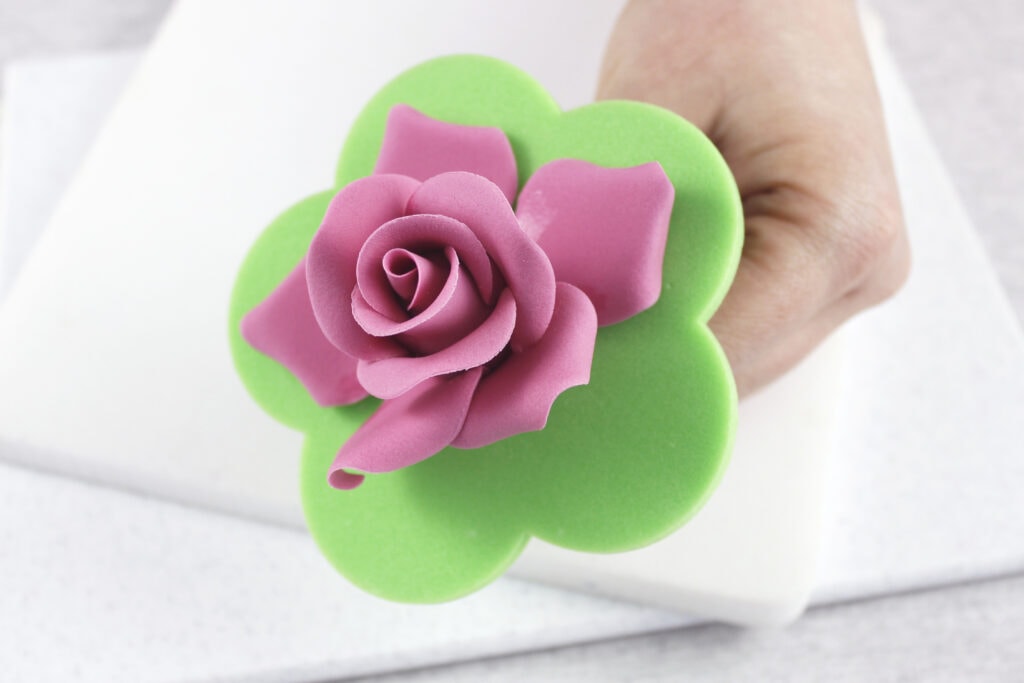
- To form the next row of petals, attach 1 side of the remaining 3 petals to the rosebud, again making sure they are equally spaced.
- Then attach the other side so they overlap, same as the first 2 petals. Again, pinch and adjust the petals or curl the edges back to give a natural-looking shape.


Make the Medium Gum Paste Rapid Rose
- Take the second 5-petal shape and once again use a ball tool to frill and soften the edges, and to make the petals a little bigger. Curl the top edges of each petal back a little and leave to set for a minute or two. Flip the 5-petal shape upside down onto the Rapid Rose Support Pad.
- Again, wet the center and paint a “V” onto each petal before inserting the bud through the center.
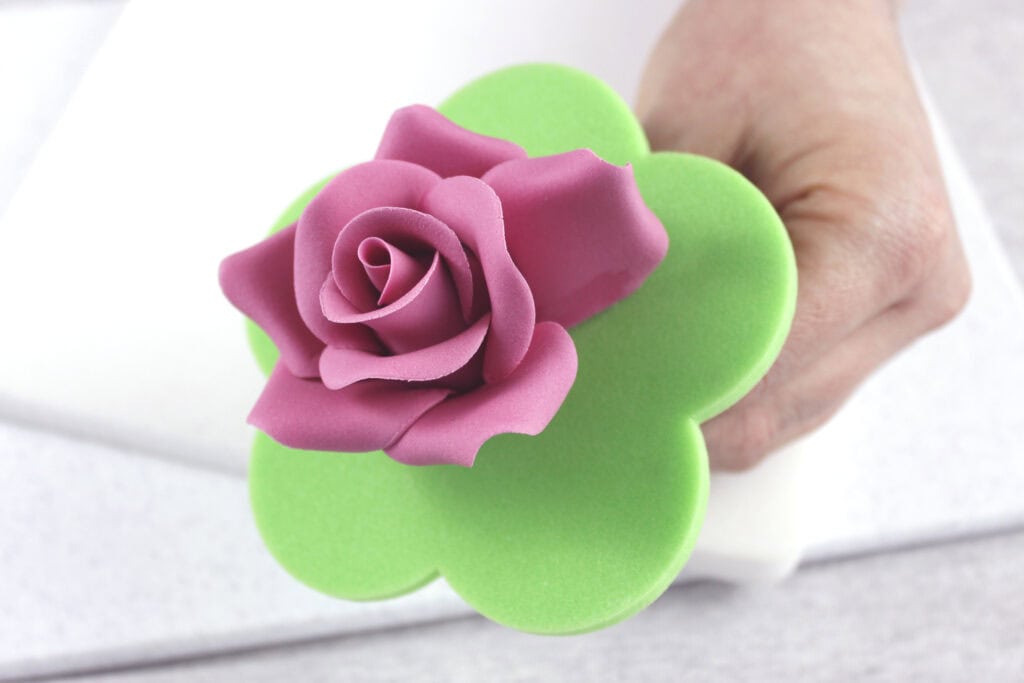
- Choose a petal to start with and attach 1 side of it, then do the same for the next petal. Then, before moving on, attach the second side of the first petal to the first side of the second petal.
- Continue like this until all the petals are attached, forming an overlapping pattern. The second edge of the final petal should sit on top of the first bit you attached. Adjust the shape and position of the petals as necessary for a natural look.

Make the Full Gum Paste Rapid Rose in Bloom
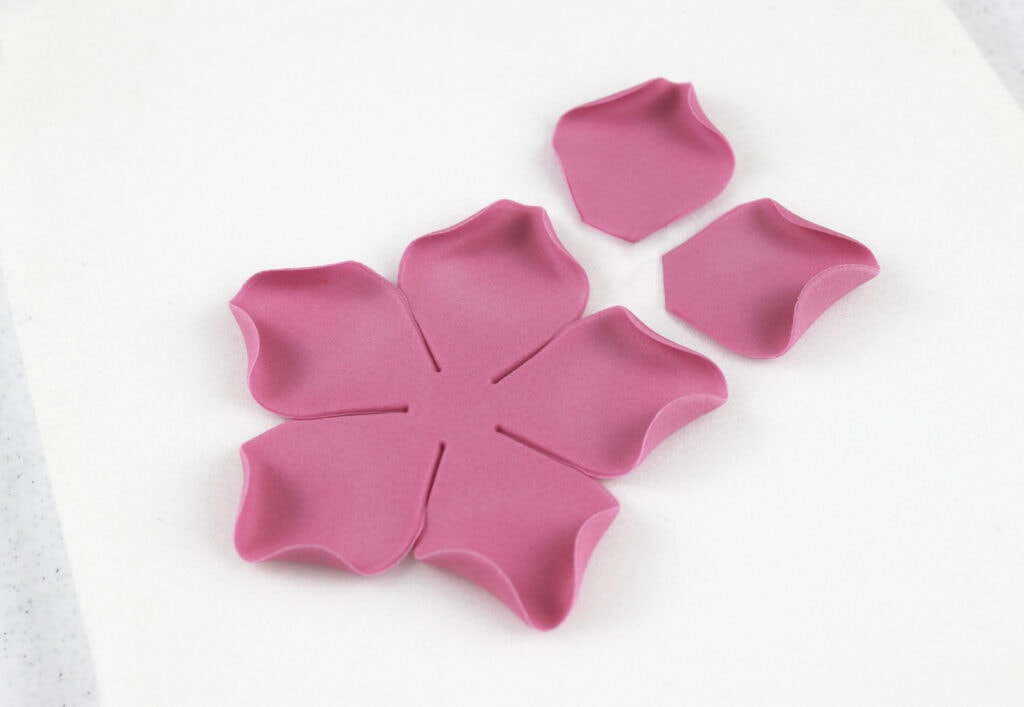
- Cut a third and final 5-petal shape with the 90mm cutter and use a ball tool to frill and soften the edges. Cut 2 extra petals, preparing them in the same way and also cutting off the tip of the point with a knife. Curl the edges up and leave to harden for a couple of minutes.
- Flip the 5-petal shape onto the pad and wet it as before, also painting a “V” onto the two spare petals. Begin attaching the petals as per Step 3 of the previous section, but this time attach and tuck them closer together. Once you have attached 3 petals, slot in an extra petal, making sure to keep the same overlapping pattern in place.
- Attach the remaining 2 petals from the 5-petal shape, and you should be left with a gap to slot the final extra petal into, completing the large rose. Adjust and tweak the petals as necessary and leave to dry. Depending upon how stiff or dry your paste is, you may want to dry it hanging upside down to prevent petals flopping back (I used a peg to attach it to my hanging rack).

This tutorial originally appeared in the July/August 2019 issue of American Cake Decorating.

Natalie Porter
Natalie Porter is a multi-gold-award winning artist and owner of English cake company, Immaculate Confections. A regular sellout for her classes and a natural teacher, Natalie has recently published her first book, which unpacks her brilliant use of color and flair for design. Natalie is an international artist to watch!