
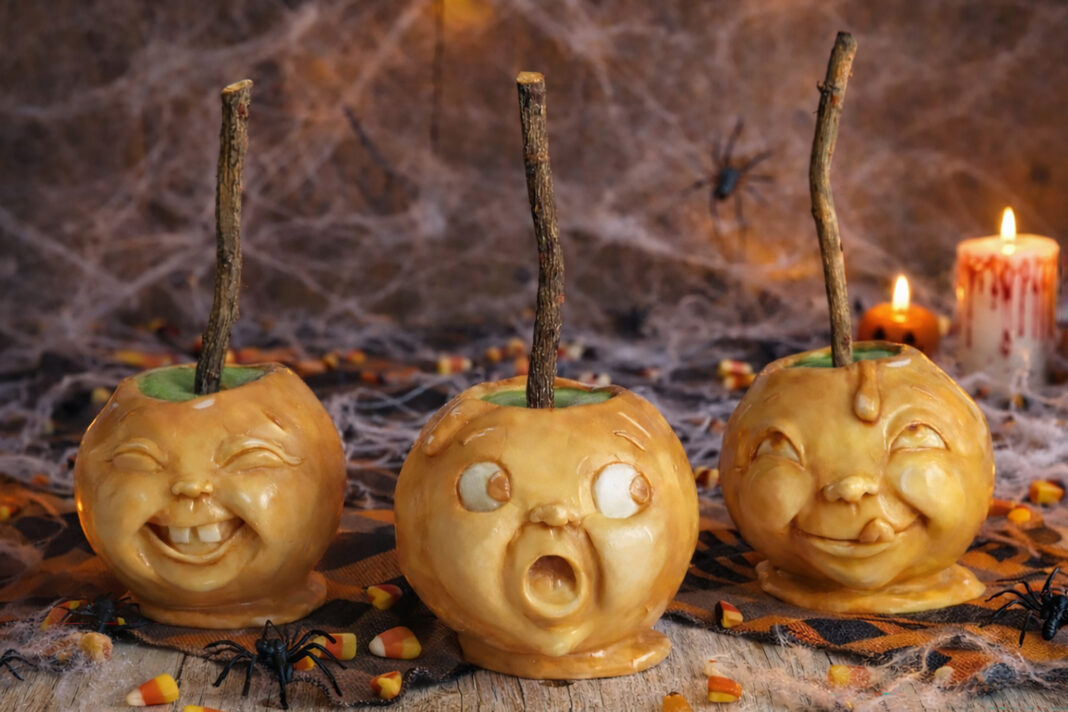
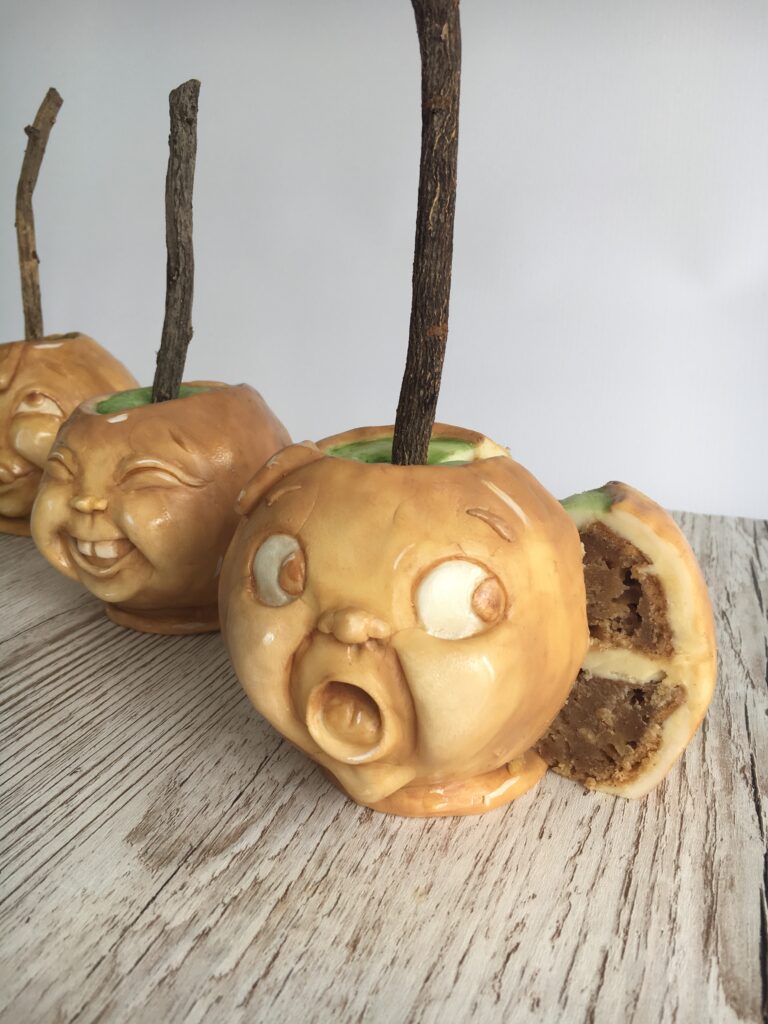
Bring a little personality to your Halloween desserts with these adorable Talking Toffee Apple cakes by Zoe Smith. Featuring expressive faces sculpted from modeling chocolate and finished with realistic cocoa butter painting, these charming apple cakes are filled with a delicious spiced apple cake and covered in smooth white chocolate ganache. Follow the step-by-step tutorial to learn how to sculpt three unique facial expressions and create a fun Halloween centerpiece that’s full of character.
Materials and Equipment
Edibles for Decorating
- 500g white modelling chocolate (Saracino)
- Cocoa butter (Saracino)
- Colour dusts: brown, yellow, white, and green (Saracino)
- Edible glaze (Saracino)
- Liquorice root or sticks
Equipment
- Flexible smoother
- Dresden tool (Jem)
- Cerart Tool 305
- Cling film
- Rolling pin
- Work mat
- Artist palette knife
- Paring knife
- Various paintbrushes, from fine to thick
- Heater for cocoa butter
Spiced Apple Cakes
These are solid, moist little balls of tangy apple cake, perfect for decorating because you need to be able to handle the cakes while modelling.
Cake Ingredients
- 1 cup (120g) light brown sugar
- 1 stick (120g) softened butter
- 1 large egg
- 1 cup (270g) applesauce
- 1 1/4 cups plus 2 tbsp (200g) all-purpose flour
- 1/2 tsp baking powder
- Pinch of salt
- 2 tsp cinnamon
- 1/2 tsp nutmeg
- 1/8 tsp allspice
- 1/8 tsp ginger
- 1 cooking apple, finely chopped
- 1 tbsp lemon juice
Cake Equipment
- Wilton mini ball pan or similar
White Chocolate Ganache
- 1/2 cup (100ml) heavy cream
- 14 oz (400g) white chocolate
Bake the Cakes and Make the Ganache
- Preheat the oven to 350°F/180°C/160°C fan.
- Grease the pan carefully with butter and flour, cake release, or oil.
- Mix the finely chopped apple with the lemon juice to prevent browning.
- Cream the butter and sugar together, then add the egg.
- Mix the flour, baking powder, spices, and salt together. Add half of this mixture to the wet batter.
- Add half of the applesauce, then the remaining flour mixture, and finally the remaining applesauce.
- Gently fold the chopped apple through the mixture.
- Bake for 20 to 30 minutes, or until a skewer inserted into the center comes out clean. Remove the cakes from the pan and allow them to cool.
- Melt the white chocolate gently in the microwave on medium power, stopping every 45 seconds to stir. Repeat until completely melted.
- In a separate bowl, gently heat the cream.
- Mix the chocolate and cream together, then chill until thick and creamy.
Prepare and Cover the Cakes
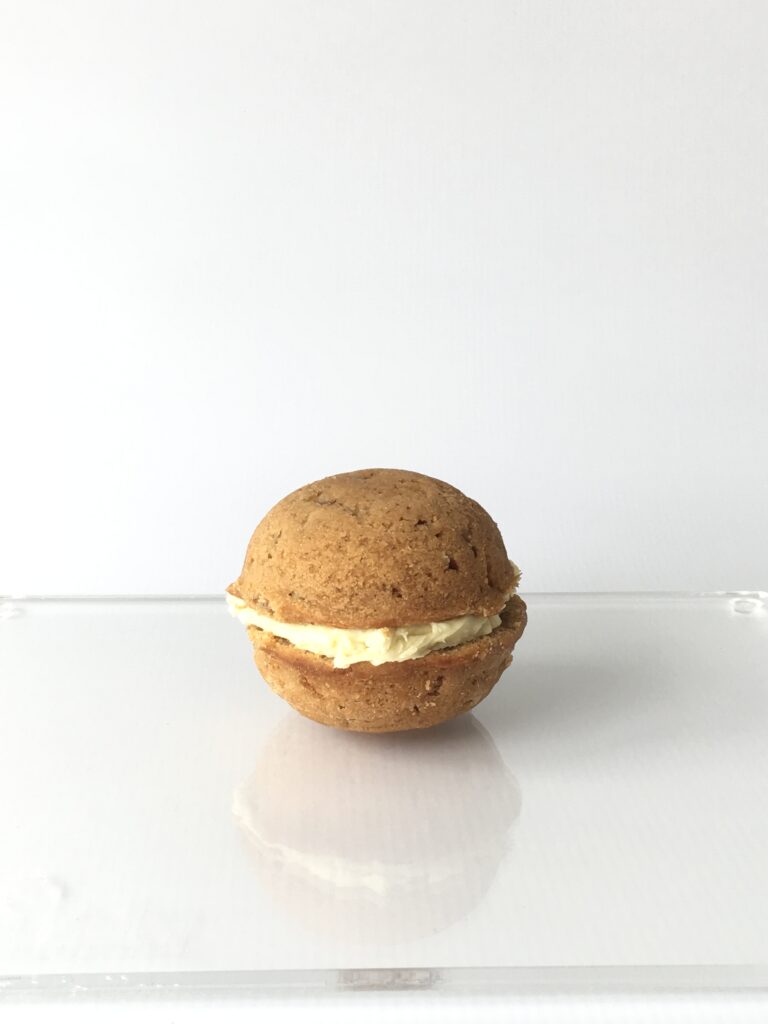
- Trim the flat sides of the cakes and fill with ganache.
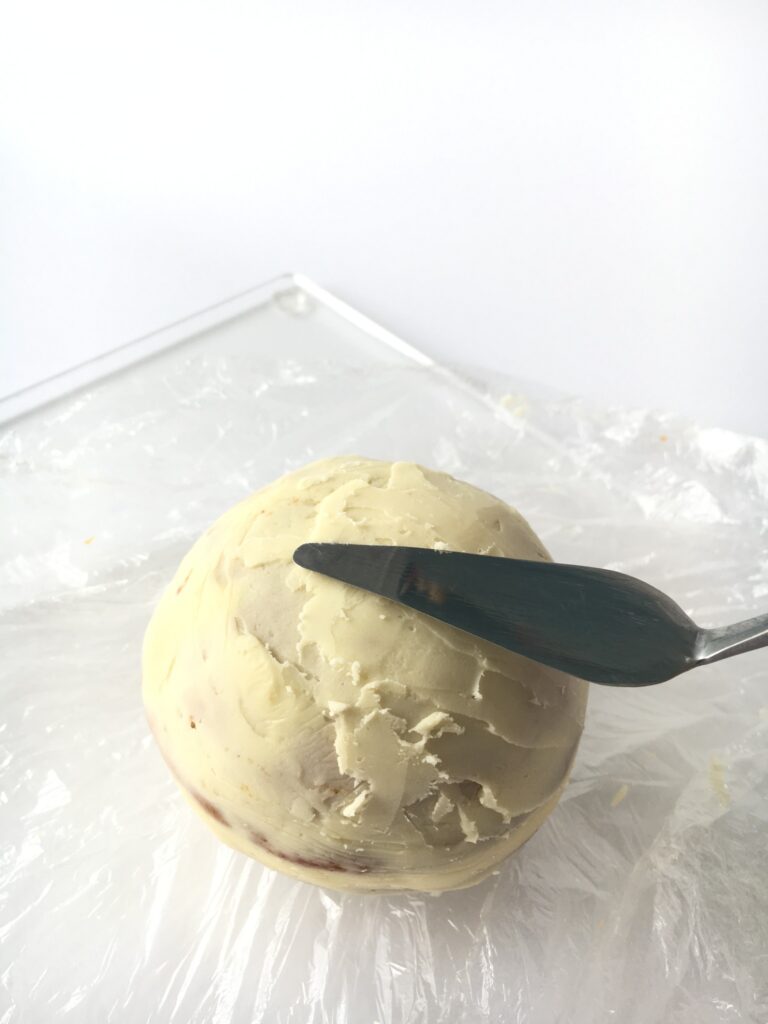
- Cover the cakes with layers of ganache using an artist palette knife for a smooth finish. Its smaller size makes it easier to work around the cake.
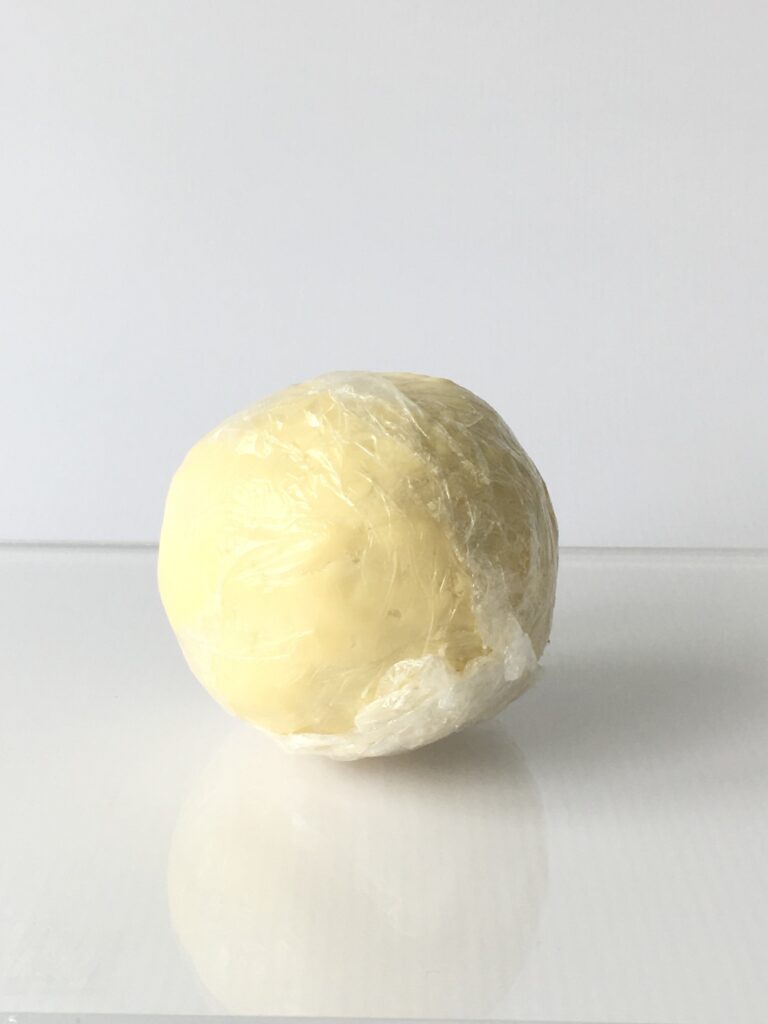
- After each layer, wrap the cake in cling film and refrigerate it to firm before applying the next thin layer. Before refrigerating, smooth the ganache with your hands through the film.
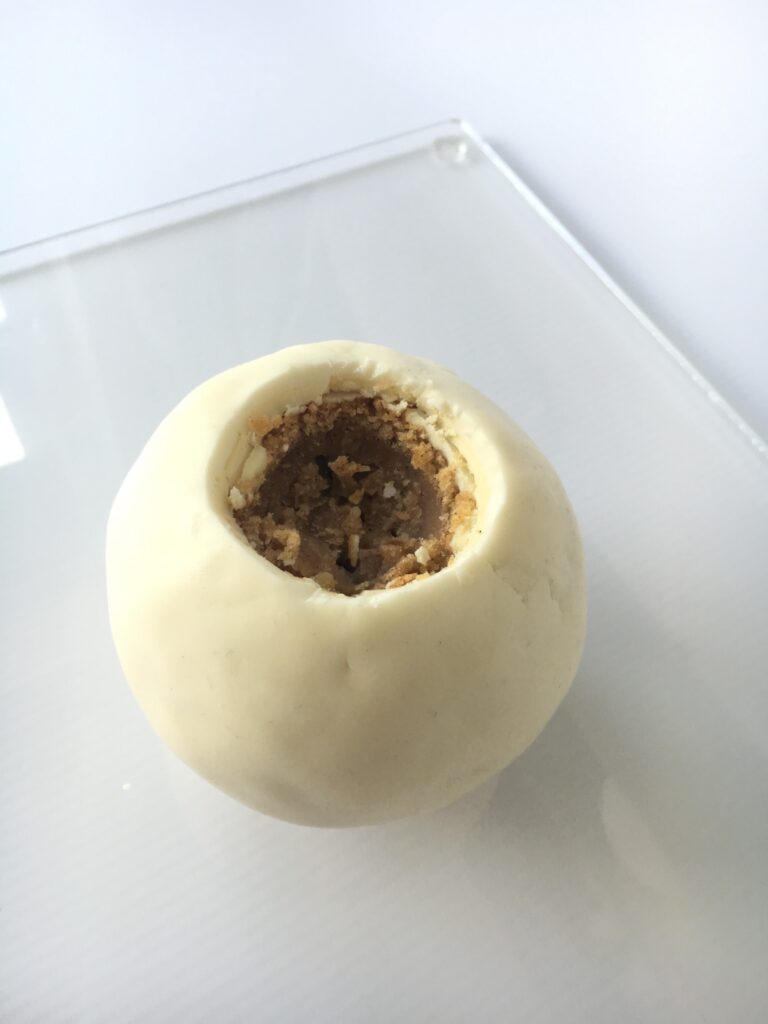
- Roll out 100g of modelling chocolate for each cake and cover it. Rub with a flexible smoother if necessary. Carve out a circle with a paring knife and remove a small amount of cake as shown.
- Using the piece of modelling chocolate you have just removed, make a circle, fit it back into the hole, and smooth the join.
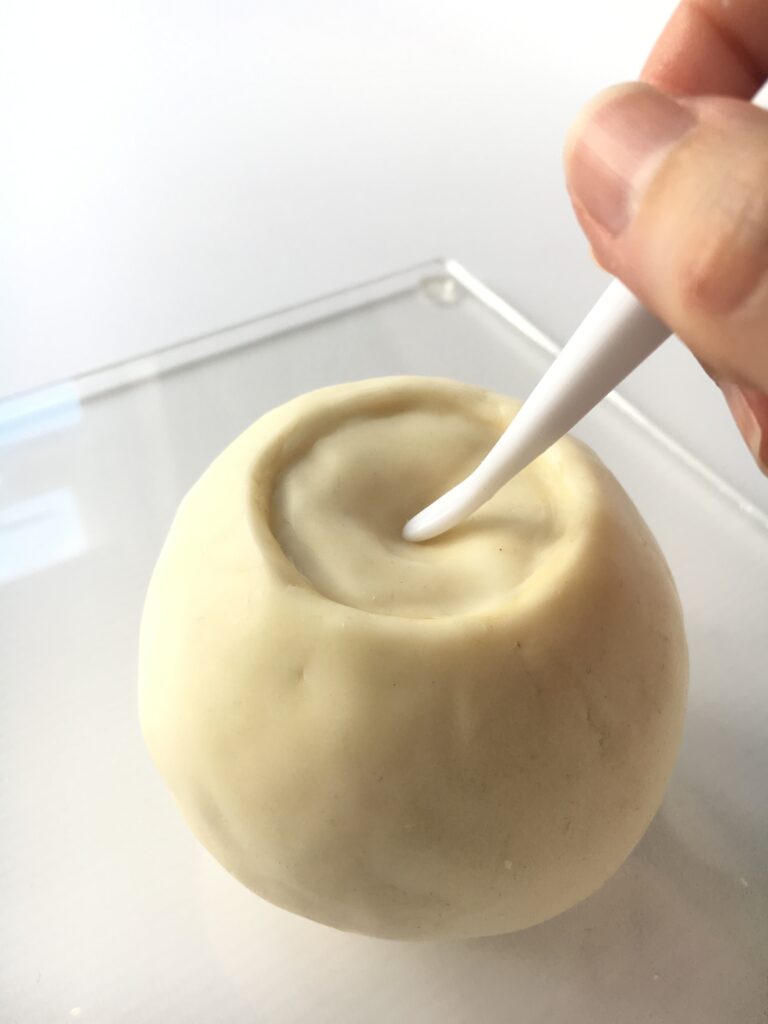
- Make an indentation in the middle for the top of the apple.
Apple Style One
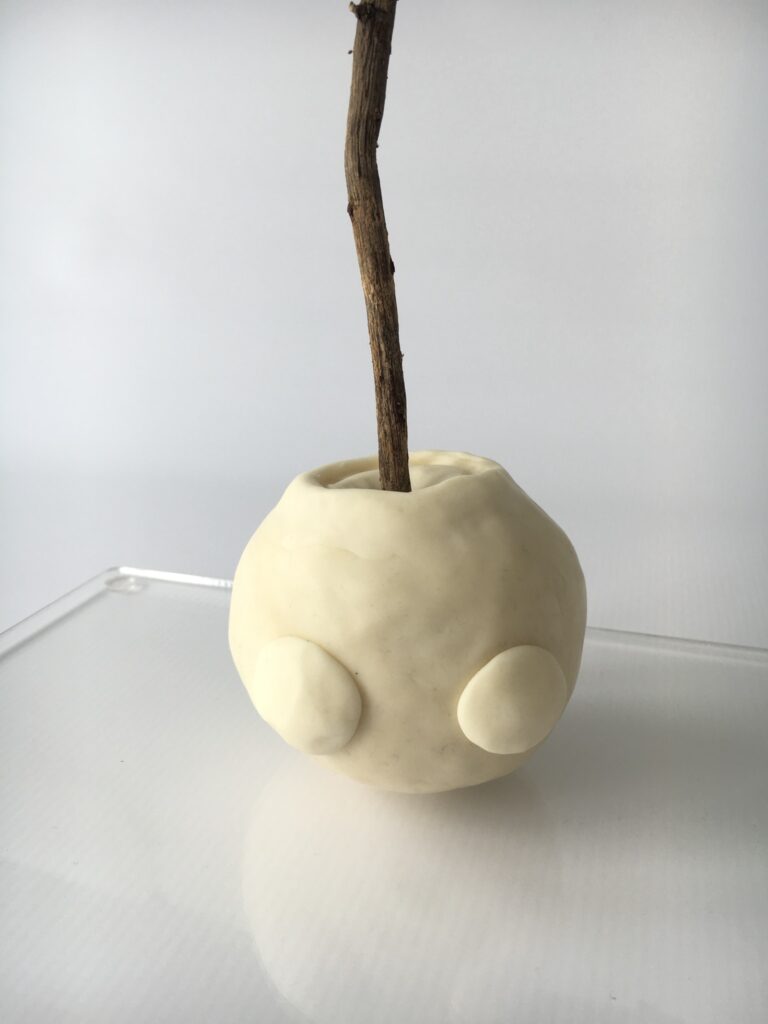
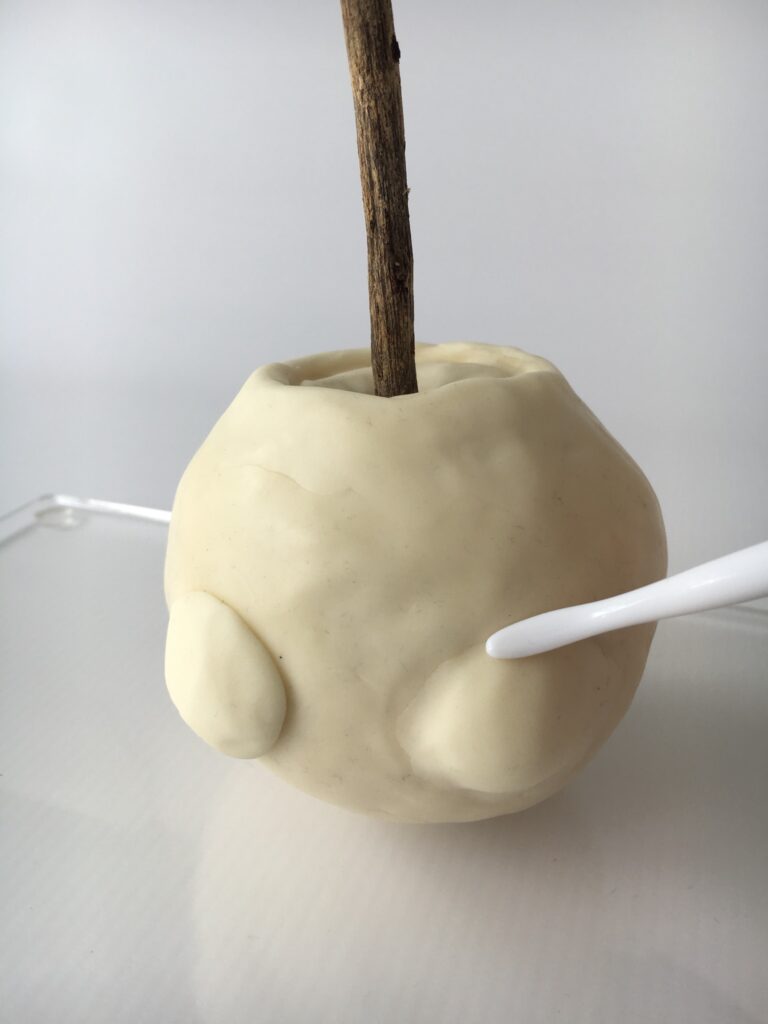
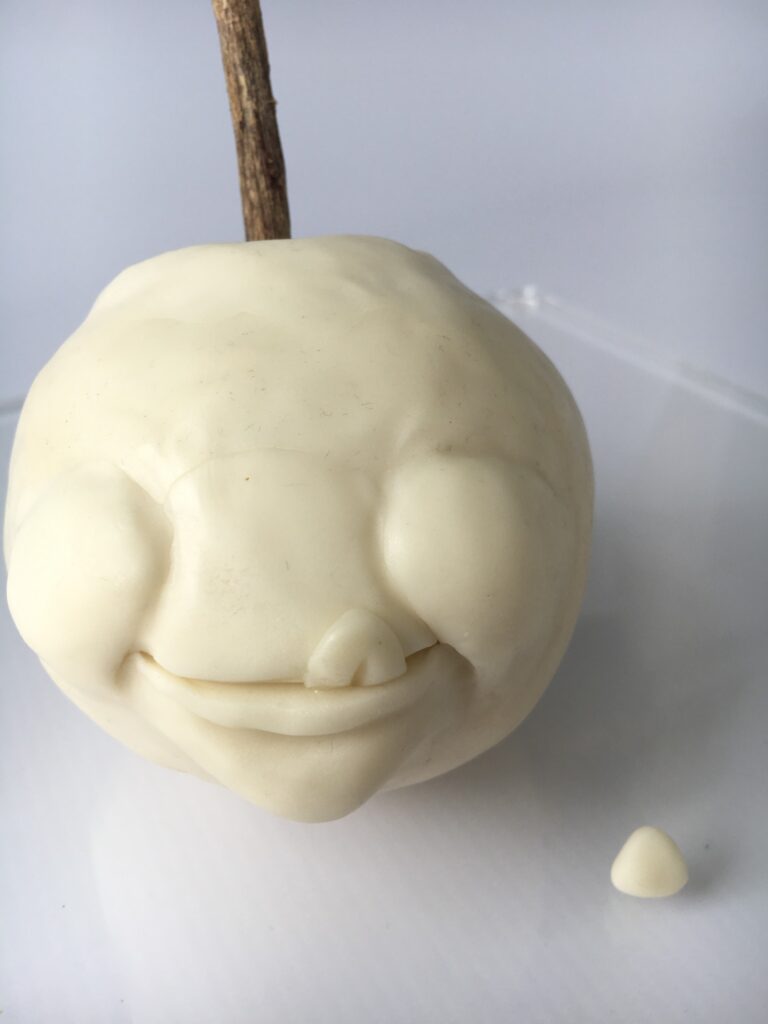
- Take 6g of modelling chocolate and split it in two. Press the pieces onto the cake in circular shapes to create cheeks.
- Blend and smooth the joins until seamless.
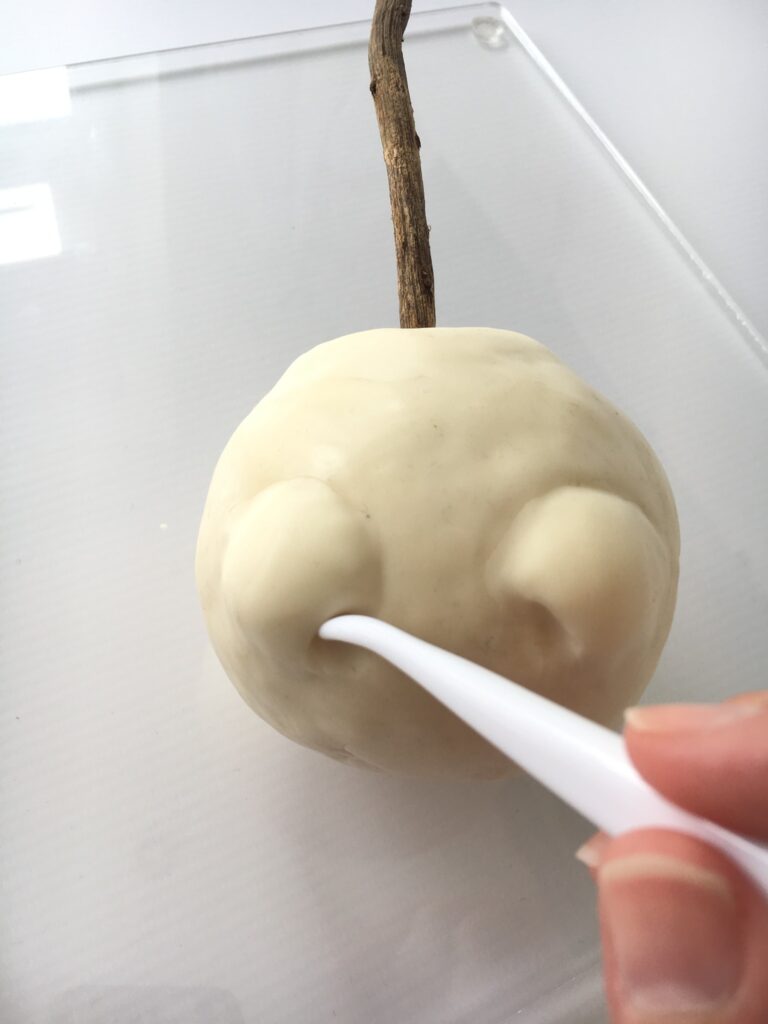
- Using the 305 tool, push in either side to create the corners of the mouth.
- Draw a line across to make the mouth.
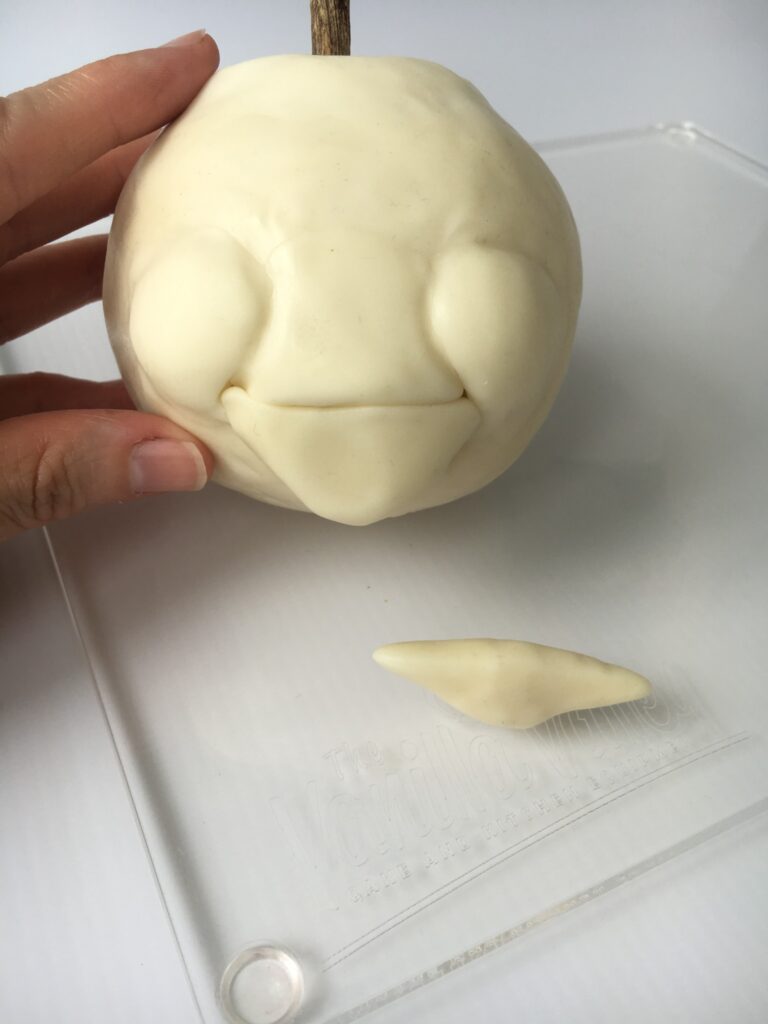
- Add a 3g triangle to make the top lip. Smooth the join.
- Repeat the process with 4g for the bottom lip and chin.
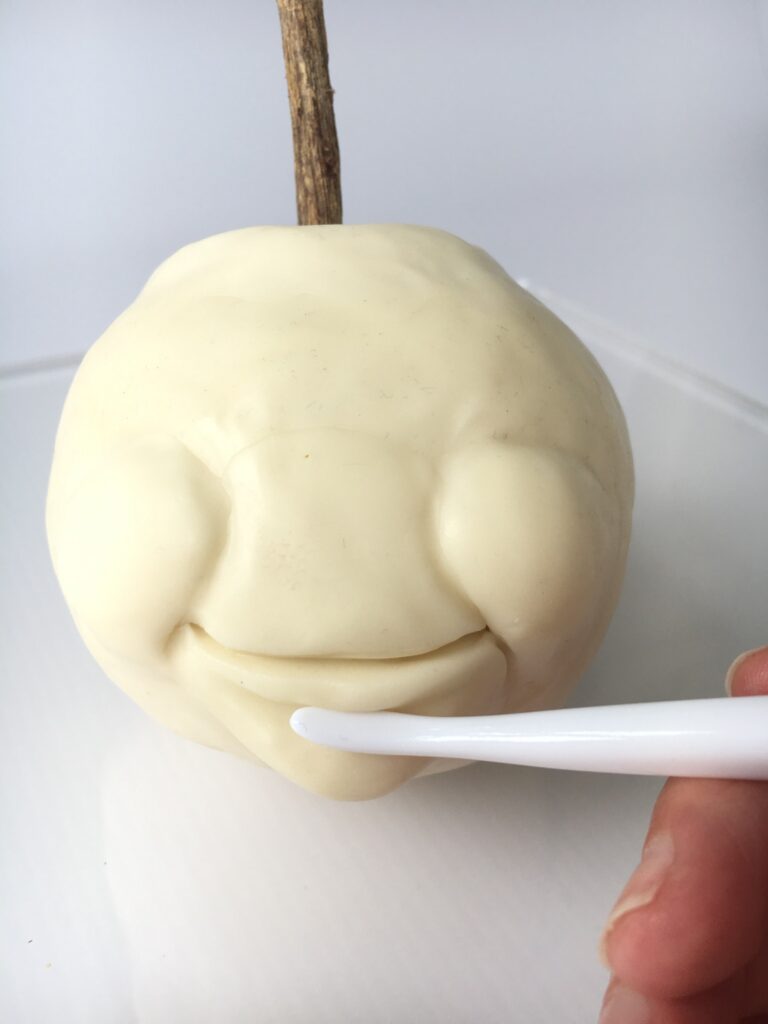
- Using the 305 tool, push underneath to create a lip, as shown.
- Attach a small triangle for a tongue and smooth the join with the Dresden tool.
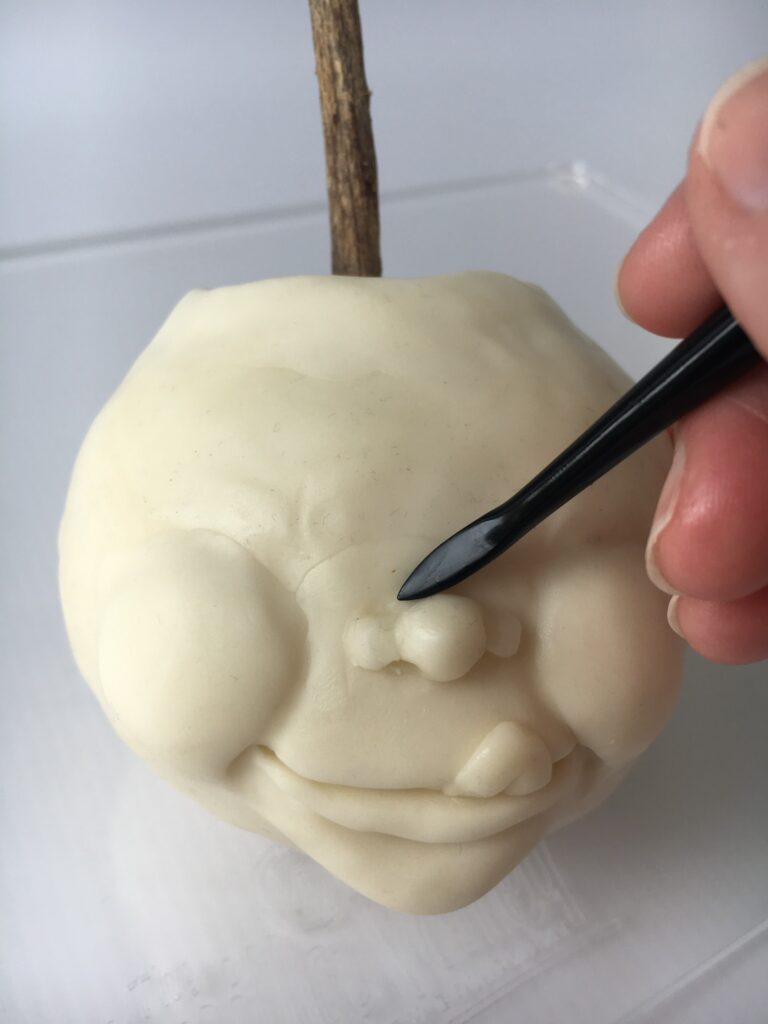
- Add a small oval for a nose.
- Attach two tiny balls on either side for the nostrils.
- Smooth around the nose with the Dresden tool and push underneath to make the nostril holes. Add the philtrum under the nose.
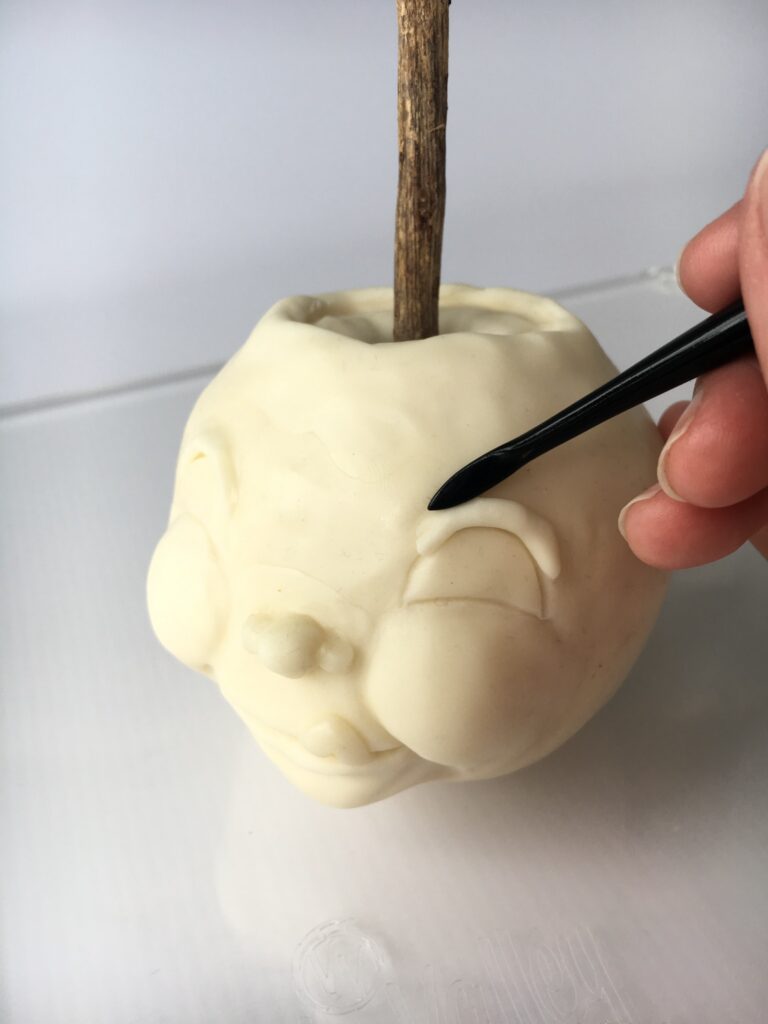
- Draw the eye shapes. Add small rolls of modelling chocolate above and below each eye, then smooth the joins to create eyelids.
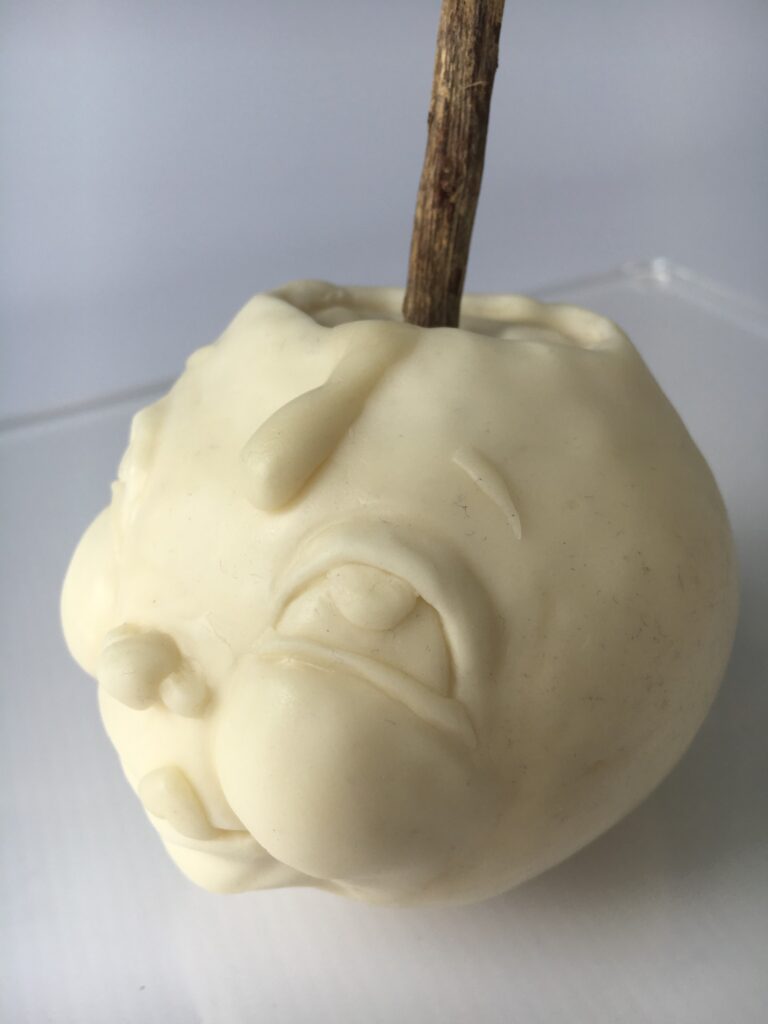
- Add pupils by making ovals, a drip from a sausage shape tapered in the middle, and two tiny eyebrows.
- Push a liquorice root into the top center.
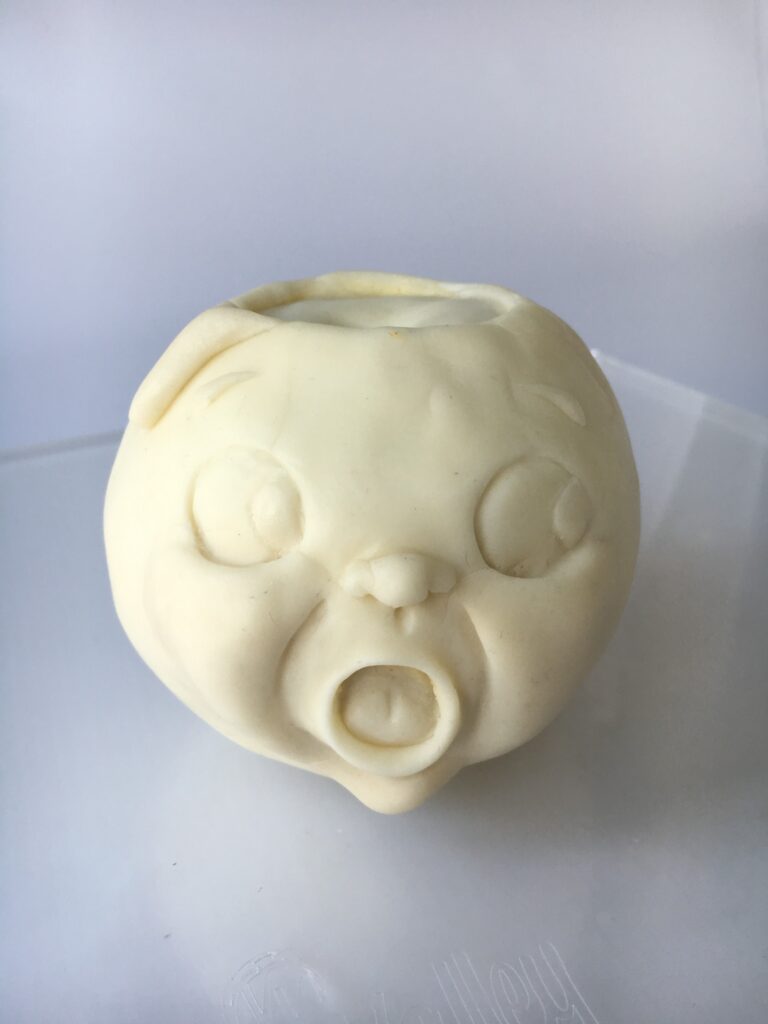
Apple Style Two
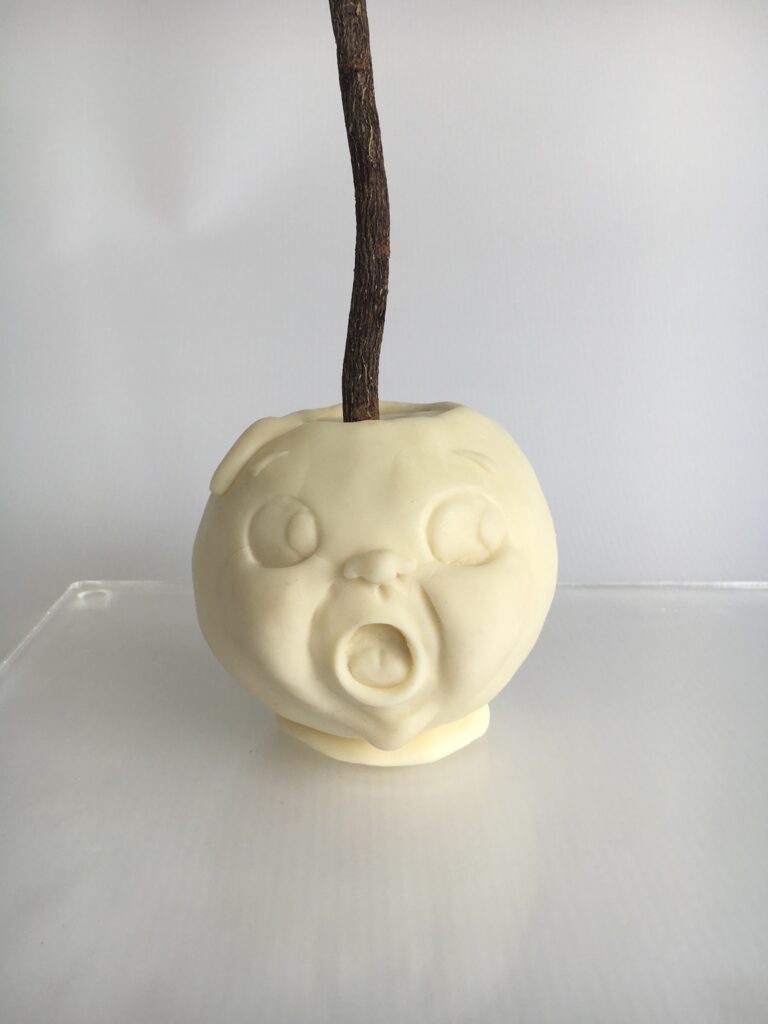
- Add cheeks in triangular shapes using approximately the same amount of modelling chocolate, and smooth as before.
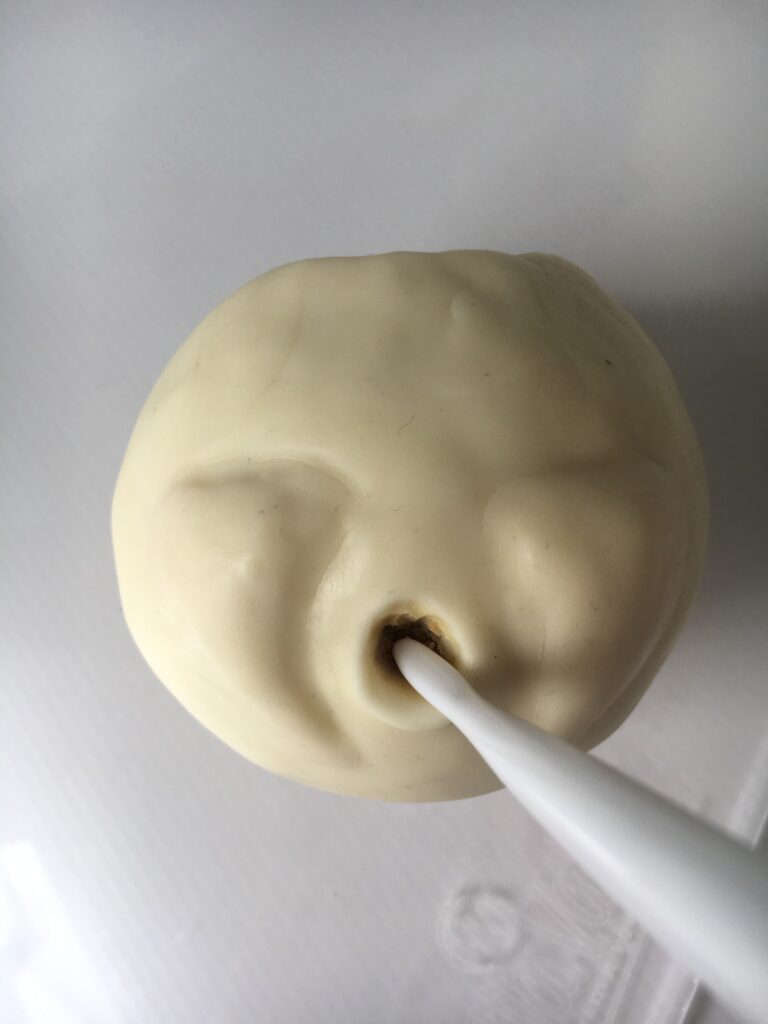
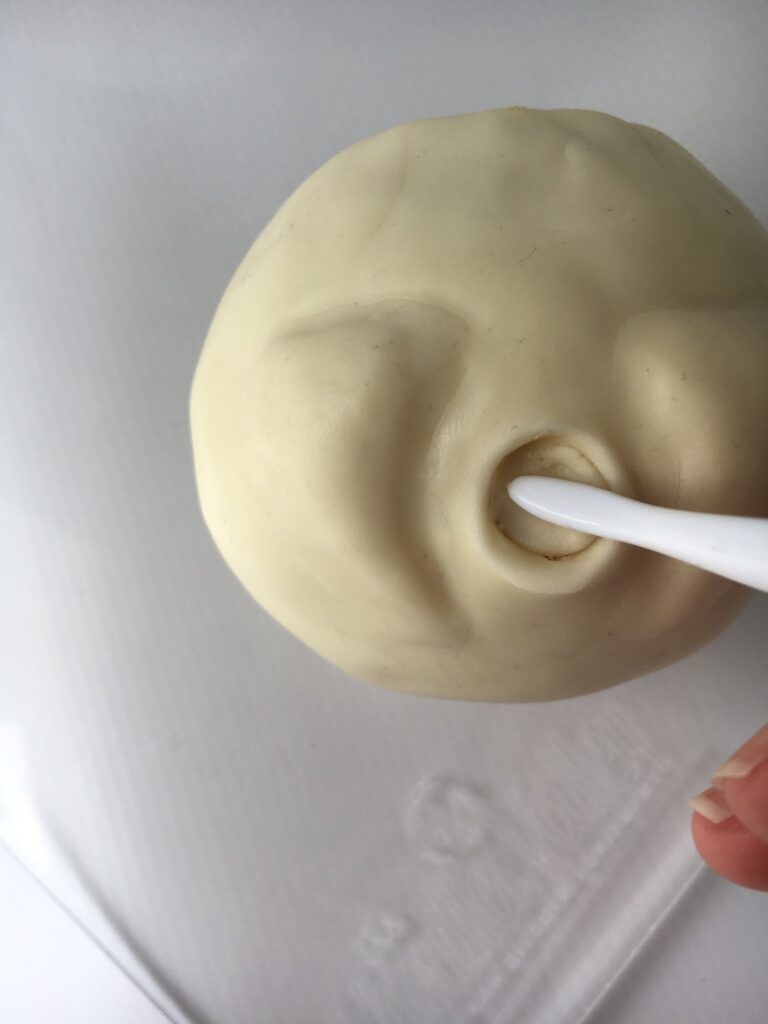
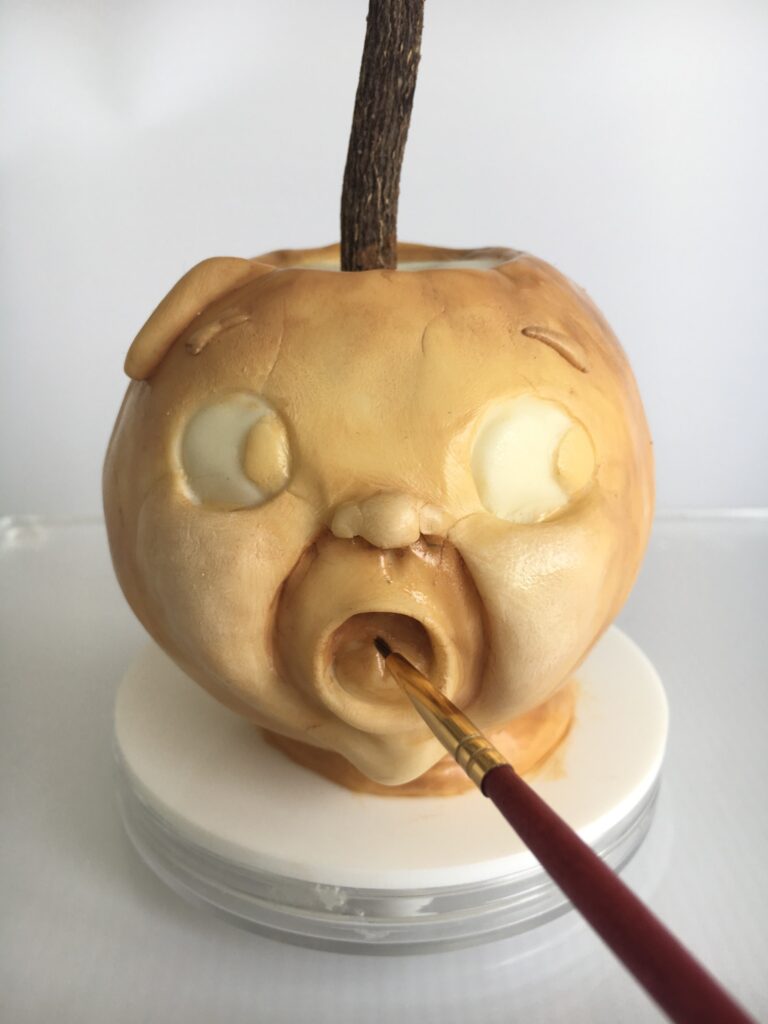
- Hollow out a hole for the mouth using the 305 tool.
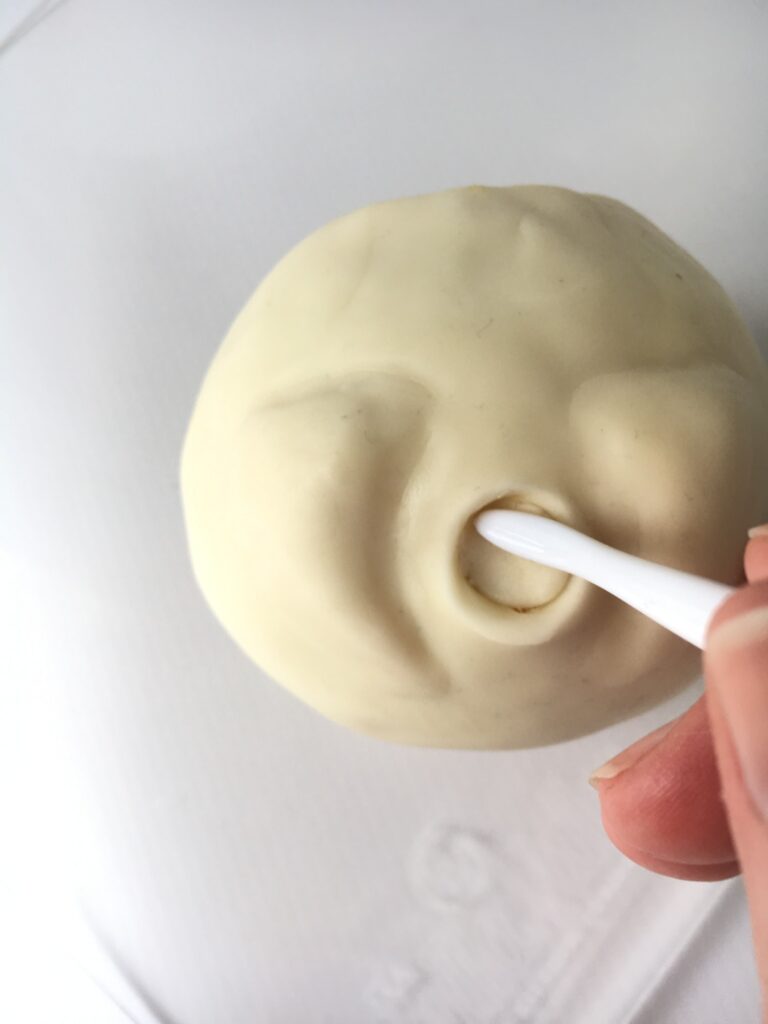
- Fill the mouth as shown.
- Make a mark down the center for the tongue.
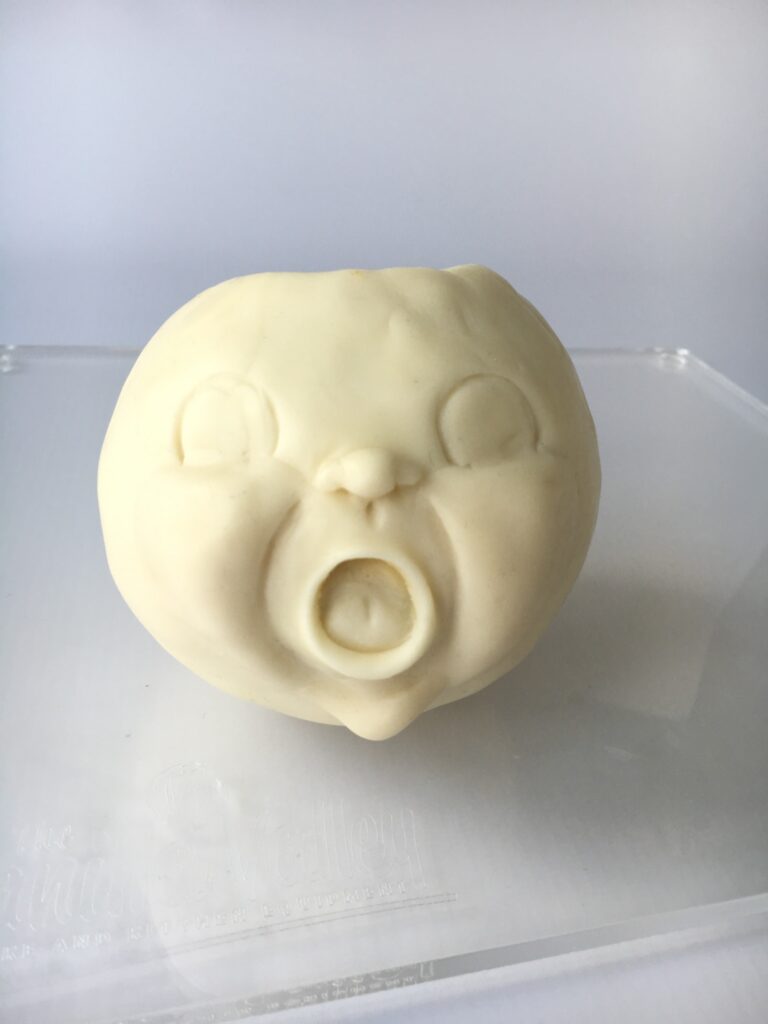
- Add a chin as before, but make it smaller.
- Repeat the technique used to make the nose, adding the philtrum under the nose again, and draw in the eyes.
- Attach the pupils, eyebrows, and drip again. Add the liquorice root.
Apple Style Three
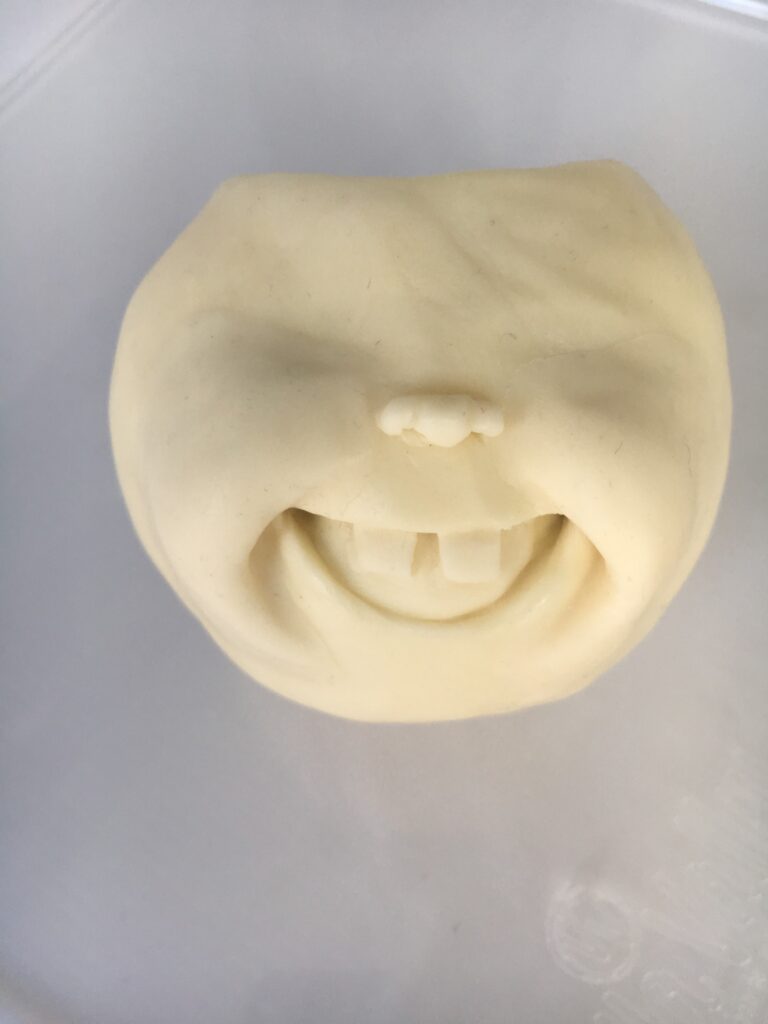
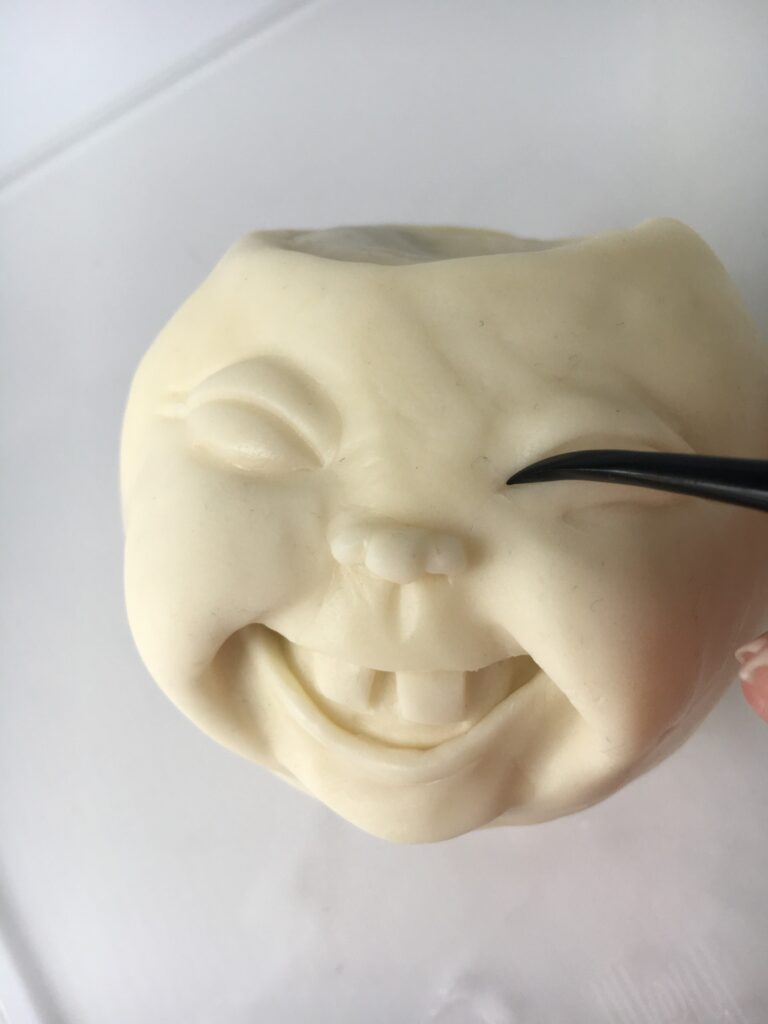
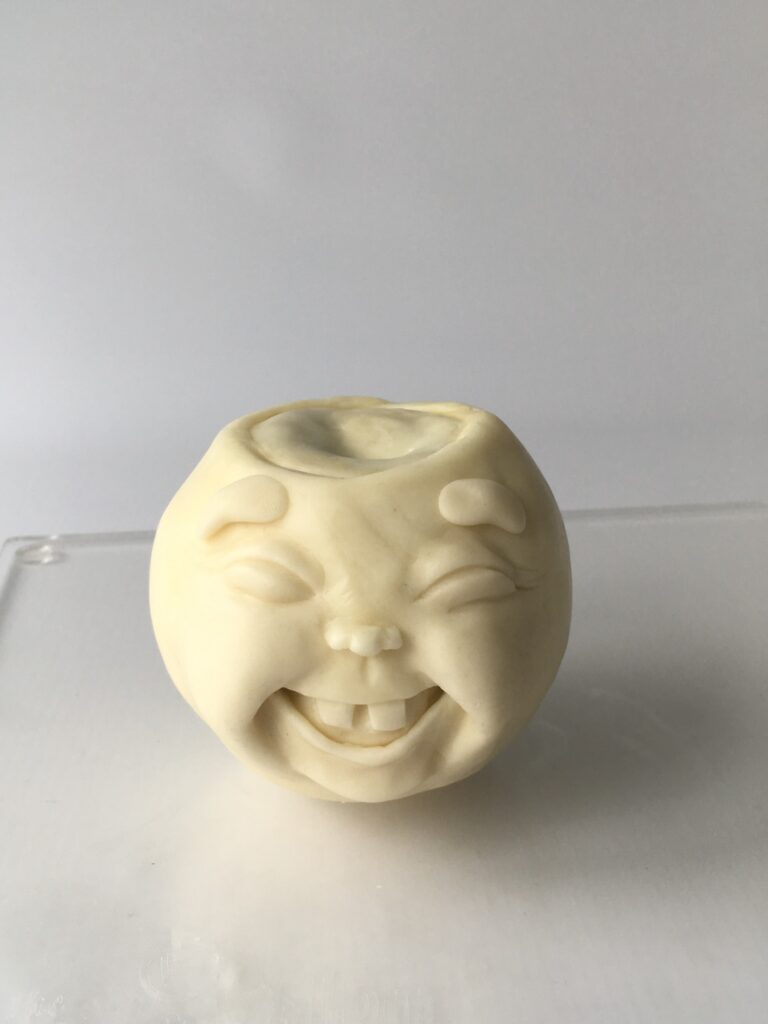
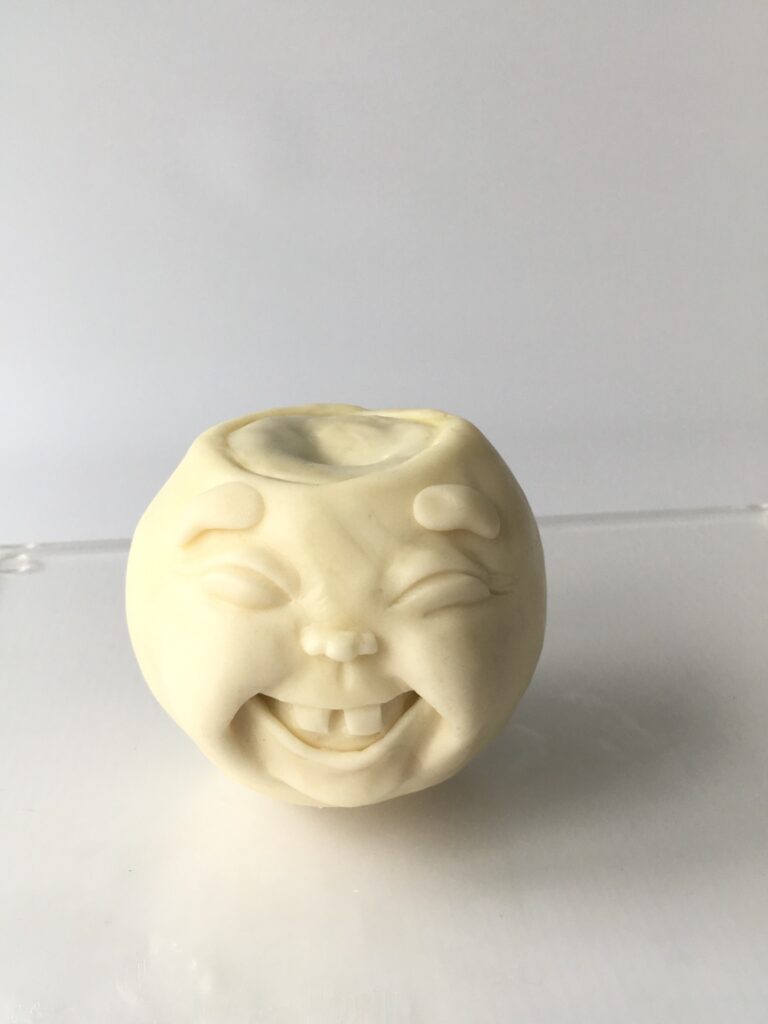
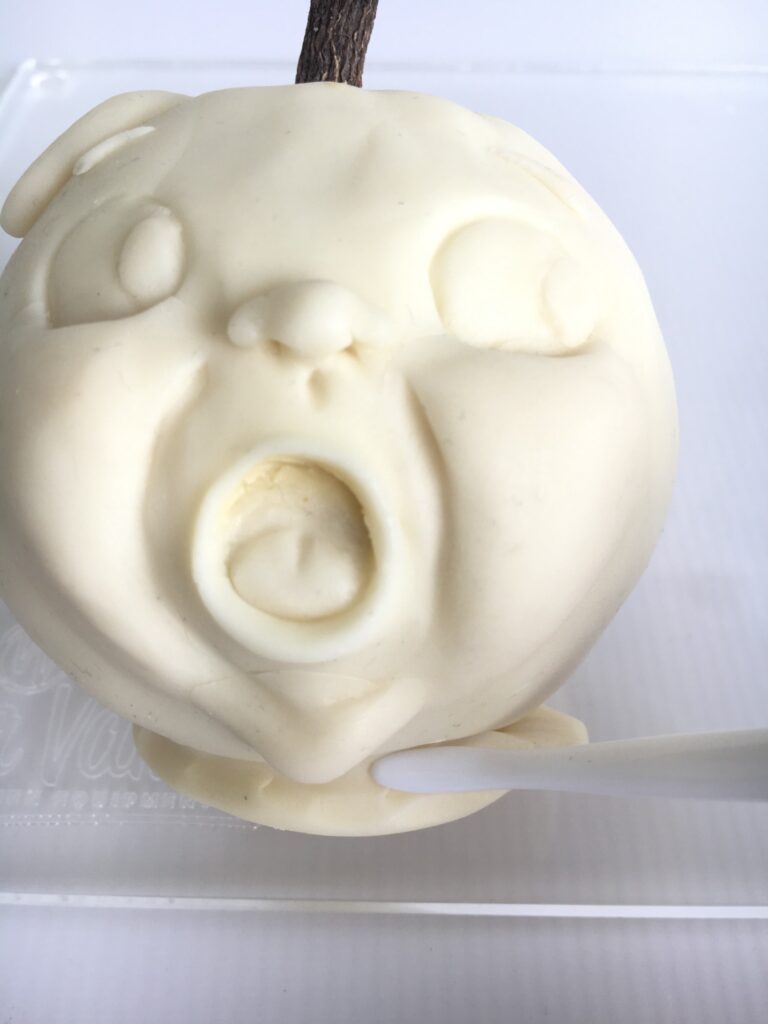
- Split 6g of modelling chocolate in two and add comma-shaped cheeks.
- Smooth the edges as before.
- Add the corners of the mouth.
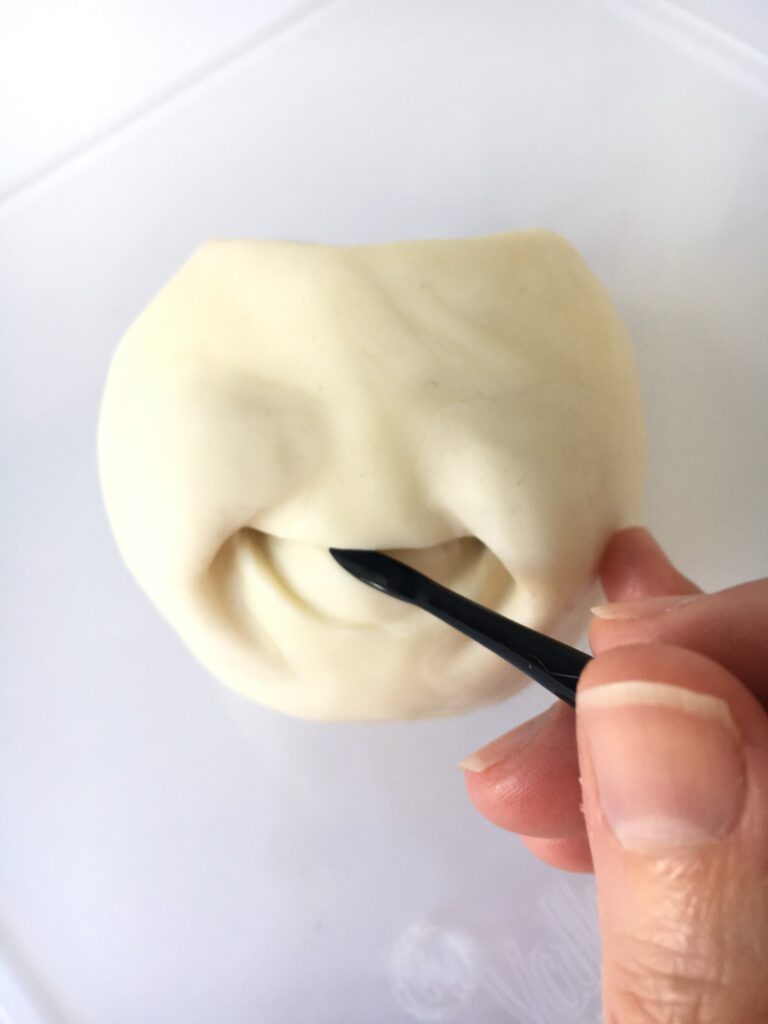
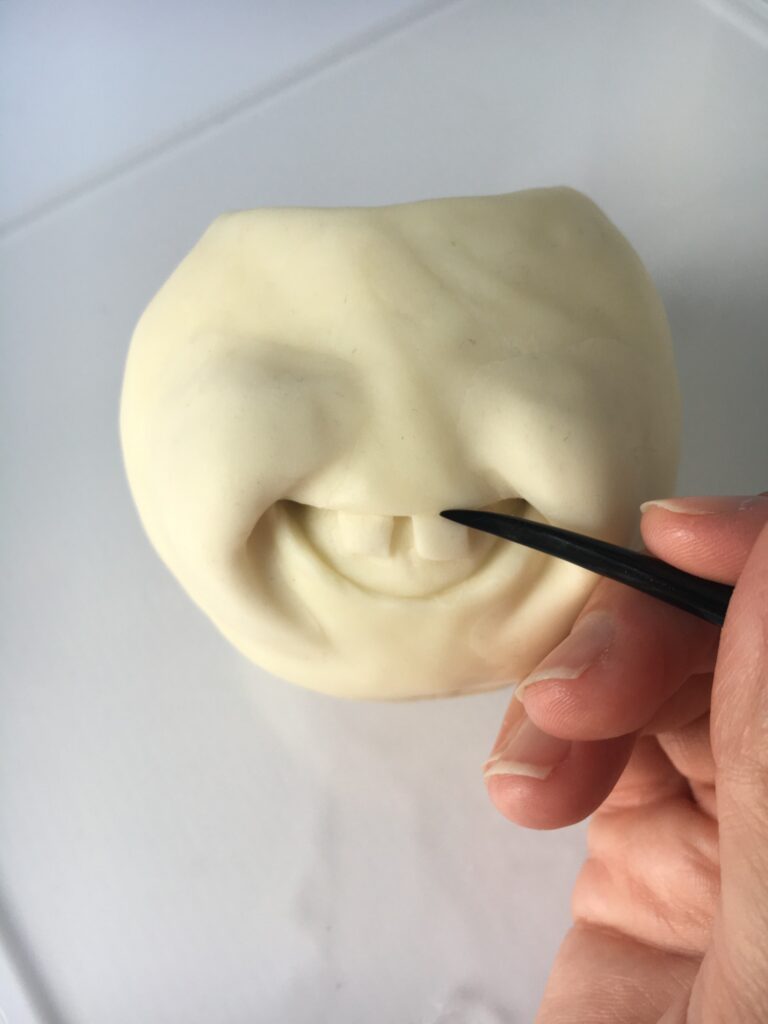
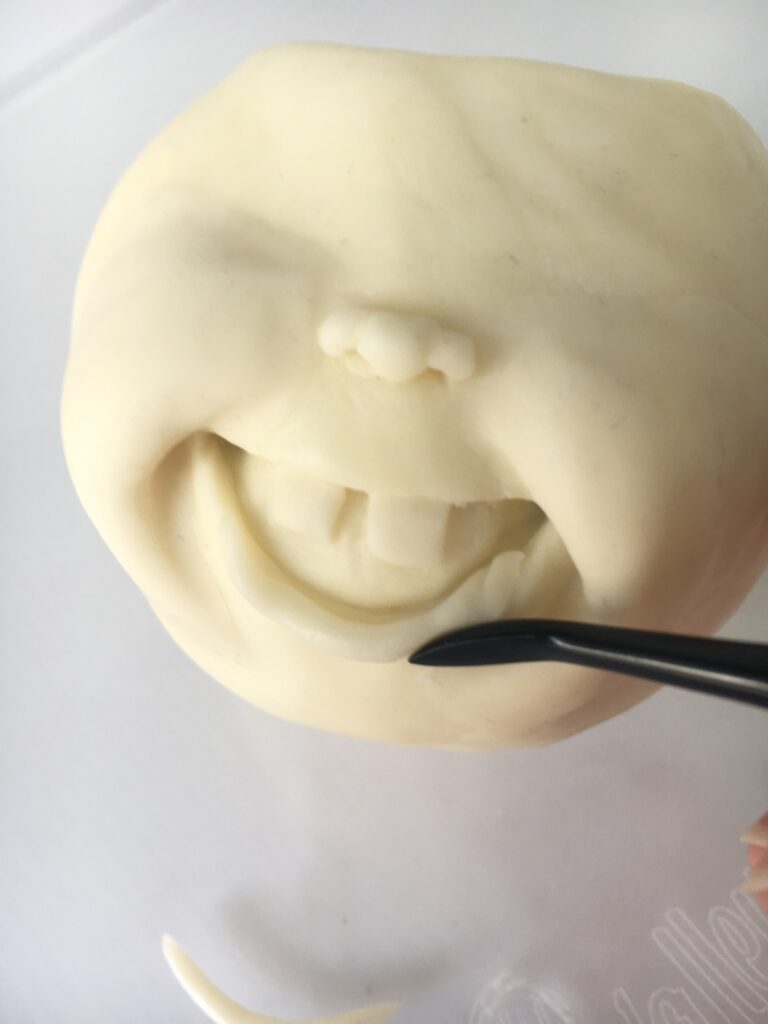
- This time, do not add a top lip. Draw an open mouth and push in the modelling chocolate at the corners to create depth.
- Cut two small squares of modelling chocolate and press them against the mouth to attach. Smooth the teeth to the mouth with the Dresden tool.
- Add a nose exactly as before.
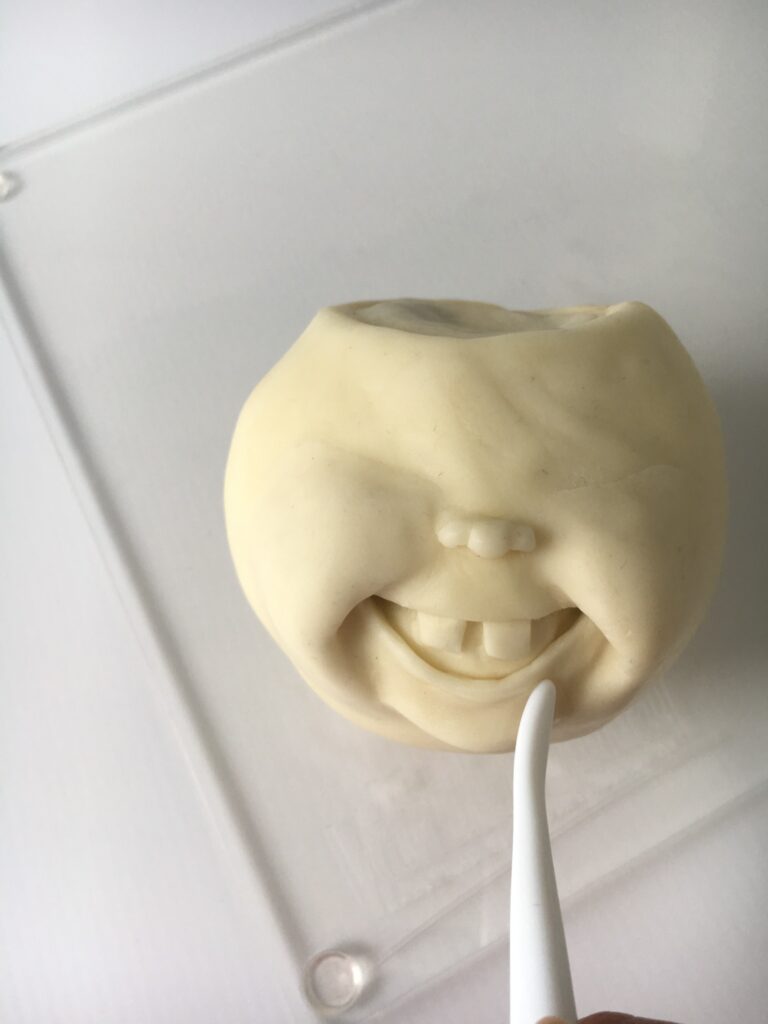
- Smooth a long, thin roll of modelling chocolate for the bottom lip.
- Add a triangle for the chin again.
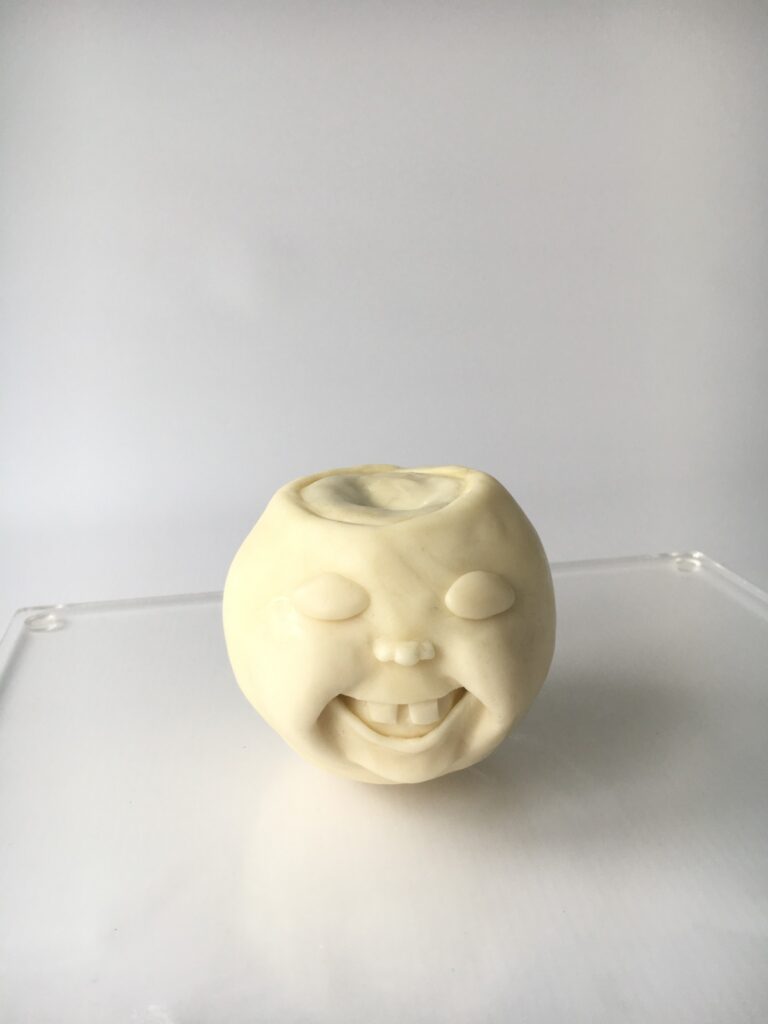
- Place two ovals made from 1g of modelling chocolate for the eyes.
- Smooth the joins, then draw a curved line across each oval to create the top and bottom lids.
- Take just under 1g of modelling chocolate and split it. Smooth each piece above the eyes to add expression. Add the eyebrows and liquorice root.
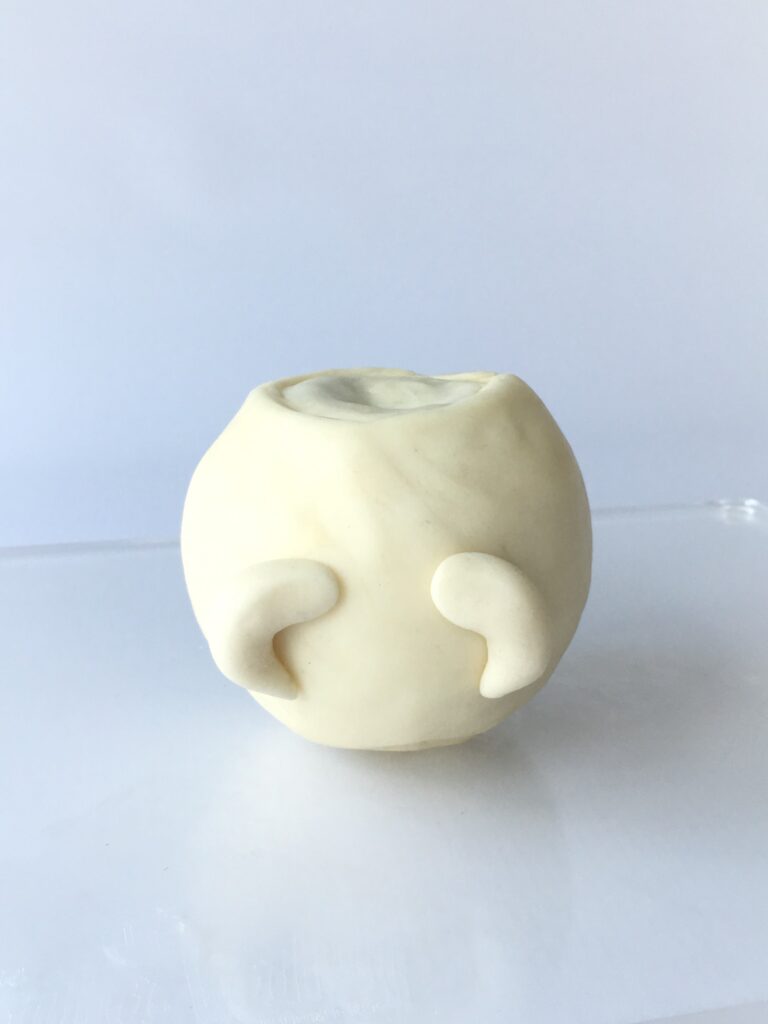
Add the Base
- Take 25g of modelling chocolate and smooth it into an oval shape. Change the shape slightly for each apple head, place it underneath, and smooth the modelling chocolate where it joins the head.
Paint and Finish Talking Toffee Apples
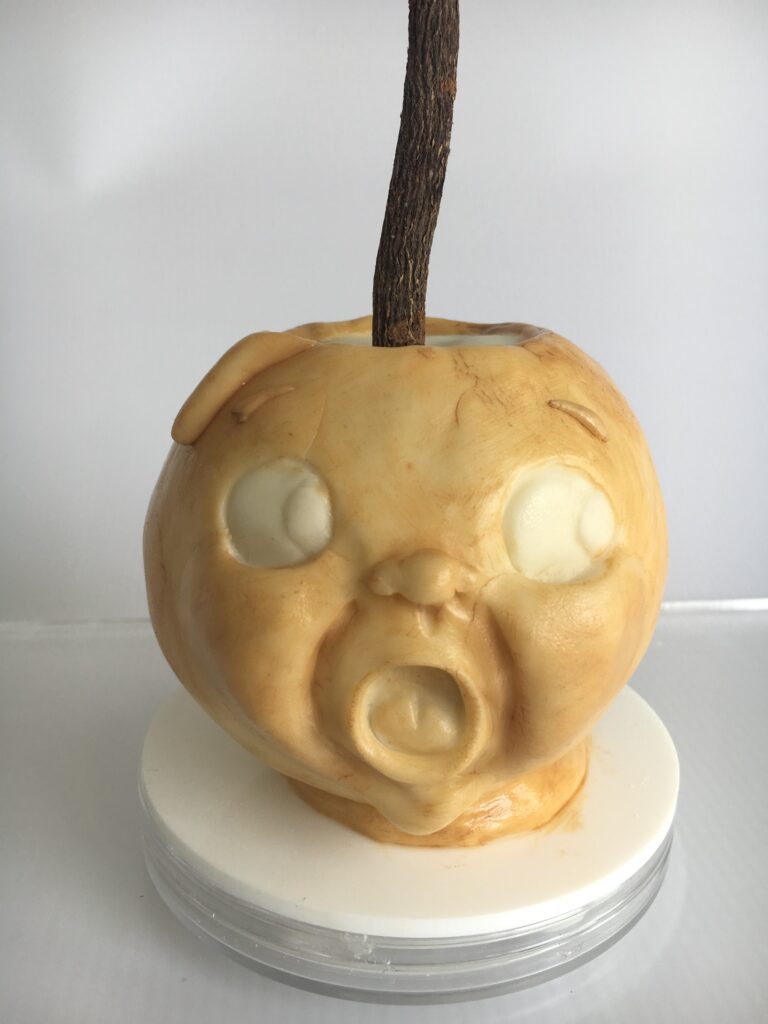
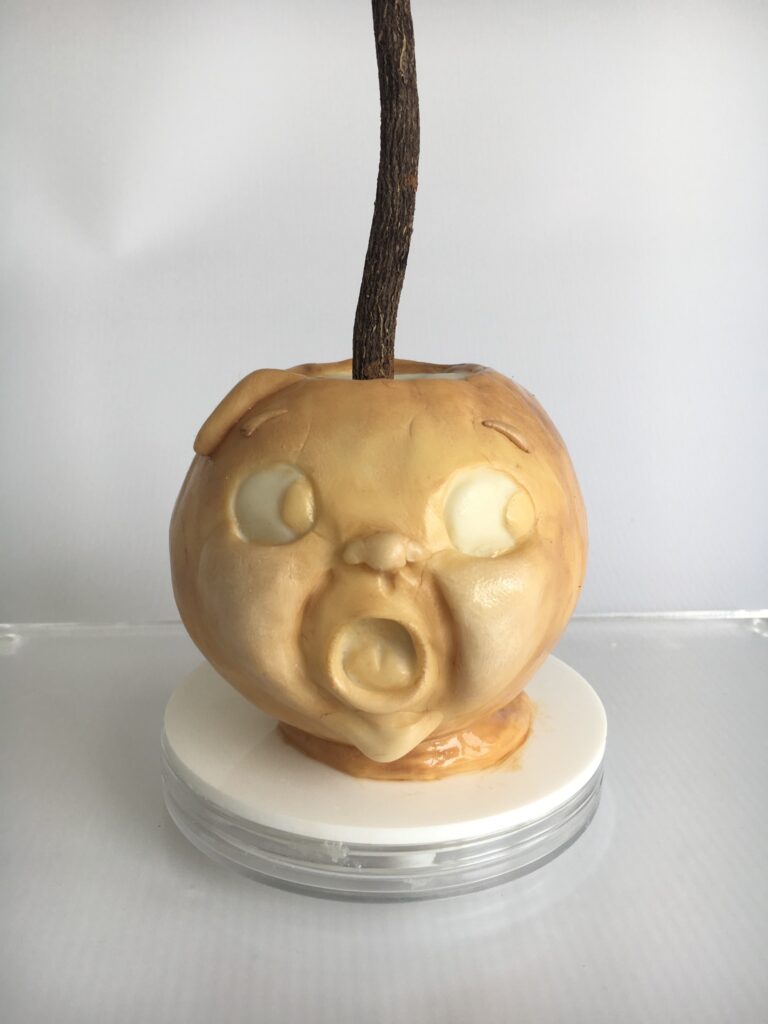
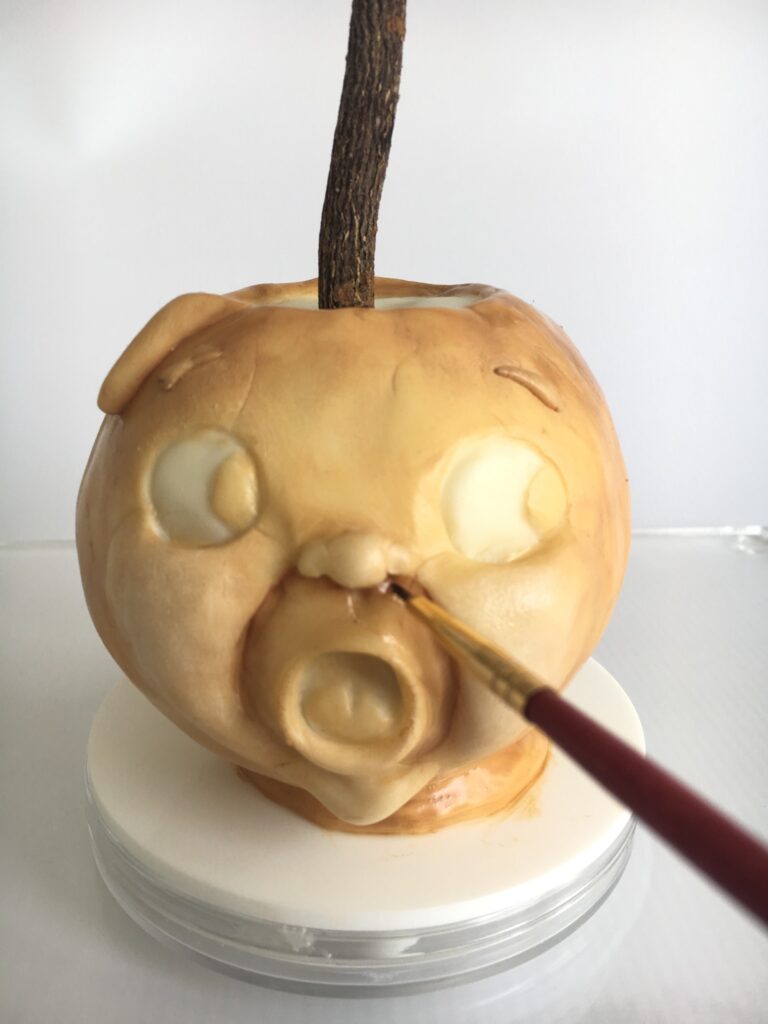
- Heat the cocoa butter gently on a ceramic saucer over a candle or on a ceramic essential oil burner. Once melted, mix in the coloured dusts. More cocoa butter creates a more translucent paint; a higher ratio of powder creates a thick, opaque paint. Mix brown with a little white and yellow to a medium consistency. Using a thicker, soft paintbrush, paint the whole head except for the eyes and the very top, where the apple itself would be.
- Paint a lighter-coloured mixture onto the cheeks, nose, and chin.
- Paint brown into the creases of the cheeks and add shadows under the nose and around the eyes.
- Paint the details, including the inside of the mouth, eyeballs, eyelids, and eyebrows.
- Use white to create highlights.
- Paint a light wash of green on the top for the apple. Add a little brown at the base of the liquorice root and tiny white lines for texture. Let the cocoa butter dry, then very carefully paint on the glaze. Take care not to wipe off the cocoa butter paint during this process. Do not glaze the apple section.
For more recipes and tutorials with American Cake Decorating, click here!
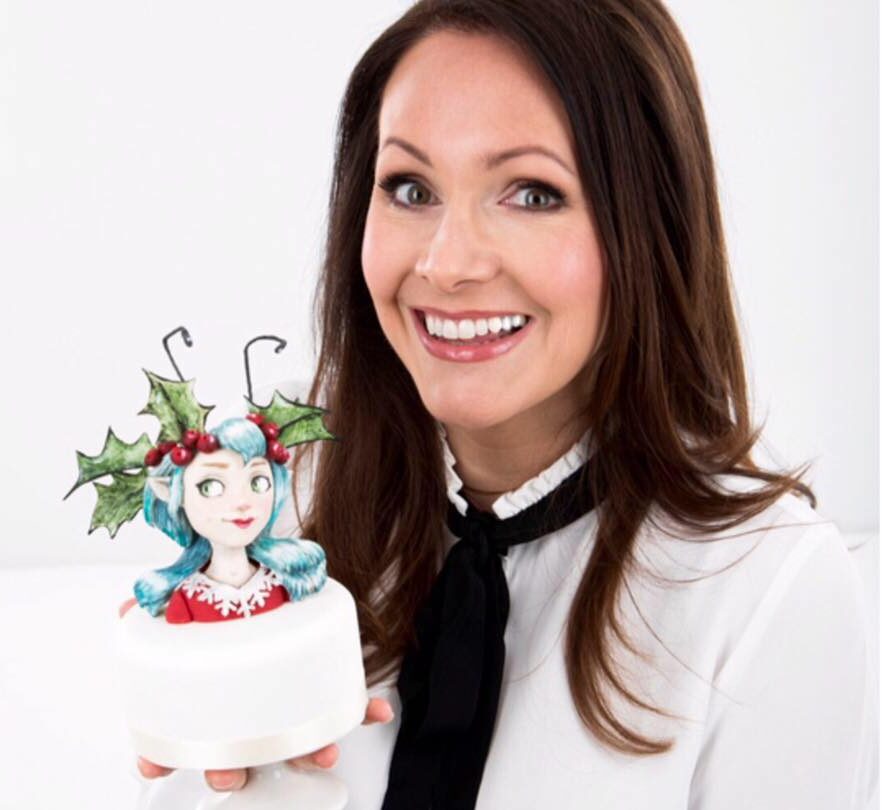
Zoe Smith
Zoe Smith started cake decorating for her two daughters. She now creates tutorials for magazines and teaches from her cake studio at home in the North East of England, and she recently entered Cake International, winning two awards. Her other obsession is Pinterest. She has 670k followers, which she uses to feed her interest in fairy tales and animation and find inspiration for her sugarcraft figures.