

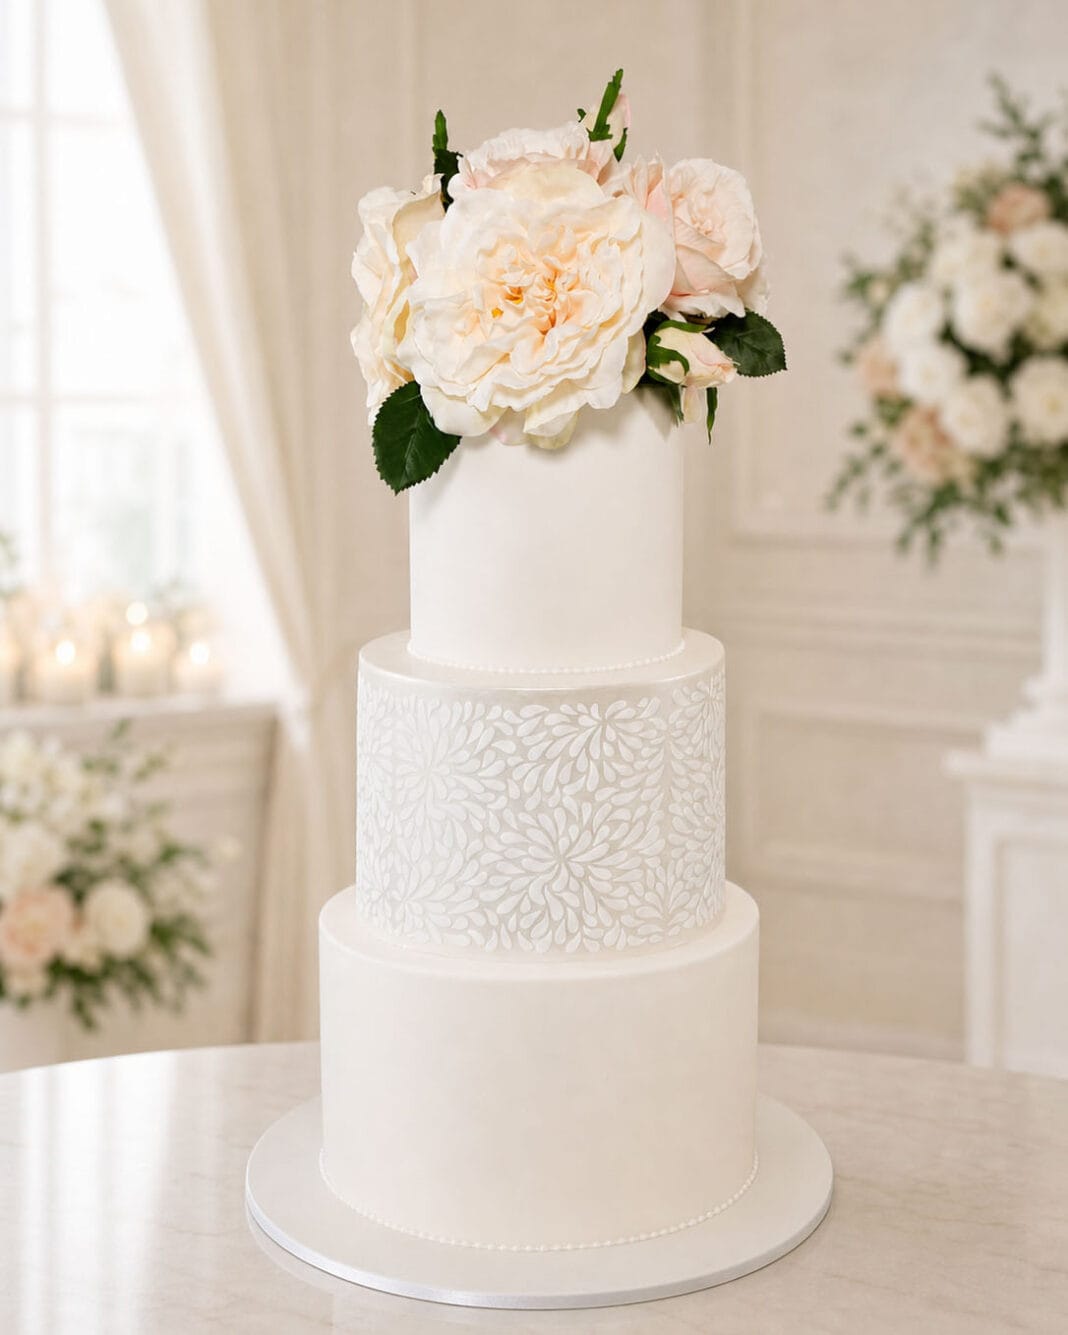
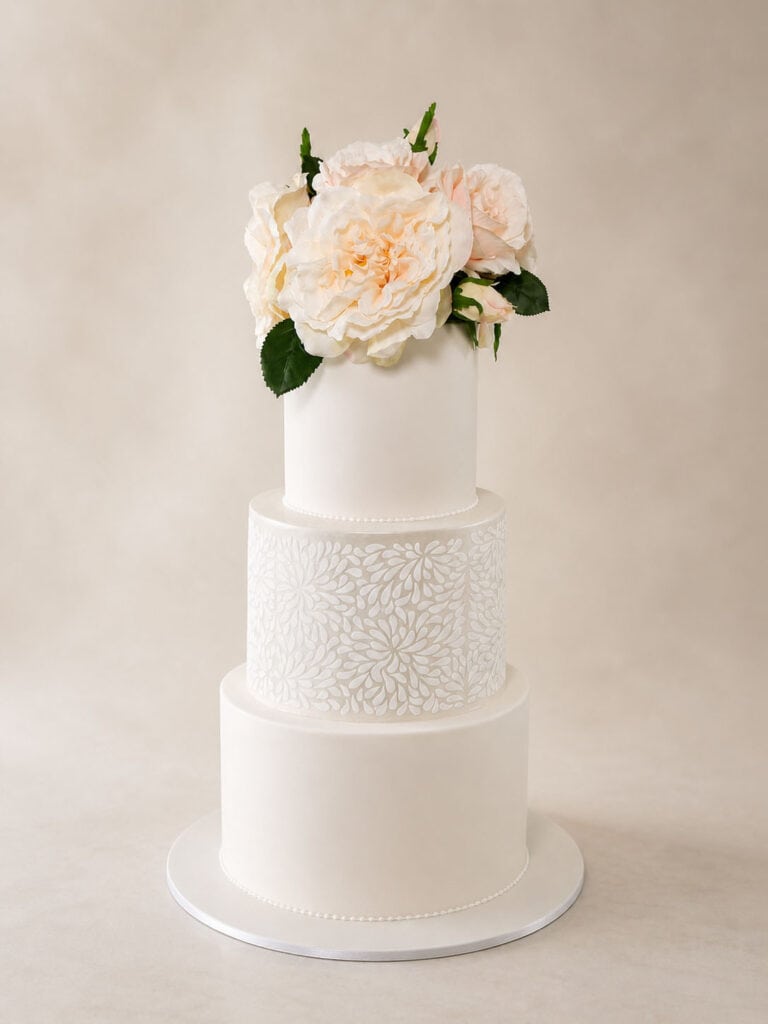
If you’re new to cake decorating, stenciling is an easy way to add pattern and texture to a cake. With this short step-by-step tutorial, you’ll learn how to stencil a cake like a pro from Michelle Smith, a stenciling expert.
Edibles:
- Fondant-covered cake
- Royal icing
Equipment:
- Masking tape
- Stencil
- Sterile pins (optional)
- Scraper
Stencil the Cake
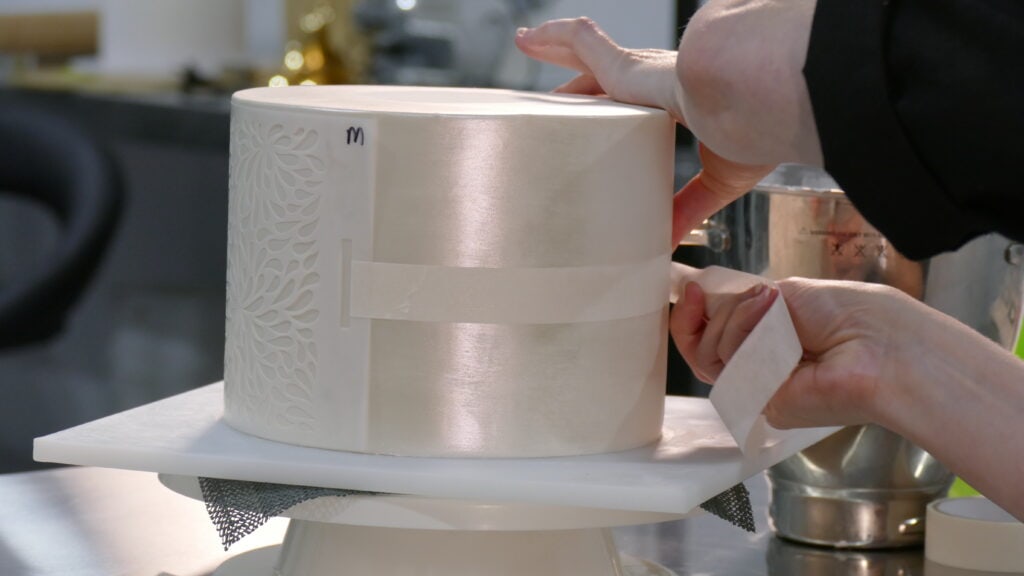
- Attach a strip of masking tape through the attachment points of the stencil and fold it back over on itself to create an anchor point. If there is a luster finish on the cake, secure the stencil with the tape sticky side up.
- Wrap the stencil firmly around the cake and attach the tape over itself at the back of the cake to secure it. If your stencil doesn’t have anchor points, you can secure the stencil using masking tape and some sterile pins. Secured, the stencil should be tight and not move.
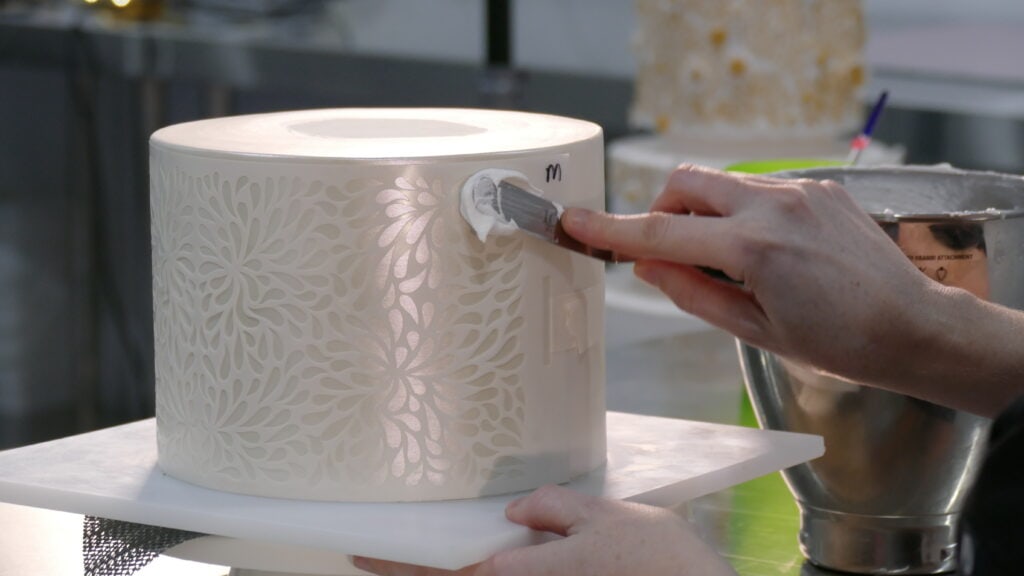
- Begin applying the royal icing to your stencil. If you are right-handed, it is easier to work from right to left, and in the reverse if you are left-handed. Cover the entire stencil with a thin layer of royal icing, use sparingly just to cover the pattern. Work slowly and carefully, the more time you take applying the layer of icing evenly, the better the results will be.
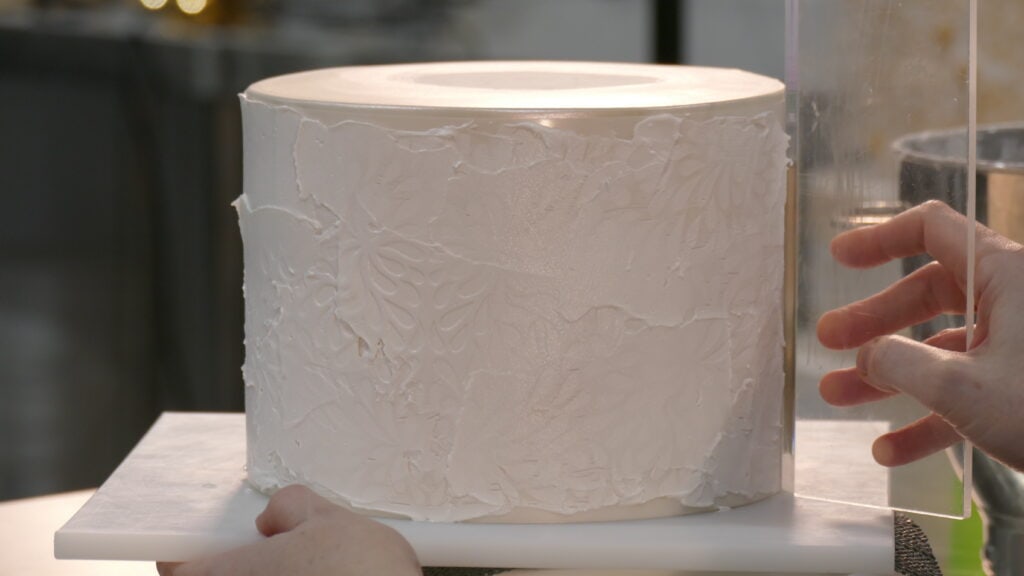
- Once the stencil is completely covered, use a scraper to carefully remove the excess royal icing as evenly as possible. You should be able to just see through to the pattern through the icing, but if you have any thicker sections that are harder to see through, just scrape those lightly.
- Peel off the stencil carefully, holding one end so that the stencil can be removed in a controlled, gentle motion. You should have a beautifully stenciled pattern on your cake. Leave to dry for 15 to 20 minutes, then commence stenciling the other half of the cake.



Tips for How to Stencil a Cake
- Allow your pre-covered fondant cakes to rest overnight before stenciling. This will allow the fondant surface to crust and provide a better surface for stenciling.
- The royal icing should be a firm meringue consistency (not too thick, not thin), so it doesn’t bleed behind the stencil. If your icing is a little too thin, scrape it off and add a little more confectioners’ sugar.
- A great way to practice the stenciling technique and to check the consistency of your icing is correct (prior to stenciling on your cake), is to do so on a flat surface or board, so you become confident with the process.
- If you make a mistake, simply scrape away the royal icing from the cake and wipe with a dry paper towel.
This tutorial was originally developed for the May/June 2018 issue of American Cake Decorating.

Michelle Smith
With a creative background in art and dance, Michelle Smith decided to pursue her love of cakes and decorating professionally, expanding her skills by attending classes at the renowned Planet Cake in Sydney in 2011. After completing the full course, Michelle went on to complete her Masters certification in Cake Decorating, and was offered an internship, followed by a position at Planet Cake. Michelle then made the decision to specialize in wedding cake design, opening Cake Craze. Her passion for stenciling led her to develop a range of unique cake-decorating stencils; she continues to expand the range of designs each year. As a multi-award-winning artist, Michelle now teaches her skills to others, teaching both in her native Australia and abroad at international cake shows. Known for her elegant design aesthetic, her work has been featured in many notable magazines and online blogs.